


Lace adds a stylish touch around the neckline
by Carol Fresia
from Threads #137, pp. 74-76
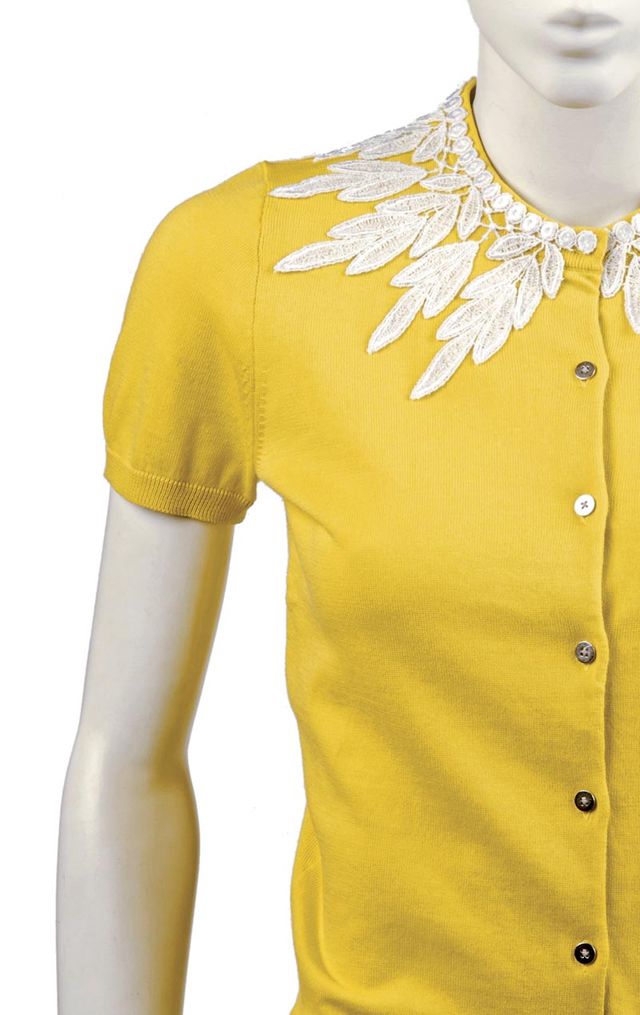
A stylish colleague appeared one day in an adorable little sweater—a classic cardigan embellished with wide lace trim around the neckline and cuffs. I immediately realized that this fresh look could be duplicated with a few feet of trim and any sweater.
The key is to choose lace with some substance; this gives the finished garment a pretty update that’s neither fussy nor childish. You can find suitable lace not only at fabric and trim stores but also online. If you’re lucky, you may have a vintage tablecloth or pair of curtains that are ready to be recycled into contemporary fashion.
![]()
 Look for lace that has one finished edge (the heading) and one decorative edge. A wide trim is fine as long as the motifs within it can separate and spread because the lace must be able to curve around a neckline. Venise lace—a heavy trim with lovely relief—is a great choice because it’s often designed with deep, separate points along the decorative edge. With some lace patterns, you can carefully cut the motifs apart all the way to the heading edge.
What you’ll need
• Lightweight cardigan sweater
• Lace trim with one finished edge
• Thread to match the lace
• Temporary spray adhesive
• Water-soluble stabilizer (optional)
Be sure to purchase extra lace so you can experiment with stitch types (straight or zigzag) and bending it around curves. To hold the lace in place as you sew, spritz on temporary adhesive spray. You’ll find that lace is quite forgiving; your stitches simply disappear.
![]()
 Spread the embellishment around
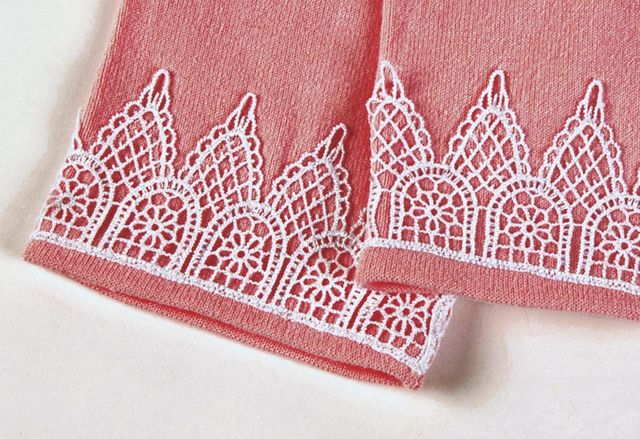
You can apply lace trim to the cuffs of your sweater sleeves, too. If the sleeves are very narrow, try free-motion stitching. Drop or cover the feed dogs, and install a darning or embroidery presser foot. Move the sweater back and forth or side to side under the needle. For the best results, let the machine go fast, and move the fabric at a moderate, even speed. It’s also helpful to cut off the ribbing cuffs and create three-quarter-length sleeves.
Prepare the lace trim
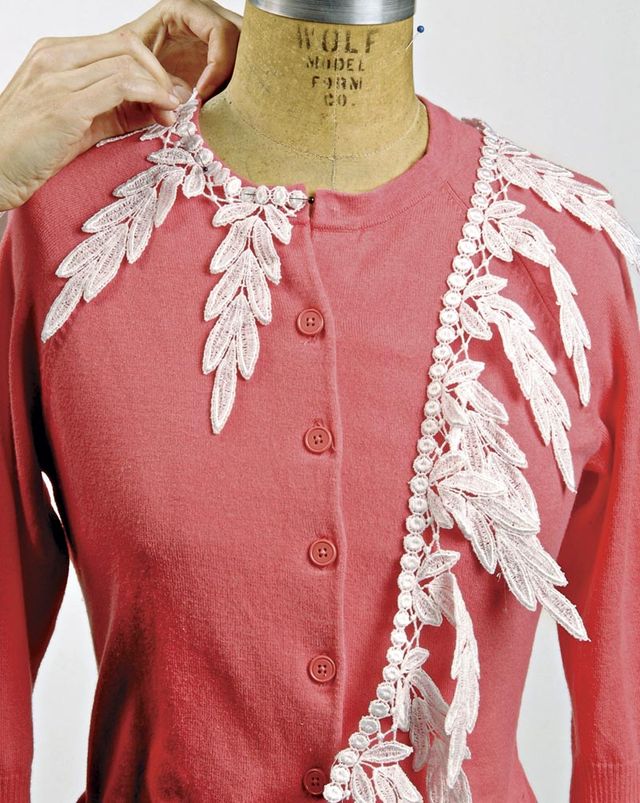
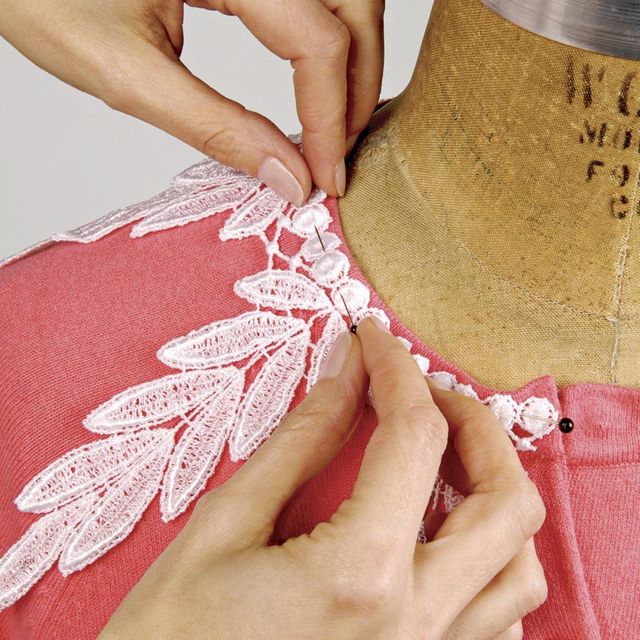
If the lace won’t flex enough to encircle the neckline, try snipping into the decorative edge a bit to open it up. If you have a dress form, place the sweater on it to help support the lace as you work. Pin the lace to fit, adjusting for symmetry at the center front.
![]()

![]() Pin the lace to fit, adjusting for symmetry at the center front.
Pin the lace to fit, adjusting for symmetry at the center front.
Starting at center front on the overlap side of the cardigan, arrange the lace around the neckline. You can align it with the outside edge of the neck or with the seam that attaches the ribbing. Curve the lace around the neckline, pinning it in place as you go.
When you arrive at the underlapped side of the center front, step back and check for symmetry. If the lace motifs aren’t symmetrical on each side of the center front, you can finesse the fit of the lace slightly by inserting or removing a partial motif.
To do so, cut the lace band at an unobtrusive spot (the center back is a good choice), and add or subtract a section of lace there. If needed, apply a small bead of Fray Check to the cut ends.
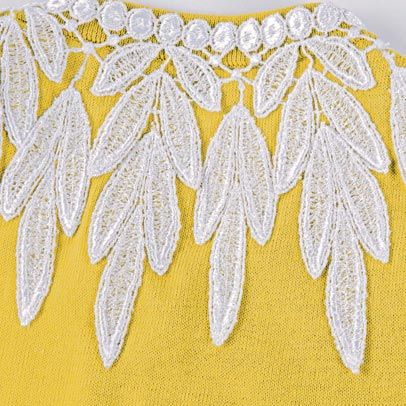
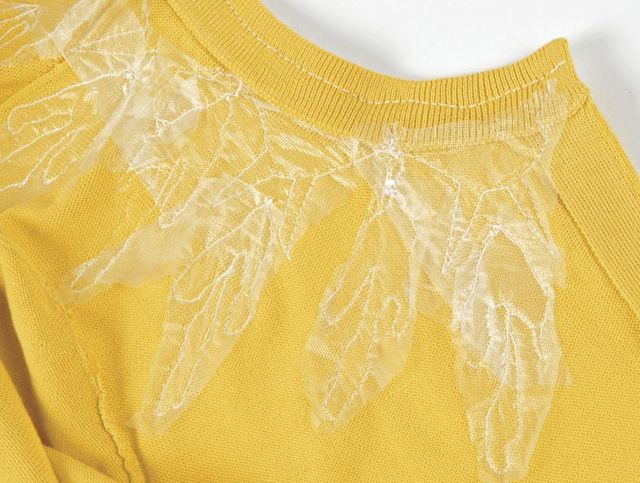
Tip: Customize your lace.
If you have trouble finding lace that’s the exact style and width you’d like, you can adapt it to suit your needs. On the yellow sweater, I removed a pair of leaves from each frond motif to reduce the trim’s width. I also filled in the spaces between fronds with extra leaves.


To shorten the motif, one leaf set was removed.
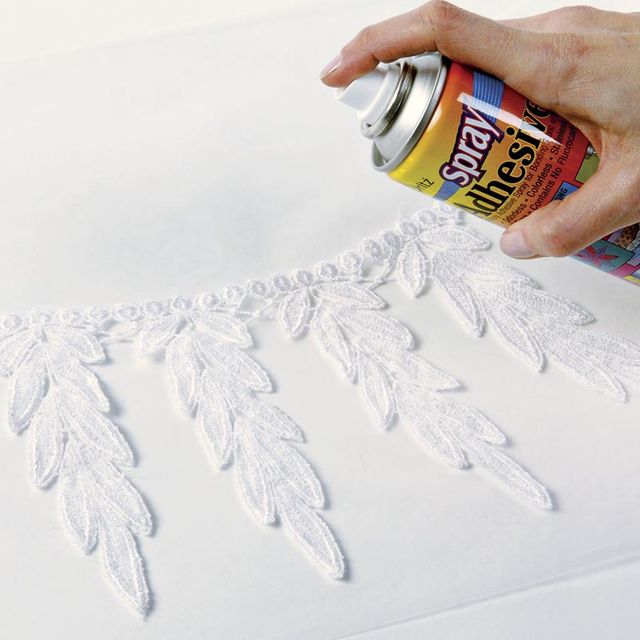
Glue-baste the lace in position
Unpin the lace from the neckline, and lay it wrong side up on a sheet of protective paper. Following the manufacturer’s instructions, spray the wrong side of the lace with temporary spray adhesive. If you’ve cut the lace into two or more pieces, work with the pieces individually. Lift the lace, and carefully arrange it around the neckline; finger-press it in place to secure.


Spray adhesive makes basting the lace in position quick and easy.
Affix the lace to the sweater, and add pins if needed for extra hold.
![]()

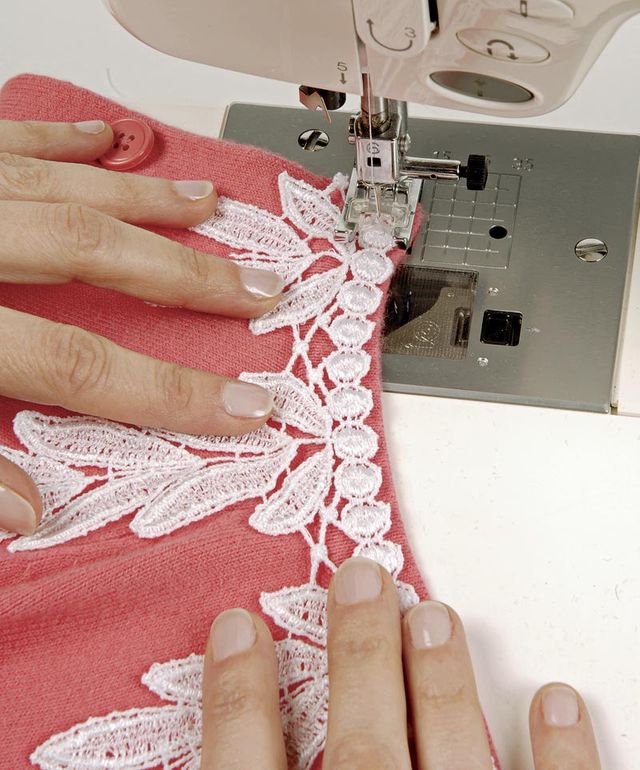
![]() A straight or zigzag stitch holds the lace neatly and invisibly. Machine-stitch to secure the lace
A straight or zigzag stitch holds the lace neatly and invisibly. Machine-stitch to secure the lace
Set your machine for a straight or zigzag stitch. Stitch the heading in place along the neckline edge; then stitch along the outer, decorative edge. Depending on the shape of the lace’s motifs, you can stitch with the feed dogs up, pivoting as needed to negotiate corners. Or you could lower the feed dogs, install an embroidery or darning presser foot, and free-motion stitch to secure the lace edges.
Stabilize for smooth stitching
If the machine needle pushes the sweater fabric under the throat plate and into the bobbin area, you will have snags and jammed thread. To avoid this, slip a piece of water-soluble stabilizer under the area you’re stitching. When you’ve finished stitching, tear or cut off the excess, and remove the rest as recommended by the manufacturer.

Photos: Sloan Howard


Log in or create an account to post a comment.
Sign up Log in