


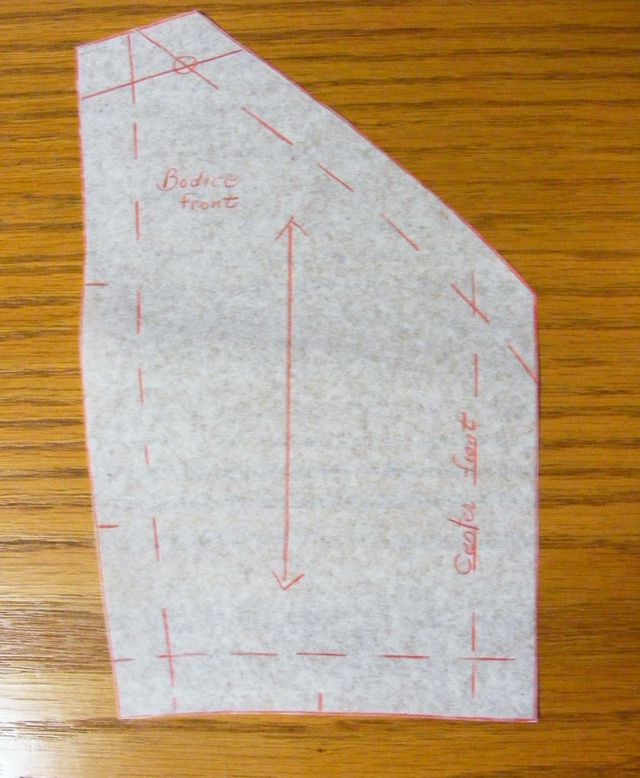
In the Spring ’09 issue of SewStylish, author and couture sewer Anna Mazur showed you how to insert zipper 4 different ways. See how she added the center-front seam to add her exposed zipper. This dress was made using Simplicity 2657, which is pictured above. The bodice crossed in the front and in order to install the zipper, Anna altered the pattern’s bodice to have a center-front seam.
1. On the bodice pattern, extend center front 5/8 inch as pictured below in red.

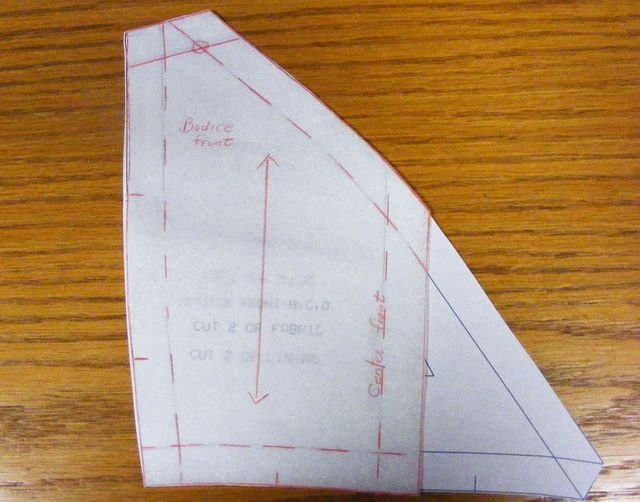
2. Using tracing paper, trace the new bodice piece. Cut it off at the line you drew in step one. Transfer all of the registration marks onto the new pattern, including the grainline and center front.

3. Use the remaining pattern pieces as they were originally.
For more on sewing an exposed zipper, check out SewStylish Spring ’09.


Log in or create an account to post a comment.
Sign up Log in