


Lots of readers have e-mailed to ask about tutorials for the embellishments on the hats featured in”Millinery Marvels” by John Koch in Threads #153, February/March 2011. We’ve been offering a series of posts in response.

More on creating stunning hats:
• How to Make a Hat Base
• Try Your Hand at Hat Trimming: Bows Without Tails
• Make a Bow with Tails – To Trim a Hat or Embellish a Garment
• The Dresden Shepherdess: Create a Bridal Hat
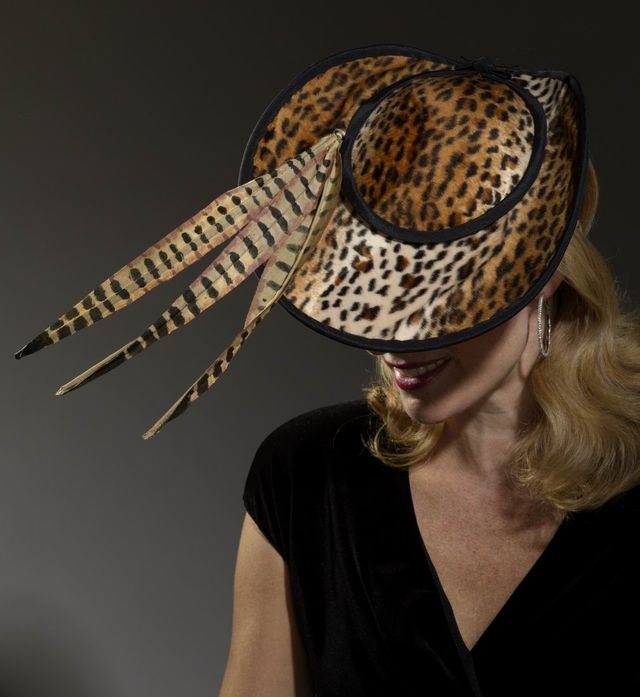
This post covers how to create the elegant and intriguing feathers that John applies to some of his hats. They are made with fabric and flexible wire. These feathers are easy to curl and can be twist gently into interesting shapes. John paints his feathers to give them a realistic look.
John says that you can use a variety of fabrics to make the feathers. He suggests using muslin or silk but says you could use just about any fabric as long as it’s stiffened in order to prevent fraying. He sizes fabric with Aleene’s Stiffen Quick.
In the past, he has used fabrics like doe suede (which he also uses for gloves) and just about any fabric that happens to be in the hat. That way, the “feather” matches the hat.
I hope you have fun with this project. Next week, the series will conclude with a post about the “Dresden Shepherdess,” a bridal hat with a veil.
Form faux feathers
Stiffen and trim fabric strips to make fanciful or realistic feathers. A wire center means you can curl or straighten them to your style.
1. Cut fabric to desired feather length. Plan on a 1½-inch width for each feather. Spray fabric with fabric stiffener. Let dry, then apply a second stiffener coat. Dry again and press if necessary.
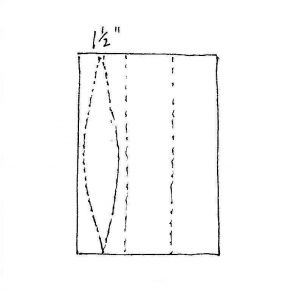
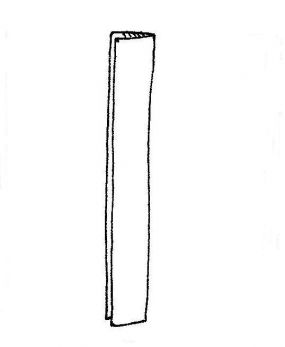
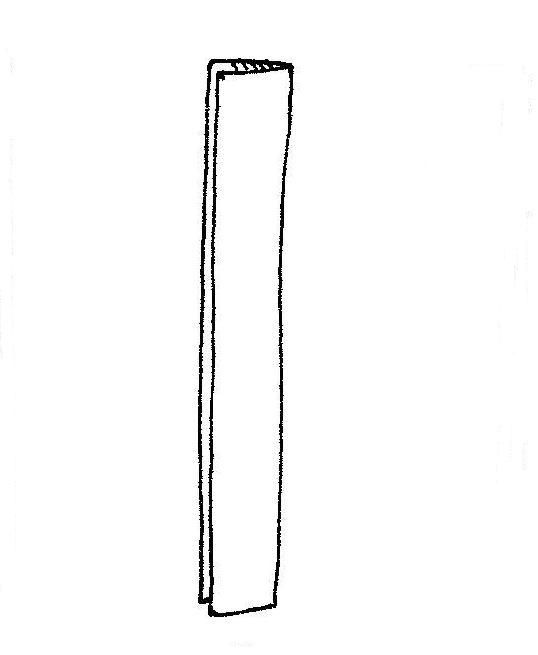
2. Cut the fabric into strips approximately 1½ inches wide. Fold each strip in half lengthwise.
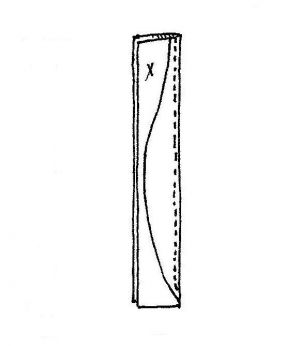
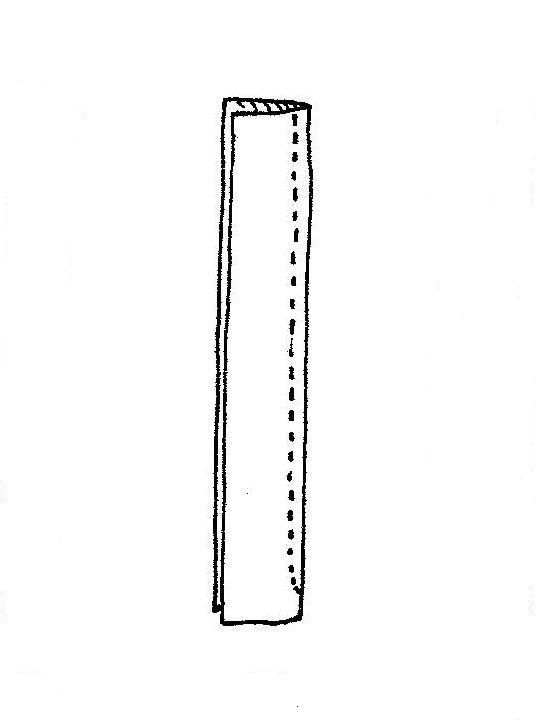
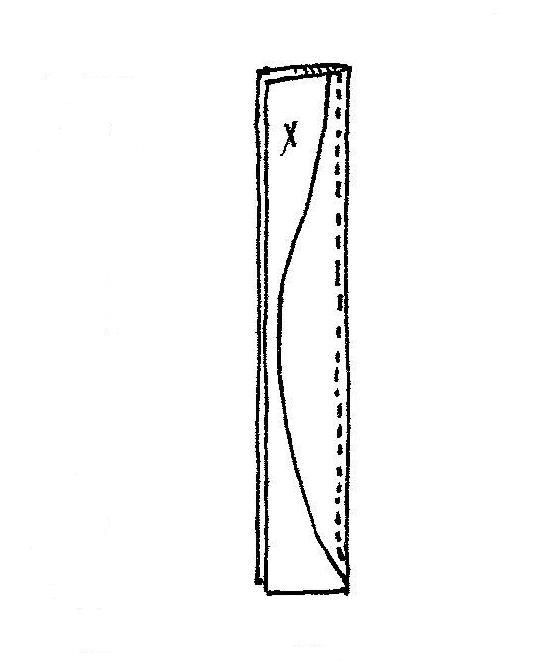
3. To make a casing for millinery wire at the feather’s center, machine-sew the strips lengthwise. Sew 3/16 inch from the fold, and taper stitching toward the fold starting 1 inch from one end. Backstitch or tie off the threads.

4. With the strip still folded lengthwise, trim it to a feather shape (tapered at both short ends).
5. Cut millinery wire approximately 1½ inches longer than the feather. With needle-nose pliers, curl one wire end and crimp. Slide the crimped end of the wire into the casing.
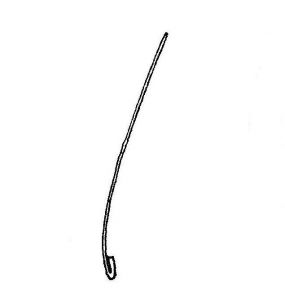
6. Unfold the feather and pinch-press it open. Secure the millinery wire and feather together with a little glue. Bundle the feathers and wrap the wire ends with button thread or fine bead wire. Cover the wires with a fabric or ribbon piece, and bend the wired feathers to arrange.
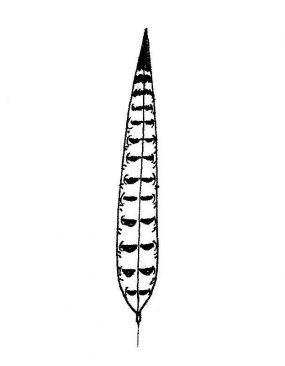
Tip: To create “pheasant” feathers, straighten the wire before you insert it in the casing. Add markings with acrylic paints or permanent markers.
Update:
Here is another tip from John. For a really striking large feather try black bengaline. Adhere Wonder Under to the back of one layer, peel off the backing paper, place a wire in the center, leaving an inch or two at the bottom. Place the other layer on top, right side up and laminate with a hot iron. You might want to use a press cloth to prevent a shine or a scar. Cut out the feather shape and curve gently.
“It’s a real knock-out,” John says. “Often when I’m done making a feather I will put a ‘flaw’ in it by snipping the feather in one or two places. It looks just like the way a real feather would separate and makes it look a bit more convincing,” he adds.
Next week: Make a bridal hat and add a veil.


what kind of material do you start with?
Nice article. Sarasew, I would guess you could use any fabric u wished. With the varieties of cotton prints available, the possibilities are endless. I do theatrical costuming and see so many ways i could use this technique.
I've been working on making some fanciful bird puppets this week. Now I have a great way to embellish them to get just the look I want. Thanks for the info!
We could apply this technique to making fabric flowers. We'd just have to cut the strips wider for the petals, and then we could do "floral arranging" for a brooch or neckline embellishment to our hearts' content. Fabulous article, thank you! I hope I can apply this toward an upcycled garment for my Swoosh by Scrollwork shop on etsy.com.
Thank you for this wonderful tutorial! These look fantastic, and no birds had to suffer or die!
Dear sarasew and everyone: I contacted John Koch about his fabric preferences and he sent me an update which I've added to the post. He also gave me a tip for adding "flaws" to your feathers to make them look more realistic. Check it out, the information is added to the post. Thanks for reading!
Love the feathers and would kike to incorporate them into hats that I am making. Unfortunatly I need to make 20 hats and I am on a very limited budget. My I am planning on using faux money, most likely allowing 10 for each hat.Has anyone done these on a budget? Would love some tips.