


I was asked recently to make some jewelry bags from Fortuny fabric. I hadn’t developed an envelope bag before, so I needed to figure out the ins and outs of the patternmaking for the bag.

These bags needed interior dividers to separate the jewelry.
I made some test patterns and a muslin, and then I adjusted the patterns before making the bags.
Patternwork for this envelope clutch
When I draft, I draw stitching lines, not cutting lines. When the draft is done, I add the seam allowances to make the finished pattern for cutting the fabric.
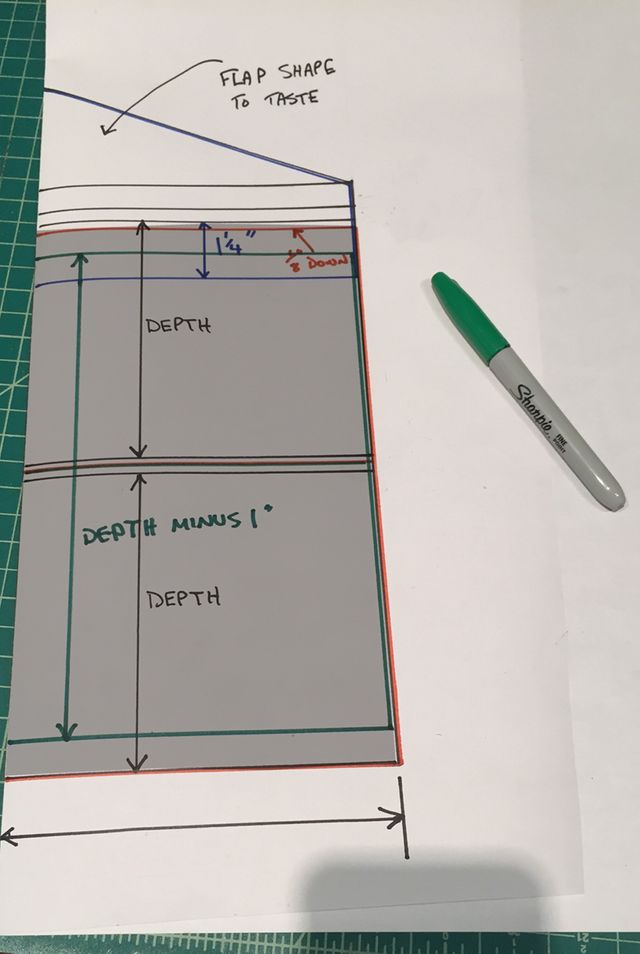
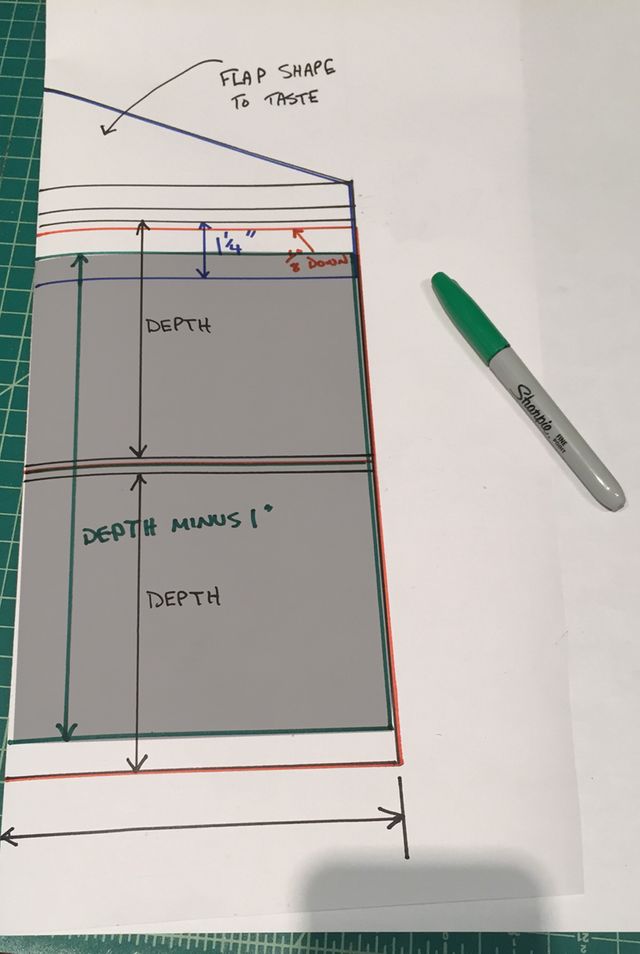
The pattern:
Construction of this kind of bag is relatively easy. It’s the patternmaking that I needed to figure out. The basic information I share below will give you the freedom to design any size bag you need.
I like to draft a half-pattern if the bag is symmetrical. This way, when I’ve finished drafting, I can fold the paper, and trace the other half, to make sure the two sides are symmetrical.

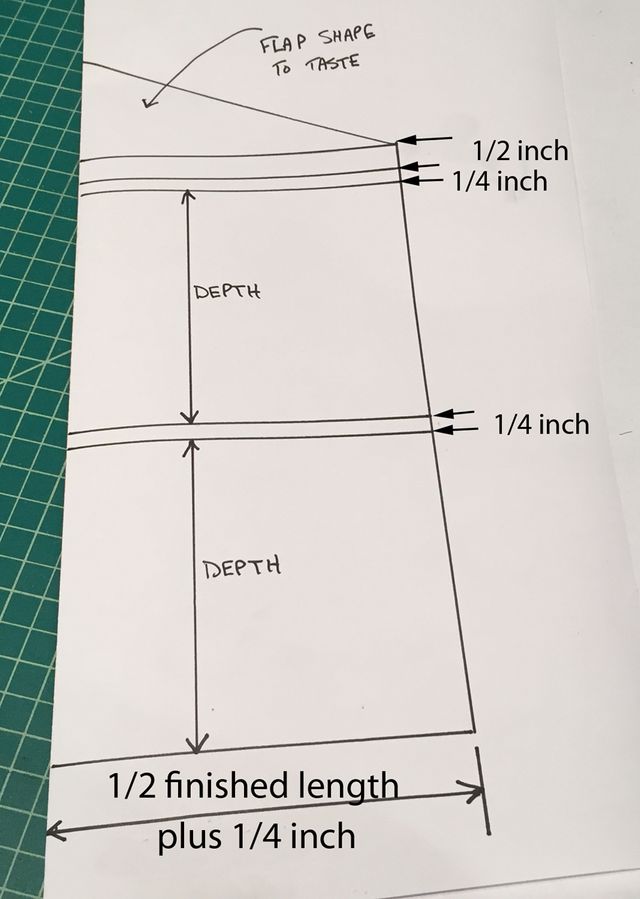
I started with the body draft. On the pattern shown, the width of the draft, and the base line, is half the desired finished length plus 1/4 inch.
Measure up from the base line of the draft one bag depth, plus 1/4 inch for turn of cloth. Measure up another bag depth, plus another 1/4 inch for turn of cloth.
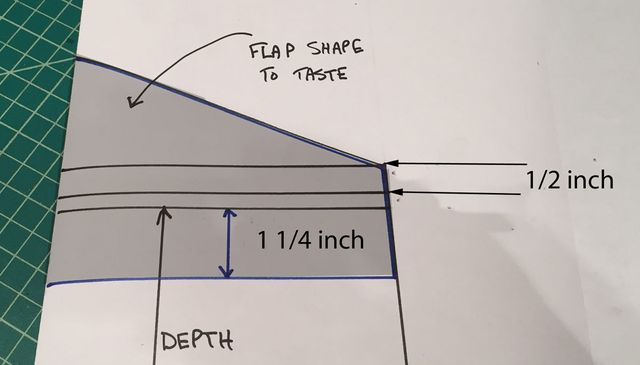
Measure up an additional 1/2 inch for the flap turn, then draft the shape of the flap to taste.

The flap facing is drafted by measuring down 1 1/4 inch from the bag upper edge. Trace the shaded area as the bag flap facing.

Measure down 1/8 inch from the bag upper edge for the bag lining. Trace the shaded area to get the bag lining piece (outlined in red).

Measure up 1/2 inch and down 1/2 inch, from the lining pieces, to get the divider pattern piece (outlined in green). Trace off the shaded area to get the pattern.
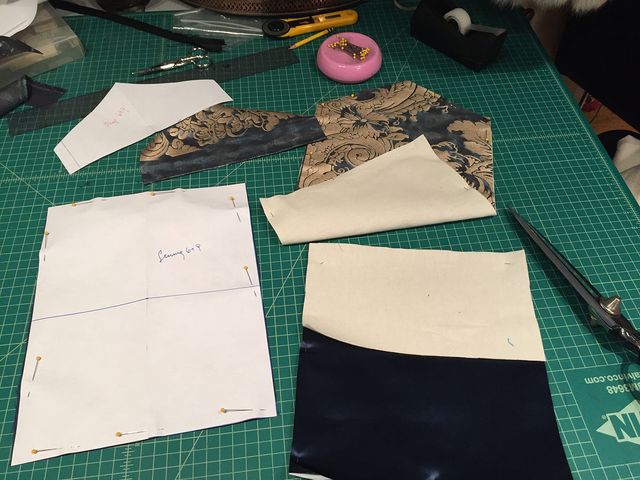
Place each pattern on folded paper, trace, add seam allowances to all except the fold edges, and cut. You now have full patterns, with seam allowances, for each bag component.
Cut the bag body from the fashion fabric and interlining (cotton flannelette in this case). Pin the interlining to the fashion fabric’s wrong side and treat these layers as one for the bag’s construction. Make snips in the seam allowances to mark where the body will fold up to make the bag.

Cut the flap facing just from the fashion fabric.
Cut the lining pattern piece from lining, the divider piece from lining, and half the divider piece from interlining.
To construct the divider:

Press the divider piece in half, with wrong sides together. Insert the interlining between the layers, so the cut edge sits in the fold.
Topstitch through all layers at 1/4 inch from the folded edge. Set aside.
To prepare and sew the lining:
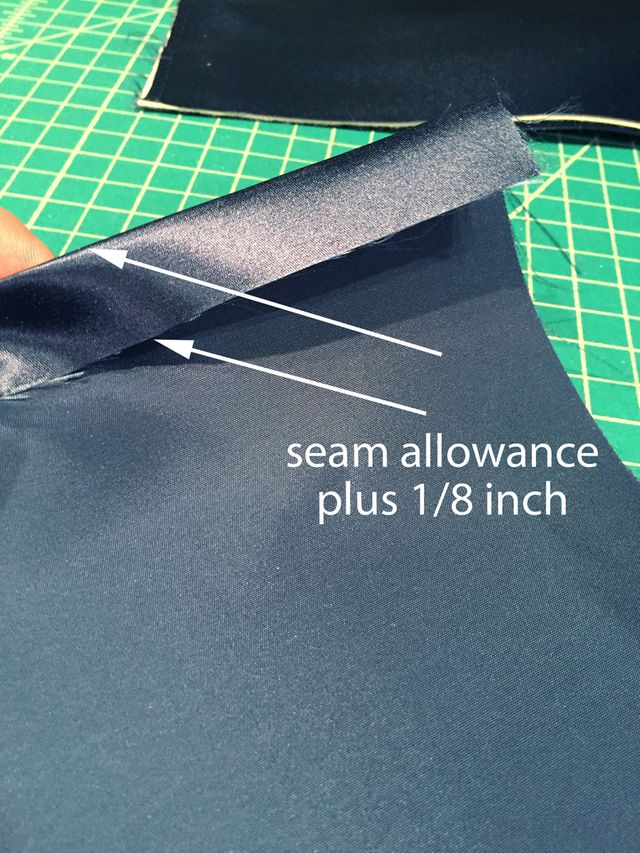
Press one short end seam allowance under, 1/8 inch wider than the seam allowance you added.

For example, if you added a 5/8-inch-wide seam allowance, press this edge under by 3/4 inch.

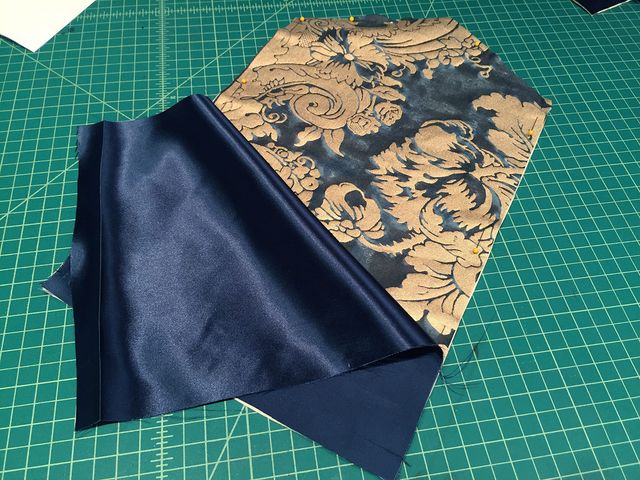
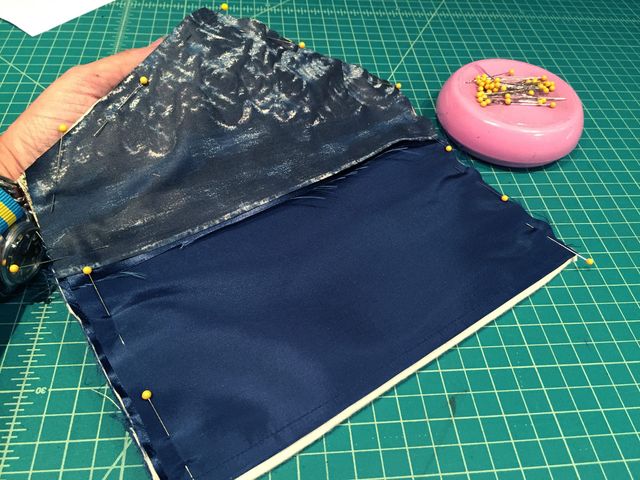
With right sides together, lay the lining on the bag body, aligning the unfolded short end to the bag’s lower edge. Stitch, grade, and press the seam. Press the lining away from the bag body.
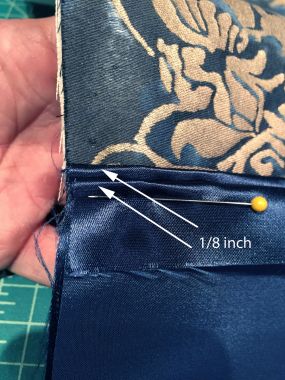
Fold the lining in half, with right sides together, aligning the folded and pressed edge of the free seam allowance 1/8 inch below the seam made in the previous step, as shown. Pin.

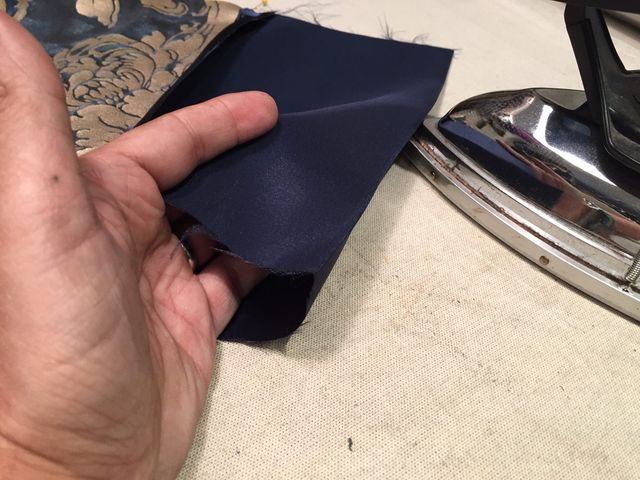
Press a crease along the lower fold of the lining.
Next, unpin the lining.
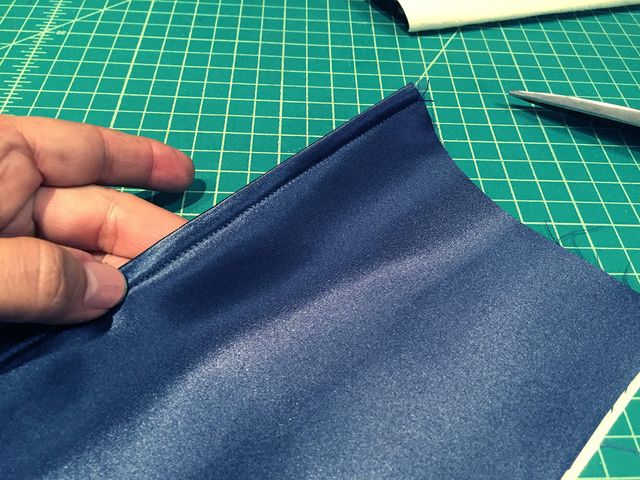
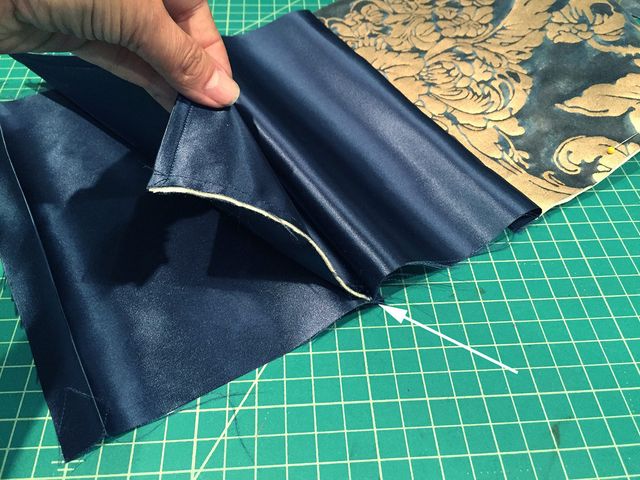
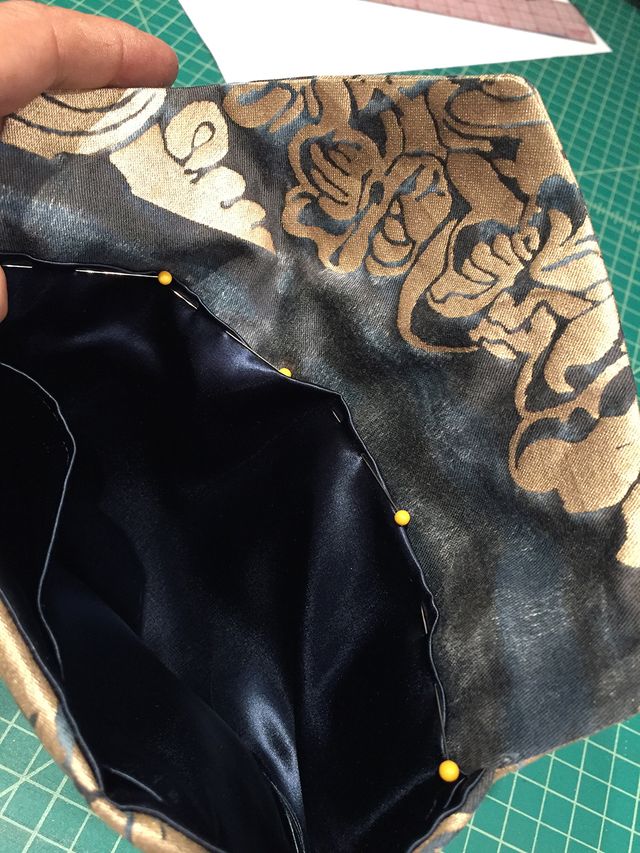
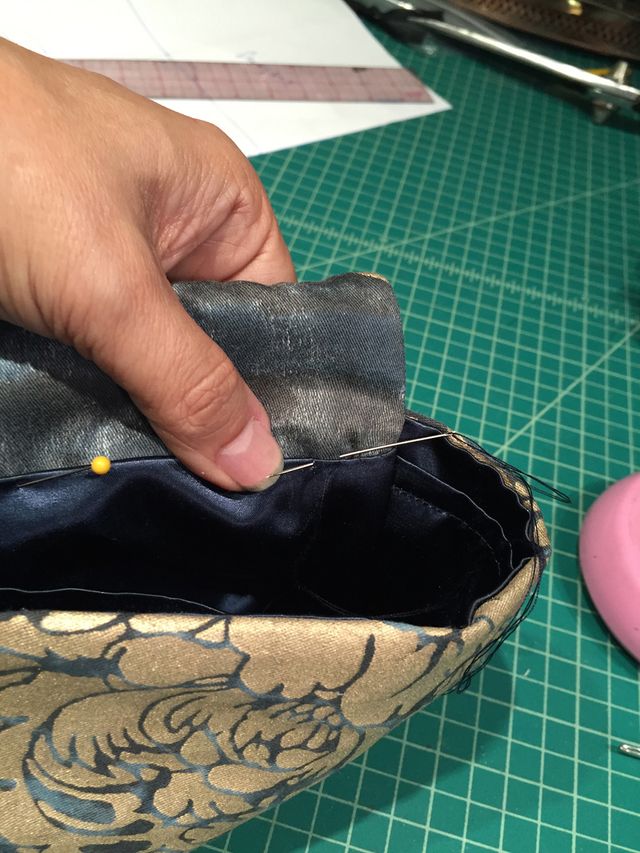
Sandwich the divider into the lining, with the divider’s raw edges aligned within the crease.

Sew 1/4 inch away from the folded edge, through all layers, to secure the divider into the lining (as indicated by the arrow in the photo).

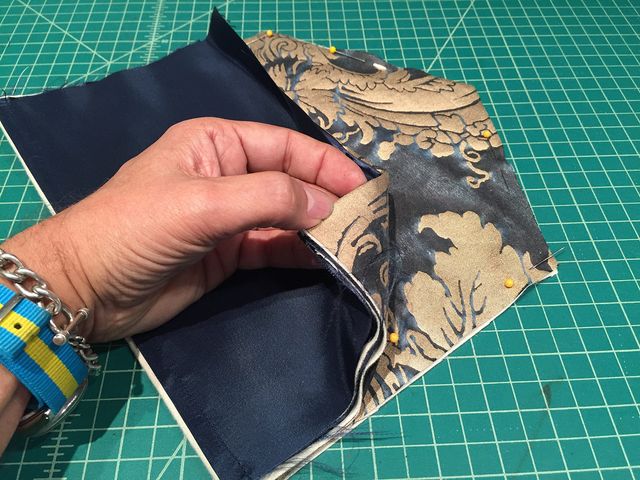
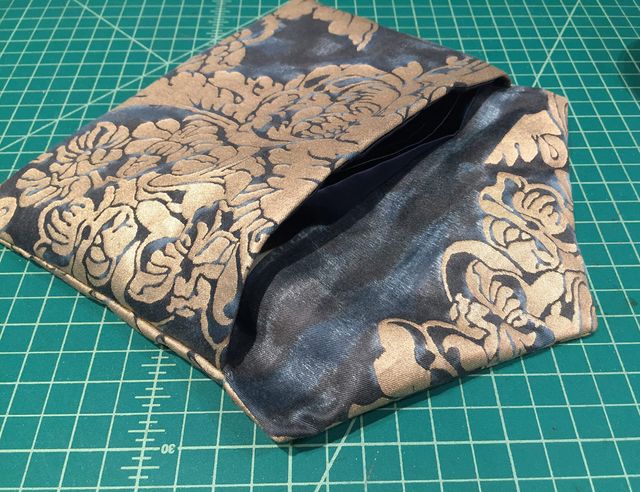
With right sides together, fold the lower portion of the bag up, using the clips to determine the foldline. Pin.

Pin the facing to the flap. Later, you will turn the bag right side out through the opening along the facing’s lower edge.

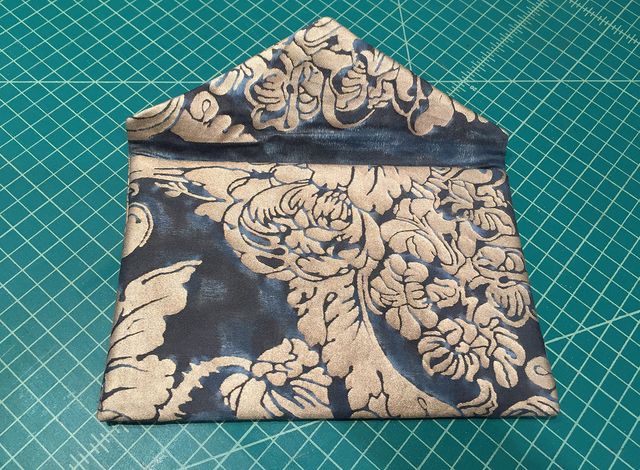
Sew up along one side, across the flap, and down the other side.
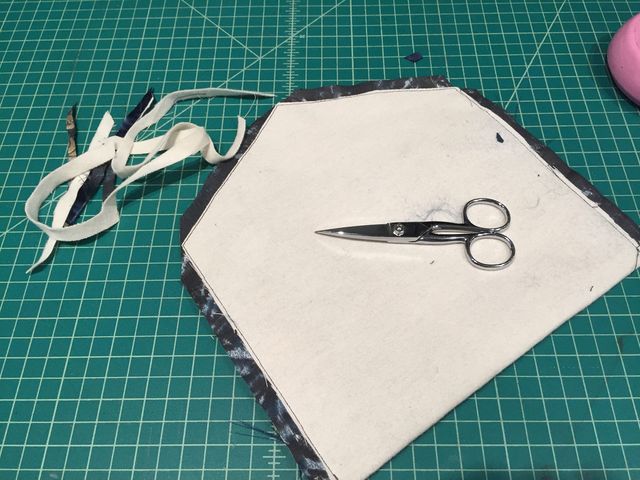
Trim and grade the seam allowances and clip the corners.

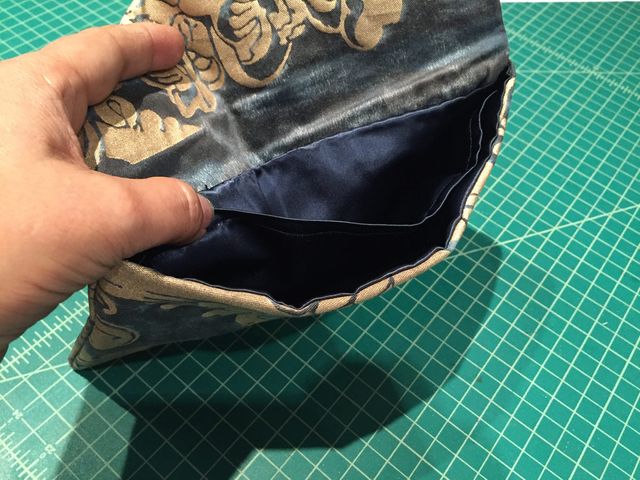
Turn the bag right side out and press.

Pin the lining folded edge to the facing lower edge, covering the facing raw edge.

Hand-sew the folded edge of the lining to the flap facing, using a fell stitch or any invisible hand stitch.

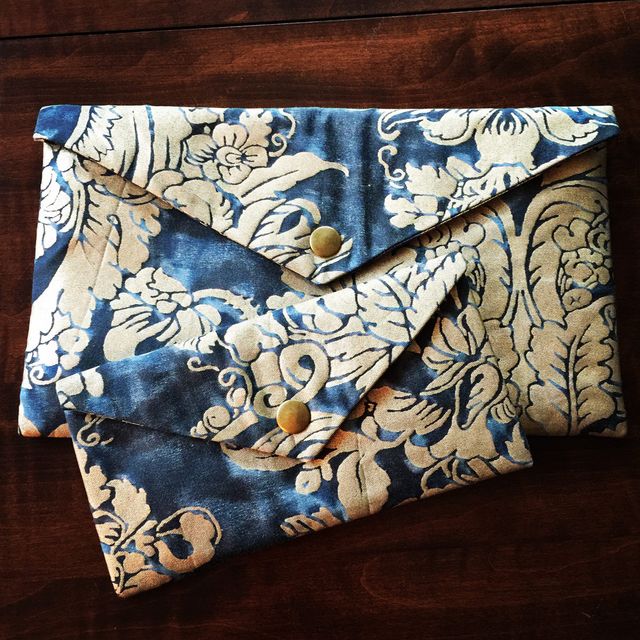
After a final press, install snaps-or the closure of your choice-and you’re done!
What are your thoughts on this Fortuny jewelry bag? Will you create a similar one using the techniques and patternwork I’ve demonstrated? Share your thoughts in the comments section.


Thanks, Kenneth: this looks like a wonderful project with great detailed instructions.
Thank you Kenneth. I always find your articles well written and easy to understand. I will probably try this to make this jewelry bag.
Kenneth, Could you please clarify two measurements? When you say "Measure up 1/2 inch and down 1/2 inch, from the lining pieces" that means "Measure up 1/2 inch and down 1/2 inch, from the red lines", right? Secondly, there are just 2 pieces of interlining - the body of the bag and 1/2 the depth of the divider.
Also, could you tell us the width and depth of the bag shown here? Thanks so much for this - it's gorgeous!
That's correct, Krawz. The red line is the reference line.
I can't quire remember the measurements but I believe the large one was 7 inches by 5 inches, the smaller was 4 inches by 6 inches.
Glad you enjoy the post!
Beautiful fabric!
Thank you for sharing your article Kenneth.
A great way to use up scraps. A lovely project. Thank you!