


Sew on a soft sweater-knit collar to a jacket or top. All you need is a sweater to harvest the chunky knit from, a bias fabric strip, and basic sewing skills.
Enjoy the warmth and the look of a sumptuous knit around your neck without ever picking up knitting needles.
In Threads #193 (Oct./Nov. 2017), the Pattern Hack department featured Patricia Keay’s “Ripple-effect jacket.” Here, Patricia shares her technique for recycling part of a sweater to create a soft and warm knit collar that you can add after constructing and lining the jacket.
The collar length is dependent on the neckline it is sewn to. The length described is particular to an overlapping, extralong neckline, which overlaps in the front.
A general guideline that can be used on any neckline is to cut the collar to the length of the neck seamline, plus an inch for turning back the ends.
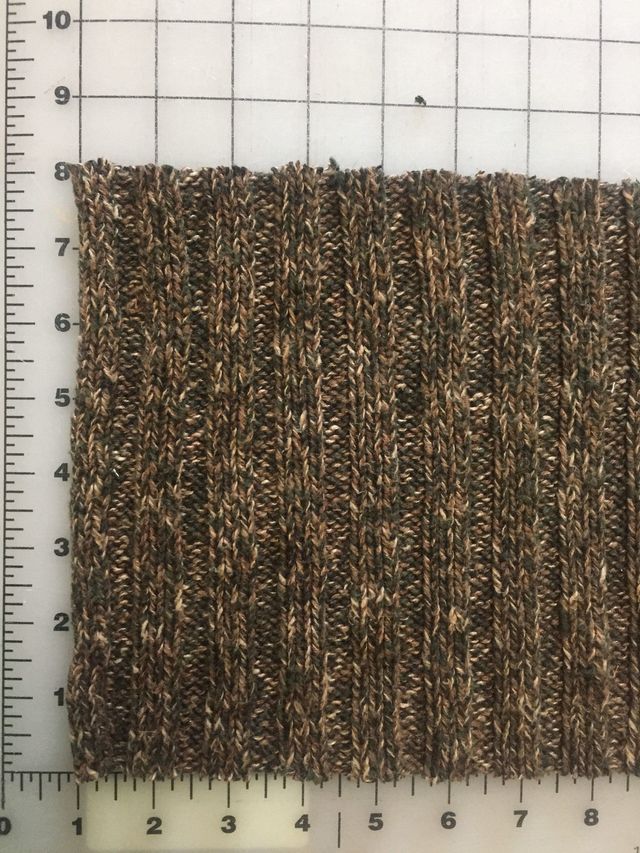
To start, find a chunky knit sweater. For the ripple-effect jacket collar, look for a sweater with a torso that is at least 30 inches in circumference (15 inches across when measured flat), and has at least 8 inches of body depth between the armhole and the ribbing or hem finish. Don’t forget to check the men’s section as well as the women’s section of your local thrift or consignment stores. Choose a sweater with a fiber composition that will comply with the care considerations for your jacket.
You’ll also need some matching or coordinating fabric from which to cut a bias strip to conceal the neckline and collar seam allowances.
1 Cut a bias strip from fabric, 1½ inches wide by 30 inches long. Set it aside.
2 Cut an 8-inch-deep cross-section of the sweater torso. Then cut along one side seam and open the cross-section piece flat. Trim the piece to 8 inches deep by 28 inches long (or the length needed for your garment).

3 Fold the collar piece lengthwise, right sides together. Stitch each short end with a 5/8-inch-wide seam allowance. Tip: If the knit is chunky and difficult to move through the sewing machine, sandwich the knit between strips of tissue or freezer paper. The paper will help the feed dogs move the bulky knit.
4 Turn the collar right side out and press lightly. Hand-baste the raw edges together with long diagonal stitches to allow some stretch when applying it to the garment.

5 Staystitch the jacket neckline, and clip the seam allowances.
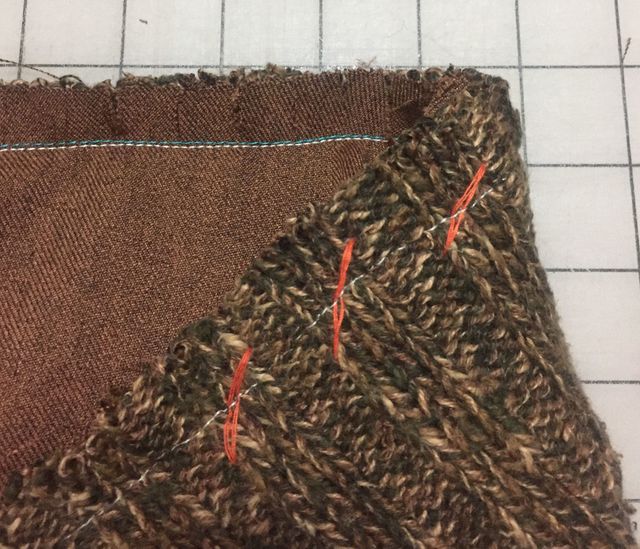
6 Pin the folded collar to the neckline edge, with the collar right side against the jacket right side and the raw edges aligned with the neckline. Stretch the collar slightly to fit. Hand- or machine-baste the collar in place.

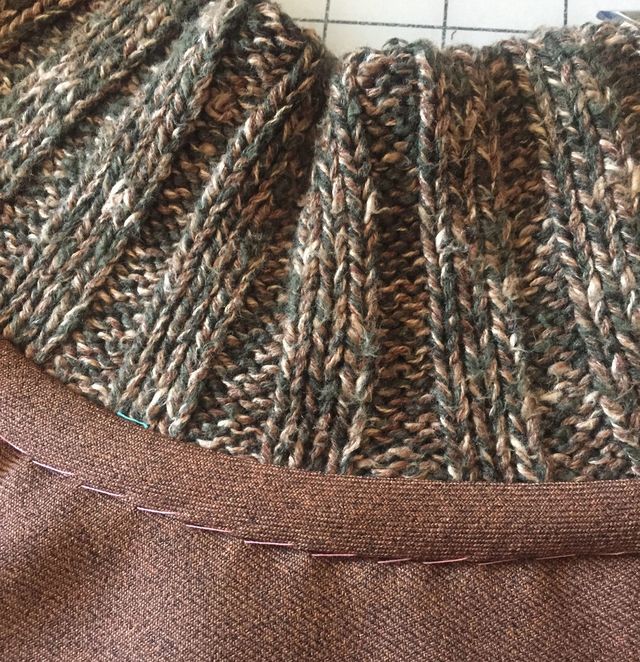
7 Apply the bias strip over the collar and jacket neckline edge. With the bias strip’s right side against knit collar’s wrong side and raw edges aligned, sew the binding to the garment with the collar sandwiched in between.

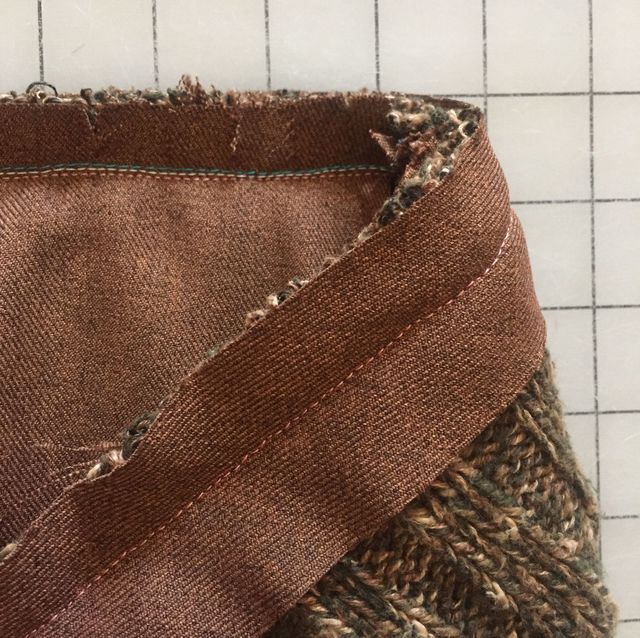
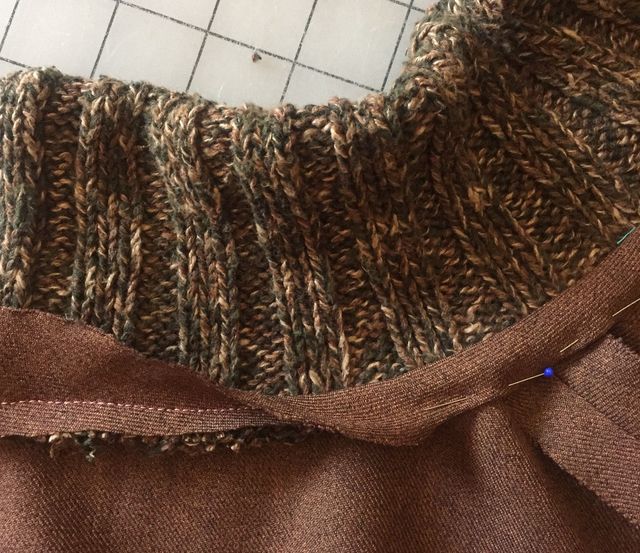
8 Trim the bias binding if necessary. Turn the knit collar up to its finished position, and press the neckline seam allowances down toward the jacket. Press the binding over the seam allowances, and fold its raw edge under. Hand-stitch the binding’s folded edge to the jacket’s wrong side to secure it and to hold the seam allowances in place.


Do you like to combine new and recycled elements in the garments you create? Where do you like to source materials for your projects?
Share your work and ideas in our Reader’s Closet galleries, or send us an email and tell us about your results. Use the hashtag #dontsewitalone or #sewitall on Instagram to let us keep up with what you’re sewing!


I would not expect that
Pretty simple way! Nice!
ciekawie podszedłaś do tematu
This it looks bad
quite interesting way
na to nigdy bym not idea
I have to try it
I see a lot of bugs in this project
ta laska ma fajny uśmeich :D
gdy bede miala czas sprawdze
The same way my mother used to