
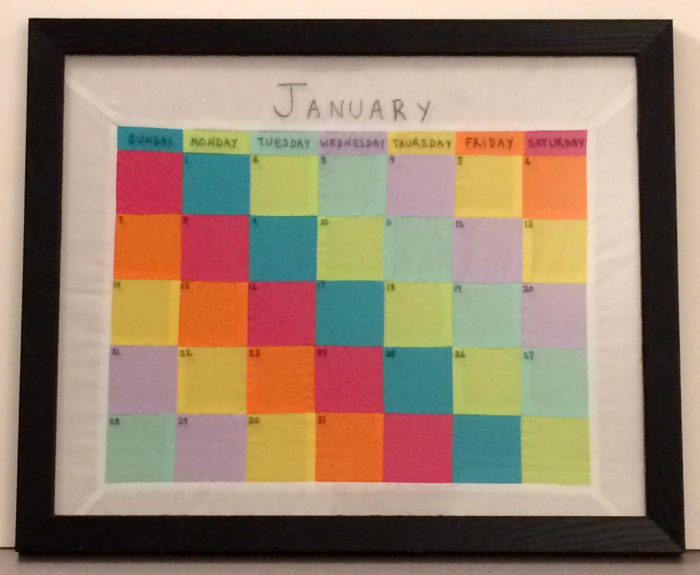
Quilt a Fabric Calendar to Help Plan Your Sewing Time and Get Organized
Add a colorful and useful fabric calendar to your decor.

I’m always looking for new ways to decorate my sewing room and, wanting to be more organized for the new year, I had an idea. Why not make a fabric calendar? The great thing about this design is that one month worth of sewing lasts a lifetime. All you need is fabric, a picture frame with a glass cover insert, and a dry-erase board marker to get started.
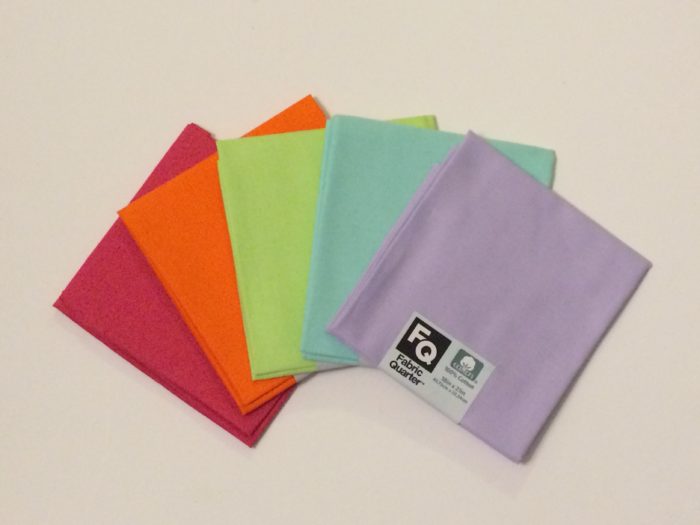
When it comes to selecting fabric, there are a few things to consider. I used 100-percent cotton fat quarters for this project. However, shirtings, felt, flannel, lightweight denim, or a variety of scrap fabrics work well, too. It helps to use light-colored fabrics, so you can read what is written over the squares. Try to stay away from prints for the same reason. Other than that, feel free to get creative. You may want to use only one colored fabric, alternate between two different colors, or make each column its own color. The possibilities are endless.
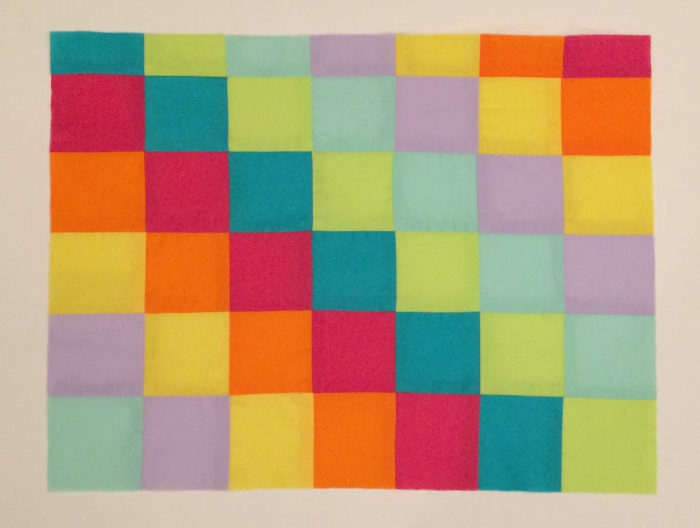
1. Cut the fabric. Use a rotary cutter and a cutting mat (or shears) to cut 35 fabric squares and seven rectangular strips. The blocks in this project are 3-inch squares, representing each day of the month. The rectangular strips are 1 1/2 inches by 3 inches, and form fields where you can write the days of the week. This creates a finished grid that is approximately 14 inches high by 18 inches wide. Adjust these dimensions based on your desired picture frame size. Just be sure to leave enough room for the border strips (see step 6).
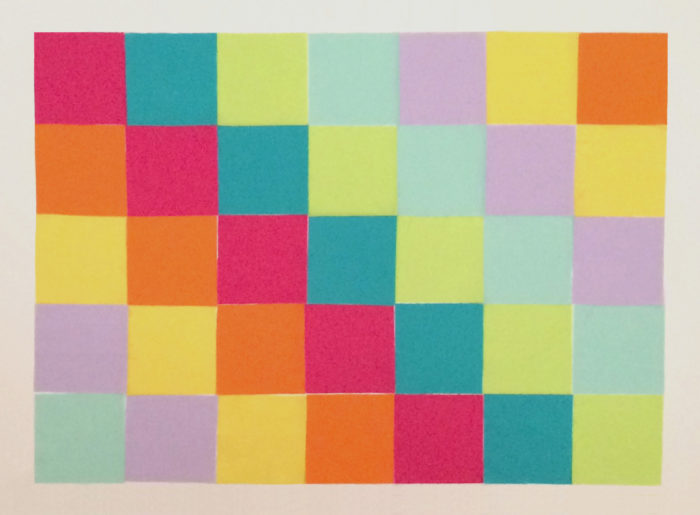
2. Lay out the pieces. Organize the squares as desired in a 5-by-7-block orientation. Note that when using so many colors, it helps to take a photograph of the layout upon completing this step to avoid confusion down the road.
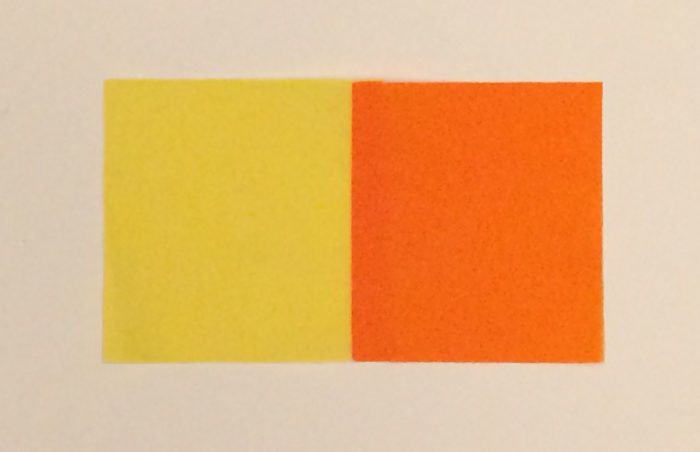
3. Begin sewing. With right sides together, sew the first two squares using a 1/4-inch-wide seam allowance. (Note that all seams in this project are sewn with a 1/4-inch-wide allowance.) Press the seam allowances to one side.
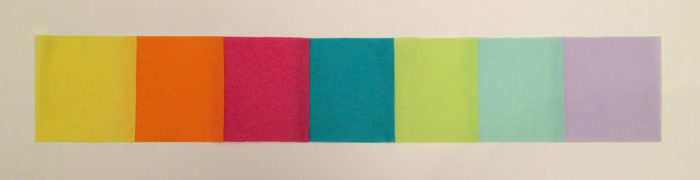
4. Finish the strip. Continue sewing the adjacent squares together until you have a completed row as shown below. Repeat this process until all five rows are sewn. Sew the rectangular strips in the same manner.
5. Combine the rows. Take extra time to match the seams before sewing. With right sides together, sew the first row of squares to the second row, and so on, until all five rows are sewn together. Finish by sewing the rectangle row to the top square row.
6. Prepare the border. The border strip’s length and width are determined by the chosen picture frame size. Since I used a 16-inch by 20-inch frame, I needed to add fabric strips to all four sides. Each strip measured 10 inches longer than the designated side (so it extended 5 inches beyond each edge) and 3 1/2 inches wide. Note that the extra length can be trimmed later or folded over to secure the fabric to the frame back.
7. Attach the border. With right sides together, sew each strip to the corresponding side. If desired, miter the corners. Otherwise, press and trim the seam allowances.
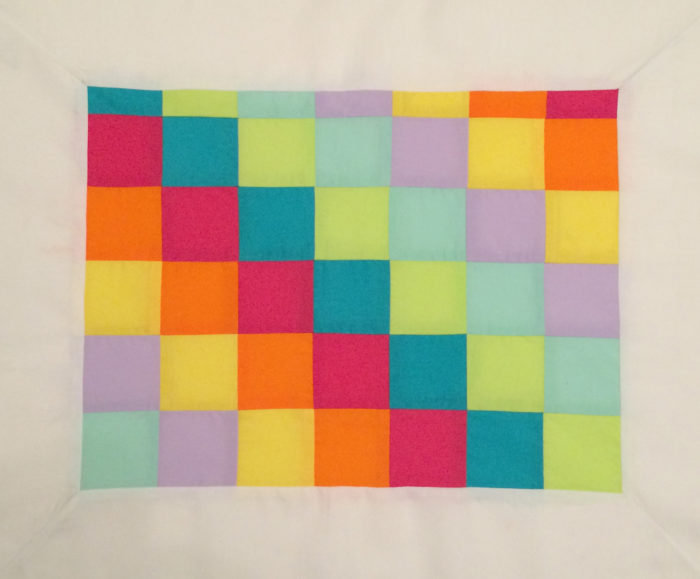
8. Frame the calendar. Orient the fabric so the grid is centered and there are about 2 1/2 inches of border fabric above the rectangle row. Instead of trimming my fabric to size, I folded the excess border over the frame’s backing edges and taped it in place to make sure the design was straight, even, and taut before fastening the frame.
9. Fill in the calendar. Use your dry-erase board marker to write the days of the week, month, and corresponding dates directly on the glass. On the last day of each month, erase the glass surface and relabel your calendar for the upcoming month.
How would you design your fabric calendar? Are there different fabrics you would use? Please share your comments below.


Genius!!! This project will be added to my sewing room this week.