
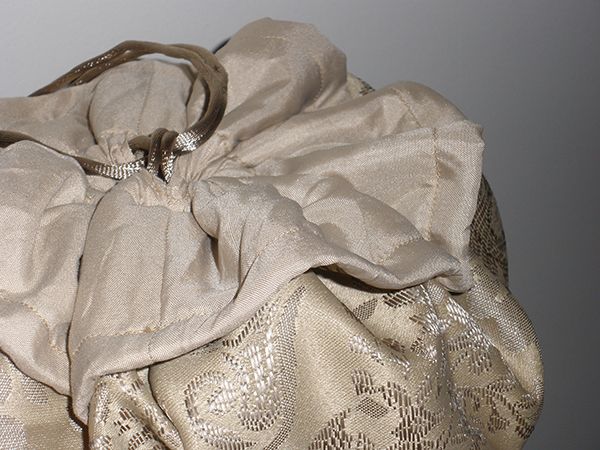
Bag detail: Top and Ruffle
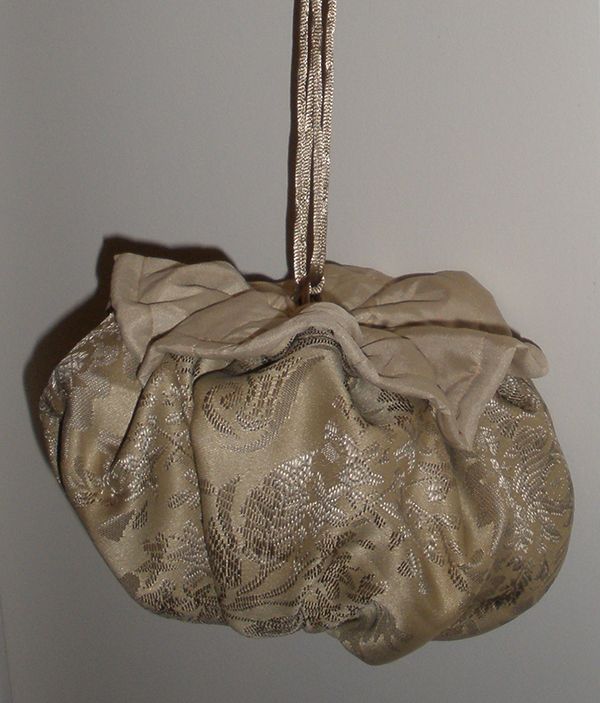
I found some instructions on the Threads website here (see this page for instructions) for an adorable drawstring bag. I am trying to be both thrifty and environmentally aware, and I had purchased a very pretty bedskirt at a thrift store, so I decided to try one of these in that fabric.
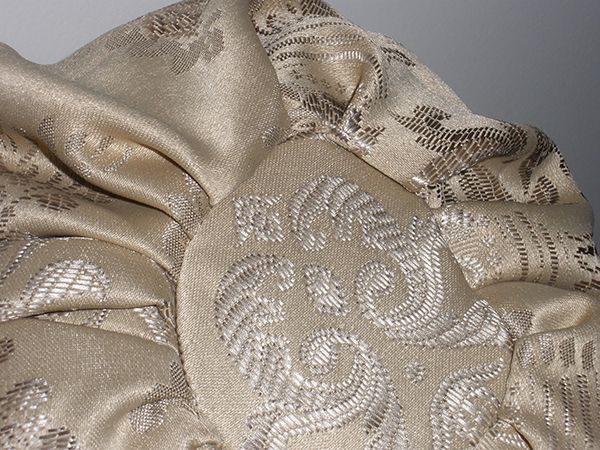
This bag, though it really is an easy bag, presented some particular challenges, which made it a bit more complicated than it should have been. First, the fabric frayed so badly, I was forced to stop what I was doing and zigzag every edge (I had already begun sewing some seams). Next, I decided that, for the sake of aesthetics, I really needed to line the bag to prevent further fraying inside, and to improve the look of the top ruffle. Thankfully, it was a large bedskirt (Queen or King, not sure which) which had a nice piece of fabric which lays across the bed under the mattress. I cut a bit off the flat part, and used that for the lining of the bag, which turns out and becomes the outside of the ruffle.
Also, the bottom of the bag was a bit challenging, as I had neglected to properly plan for attaching both the lining bit and the outer bit. The outside came out find, but the inside is a mess.
Finally, I had bought an old woven “disco” belt, with a shiny metallic gold leather end and (whatever-you-call-the-bit-that-attaches-the-buckle), made of a variety of white, cream, ivory and gold cords. Two of those cords were a perfect color for the drawstrings on this bag! So, I cut the belt apart, and extracted the two cords I wanted, then threaded them through the stitched casing.
Lots of lessons learned with this little bag, but it was still fun, and I think it’s adorable! Next time I make one similar to this, I’ll make certain adjustments to make the bag easier to sew up.


Your bag turned lovely. I’m sure the next one will be even better!
Thanks, GTD! :)