


Interlining the garment:
This is the third in the series on constructing the slit pocket for the fantasy fur jacket. See how to create a slit pocket and how to install a pocket bag in the first two posts. In this post, I’m going to show interlining the garment and finishing the pocket.
Interlining performs two functions here–first, it’s a sewing guide of sorts, imposing all of the stitching lines onto the section of fur.
It would be difficult to mark stitching lines on the fur itself, so I’m using cotton flannelette as the interlining. The other function here is warmth–The extra layer gives more insulation to the jacket. 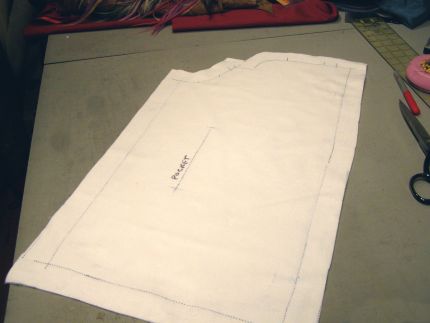
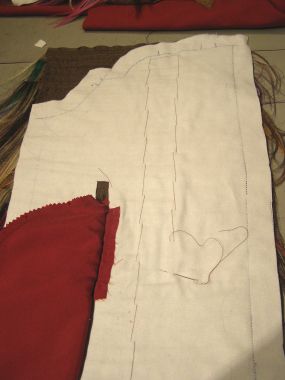
This photo shows the jacket front piece cut out, with stitching lines marked in tracing carbon. You can see the pocket placement marked on the flannelette as well. 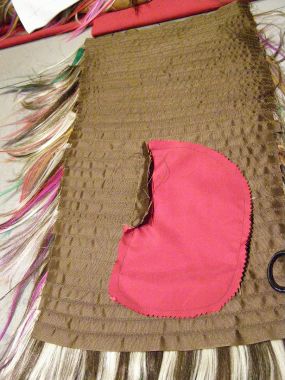
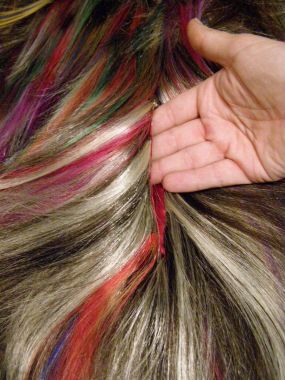
Here is the garment section we completed in the previous post, ready for interlining.
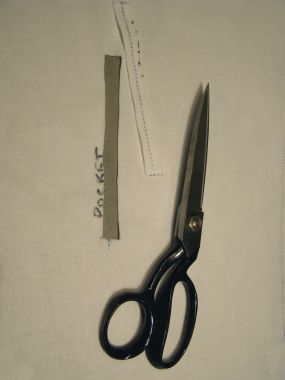
Cut out the pocket opening on the interlining–the width of the opening is 3/4″ or so, the length is 1/2″ longer than the pocket opening itself. 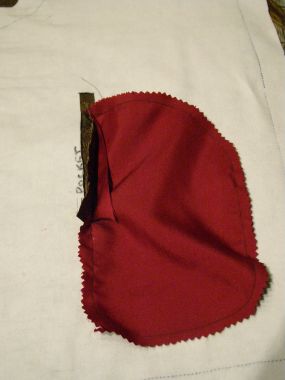
Slip the pocket bag through this opening. 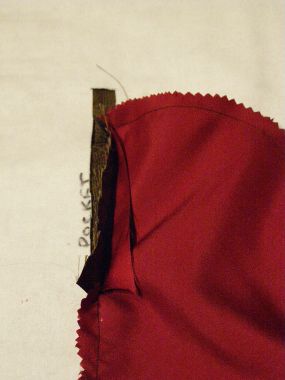
Pull the seam allowances through the opening as well. 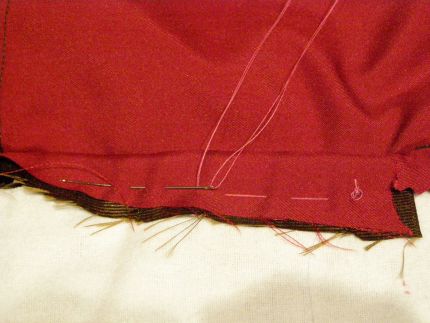
Stitch the seam allowances of the pocket opening to the interlining.
Next, tailor-baste the interlining to the back of the fantasy fur. These will be permanent stitches, so use thread that matches the ground fabric of the fur. These rows of stitching are 1 1/2″-2″ apart. 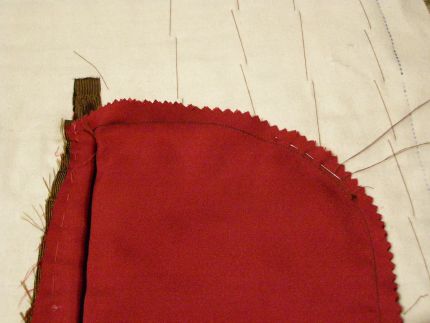
Now you can secure the pocket bag into its final position by sewing it to the interlining. 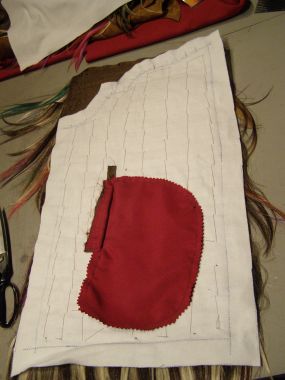
Here we have the completed garment section, ready for cutting. You can now cut the fantasy fur, to the cut edges of the interlining seam allowances to remove excess fur.
Sewing the garment seams:
We will be showing the sleeve construction…
Start your 14-day FREE trial to access this story.
Start your FREE trial today and get instant access to this article plus access to all Threads Insider content.
Start Your Free TrialAlready an Insider? Log in


I have been watching this construction with interest. I have wanted to expand my sewing in the area of leather and fur. I have found it difficult to find much information on sewing fur. Do you think some of these techniques would transfer to working with real fur? One thing I have learned working with fur...I do not recommend wearing lip gloss while sewing fur! It attracts it like a magnet! How did you deal with the mess from the fantasy fur?
This information translates well to fur, both real and fake. With fur, there are different ways to handle different seams--I give a class on Patternreview.com about fur, and, as a teaser, I'm working on an article in an upcoming issue of Sewstylish on sewing fake fur.
In future posts, you'll see some information on working with leather, as the yoke for this jacket will be leather, with lacing. So stay tuned.
As for the mess, that's part of the challenge. I cut the fur from the back with a really sharp fur knife. A sharp exacto blade or single-edge razor blade works as well. Cutting from the back minimizes the amount of pile you lose. If you're in any way sensitive or allergic, a kerchief or dust mask over your nose is recommended.
Also, keep the vacuum cleaner right by your side--after you cut a piece, vacuum the edges of that piece and any of the nap that comes loose. This will minimize the amount that will get stuck to your lip gloss/up your nose/stuck to your facial hair (in my case). Take those few moments to vacuum while cutting, then vacuum again after cutting, and you'll have less mess to deal with.
Kenneth---That faux fur is gorgeous. Any chance you can tell us who your supplier is?
Thanks
Beth
To Beth:
Work backwards in my posts, and you'll see one called Fantasy fur. I made the fur, actually...