


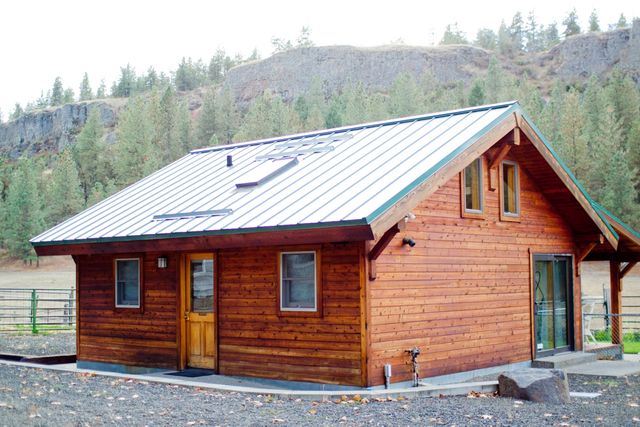
The former guest house that Katrina uses as a studio has almost too much window space! There are 5 sets of sliding glass doors and skylights. All the natural light is a boon, however, for an artist who works so much with color.
When I first approached designer and sewing educator Katrina Walker about being included in the Threads no. 159 story, “Sewing Spaces that Work,” I didn’t realize the wealth of images and ideas she would have to share. Katrina and her friend, professional photographer Samantha Cabrera, sent far more material than we could fit into print. Here, I wanted to share a more detailed version of Katrina’s thoughts on studio space and organization, and more photos from her lovely farm and workspace. If you would like to more photos of Katrina’s cute sheep, visit her farm blog at RoseButteRanch.Tumblr.com.
Thoughts about Studio Layout and Organization
The smallest space I’ve worked in was a bedroom closet. I took the accordion doors off the front of the closet and the clothes rod out. I jung a curtain instead of the doors because it took less space. An office surplus desk that was shallow but long fit the space well; the pen drawer worked great for bits and pieces like bobbins, extra sewing feet, etc. Three large drawers to the side provided more storage.
A cubicle-style under-shelf fluorescent light was bolted onto the underside of the closet shelf for lighting. The side wall on my left had a cork bulletin board for pinning up pattern instructions. The other walls had pegboard for storage. Fabric storage was on top of the closet shelf. Layout and cutting was done on the living room floor. It was a very small duplex!
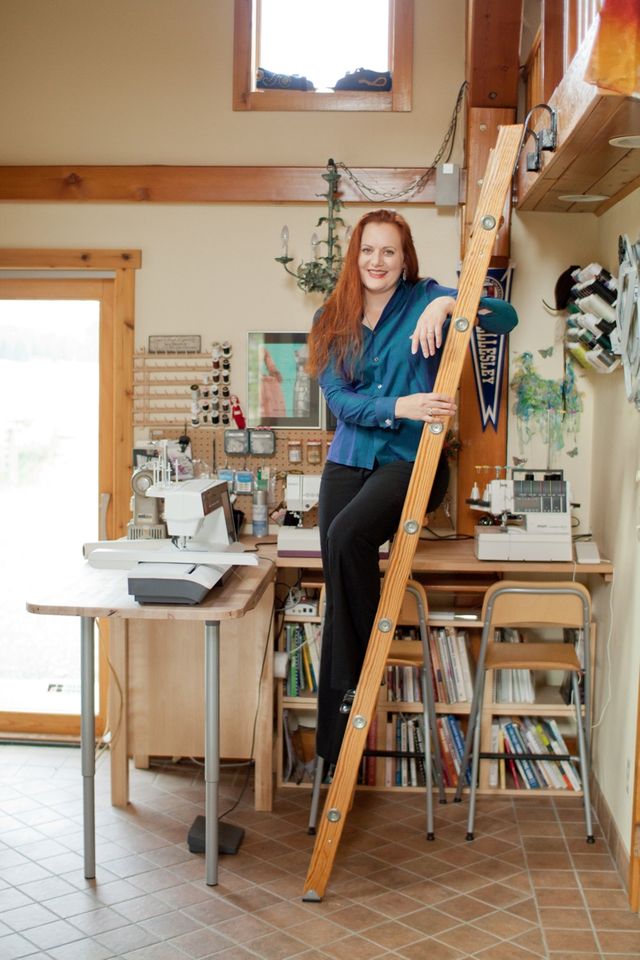
My current studio is definitely the largest workspace I’ve had. The layout is unusual so it does not offer as much open floor space as the size might suggest. There are five sets of sliding glass doors; I have chosen to curtain off two of them entirely and half of another two to create more “wall” space.
I do think that layout design/organization is as much or more important than square footage, as you can always get creative with folding cutting tables, etc. I’ve even had tabletops that sat on top of a twin bed before.
It was built by the previous owners to be a guest house/multipurpose room. What was originally a sleeping loft is now storage, and the space above the bathroom has also been converted into a storage loft. A former sauna room has been made into a small but convenient and functional office space just big enough for a desk and a couple of small bookcases. Of course the office walls are utilized for button storage bins as well as cork and white boards for noting deadlines and pinning up pieces of inspiration.
While it is great to have more space, it is possible to have too large a workspace for efficient sewing. No matter how large or small your space is, it needs to be arranged in such a way that related activities, such as sewing and pressing, are close together for convenience and efficiency. A sewing space is like a kitchen; if you have to move too far between functions you are wasting time – and space. Of course, there is no such thing as too much storage!
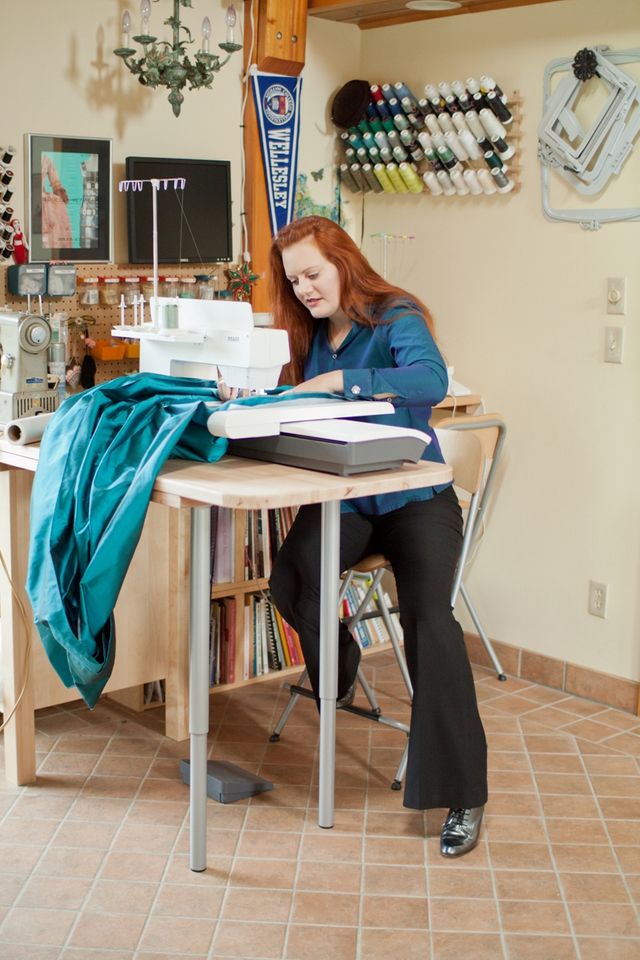
The most important thing about your studio furniture is that it fits – your body, your space and your work style. There are many wonderful pre-made sewing cabinets and systems that are available and may work well for you. In my case, at 5’10” I am much taller than average for a woman, and so these cabinets are the wrong height for me.
I also chose to use Ikea freestanding kitchen cabinets and countertops for my work areas, as I like to be able to either stand or sit (on a tall stool) at my machines. Being tall, this setup is easier on my body as standard sewing equipment is too short and since I spend more time at the pressing table than sewing chair, it also saves wear and tear getting up and down.
I find that I spend a lot of time moving back and forth from my sewing machine to my pressing or work table. I know that many solve that problem by having a small pressing surface near their sewing machine. I haven’t had a workspace that fits that configuration well and I prefer to move around. Because my main issue is getting up and down from a chair, I chose to use freestanding kitchen cabinets and countertops for my main sewing area. They are high enough to allow me to either sit on tall stools or stand at my sewing machines. And they have proven to be very flexible in terms of adapting to new work spaces. I recently moved into my current studio and did not need to purchase or discard any furniture; simply rearrange it.
Organization is the most important part of studio design. First of all, you must be able to find what you need easily and accurately. Hardware stores are a great place to find sewing organizational equipment. My theory is to get everything I can onto the walls where I can see it. So pegboard is a must. I have pegboard thread racks I’ve found at store fixture sales, but I also use a lot of hooks. I have over 500 mini-cones of embroidery thread; I organize them by thread color number.
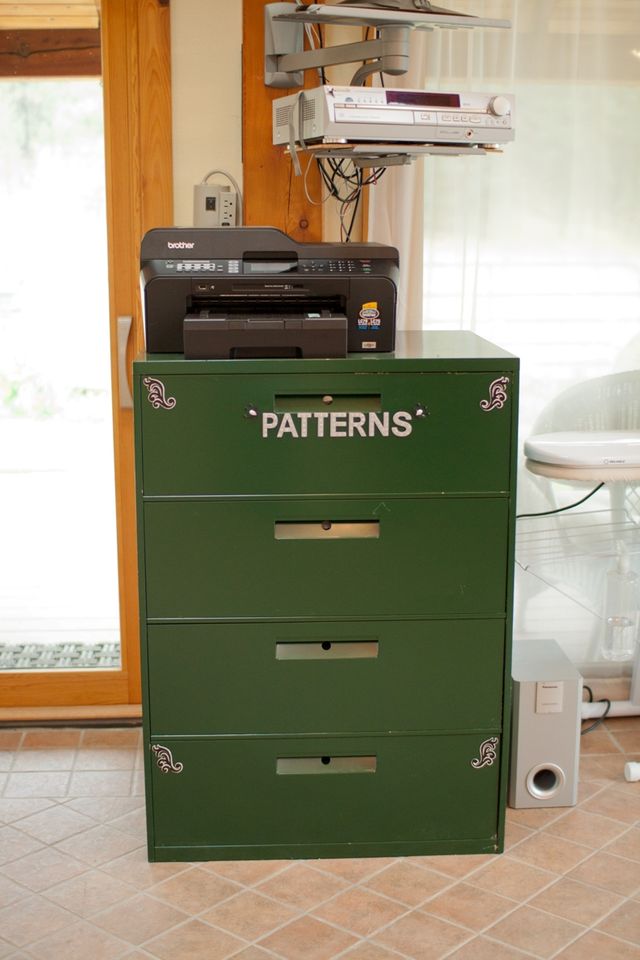
It’s the simplest system and makes it easiest for me to find a particular color using my thread charts. Pegboard hooks designed to hold various tools easily adapt to hanging scissors and various other tools. I keep my needles and presser feet in small pegboard bins and jars. My button collection is housed in nut and bolt organizers. So many drawers! They are easy to hang on the wall and inexpensive as well.
If you can’t put it on the wall and must use a drawer or bin – label it. My family teases me about this, but I find that labeling drawers, etc. makes sure that I can find what I’m looking for and, just as importantly, I can put it back where it belongs. It’s also helpful when I am working with a student in my studio; they can find tools much easier. Under every countertop and table is the potential for more storage. I have a bookcase tucked under my sewing workbench. It’s shallow enough that I still have enough room for my foot pedal. I sit at, rather than under, my bench, so this works well for me.
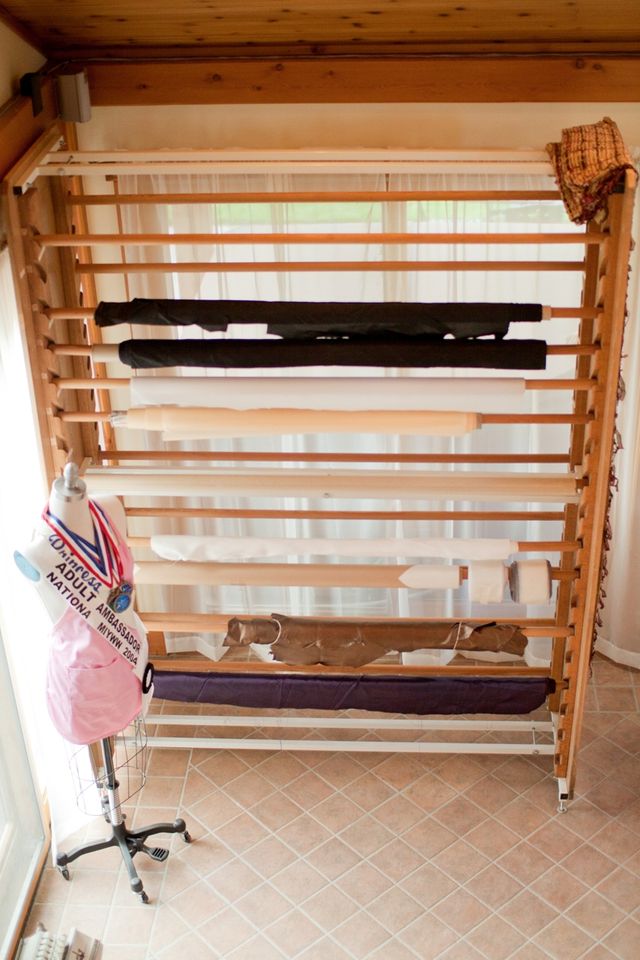
For fabric storage, I prefer to use clear bins so I can see what’s inside. And yes, I label them! I sort my fabric according to fiber primarily – silk, wool, cotton, etc. and then by fabric type – sheers, satins, crepes, suit weight, coating weight, knit, etc. In talking with friends I find that fabric organization is a very personal thing. Everyone has a different system. The only thing that matters is that it works for you.
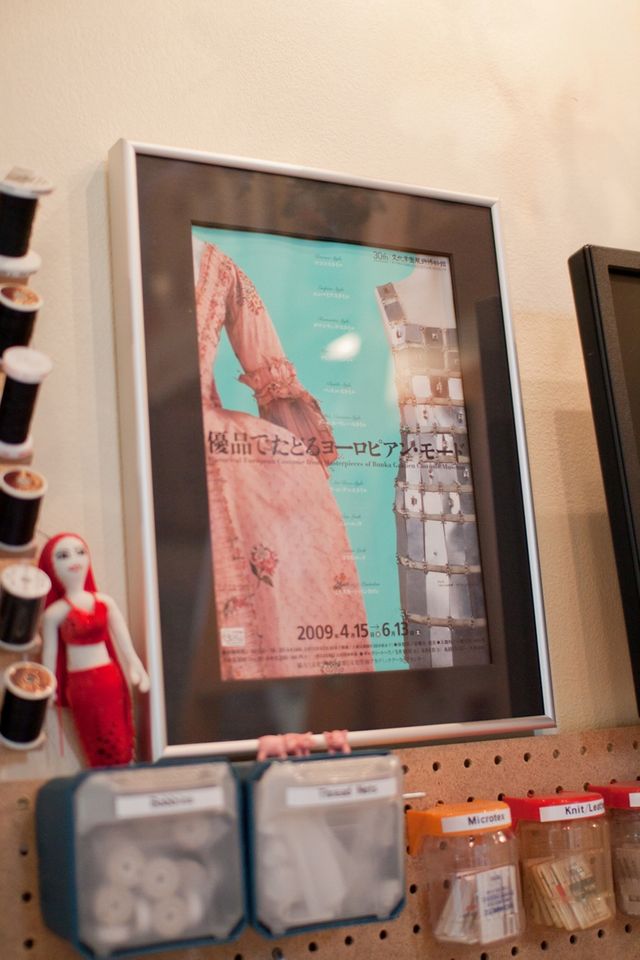
As for studio décor: To paraphrase William Morris – do not have anything in your studio you do not know to be useful or believe to be beautiful – or find amusing, in my case. The ideal studio space is one that inspires as well as empowers your work. I prefer to hang some of my favorite textiles on the wall where I can see them rather than just store them away. They may never see a pair of shears – and that’s okay, because they inspire me every day.
I love having my threads and other tools on display; it makes me want to use them. Other items, such as my little red stuffed mermaid provide no useful function whatsoever, but they make me smile and that lowers stress and makes me enjoy my workspace – which actually is pretty darn useful after all.


I love reading about others sewing studio's/spaces. I think it is really cool that you have sheep and you use their wool to weave and use in a knitting machine! I have a knitting machine, but don't have any space to have it set up right at the moment. My sewing room went from a somewhat small bedroom in our upstairs to a much smaller room downstairs (to save me from having to go up and down the stairs so often, to save my knees and back). I have much less wall space in my new space, so that has had a great impact, wall space is a great place for storing things! But in this room I do have a full lenngth (the full length of the room) size closet that has had the doors removed and my husband installed closet organizers to my liking and I use this space to store my clear fabric bins, my pattern boxes, my threads. This pas several years is the first time I have actually had a real room for sewing and it is a great privledge! Thank you for sharing your space with us.
I would like washable covers for my cutting tables, and a husband that does not put his "stuff" all over the said covers. He brings in a lot of dirt with his "stuff". Vaccuum cleaner and lint roller at the ready. Not to mention the four footed pattern weight I use occassionally. She leaves bits of fur behind, that are vaccuum cleaner and lint roller friendly. She can easily leap onto the cutting tables, and observes her kingdom from there.
When we renovated the entire upstairs turning it into the master suite, I took over the former master bedroom downstairs for my sewing work space. The only changes I might make are: more ceiling lighting as it is a large space and I use it all; a better area for my serger so that I would not have to be moving it for use. I have a long credenza I found at a resale shop that is perfect for sewing and has lots of storage including a couple file drawers for my books! I can only use one machine at a time as there is only one area for the chair so I have to exchange one machine for another. I think the ideal would be lifts that could move my machines down into the work table/desk for storage and it would be nice if it were in an L shape for me to move my chair just a little bit to use the other machine. My husband made me a large cutting table and I have many dressers for my stash and also a closet. I need to complete the painting of the room so I could utilize the vast wall space better. In fact, just writing this is encouraging me to complete the room and make it what I want! Thank you, Threads! I am pretty lucky but I can see that making some of these changes myself will help. Now maybe I could move things around a bit to utilize the good lighting I do have. Hmmmmmm.
I wish there was a better solution to putting a spot of light exactly where I need it. I am having more and more trouble working with dark thread on dark fabrics. Especially black on black on black which I can hardly see anymore even with my readers on. So I wear a head lamp (in addition to my readers), the kind you would wear while walking or working outdoors. Its not at all attractive but gets the job done. Sure I have the otto light, among others, but more things on the sewing deck don't make for a smooth operation. It would be really great if my readers had spot lights. Now that's an idea!
Besides the normal wish for more space, my ideal sewing room would have lots of daylight, room for storage, space to keep my embroidery, serger, and sewing machines out all the time, and most importantly, lots of flat surfaces for laying out fabric, cutting, and pressing.
Right now I live in a very small house. I use a combination step stool/flip iron for most of my pressing, and part of the dining table for rotary cutting. I really have nowhere to lay out anything bigger. My project boxes used to stow projects and fabrics share space with bookcases in a dimly lit area in what used to be a garage. I do have an Ott Lite I can move around as needed, but oh, how I'd love a larger space with flat surfaces!!
One of the requirements when we were looking for a house several years ago was that I have a designated sewing space, out of the "public" areas. What we bought has a half-basement, half-crawlspace. My sewing room is the basement part, and the crawlspace(where furnace and water heater are) is used for storing all that Christmas/Easter/Halloween stuff,is separated by a moveable wall. We have 2 8'"church hall" tables in there, at right angles, where my machines are. We got kitchen base cabinets from Home Depot; 4 regular (2 drawers on top with doors underneath) and 2 drawer-only cabinets. In the regular ones I store rolls and/or bolts of stabilizer, freezer paper, pattern paper, etc. A drawer on each side(top center) holds pins, 6" rulers, scissors,etc., and other drawers hold zippers, tapes, snaps,knitting needles,etc. The bottom 2 drawers on one side are for my granddaughter's art supplies. We positioned them regular-drawer-regular, then did the other set back-to-back, and screwed all together, so it is a 4'x8' cutting table on top, which we covered with Pergo.The pins and scissors can't damage it :-) I have many shelf units and arranged them galley-style on one end, which holds fabric and creates a room divider of sorts. A couple of bookshelf units that my husband built for our daughter and her college roommate are now re-purposed as mine, and they back up to the row of shelves, also as part of the room divider. We have bought a pegboard sheet for some of my notions(those not residing in their designated drawers), just have to get it hung up yet. I have several shop-lights around(with the true-color bulbs), and some of those desk-lamps. There is a television on a high shelf within my line of sight when the quiet gets to me, and also a stereo, so I don't feel like I'm being banished to the dungeon :-)We found some button racks (4 small, one that is a floor model and spins)at a sewing store that was throwing them out. I bought an old upright pattern cabinet about 25 years ago from a store that was closing; one of the best $25 bucks I've ever spent! I have a couple of small windows but would really like more natural light(the hazard of being in the basement, I know).
I loved reading about the three different sewing studios and all the wonderful ideas. I do craft shows and have accumulated enough fabric over the years to have my own fabric shop. Before crafting, I made all my own clothes and some for friends and family. It was easy to contain all my supplies in a little toy chest. Those were the days! I now have a small bedroom as my sewing room. It is cheery and bright with good lighting thanks to the Ottlite company. On the plus side, my sewing machine and serger are well positioned and there are some good storage units. However, there are some drawbacks. I would love to store my supplies together, even in another area, instead of all over the house, plus I wish there were enough space in the room to open up my cutting table to its fullest and to keep my new (and heavy) steam iron system up all the time. Still, I do keep my creative juices flowing, and that is important.
Hi , I am building a shelf over my sewing machine and want to install a light on the underside of the shelf. What wattage of light would you recommend ? Should I buy a fluorescent tube? I am concerned about the heat being generated from the light . I also want a light that will be easy on my tired middle aged eyes ....any tips would be be much appreciated:)