
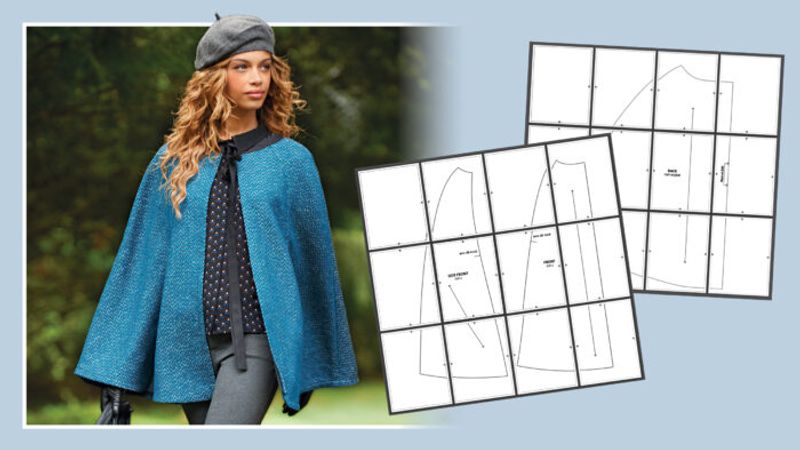
On a trip to Paris years ago, I saw a fashionable look displayed in nearly every clothing store window: the cape. Here’s how you can sew a chic cape for yourself. Many of the Parisian capes were long and had arm slits that went all the way to the hem, rather than a short opening at waist level. This type of opening allows your arms a full range of motion so you can hold your purse and get out your Metro ticket with ease. This tutorial and pattern give you the opportunity to follow that trend. It’s easy enough for you to whip up a cape today and wear out tonight.
Choose a lightweight wool material or heavy double knit for this cape. The fabric needs weight and structure but shouldn’t be too thick. Since the cape is not lined, the best fabric is equally pretty on the wrong and right sides. The seam allowances are finished with bias tape, so the inside looks tidy. Use a contrasting bias tape for extra panache. Click on View PDF below to download and print the pattern.
Cape sewing supplies
- You’ll need 1 3⁄4 yards 60-inch-wide fabric.
- 15 yards 1⁄2-inch-wide, double-fold bias tape.
- 3 yards 1-inch-wide, double-fold bias tape.
- A sewing machine needle for heavier woven fabrics, such as a universal 90/14.
Cut and sew the cape
Finish all the vertical edges with 1⁄2-inch-wide bias tape to keep things neat and pretty. Then construct the cape with four simple seams. Use a 5⁄8-inch-wide seam allowance unless otherwise indicated.
1 Download the PDF below and print the pattern. Assemble it according to the diagrams. This pattern is one-size-fits-all, but you can easily adjust it by adding or subtracting length, or adding circumference at the side seams.
2 Cut out the cape. Cut one back piece on the fold, two center-front pieces, and two side-front pieces.
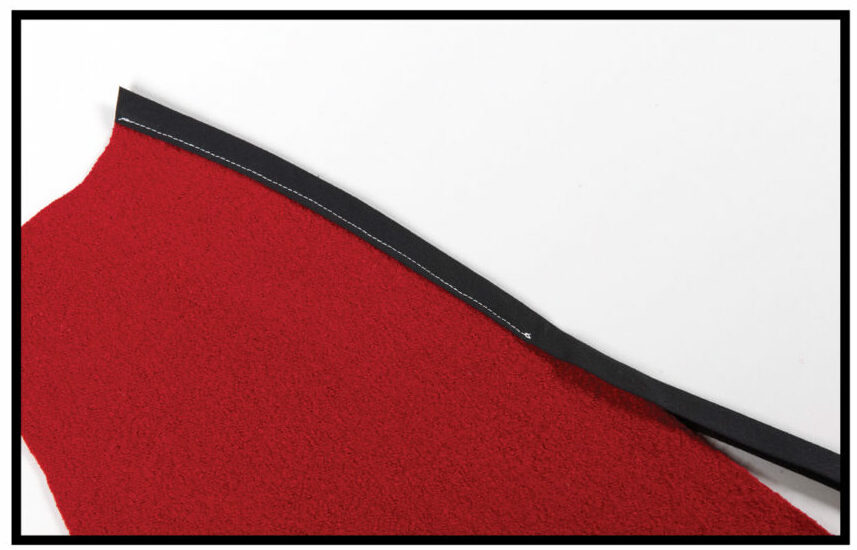
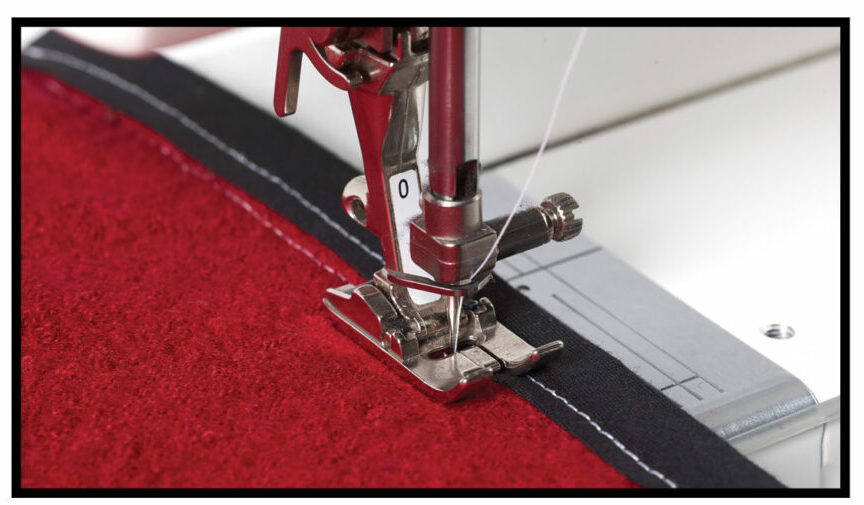
3 Encase the back piece’s vertical raw edges with bias tape. Stitch the bias tape in place, sewing close to the inside fold. Repeat on the side and front pieces’ vertical edges.
4 Sew the side seams. With right sides together, and bound edges aligned, join the side-front pieces to the back piece; press the seam allowances open. Press the curved seams over a pressing ham.

5 Sew the side-front seam. With right sides together, stitch the center-front pieces to the side-front pieces. Start at the neck edge, and sew down to the slit mark. Reinforce with a backstitch at the bottom of the stitching. Do not press the seam allowances open.
Finish the edges
Bias binding ensures that every edge of your cape is clean and looks elegant.
1 Bind the hem with bias tape. Use one long strip for the side-front/back unit and two shorter lengths for the center-front pieces.

under 3⁄4 inch, and topstitch.
2 Fold the hem under 3⁄4 inch, and press in place. Topstitch the hem, sewing close to the bias tape’s bottom edge.
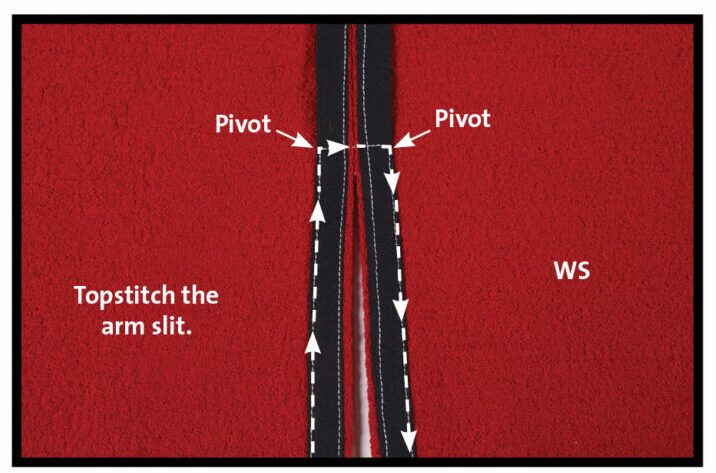
3 Press the side-front seam allowances open. Topstitch the arm slit, stitching along the bias tape’s inside edge. Start at the hem, pivot at the top of the opening, and return down the other side to the hem.
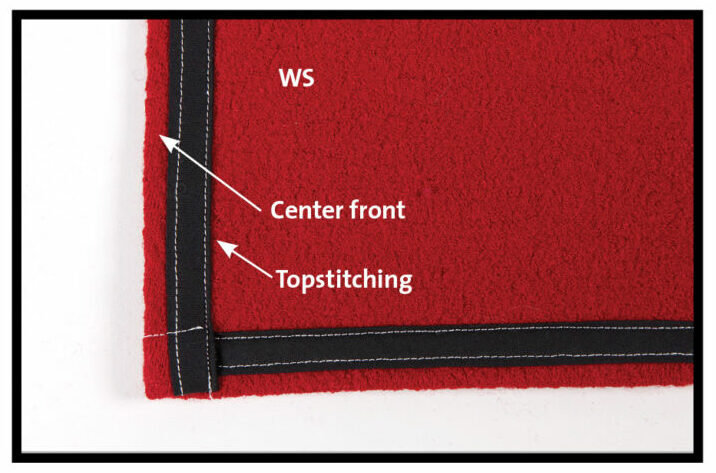
4 Hem the center front. Press under 3⁄4 inch on the center-front edges. Topstitch in place, stitching along the bias tape’s inside edge.
Tie it with a bow
Finish the cape with a sweet bow. Bind the neckline, and make the tie with 1-inch-wide bias tape cut 90 inches long.
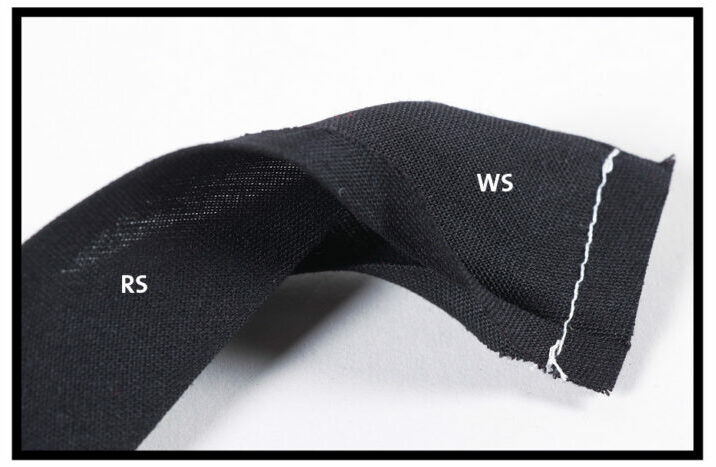
1 Unfold the bias tape a few inches at the end, and refold with right sides together. Stitch the end closed with a 3⁄8-inch seam allowance and trim. Turn right side out, fitting the folds back into the tape, leaving a clean-finished end. Repeat on the opposite end.
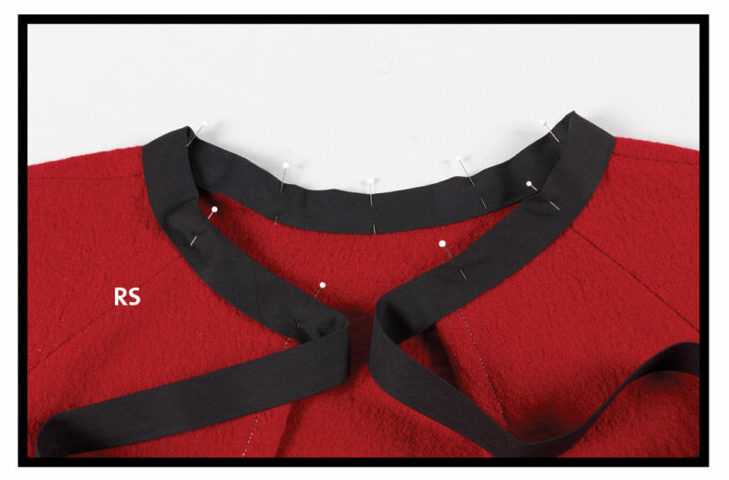
2 Encase the neckline with the bias tape. Match the center of the bias tape with the neckline center back. Pin in place around the neckline, letting the excess bias tape extend beyond the neckline’s front edge.
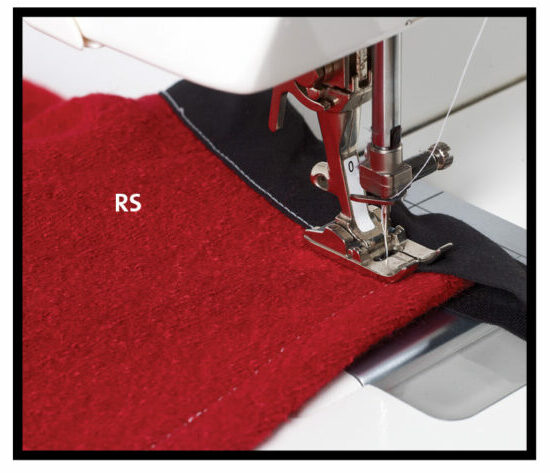
3 Starting at one end of the bias tape, edgestitch the long edges together. When you reach the neckline, continue stitching along the edge, securing the bias tape to the neckline. Continue off the neckline to the tape’s opposite end.
Famous capes
Capes are important garments to some of our best-loved characters.
|
|
Guinevere
The love of King Arthur (and Sir Lancelot) is a darling of legend. Beloved for centuries, she is always pictured as poised, stately, and beautifully dressed. |
|
|
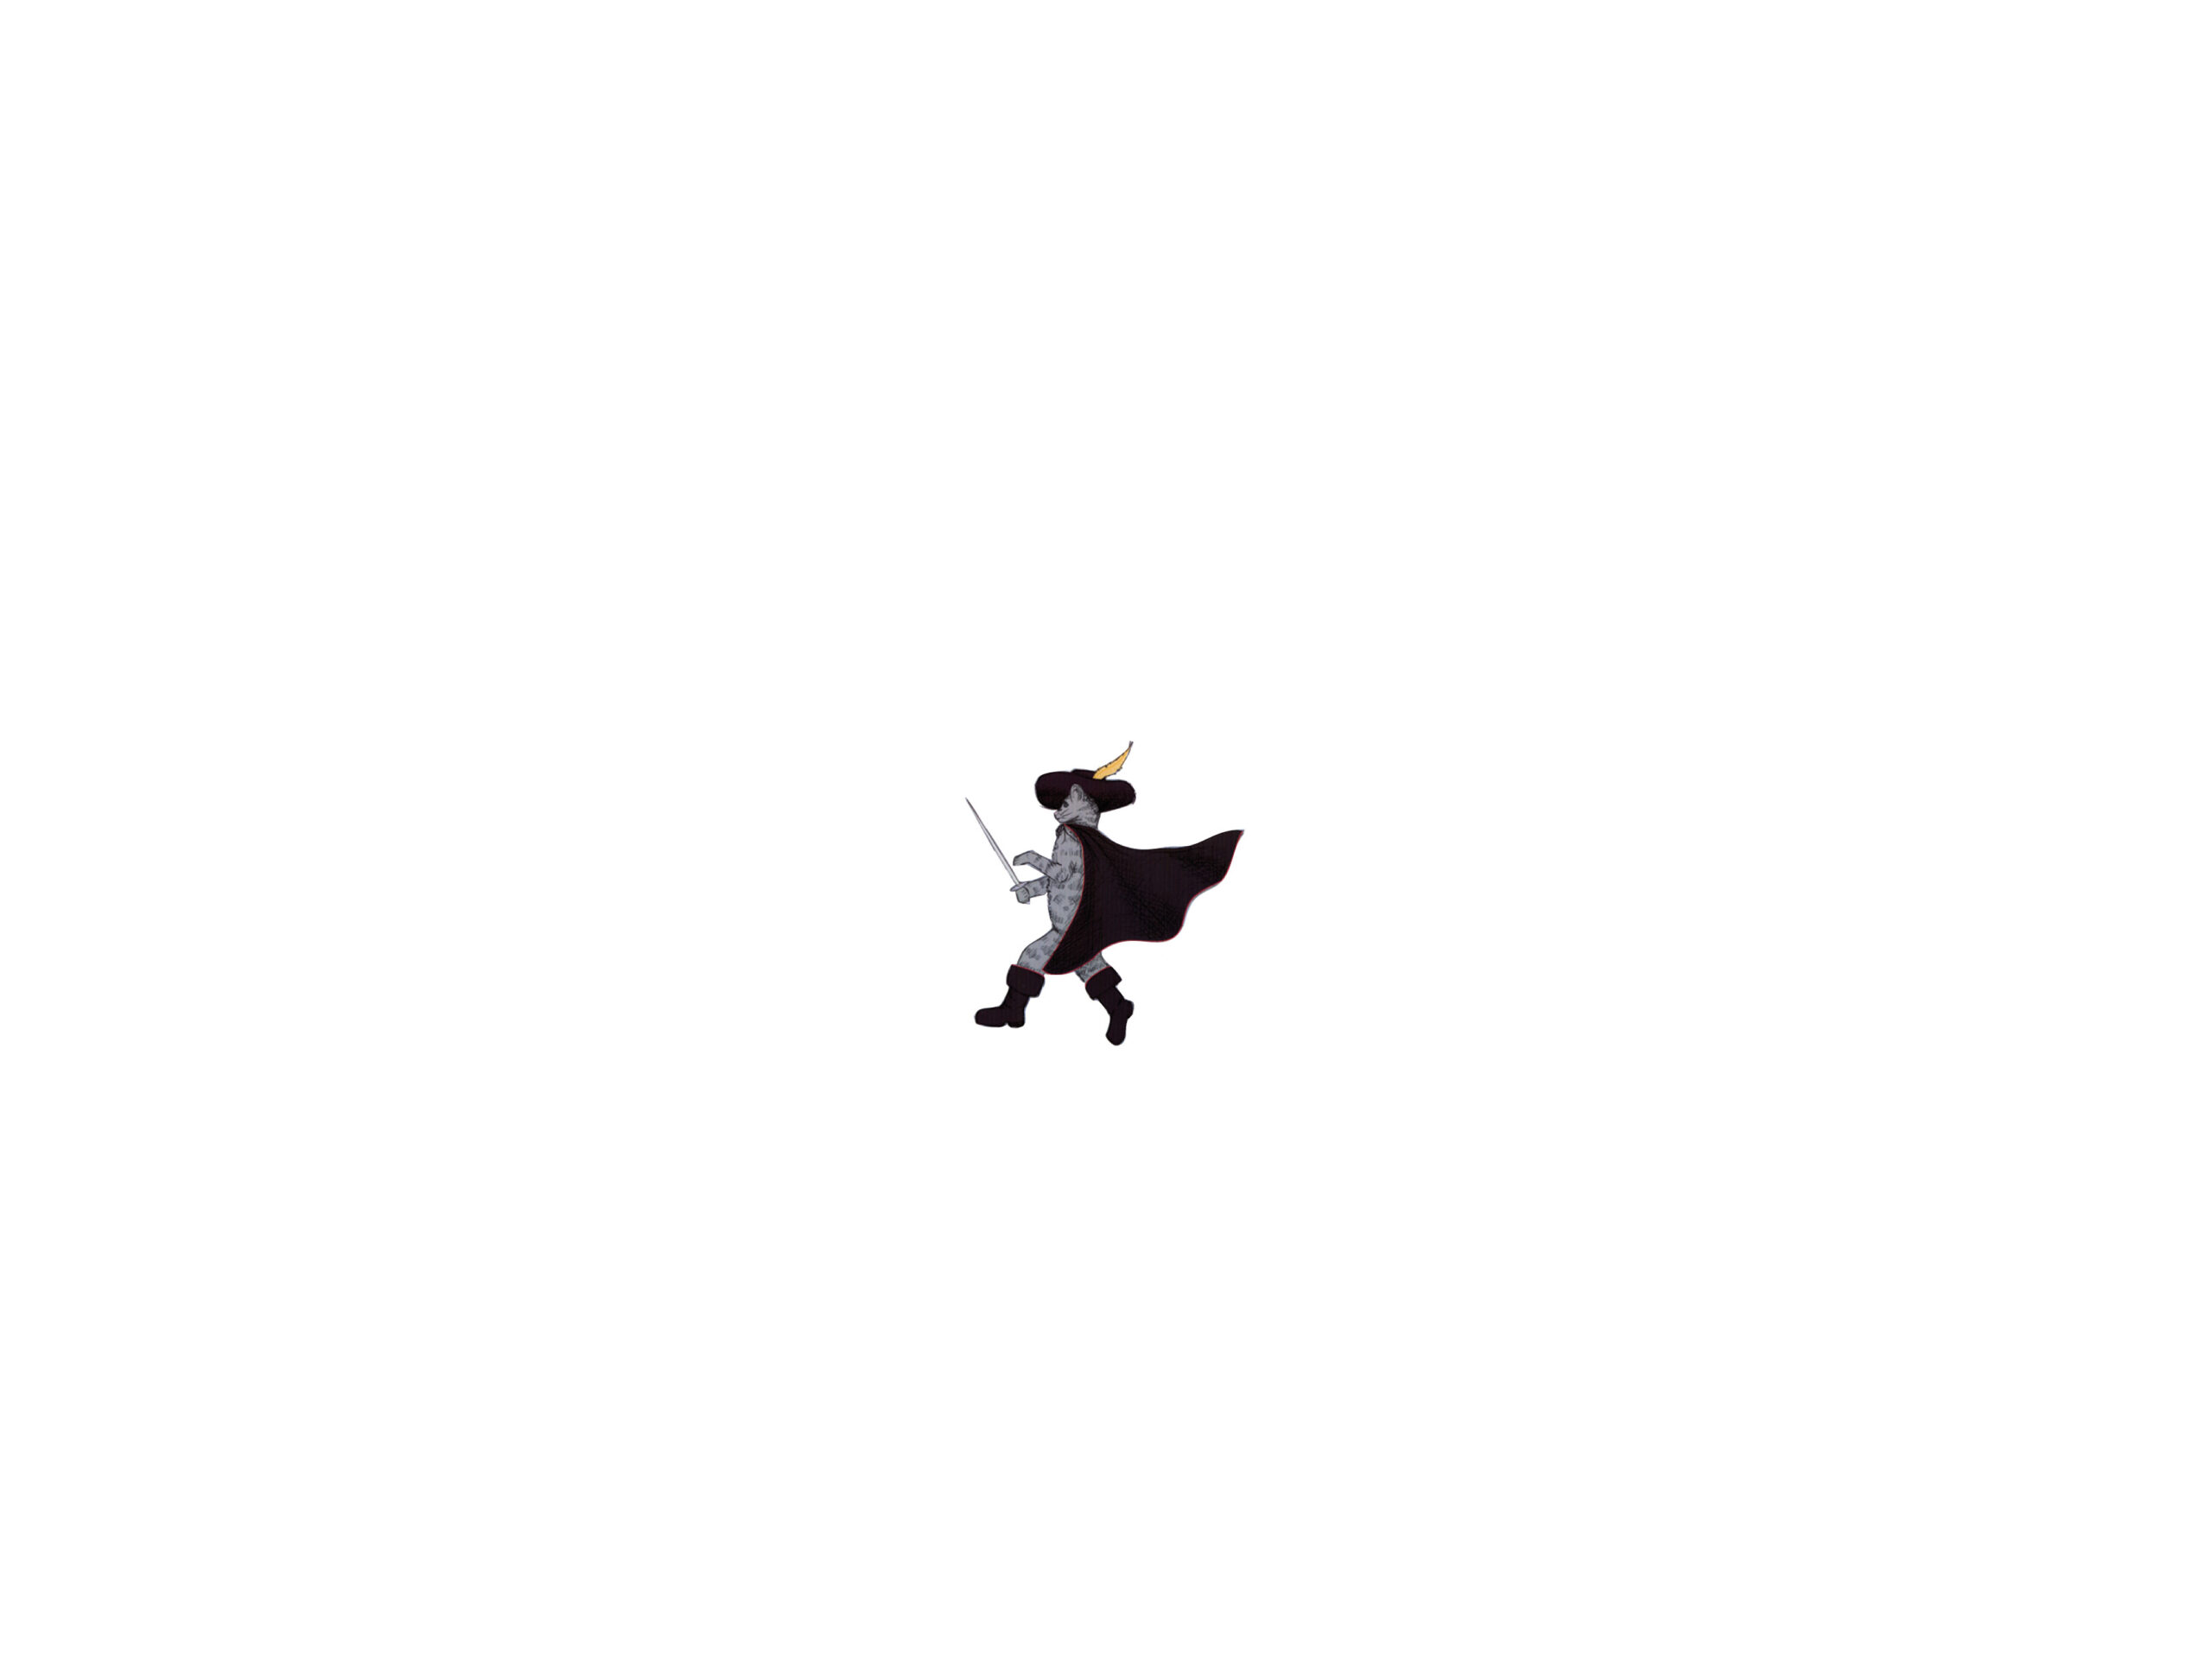
Puss in Boots
A cunning hero, Puss in Boots comes to the rescue! With a great fashion sense, including an awesome cape, |
|
|
Little Red Riding Hood
Sweet Little Red may have been deceived for a moment, but, in the end, she was saved from the wolf—and well-remembered for bravely trekking through the woods in a fabulous red cape. |
|
|
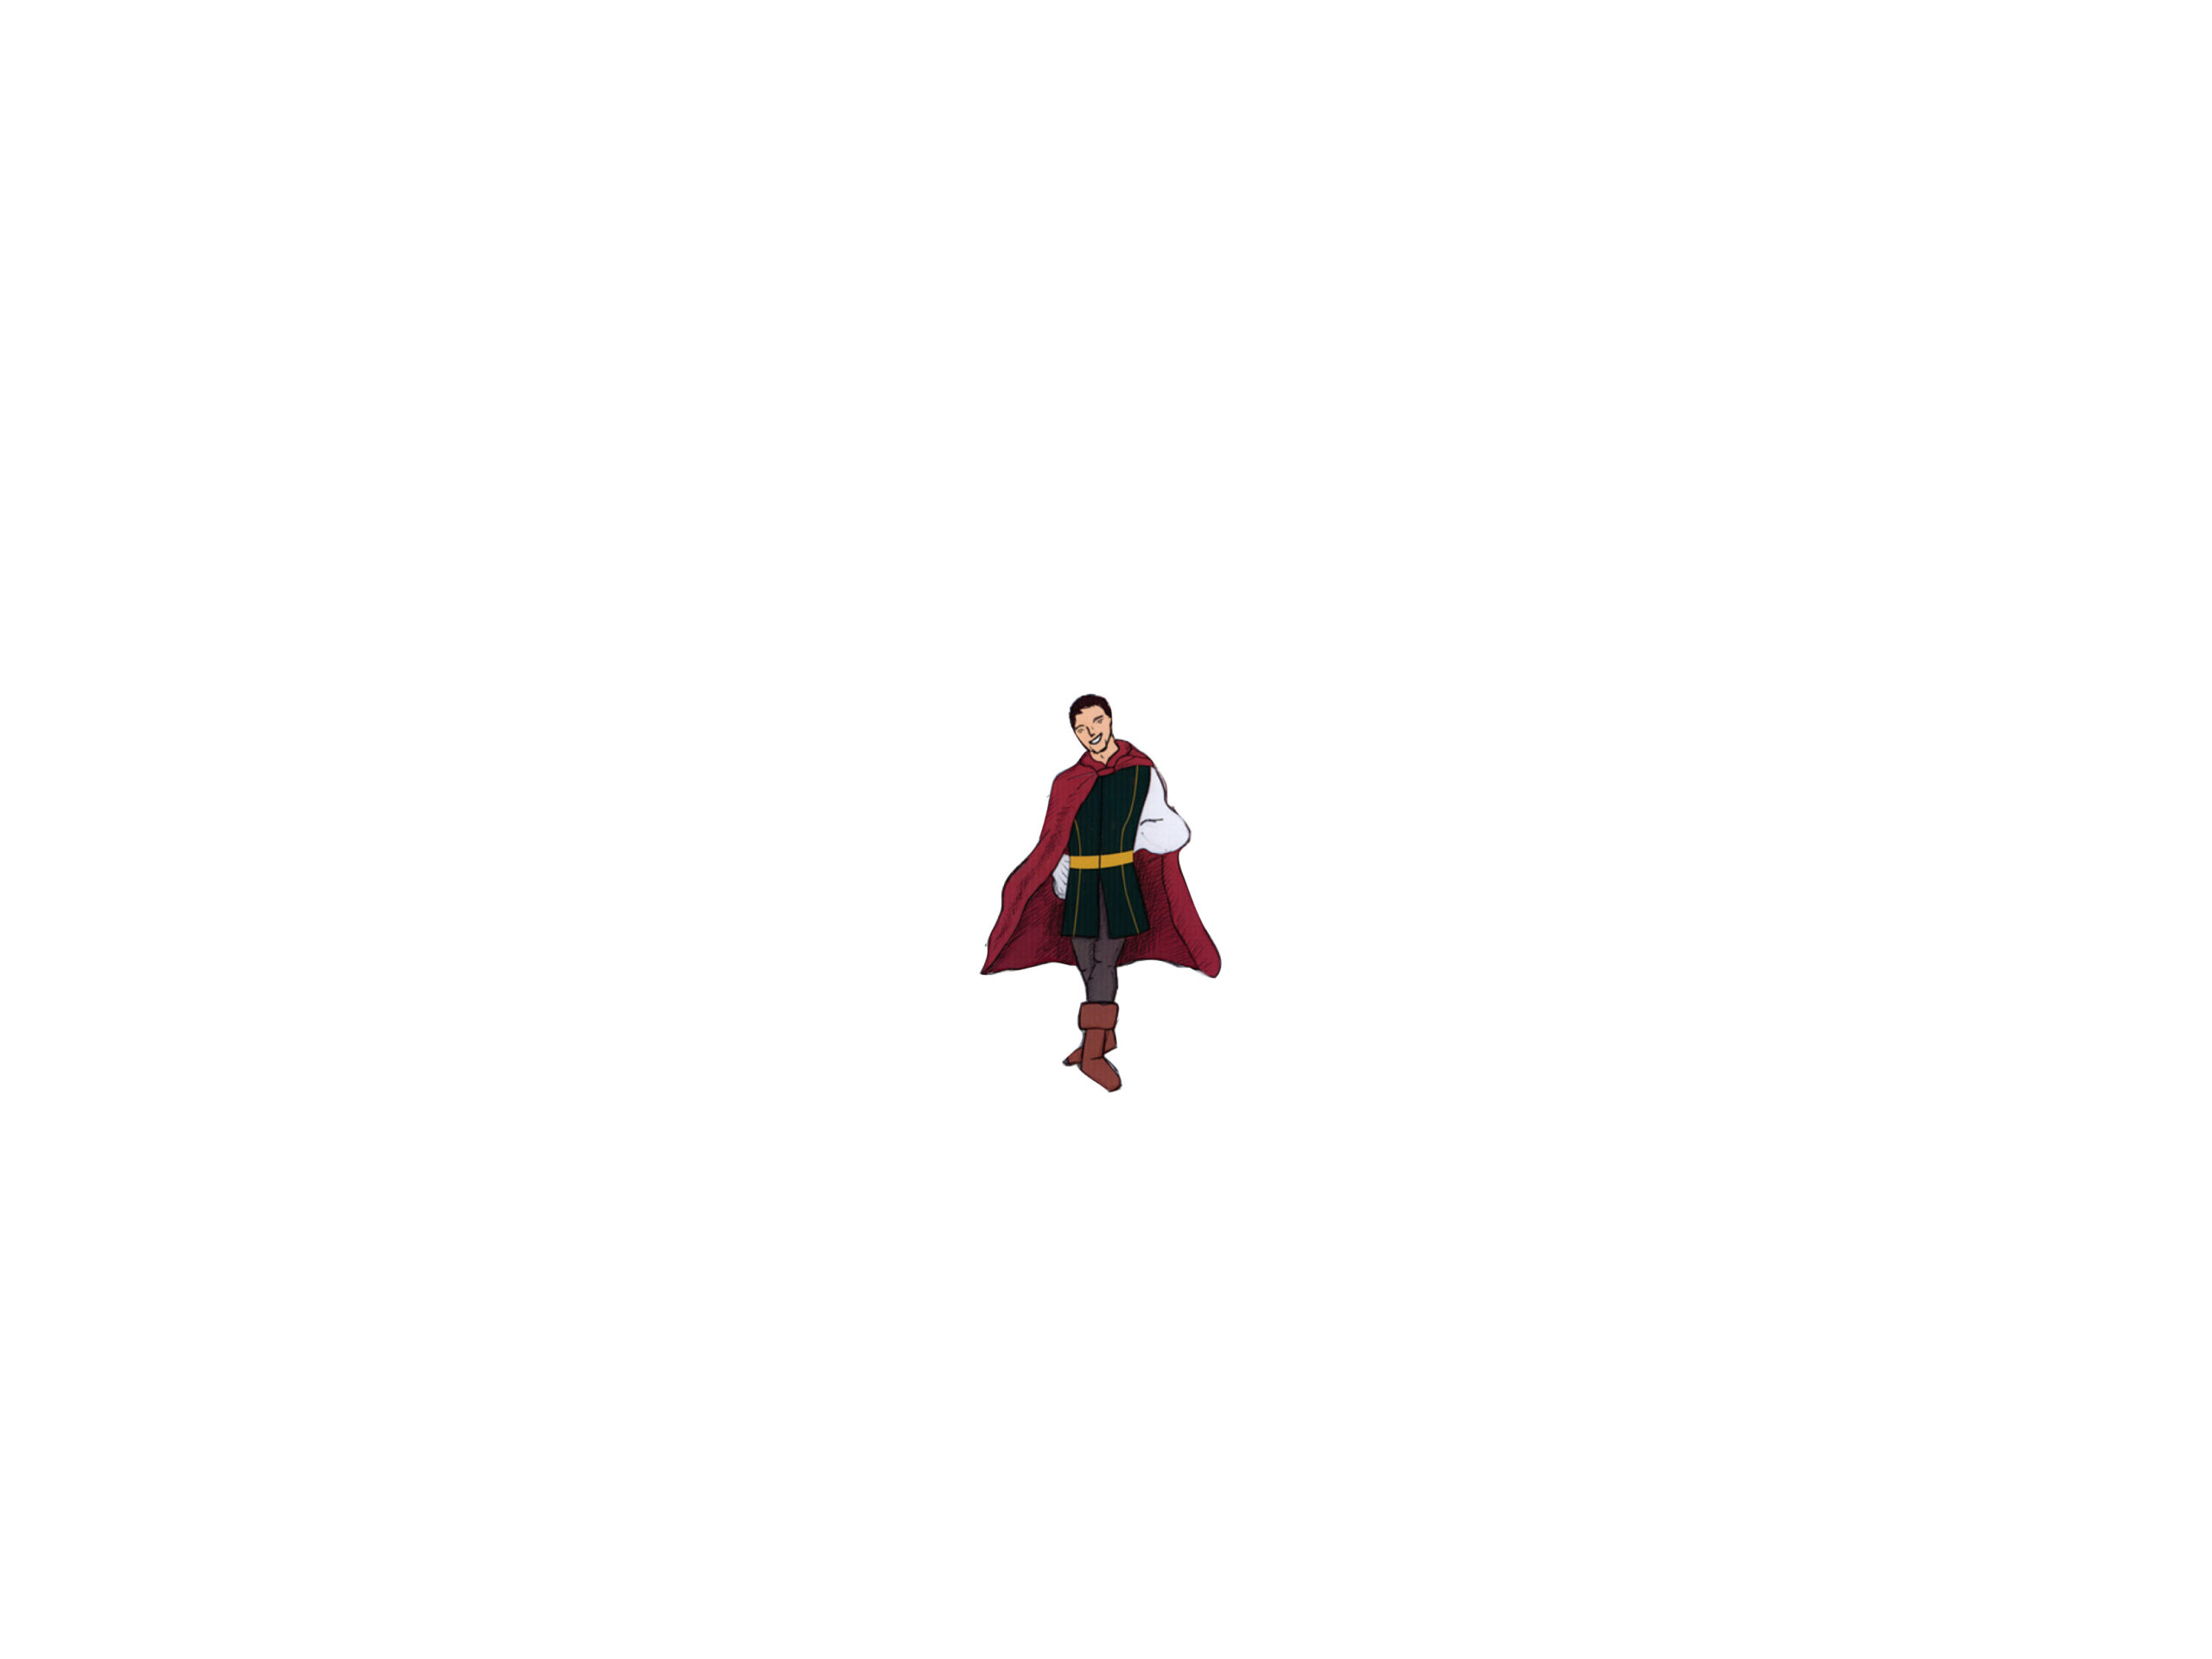
Prince Charming
You don’t know who Prince Charming is? He’s the dashing fellow wearing a regal cape that flutters behind him as he rides in on a white horse. |
|
|
Superhero
Everybody loves a superhero, who often sweeps onto the scene—with the help of a cape—to fight off evil villains and make the world a safer place. |


For more sewing projects, explore the site and check out our social media channels for inspiration and smart techniques from sewing experts!


There are no notches in the pdf linked and the side front piece is missing the grainline :(
We've updated the pdf to include a tiled, full-size printable pattern. The arm-opening mark and grainline have been added.
Carol Fresia, Threads Senior Technical Editor