

Some patterns set this pleat correctly. The grainline on a Burda pants pattern, for example, is usually positioned on the crease line. To make sure pleats hang directly down the crease line you can move the pleat until it is in the right place on the pattern tissue. To do this, cut a box around the pleat on the pattern and shift it until the innermost pleat is aligned with the front leg crease line. Tape the box into position and fill in the open space with additional tissue paper.
Create a stress-free pleat in fabric
Once the pleat is properly placed here is a great tip for sewing it.
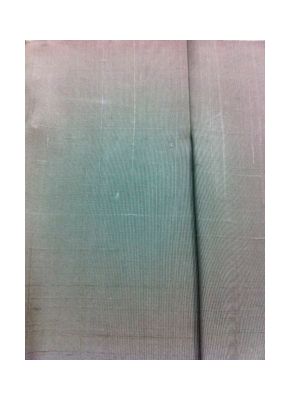
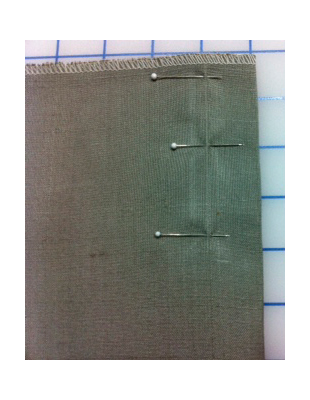
1. Use chalk to draw the pleat stitching lines and the crease line (3 vertical lines total) on the wrong side of the fabric. Press the crease line from the waist edge to the bottom tip of the pleat. Pin the 2 stitching lines together catching only a few threads of the fabric right on the line as shown.
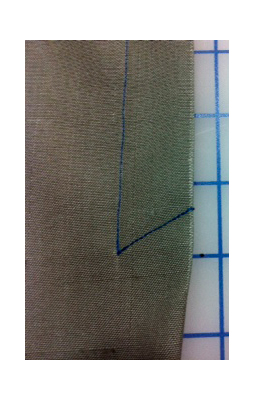
2. Stitch the pleat line by first securing the stitching and then sewing the pleat length. Stop sewing, with the needle in the down position at the pleat termination point, Sew 2 stitches in reverse and stitch back to the termination point. From here, pivot the fabric and sew two stitches toward the fold, and reverse stitching back to the termination point. Now continue to stitch toward the fold but at a slight angle as shown. Secure your stitching at the fold.
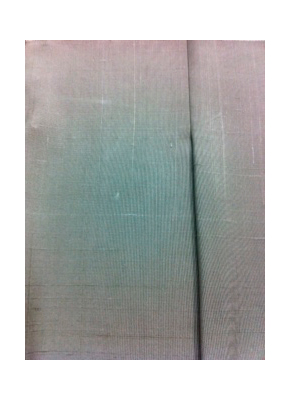
3. When the pants are worn, the stress of the pleat will now be evenly distributed along the horizontal stitching line instead of at the tip of the pleat.
Start your 14-day FREE trial to access this story.
Start your FREE trial today and get instant access to this article plus access to all Threads Insider content.
Start Your Free TrialAlready an Insider? Log in


Thank you, Louise, for doing it yet again!!! I always love your tips and tutorials, because you are always so easy to follow, and have truly excellent tips.
After I read them, I think, wow, how come I never thought of that!
I hope Threads keeps you around forever!! Or, at least as long as I am able to sew!!
Your number one fan,
Jean
I have not done pleats in a while! This tip for sewing sounds very interesting. How many stitches per inch do you recommend? When you pivot would you pivot at a 45 degree angle (about) and land all the stitches on top of each other? That is what it looks like in the picture but it is a little hard to tell. Would you recommend this method for a pleated skirt with multiple pleats? Is there a maximum or minimum pleat width that works best? I hope that isn't too many questions!
Thank you!
This is great! Is there a similar technique for box pleats?
Jordan
http://heavenlyprincess.wordpress.com
Great diagrams to explain your directions! I was in a class you had at the Lakeland expo but haven't tried one of your patterns yet. What do you reccomend as a1st? Thanks for your enthusiasm for sharing.