

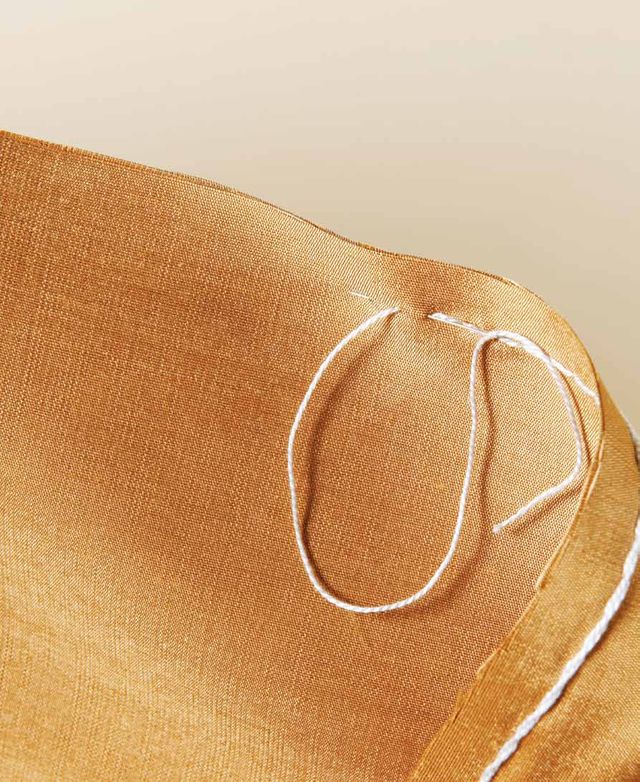
The backstitch is one of the strongest, most adaptable, and permanent hand stitches. It’s also a bulk-free knot replacement for the beginnings and endings of hand-sewn seams.
It’s called a backstitch because the needle goes into the fabric behind the thread of the previous stitch. By contrast, a forward stitch, usually called a running stitch, is made by inserting the needle into the fabric in front of the thread from the previous stitch.
The primary function of the backstitch is to join seams that require strength and elasticity. For some couture houses and Savile Row tailors, the backstitch is the preferred stitch for setting sleeves and joining the crotch seam on trousers. When setting sleeves, it’s easier to control the fullness of the sleeve cap and match the fabric pattern when sewing them by hand. For trousers, it makes the crotch seam slightly more elastic.
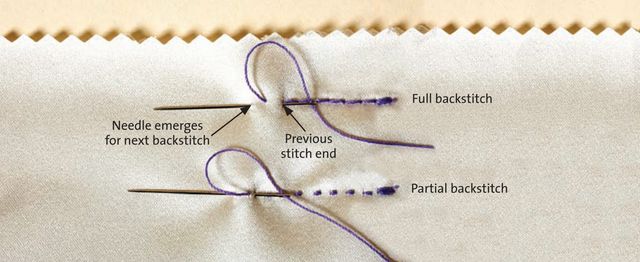
The backstitch can be sewn in two ways: as either a full or even backstitch or as a partial backstitch. The only difference between the two is the amount of space between the stitches on the right side. The full backstitch looks like machine stitching, which makes it very useful for repairing seams. The partial, or half, backstitch looks like a simple running stitch or a very short dash stitch on the right side. Sewn either way, backstitches can be varied in length and tension for a great deal of control.
Begin with back stitch basics
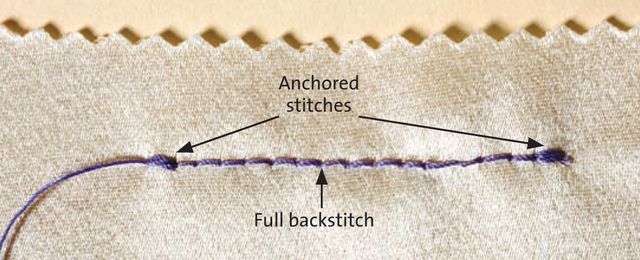
With the correct needle threaded and in hand, you are ready to practice the backstitch. You’ll secure or “anchor” the beginning and end of the stitching line by making additional backstitches in place.
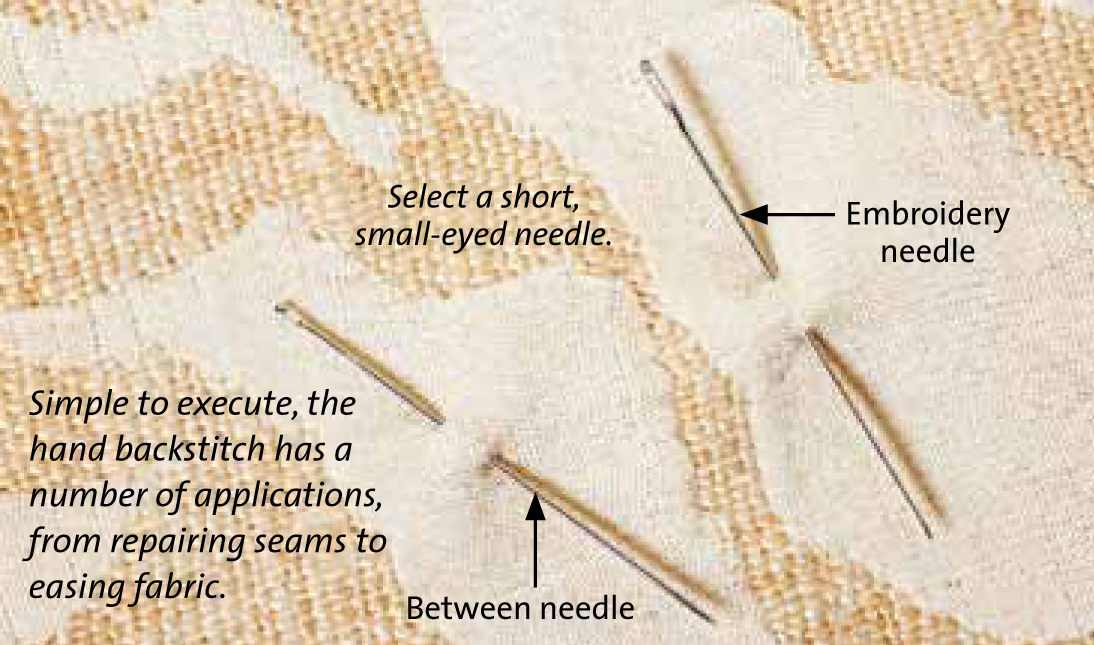
1. Select a needle. Since each stitch is made individually, use a short needle, 1-1⁄4-in.to 1-3⁄8-in. long. I suggest a between needle. The between needle, sometimes called a quilting needle, is used by tailors and quilters; it is short with a short eye. The crewel needle is sometimes called an embroidery needle; it is also short, but has a long eye. I prefer a small needle and usually use a size 9 or 10 to avoid making a big hole.
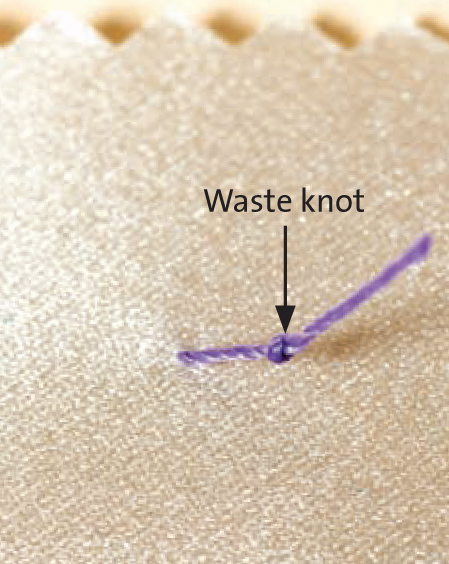
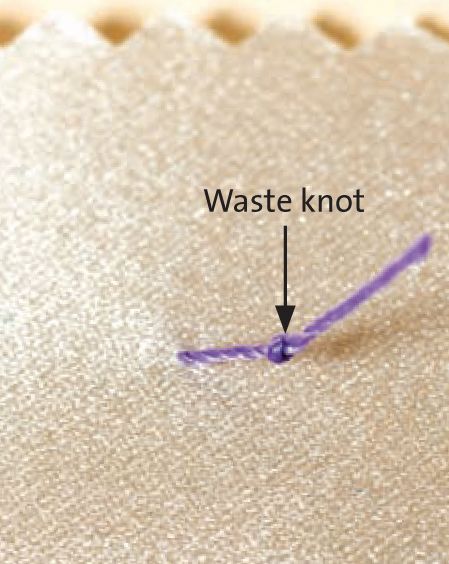
2. Begin with a waste knot to avoid pulling the unknotted thread through the fabric. It is a simple knot that is trimmed away after a few backstitches or when the seam is completed. Plan to work from right to left if you are right-handed. If you are left-handed, work from left to right.
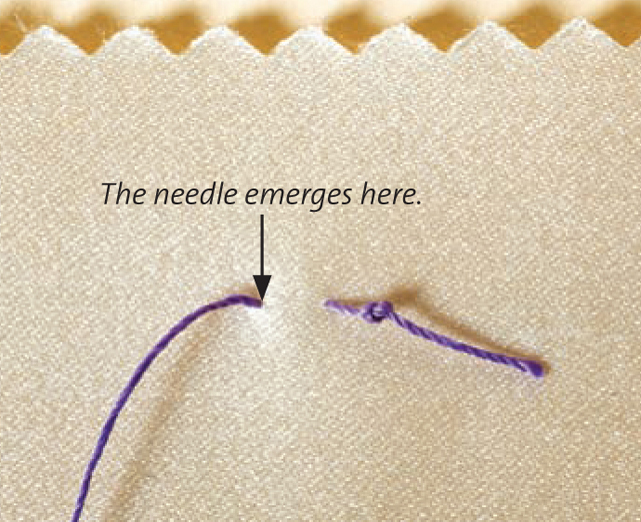
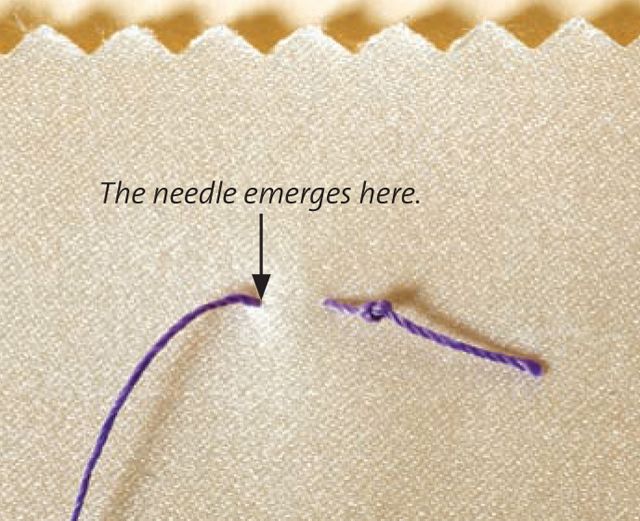
3. Bring the thread through the fabric about 1⁄4-in. to 1⁄2-in. from the waste knot.
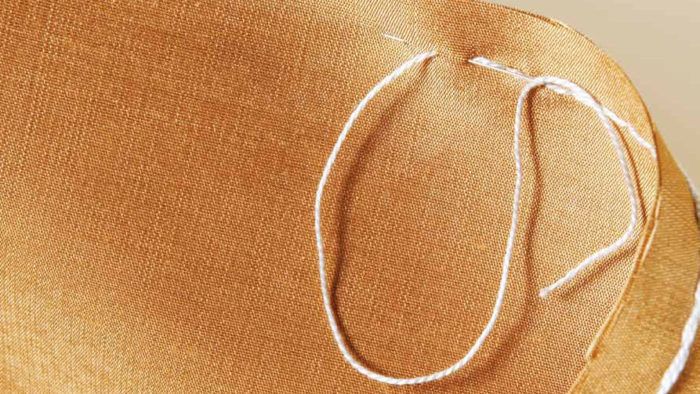
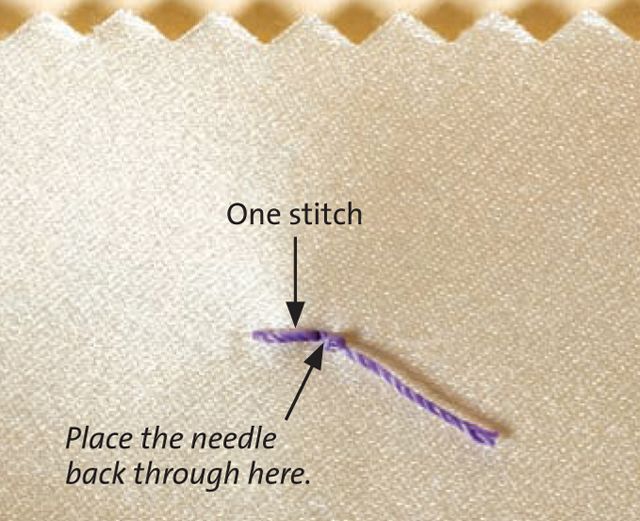
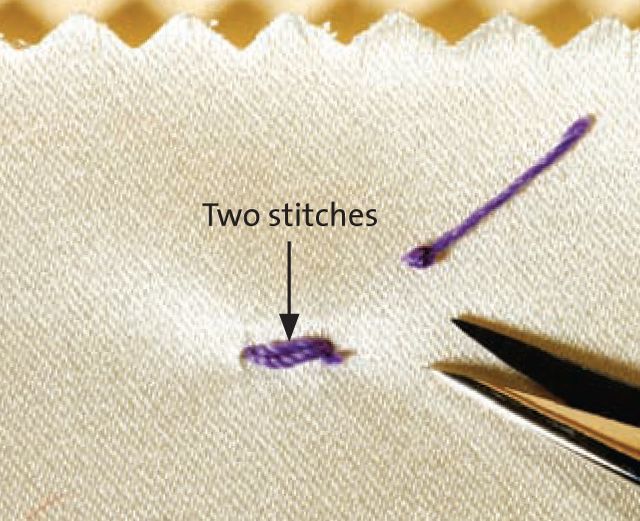
4. Make a 1⁄8-in. stitch at the stitching line’s beginning. Pick up a second stitch of the same length on top of the first, and pull the thread through.

5. Hold the waste knot firmly and trim it. Cut it close to the fabric so that the thread end disappears.

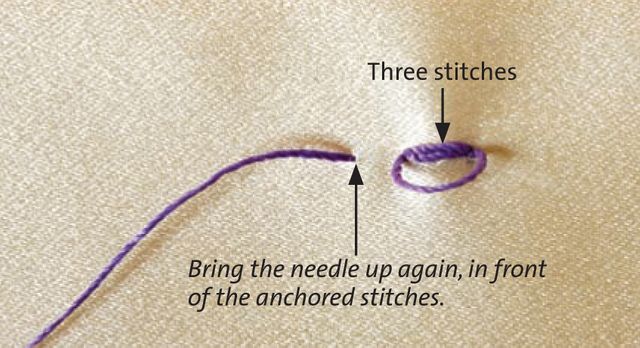
6. Finish anchoring the thread, and begin the backstitch seam. Pick up a 1⁄8-in. stitch on top of the last stitch. Pass the needle through all layers and out again 1⁄8-in. ahead of the stitch. Bring the needle up closer to the previous stitch to make shorter stitches. These stitches are best for creating a stronger seam in areas that will be stressed, such as a crotch seam.

7. Continue the backstitches. Insert the needle at the end of the previous stitch. For a partial backstitch, insert the needle, leaving a space between the two stitches.

8. Finish with a few extra stitches. Backstitches are an alternative to knots in hand stitching. Frequently, they are used at the beginning and end of temporary and permanent hand stitches. Make two or three stitches on top of each other to anchor the thread.

Photos: Sloan Howard
 More hand stitches:
• Video: How to Make a Figure-Eight Stitch
• Video: How to Sew a Pickstitch
• Silk-Ribbon Embroidery: Five More Stitches


This was an excellent reminder--Thank you.
As always Claire provides a great tutorial that offers an invaluable skill. Many thanks.
I love your step by step pictures. Just being picky here: wish you also showed the backside so that I can reassure myself that I too am doing it right on both sides of the cloth. This was one of my first stitches to learn but in my senior years coddled by decades of machine use, I have gotten sloppy and wish to return to the years of precision my mother insisted on so long ago. Thank you.
PS How do you tell which size is which, of needles in a pincushion or lying mixed in a case? I have inherited many.
Lots of tutorials online showing the backside of all hand stitches.
I just used this stitch in one of my wedding alterations and it is also used in beading. I found it to be strong and durable. Thank you for sharing this very practical technique.
Linda
http://www.CustomFitAlterations.com
I like to use the partial backstitch for sewing zippers. It makes the garment look really expensive!