

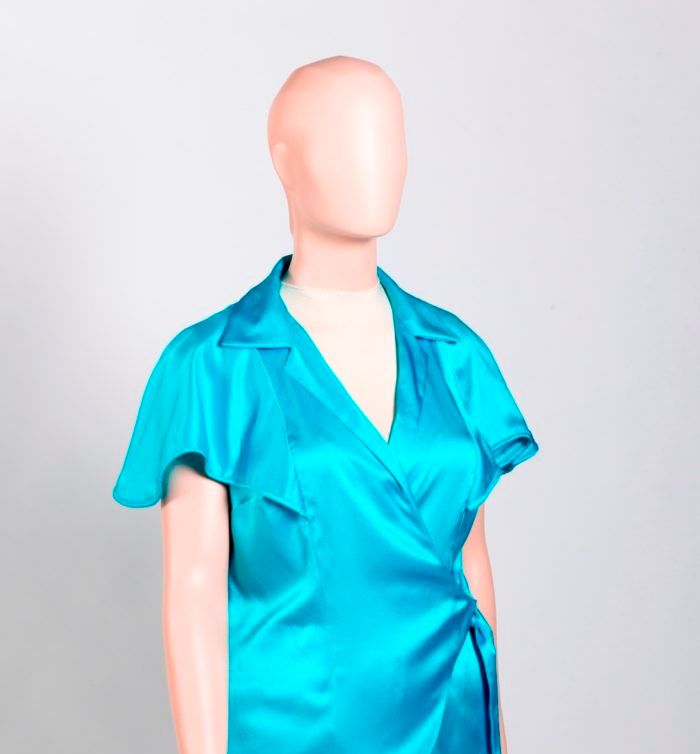
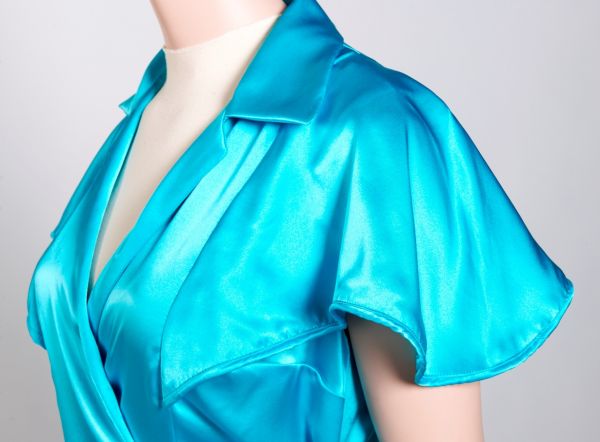
In Threads’ December/January 2013 issue (#164), Kathleen Cheetham explains how to add sleeves to the sleeveless garments you make. She shows three classic sleeve styles in the article: a cap sleeve, a short kimono sleeve, and a long kimono sleeve. We saved the fourth style–a flirty, fluttery shawl-like sleeve–for this online exclusive.
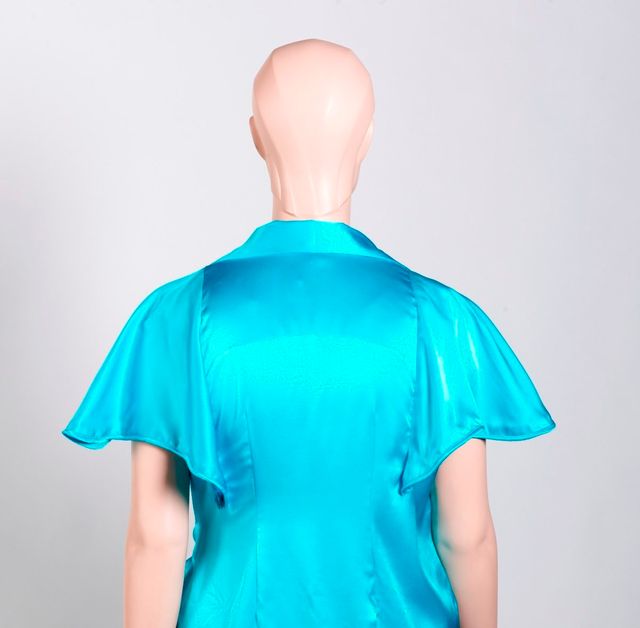
These triangular-shaped, shawl-like mock sleeves attach to a sleeveless garment’s right side, creating fluttering overlays at the shoulders. They’re a great option for transforming sleeveless ready-to-wear tops, as well as home-sewn garments. Choose lightweight fabrics with lots of drape.
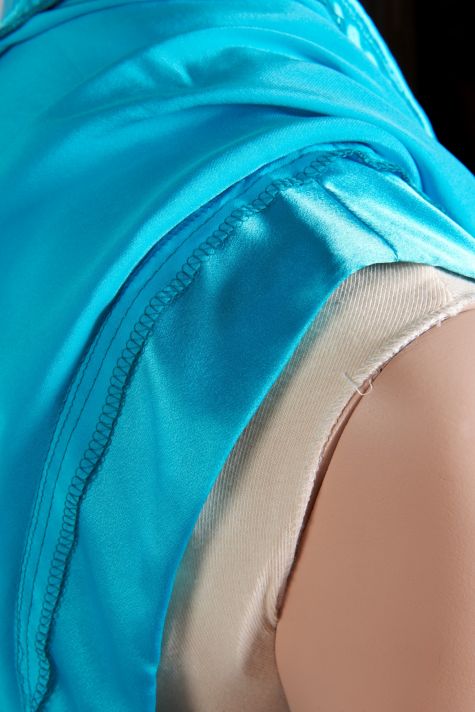
Make the shawl sleeves in a fabric that complements, matches, or contrasts the main garment body. You can cut them from a single layer, or create a more substantial effect by cutting two layers for each sleeve, sewing each with right sides together, and turning them right side out. Narrow hems keep the look simple, while lace trim or a picot edge creates a sweet effect. The sleeves shown have piped hems. For a romantic look, cut two layers, one longer than the other, and narrow-hem them separately.
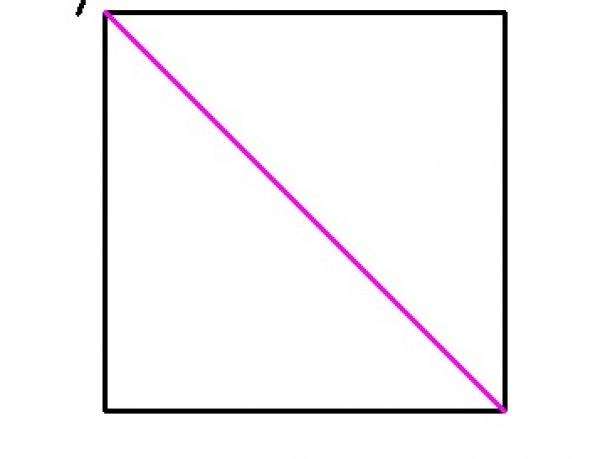
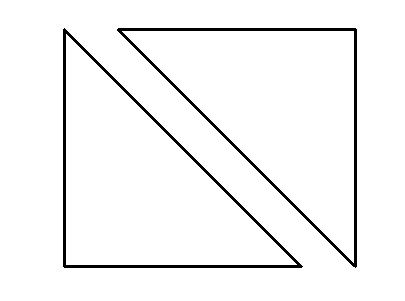
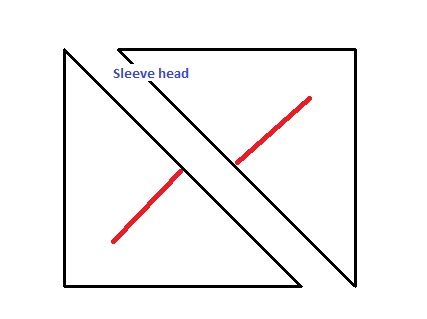
1. Spread the fabric in a single layer on a cutting table. Cut one square. The one shown is 19 inches by 19 inches (slightly smaller than a typical bandana); you can make yours larger or a bit smaller. Choose a corner, and mark a diagonal line to the opposite corner. Cut along the line to create two right triangles.
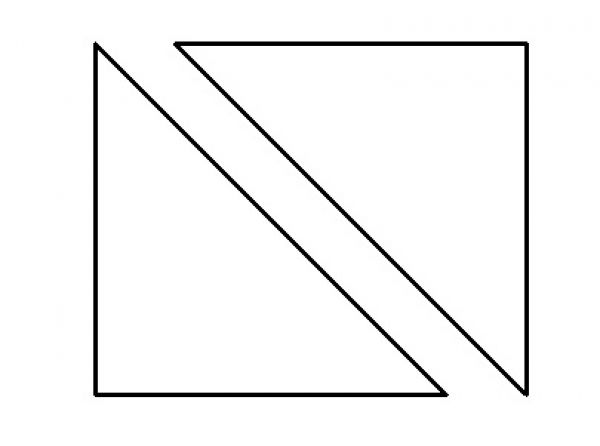
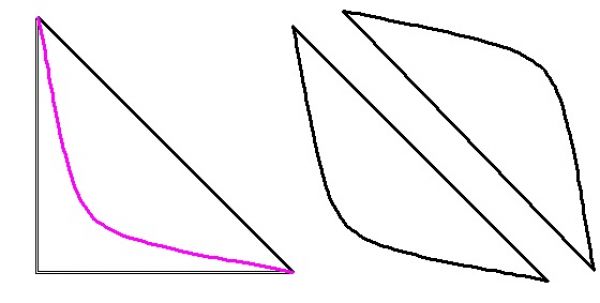
2. Create a curved sleeve hem or keep the pointed hem. The triangle’s longest side forms the sleeve head. For a curved hem: Measure from the sleeve head perpendicularly toward the right angle. Mark a dot at the desired sleeve length.

3. With tailor’s chalk, draw an arch from the triangle’s two acute angles and intersecting the dot. Use a French curve to even out the shape. Cut the new hem shape. Mark a notch on the sleeve head opposite the sleeve hem marking.
4. Apply trim to the sleeve hem, or finish it with a narrow hem.
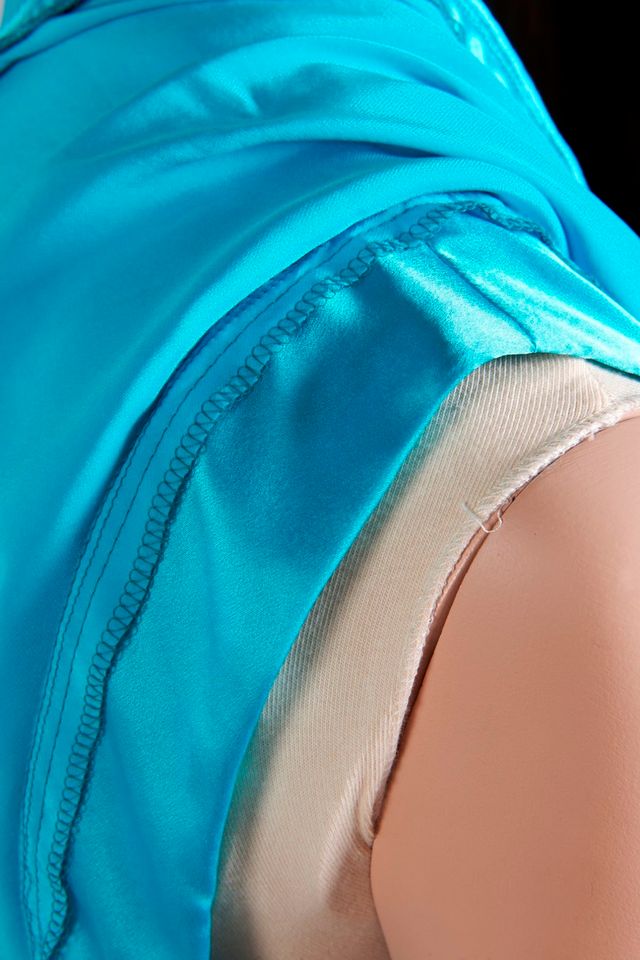
5. Match the notch on the sleeve head to the garment’s finished shoulder point, right sides together. The sleeve head may follow the armscye shape, or position it to follow the neckline’s angle and direct the eye. You may also place the sleeves off-center at the blouse shoulder line, with more length toward the back. Pin the sleeves in place. Hand- or machine-sew them to the garment, using a 3/8-inch seam allowance. Trim the corners from the sleeve head seam allowances. Turn the sleeves toward the armscye, right side up, and press. If desired, topstitch along the seamline’s folded edge.


Log in or create an account to post a comment.
Sign up Log in