
Clean-Finish a Curved Shirttail Hem

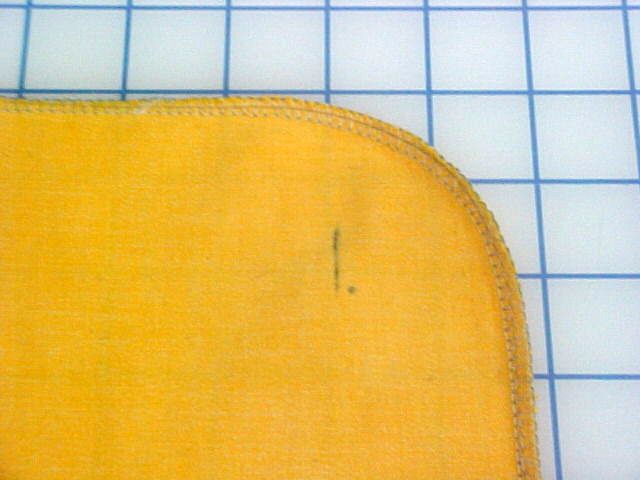
A curved hem is easier to sew if there is just a small amount of fabric that is turned to the wrong side. First, trim the hem width to 3/8 inch.
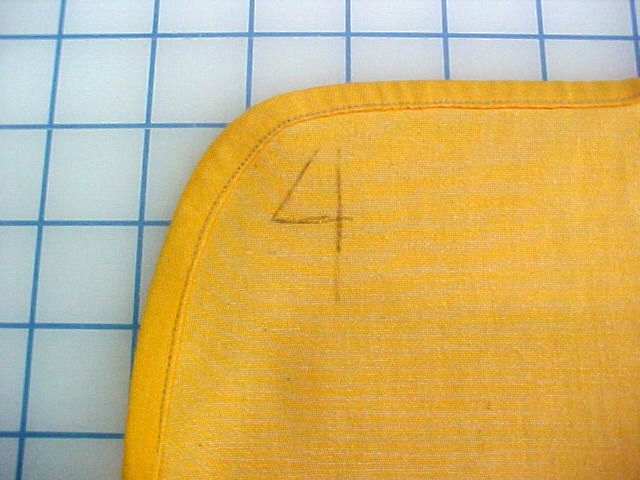
Many shirttails have very tight curves at the side seams, and it can be difficult to produce a smooth line along the outside edge. In this technique, the front and back hem curves are completed before the side seams are sewn.
A curved hem is easier to sew if just a small amount of fabric is turned to the wrong side. First, trim the hem width to 3/8 inch.

1. Serge the raw hem trimming off only the “feathers,” or loose threads. The serging will not show in the finished hem.
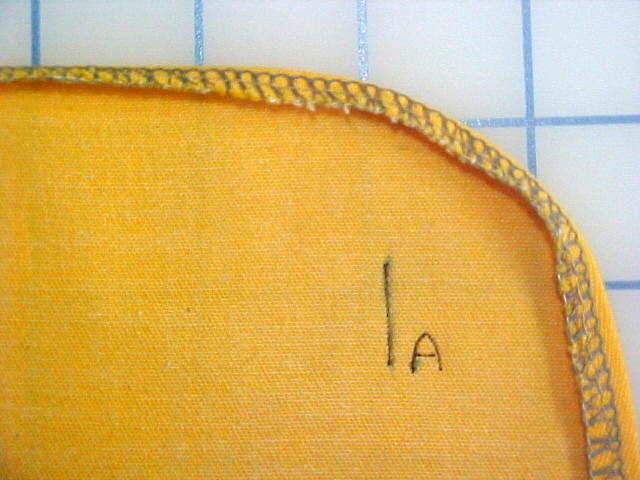
Press the curved hem to the wrong side along the edge of the serging. Pressing such a narrow hem would be difficult without the serging to “beef up” the raw edge.
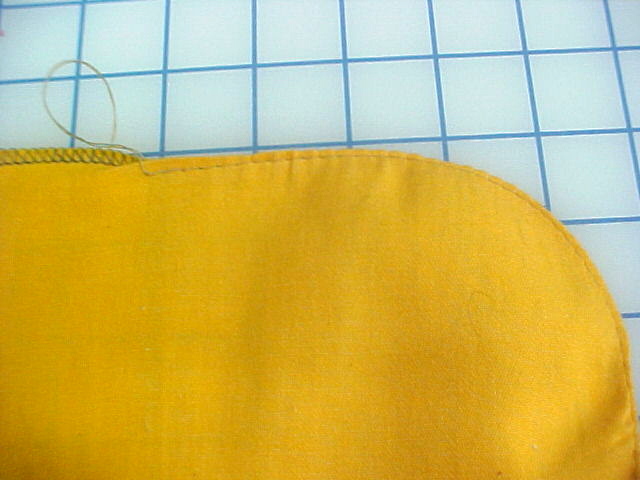
2. Baste along the outside curve with a 4.5 mm- to 5.0 mm-long straight stitch, close to the folded edge. Leave thread tails at both ends, and don’t backstitch at either end.
3. Pull the bobbin thread (it always pulls easier than the top thread), and notice the hem curl to the wrong side.

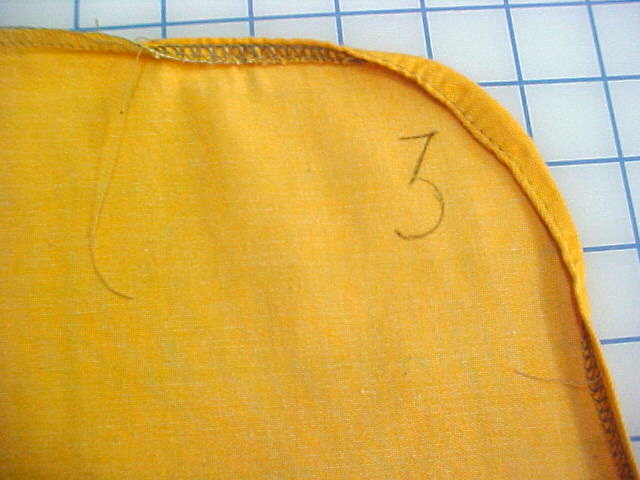
4. Distribute the gathers or easing evenly. Make sure the curved and straight portions of the hem are all about 3/8 inches wide and are even, then press the hem.
Next, place lengths of 1/4-inch Steam-a-Seam under the hem fold. It is easier to use shorter lengths around the curved portion. Using the point of your iron, press along the paper backing. Remove the backing and fuse the hem in place.
Edgestitch and/or topstitch the hem into place from the wrong side using an edge joining foot. This is the foot with the vertical metal blade running down the center and looks something like an ice skate. That blade rides along the edge of the fold as you stitch. Remove the basting stitches.
Start your 14-day FREE trial to access this story.
Start your FREE trial today and get instant access to this article plus access to all Threads Insider content.
Start Your Free TrialAlready an Insider? Log in


I LOVE this. Thank you so much. I love making long shirts. It's so hard to get that curve just right. This is just beautiful. Thank you thank you thank you.
Louise Cutting is such a great teacher and her techniques are easy to understand and produce professional results! I just took another class from her at the Sewing Expo and always walk away with a new pearl of sewing knowledge! Thanks, Louise, for another gem!
This is just the kind of detailed sewing information that keeps me coming back to check the website. I appreciate the photos and clear instructions that L. Cutting provided. Thank you.
That basting stitch is genius! I'd already been serging the edges, and sometimes pulled on the serging threads to rein in the edge, but now I'll wrestle with it less. I don't think I'll even need the Steam-a-Seam. Well, maybe on slippery fabrics.
Thanks you Louise Cutting for showing how easy it is to produce professional looking results on this type hem.
When I serge around a hem curve on a shirt tail, where I start the curve, I turn the serger differential up to 2, serge around the corner and put it back to normal on the straight sections. I have found this really pulls up the fabric and makes a nice curve there. Of course this is done on lighter fabric. Then I press the hem up and go from there. I test first to make sure which number on the differential works the best.
Thank you Louise, you make this look so easy and it actually looks easy the way you showed this technique.
I love all the tips and tricks that I have seen you do, especially with the collars.
Do you have a DVD with all your techniques? If so, I want to buy it. Please let me know. Thank you for sharing your knowledge.
Joanie
Louise, do you have a DVD with this technique?
Great idea, and I like how the serging actually beefs up the hem, making it hang a bit better!
Great idea, and I like how the serging actually beefs up the hem, making it hang a bit better!
Thank you so much. This is a finish I'll need to use for my husband's shirts. PS. Don't tell him yet.
Thank you for a no-nonsense approach to a curved narrow hem. With 9 grandsons, 3 sons and my husband, I have a lot of need for this technique. This will be such a time saver compared to my previous methods.
You bet I'm going to be using this tip! Thx for all the great ideas you share. They make my projects all look so much better!
Do I ever love this!!! Thank you, I'll be using this a lot.
Very nicely done but I am wondering how to join the two seams together now at the sides.
This looks really good, but I agree with the earlier commenter who asked about the side seams. Can you give us a quick tutorial on how to neaten the bottom edges of the side seams after doing this?
Thank You!! I am printing this out right now! This is a really great tip for a professional looking finish. I love it. Cindy
I'm on the road heading to a sewing expo, but had a minute to jump on here.
Between 3a & 4 is when you would do your side seams. Then you can sew the side seams and sew the curves of the front and back hems at the same time with one continuous stitch.
Louise
This comes one week late for my last shirt tail hem, but I'll sure use it in the future. Looks like a great technique.
I've done this hem many times without the steam a seam but I can see that maybe the steam a seam helps this hem lay flat after laundering. Also maybe using a little tighter serge stitch around the curves will help them curve in. I don't think the basting is necessary.
I've used her technique before and it sure improves the look of a curved hem! Certainly easier than a lot of other ways.
I've watched your first DVD many times and love all the tips, now I'm going to buy the rest of the series. This tip was genius!
I generally used a rolled hem foot on my shirts ( no serging). But if course the curves aren't quite so extreme in men's wear. If i used this method I would used glue stick instead of steam a seam.
Louise, just echoing the previous comments, absolutely wonderful technique, as usual. I had wondered if the basting stitch would be necessary after serging the edge, but now I see that that simple line of basting is what is making the difference between professional looking, and loving hands at home!!
Now my husband wants to know why the narrow hemmed edges curl up after laundering the shirt? I don't know, unless it is something to do with the cross grain of the fabric. If it is, would cutting the pieces on the opposite grain be helpful?? Just wondering.
Jean
Is there a non-serger version of this technique? I don't have a serger and I don't plan to purchase one.
I also would like to know how to adapt this technique for a regular sewing machine. Thanks
Used this technique on my favorite shirt pattern of all time, Vogue 9127 (1994). Followed pattern instructions which did not include use of a serger. The curve looks a little shallower than the one shown here, so that would make it easier. Plus, the fabric I used was softer and quite easy to work with. Alas, the shirt is too small now, and quite boxy compared with shirts of today but I'm not yet ready to part with it.