

Bust Dart Pressing: Cup Size is a Factor in Which Technique You Choose

If you were taught, like I was, to press a horizontal bust dart down, try this alternative. For this technique, the size of the bust cup determines in which direction the pressing should be done.
Bust Dart Pressing, Option 1
If the bust is a size A or B cup, the dart is pressed down and over a ham, in the usual manner.
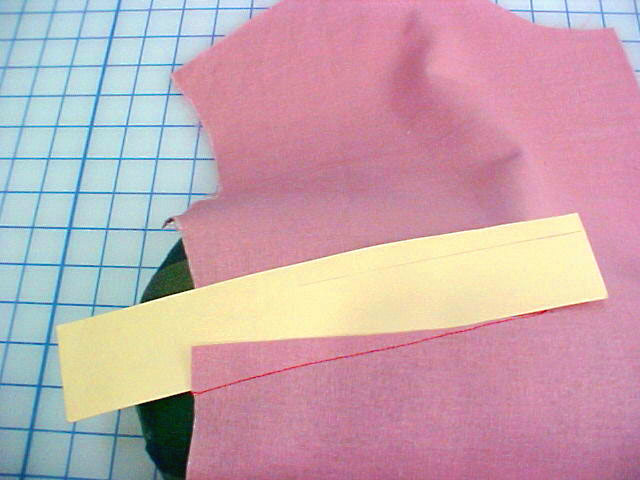
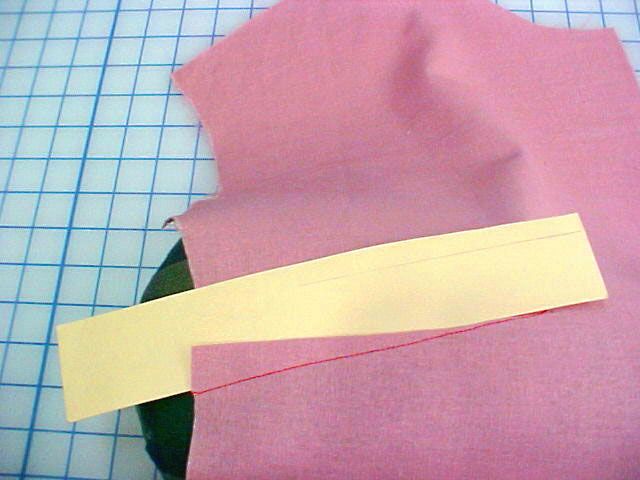
Bust Dart Pressing, Option 2
However, if the bust cup size is a C or D cup or larger, the dart is pressed up, also over a ham, to mimic the curvature of the body.
The reasoning is this: Pressing the dart’s two extra fabric layers down can add to the size of the bust. Pressing the dart up in the larger bust sizes gives the illusion of lift to the bust and eliminates the extra thickness of the fabric layers under the bust.
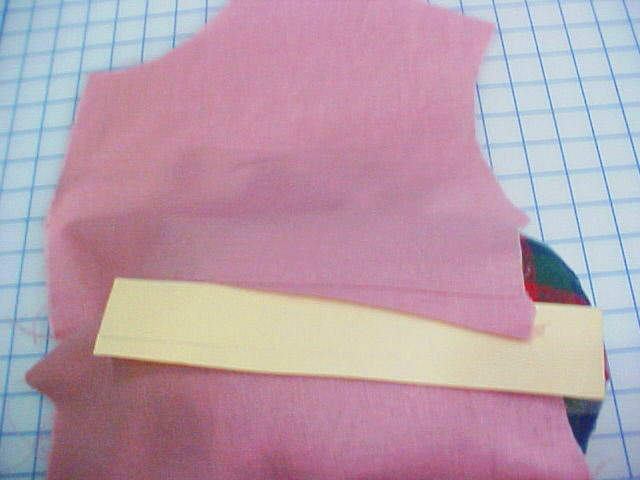
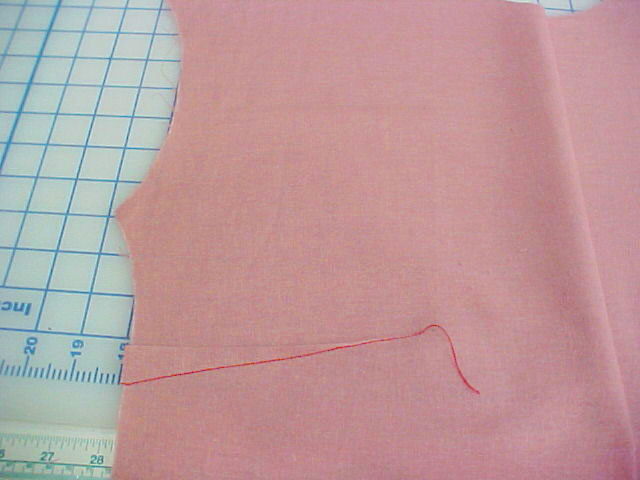
Finished and pressed darts
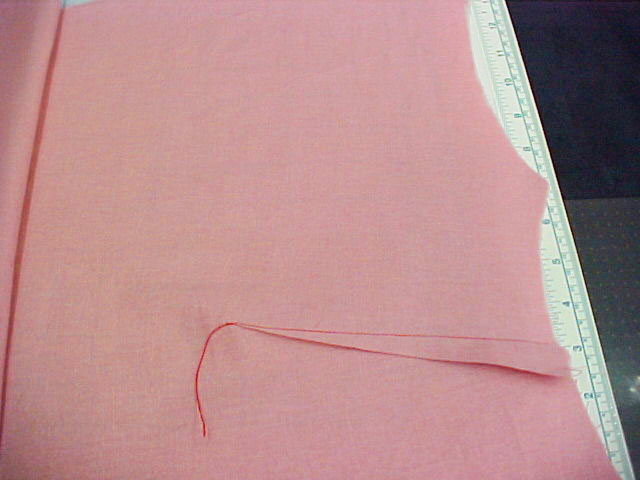
Below is Option 1 after the dart has been pressed.
See a finished version of Option 2 below.
How were you taught to press bust darts? What do you think of this dart pressing technique? If you have additional tips, please share them below.
See more articles by Threads Contributing Editor Louise Cutting here. Louise has written extensively about darts:
“How to Create a Balanced Dart”
Louise also shares her expertise in several videos about bust darts:
“Add a Bust Dart to a Sewing Pattern”
“How to Remove a Bust Dart”
Start your 14-day FREE trial to access this story.
Start your FREE trial today and get instant access to this article plus access to all Threads Insider content.
Start Your Free TrialAlready an Insider? Log in


Thank goodness you have affirmed my opinion. After years of renegade upward dart pressing for my generous 'girls' I can rest easy. Big downward darts always looked so depressing to me! Thank you Louise x
It makes sense ! One of those things that prompt the query 'why didn't I think of that before !' Great stuff.
I generally press all bust darts with the 'leg' of the dart up. This eliminates any light catching on the ridge of the fold and and saying "here is the dart!". I suggest to make two darts in off-cut of the fabric you are sewing with and press one down and one up, as shown in the pictures, check if the light is going to catch on the top of the fold, i.e. which one is less visible on the outside of the garment.
Happy sewing, Patricia.
Good to know! Thanks, Louise! I always like to learn these little tricks that make my garments look better.
When I was a double D cup I rotated the bust dart so it was diagonal to the side seam and ironed it down because it seemed to give me a better fit and less flaunt. Now that I am flat-chested (breast cancer-double mastectomy) I avoid wearing a bra and any breast dart. But if the style requires it I think ironing the breast dart up would make the fitting less noticeable.
This trick also seems to work well for those of us who have a low Bust Point. It make the Bust look more uplifted and "Perky"!
those girls need any lift they can get…. I will press up from now on.
I have used these methods for sometime and they work great.
Excellent guidelines for directional pressing based on bust size. Another consideration for pressing when using a very bulky fabric like a polarec or fleeced knit, is to cut dart on fold to within 1 to 1.5 inch from point after sewing; then press dart open. This works regardless of bust size to eliminate any bulk that attracts eye to area. You can then use a wide zig-zag stitch on the dart seam and trim close to stitch to remove extra fabric/bulk. NOTE: the zig-zag will show as a design feature. This works very well for making jackets or vests with winter fleeces.
I love the technique of pressing bust darts up. I had just learned to do this for a C/D cup when watching a video on fitting the full bust. After 60 years of sewing, what a revelation!
Louise Cutting you are the reason I have the insider member ship. Your videos are amazing insightful and provide many aah! moments. Please keep up your fabulous work. I find myself using more of your tips than I ever imagined.
I am so glad I am getting to learn this before I try to sew anything I want to wear! I have only sewn home decor, blankets & purses so far but I am finally ready to venture into sewing my own clothing!
Just noticing that's a side dart. I've been drafting a tank top and found that I wanted to lower the dart more to a french style position. This has a way of lifting the bust and removing bulk from that side position. I don't know that I would want to press the seam upwards in this case! Great tip!
This is good to know since I've gone from a B to C cup. Thanks Louise!
I will try down for our grand-girls and up for myself. I was taught to press darts only down
This is new news to me; never thought of it. Thank you. As always, you provide both education and inspiration.
It All Depends; Upon the weight of the fabric, it's sheerness, and all the rest. If I am in doubt I will try a sample dart on scrap fabric and press it different ways; on some heavier fabrics slitting along the fold to near the point then pressing 'up' and 'down'/ 'left' and 'right' works best; hand overcasting if the fabric frays at all. On Sheers it sometimes helps to stitch a 1" strip of fine Tulle/Bridal Veiling/Organza/Organdy into the side of the dart that will be opposite to the pressed side. And this technique is commonly used in men' tailoring to balance darts; often when deconstructing a Harris Tweed Jacket. With the cost per yard of genuine "ORB" marked Harris Tweed any garment made from it will tend to be decently tailored if not actually 'Bespoke'. It always amuses me that the strip of tweed used to side the dart is almost always the identical fabric but in a different colourway. I guess that then the fabric used can be readily seen by the tailor but matches the main garment fabric as closely as possible in actual weave/texture/quality; probably to the point of one set of Warp Threads on the loom being used for so many yards of weaving with one colourway of Weft, then a change of Weft threads makes for a different colourway of the next yardage. Like skinning a hypothetical Cat; There are many ways to accomplish the deed!
Thank you Louise for your excellent advice as always!