

A dart that is sewn in heavy or dimensional fabric and pressed to one side can be unattractive and bulky, because you’ll have three layers of fabric, one from the garment and two from the dart. These multiple layers may not cause a problem with your new garment, but they will start to shadow through (imprint) on the right side after several washings, dry cleanings, or pressings.
There’s no need to cut the dart open to achieve a flat, even effect on both sides of the dart stitching line. Many pattern instructions call for the dart being slit along the length of the fold and pressed open. This involves making a slit in your garment from 10-in. to -12-in. long, which weakens the garment at every double ended dart around the body.
Instead, a balanced dart adds extra fabric to the opposite side of the dart seamline to act as a visual counterbalance. This is also ideal for fabric that ravels easily.
In an unlined garment, the extra fabric to help balance the dart shows and the edges are raw. Cut this extra fabric on the bias, so the edges will not ravel.

For each dart, cut a bias strip of self-fabric 2-in. wide and 1/2-in. longer than the length of the dart. (I used a contrasting fabric so you can see what is happening easily.)
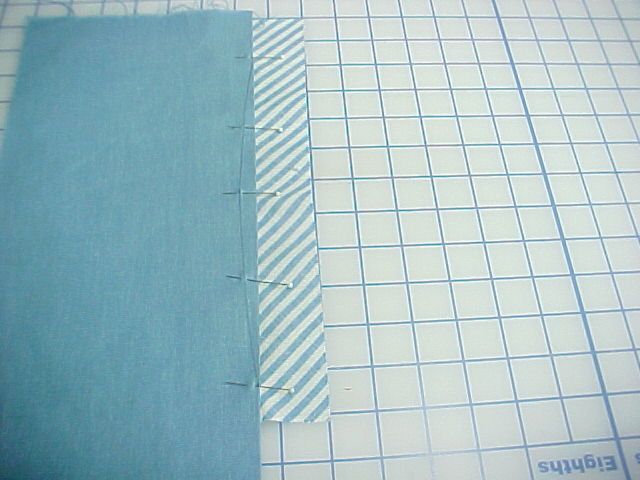
Fold the garment piece along the center dart in the usual manner.
Center the length of the fabric strip underneath the garment piece and pin through all thicknesses.
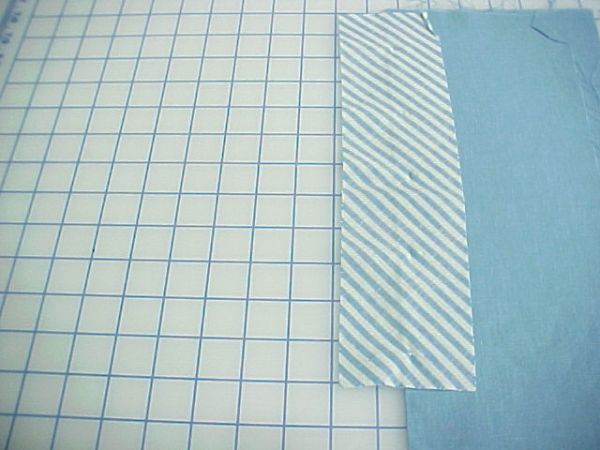
This is the opposite side showing the self-fabric pinned to the dart value.
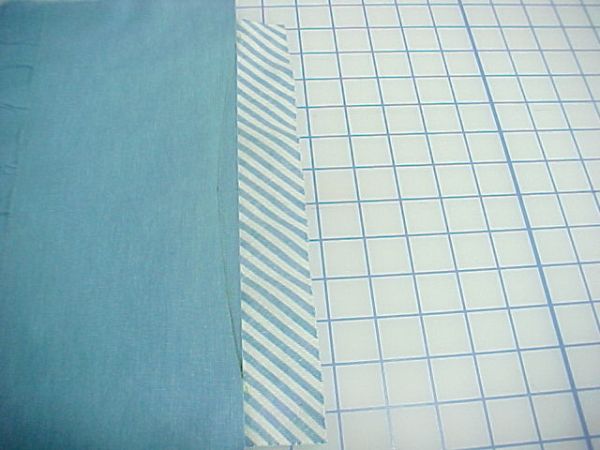
Start sewing about 1-in. inside one of the points. Stitch through the point and off onto the bias strip beneath.
Start your 14-day FREE trial to access this story.
Start your FREE trial today and get instant access to this article plus access to all Threads Insider content.
Start Your Free TrialAlready an Insider? Log in


I see the value in using the bias and I followed you up to the last couple pictures then got lost. I'm trying to see how you pressed this. Does it work because it essentially grades the seam from four layers to one? If so, how do you handle a deeper dart which still has four layers for up to 1"?
Please put this in video. I've read it through a number of times and am having trouble following it. I seem to get lost at the same point MaryGwyneth did. Thanks.
I have to agree with the previous two posters about the balanced dart information. It seems incomplete and is quite confusing. Would you be able to break the steps down a bit farther and/or give more instruction? Thank you.
huh? what? don't understand.
Seems clear enough to me. Although I think it must be stressed to take care to always use a pressing cloth and/or press the wrong side only on a garment such as this...to help delay the wear and show-through that is bound to happen over time no matter what you do. Even so, this is a definite improvement over an unbalanced dart to help prolong the inevitable outline that will eventually reveal itself. Thanks for the creative option Lousie!
P.s., maybe folks should try this method on scrap material and play around with it a bit. I think once you get into the process, it will become clear as to what needs to happen.
Oops! Pardon my misspelling of your name Louise!
I've added a different explanation right under the original post. I used vellum and paper because you can see through the vellum. I think that was why the original photos were confusing. See if this makes more sense.
Enjoy!
Thank you Judy for adding the step-outs for the balanced dart. As Katielynne sugested, making a sample will help you see exactly what is being sewn, pressed, and trimmed.
Louise Cutting
Hello all.
I have just found this post and have to say it does appear a little confusing but if you think of it as a seam application then it might be a little clearer to work through. I wonder if the authors would recommend cutting (grading back) the inner most layer of the dart allowance to reduce bulk? This might mean cutting the fold line of the dart though which could weaken it if it's on a straight grain? If this dart was "coutured", the edges could always be catch stitched in place, provided there is sufficient seam allowance. I wouldn't trim a dart if it is narrow.