

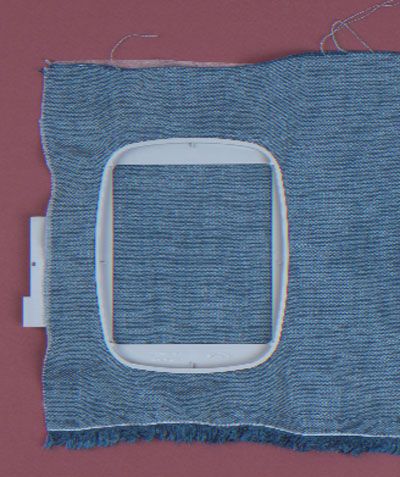
Use a dedicated machine-embroidery hoop or a third-party hoop that will fit easily under your presser foot.
by Jill McCloy
An Online extra to Threads #98, pp. 54-57
There are new machine-embroidery stabilizers on the market every day, and my article “Making Sense of Machine-Embroidery Stabilizers” in the December 2001/January 2002 issue of Threads (#98) offers some practical counsel on navigating this maze and making sound choices. Once you’ve selected a stabilizer for your project, it’s important to hoop the stabilizer and fabric correctly to get the best results. Below are some hooping tips for embroidery. They’re aimed at users of machines with built-in hoop control for digitized embroidery with dedicated hoops like the one shown here, but can easily be adapted to third-party hoops for free-motion embroidery.
1. Baste the fabric to the stabilizer to keep the layers together. Whether basting by hand or machine, nothing works as well to keep the fabric from shifting. Some embroidery machines are capable of basting the fabric to the stabilizer while in the hoop.
2. When embroidering items too small for a hoop, first hoop the stabilizer, then attach the fabric to the stabilizer. Use a stick-on stabilizer, or adhere the fabric to the stabilizer with temporary adhesive spray. To ensure the fabric is perfectly aligned on the stabilizer, with a ruler and a black marker, draw a large, right-angled guide cross on a piece of paper that’s bigger than your hoop. Place the paper under the hooped stabilizer, matching the lines to the centering marks on each side of the hoop. The lines will be visible through the stabilizer and will make it easy to accurately position the fabric and center your design on it.
3. If using a temporary adhesive spray after hooping, make a shield to protect the hoop. Cut a window about 1/2 in. smaller all around than your hoop size in the center of a rectangle of paper, lightweight cardboard, or plastic that’s at least twice the size of the hoop. Hold the window firmly in place to expose the fabric while you spray.
4. Use a double-stick tape to keep the top hoop and fabric together during hooping. I use 1/4-in., double-sided, transparent Collins Wonder Tape (available from Nancy’s Notions) on the under side of my top hoop so that after I’ve positioned the top hoop accurately over the fabric, I can easily lift everything into the bottom hoop without the fabric shifting. The tape holds the fabric just enough to keep it from slipping around while I’m trying to hoop it. After several uses, Wonder Tape can be rinsed off easily when it’s no long sticky.
5. Insert the hoop edge nearest the hoop’s tightening screw last. This makes it easier to get the top hoop in place and easier to loosen the hoop if necessary. Also, position the corner or edge with the screw off the edge of the table so you can adjust the screw without raising the hoop away from the work surface.
Jill McCloy sews on Whidbey Island, Washington, and teaches around the country.


Log in or create an account to post a comment.
Sign up Log in