submitted by Dawn A. Jardine
from Threads #99
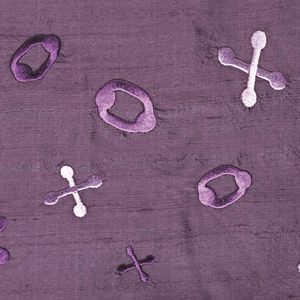
There are two mistakes that you definitely want to avoid when doing machine embroidery. The first is not making a sample with your actual fabric and threads, only to learn later that everything shrinks at a different rate when pressed, leaving your garment puckered and unwearable. The second mistake is starting to machine-embroider a design, only to realize that the design is not placed exactly where you want it.
Here’s a way to accurately predict how the embroidery will look and a method to place it on the garment: First, always stitch a test sample on the fashion fabric. Make sure to use the identical stabilizers, tensions, threads, and so on that you’ll use in the final product. Press thoroughly, using the same settings and amount of steam. After stitching the design but before removing the sample from the hoop, use chalk to draw a line around the inside wall of the hoop directly on the sample. Then remove the hoop, and cut out the sample along the chalk line.
Now position the sample on the garment, and pin it in place. With chalk, mark along the edge of the sample directly on the garment. When you remove the sample, the remaining chalk circle is a perfect guide for placing the hoop to begin your embroidery, ensuring that the design is where you want it.


Log in or create an account to post a comment.
Sign up Log in