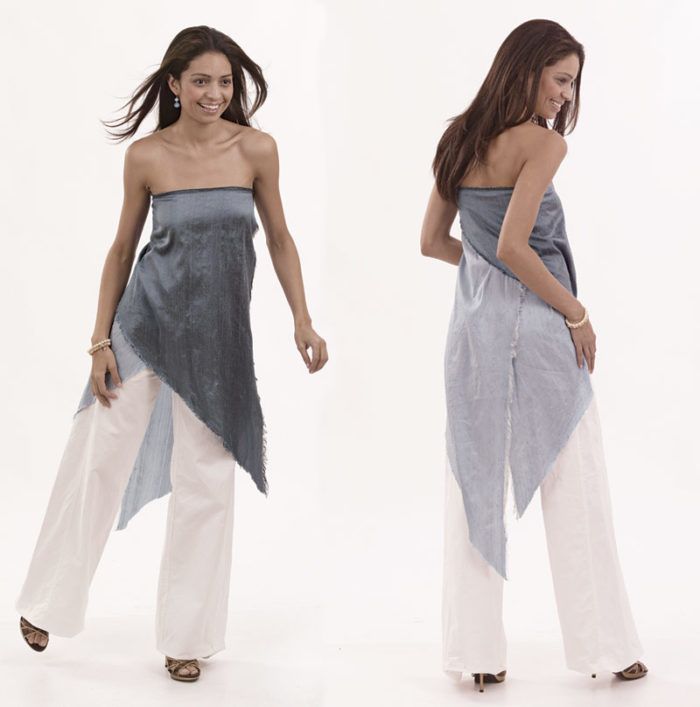
by Jennifer Sauer
from Threads #131, pp. 27-29
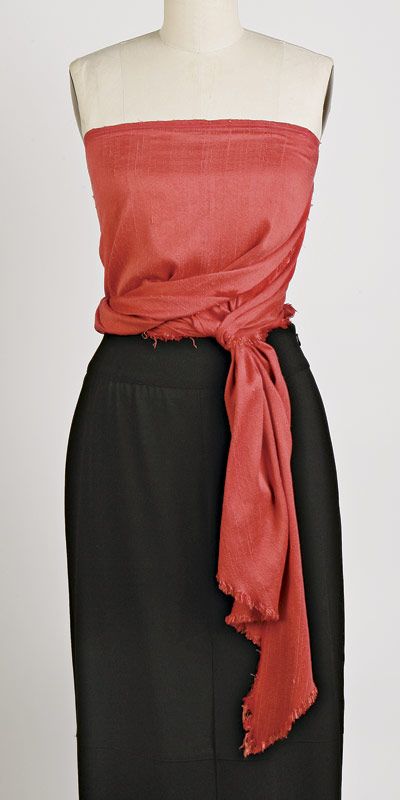
One rainy morning, I decided to play around with different draped designs on my dress form. I picked up some silk dupioni triangles—left over from cutting bias strips—and quickly configured a sophisticated strapless top. Here, I’ll show you how to whip out your own custom-fit version in less than half an hour.
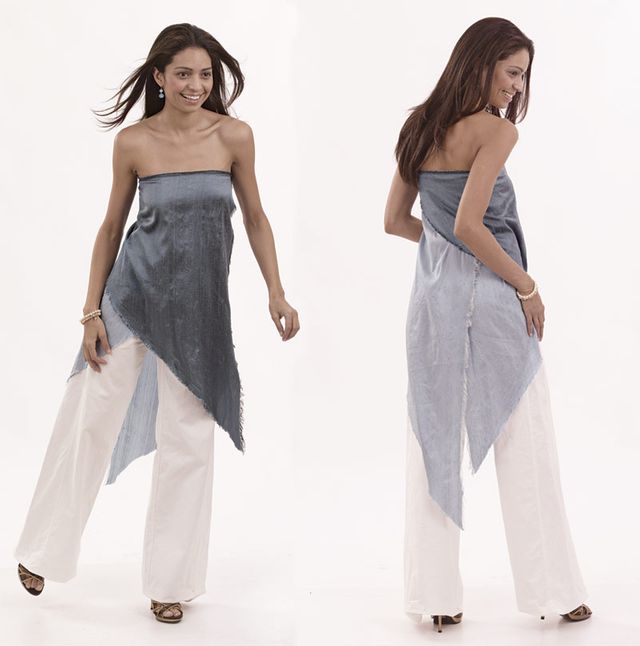
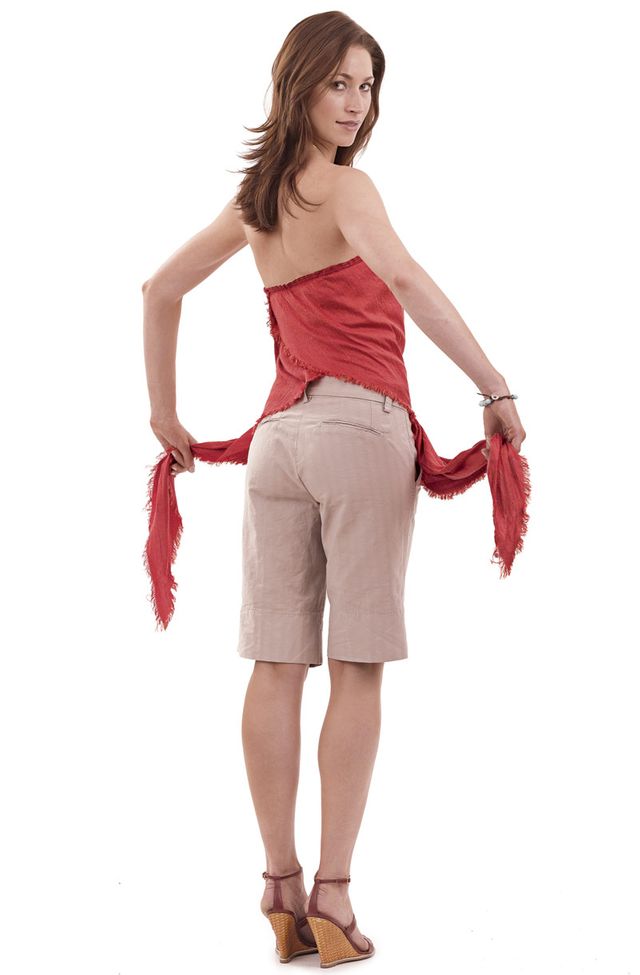
When you try on the garment, I encourage you to play around with the long ends. You’ll discover that you can twist and tie the top in many unique ways, as you would in an Indian sari.
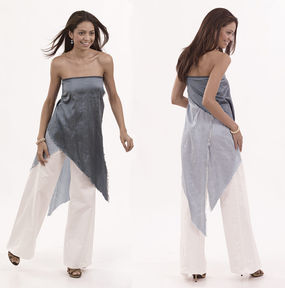 Wear as a loose, flowing tunic. To mix it up just a little, cut one triangle from a slightly darker color. As you wrap the garment into different styles, the colors blend and twist into unique configurations.
![]()
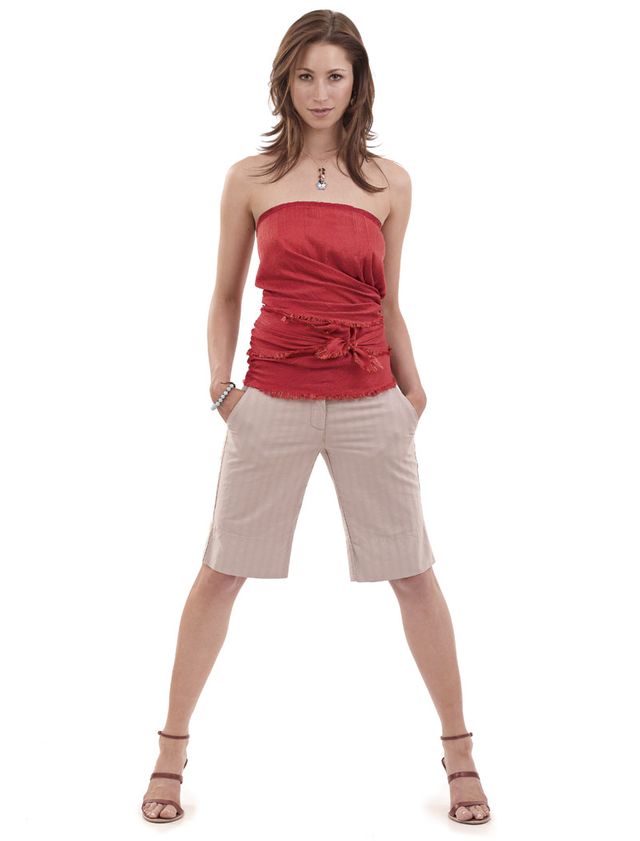
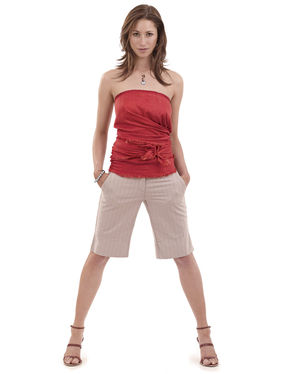 All in knots. Tie up a sexy little number that’s perfect for a hot summer day or a night on the town. Fabric matters
The best fabric choice for this garment is a lightweight woven fabric, such as dupioni, tissue-weight linen, batiste, or lawn. I always wash the fabric before I cut and sew it to soften it up and help fray the edges. Prewashing also ensures that the garment can be laundered after each wearing. (No dry-cleaning, thank you very much.)
I love to use iridescent fabric—defined by a different color yarn in the lengthwise and crosswise weaves—for this top. The different-colored yarns are exposed during the fraying process, which helps define the triangles’ edges. And, hey, when you twist and tie the fabric, the edges make all the difference.
Measure, cut, and fray
Because you’ll wrap the triangles on your body or dress form to get a custom fit, your measurements don’t need to be exact. You’ll need only a high-bust measurement to form the triangles.
Measure: To get your high-bust measurement, wrap a tape measure around your body above the swell of your breasts, right under your arms. If you have a bust measurement larger than 36 in. or simply desire more coverage, try the following:
• Buy wider fabric. Dupioni is traditionally 45 in. wide, but you can find 54-in. dupioni in the home dec section of your local fabric store.
• Cut longer triangles. Buy 1-1/2 to 2 yards of fabric, and cut in same manner as outlined in the article. The length and angle of the triangles will cover more skin.
• Use three triangles. Layer three triangles around the body. BONUS: You’ll get more twist-and-tie options!
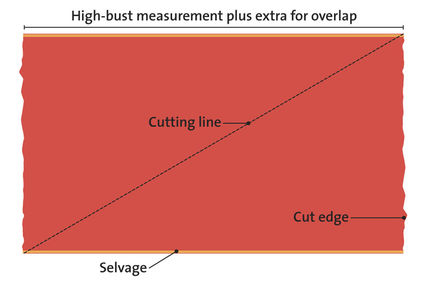
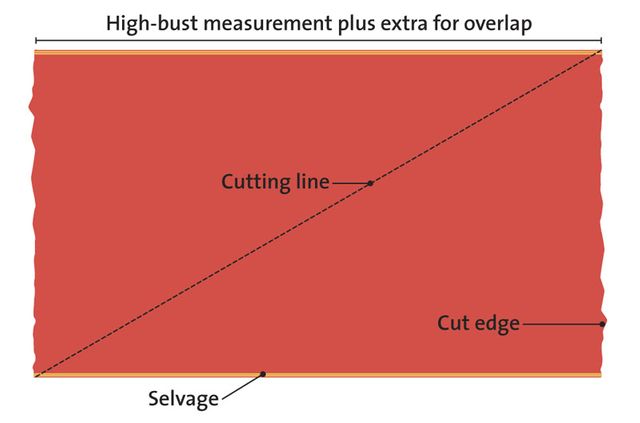
Cut: Cut your fabric into triangles. Cut your fabric equal to the high-bust measurement plus 5 inches or more for overlap. To yield two triangles for a 34-in. or 36-in. bust, you’ll only need 1 to 1-1/4 yards of fabric. If you have a larger bust, you’ll need more fabric (see Desire More Coverage? for more info). Using chalk and a long ruler, draw a line across the rectangle as shown. Cut using a rotary cutter and mat.
Fray: To get a delightful fray along the cut edges, remove some yarns, then toss the fabric in the washer and dryer. Further fluff the edges with a soft, dry toothbrush.
Wrap and sew in a flash
There really are no rules in wrapping the triangles around your body. Feel free to be creative in the arrangement of the points and cut edges. See Other ways to wear for some suggestions.
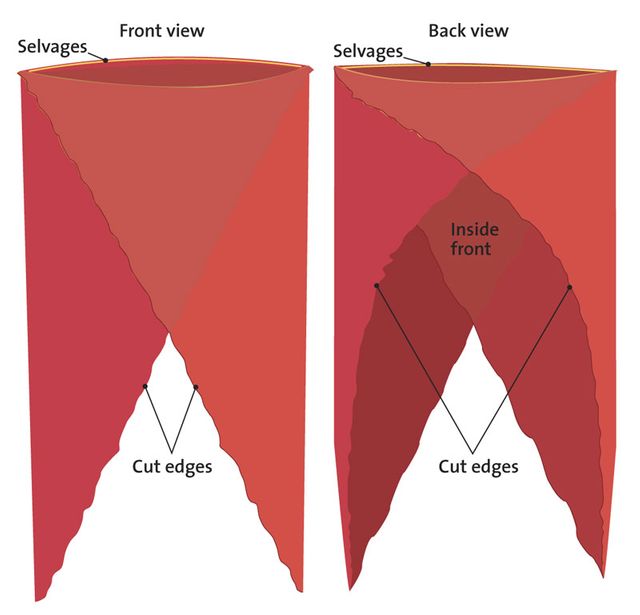
Wrap: On a dress form or your body, wrap the triangles at the high bust (under your arms), aligning the selvages as shown. Pin in place.
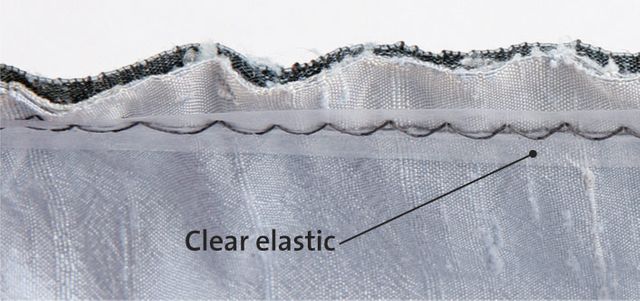
Sew: Sewing is only required at the top edge, so the construction takes mere minutes. Using a straight or zigzag stitch, sew all around the top edge to anchor the triangle layers. To figure out how much clear elastic you’ll need, wrap it around your body at the high bust. It should be a snug fit but not tight. Pin the elastic inside the top edge, centered over the previous line of stitching. Sew in place with a zigzag stitch.
Tip: X marks the spot! To make dressing easy, cross-stitch at the center back.
Other ways to wear:
Besides wearing the top as a loose tunic, here are a few more configurations:
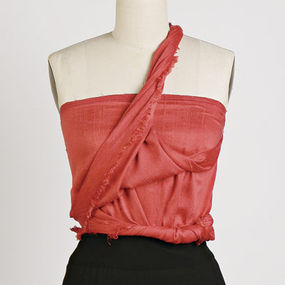
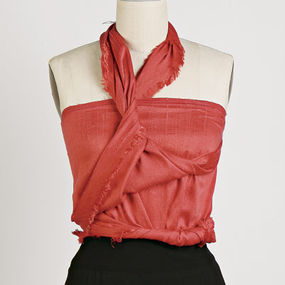
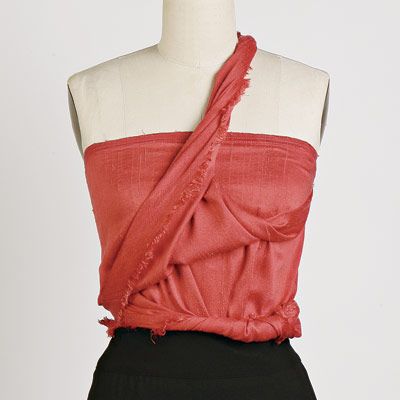
Wrap over one shoulder. Tuck into the top edge at the back to secure.
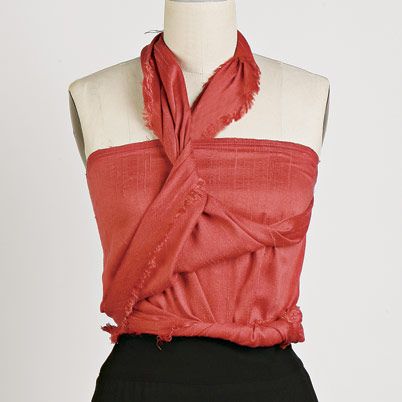
Tie into an asymmetrical halter. The high neck looks great under a suit jacket or sweater.
![]()
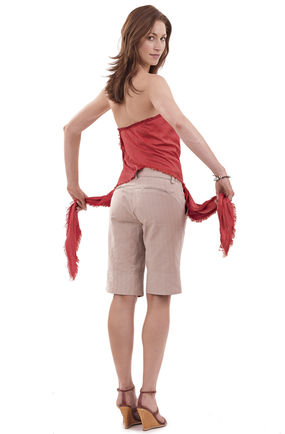
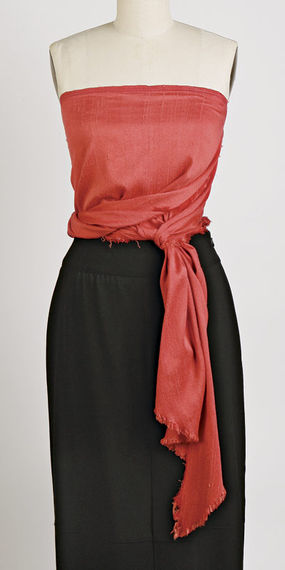
Twist and tie at the waist. Scrunch the ends as you wrap them around your waist.
Wrap as you see fit. When you play with the long ends, you’ll discover all sorts of funky styles.
Model photos: Jack Deutsch; hair and makeup: Christie McCabe; stylist: Jessica Saal. Process photos: Scott Phillips. Illustrations: Lisa Summerell.
Styling credits: (top two photos) Pants—BCBG, BCBG.com; bracelet—Chan Luu, ChanLuuUSA.com; shoes—Carlos Santana, select Macy’s; (third photo) Shorts—European Culture, AgentRedPR.com; shoes—Carlos Santana, Shoes.com; bracelet—Chan Luu, ChanLuuUSA.com; earrings—Liz Palacious, for info, Supplements NY, 212-290-0091





What a perfect tunic idea! Thanks. I'll try sewing it from different coordinating prints. Even from silk triangular scarfs.
I love this~ Can you tell me how the third triangle is sewn in? It looks like the picture above with the light and dark Grey scarves is sewn with three, and maybe the triangle is sewn in from another edge?
I am a full figured woman so I want a bit more coverage. Thanks so much for sharing~
~~Carla
Hi - this design is amazing but I would love a few more details about how to construct the top, and the dimensions of the triangles - thanks so much - can't wait to get started!