Staying a Curve with Crossgrain Muslin
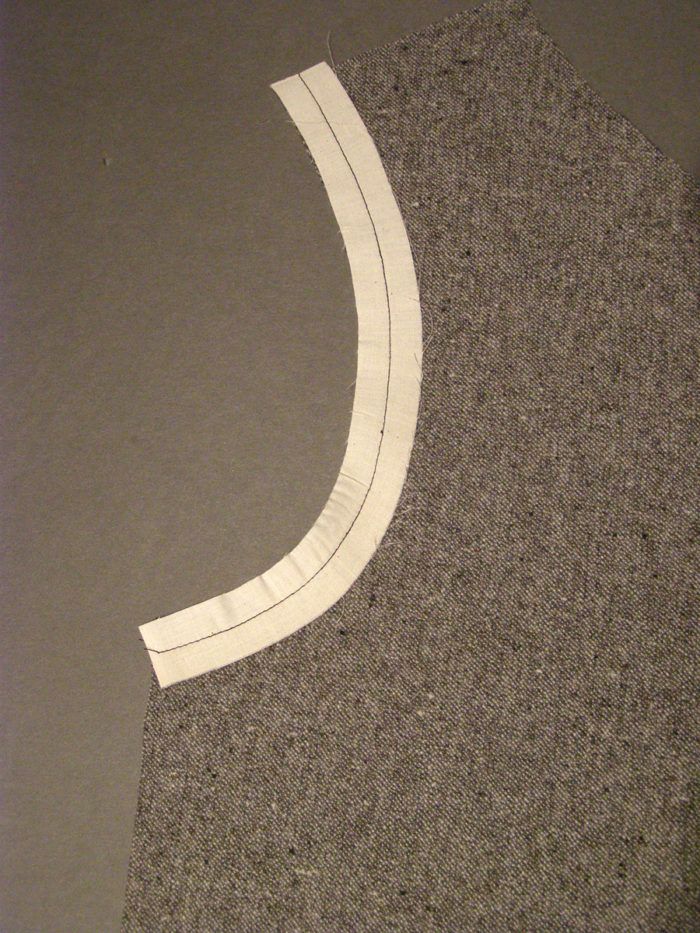
This is a little trick I learned recently from one of the veteran tailoring professors at F.I.T. It exploits the property of crossgrain stretch.
A little explanation is in order: When fabric is woven, the lengthwise grain yarns are held under great tension during the weaving process. This creates a situation, where the fabric has less stretch along the lengthwise grain, but more stretch across the crossgrain. It is this property that we’ll be exploiting.
The object of this post, is to show how to use a strip of crossgrain muslin, to stay a curved armhole. In tailoring, you want to stay the armhole before you construct the jacket; otherwise, the bias stretch that occurs on the armhole will distort the armhole and create problems later.

Begin by cutting a strip of muslin (the thinner the better), 3/4″-1″ wide, and as long as the armhole circumference you want to stay. This strip is cut 90 degrees to the selvage and lengthwise grain–in other words, it’s cut on the crosswise grain. 
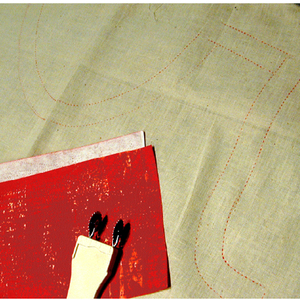
Go to the pressing table, and press this strip into a curve. While pressing, hold the strip firmly under the iron, and pull strongly. At first, the opposite edge will ripple a little bit, as shown. 
Pull hard, while holding the iron down against the table, so the strip doesn’t slip out from under the iron.
Keep pulling and stretching, working up the strip bit by bit.

You can have the garment section or the pattern piece on the pressing table as a guide, to ensure you’ve pressed the strip into enough of an arc.
Here you have the strip,pressed to match the curve on the armhole. Now, pin the strip to the wrong side of the fabric, matching the raw edges. Stay stitch 1/8″…
Start your 14-day FREE trial to access this story.
Start your FREE trial today and get instant access to this article plus access to all Threads Insider content.
Start Your Free TrialAlready an Insider? Log in




Do you sew over the stay again when you sew the armhole seam?
I'm curious what you do next. There should be 1/5" of fabric , which would overlap with the seamline. Do you fold it back?
Is this procedure to be done on both front and back pieces of a jacket? (I would assume so).
Very neat idea! Does the piece of fabric remain in or removed just before setting in the sleeve? Wouldn't adding an extra piece of fabric create a bulky seam?
Good tip but I agree, I would like more information also.
This technique is for a wool jacket. The muslin does not create bulk. Use muslin strip for the back and front to stabilize bias edges. When join with arm, sew right over it. Since it is sewn on the the wrong side of the fabric, it is not visible when the arm is sewn on. No need to trim after sewing.
This is a great technique for stabilizing bias. Silk strips can be used in lighter fabrics.
Thank you for your informative articles. I would really appreciate it if, however, an editor would read through them first though! Commas are often in the wrong place or not even necessary, making it harder to digest what you have to say.
This strip of muslin is sewn into the seam when you sew the sleeve in, so it will stay in the seam in the final garment. The muslin should be a thinner muslin, like a shirt weight. Then, you don't add too much bulk to the seam.
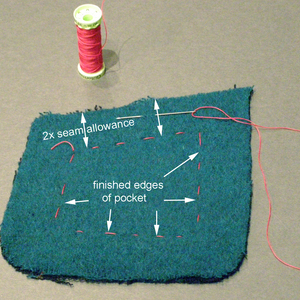
It can also be used anywhere you have a curve that needs to be stayed anywhere on the garment--on armholes, neck edges, pocket edges--anywhere there is a curved seam that you don't want to stretch out before you sew the final stitching line.
Since this is on the back (wrong) side of the fabric, you won't see it in the final garment. If you're worried about excess bulk, you can trim it to 1/8" from the final seam line after the seam is sewn. Then, just enough of the fabric will catch in the seam to keep the curve from stretching over the life of the garment.
This is a somewhat fiddly thing to do, but the jacket will sit perfectly if you take the time.
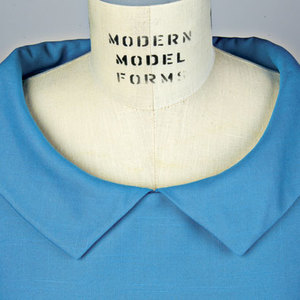
Another thing that you'll see on vintage garments is a bias-cut undercollar. Instead of cutting two identical collar pieces and sewing them together, the bottom collar is cut in two pieces on the bias and stitched to the garment before the upper collar and facing are added together. The roll on a collar put together that way will always be perfect. You'll never need to mess with pressing it into shape.
It's an easy thing to do for any pattern that calls for a rolled collar, but especially for jackets and heavier fabrics.
Thankyou for that Kenneth . I have problems with waistbands on wool crepe pencil skirts they seem to grow over time even when I use cotton twill tape and intercacing . These are faced skirts rather than ones with waist bands . Do you have any suggestions ?? i really get very frustrated when this happens . Thanks M
Thanks for a great technique. Keep on adding tips for us home sewers to learn.Even with the wrong place commas, we can understand them.
I want to thank you for all great advice since I stumbled upon this website not very long ago( 3-4 months:)
Without formal seam education, and these last years where I have been producing my own costumes - (costume design is my formal education)
let me tell you, twice the speed, unmeasurable higher quality on finish, and the joy of it all- beeing able, and hardly any unstiching at all. Belive I hit the Jackpot! Please keep it coming:)
Kenneth I'm newer to sewing than most readers of this post. First I'd like to say that I very much appreciate all your posts. With or without commas I believe them to be very clear. I'm sure you are extremely busy so finding time to post such great articles is greatly appreciated by the non-fashion-school-educated reader like me.
Brilliant idea! Stop the stretch without the bulk of twill tape.
The ,explanations, are, crystal ,clear, with, or ,without,commas.
To Memmy-- Do try this on the waist seam of a faced waistband. When you are shaping the strip, make sure to pull all the stretch out--this just involves really pulling on the strip while you're pressing. Then, your waist bands won't stretch over time.
And for all who don't care where my commas are placed--thanks for your indulgence! The editors at Threads have their hands full editing the magazine, so there are times when they can't get to the posts to clean things up.
Thank you, Mr. King, for another fine lesson. Your articles in the magazine, and your online lessons, are just what I love! Please keep them coming. You are an excellent teacher!
Thanks for this - and for the comment about using it on a faced waist. I always have trouble with that seam "growing" on me.
I believe that the muslin strip seam allowance to the jacket side should be pressed toward the armhole. Yes, the procedure would be done on both front and back armholes. I don't think the extra bulk would be a problem on most jacket fabrics. If so, trim the (now) under seam allowance by half, or only put the stay on the bottom curved part of the armscye.
Happy sewing
Your information is greatly appreciated. For the person that is criticizing the comma, Many people have wonderful things to say and should not be inhibited about the correct english.....too bad you have trouble understanding people who do not get it right you can be missing out on so much.
Kitchie
To Gwynnerose, you'd not press everything towards the raw edge of the seam allowance. When installing the facing or sleeve, you'll stitch through just the single layer of muslin flat against the back of the fashion fabric--if you wish, after sewing, you can trim the excess on the body side of the seam down to 1/8"