Much of the charm of fine sewing (and by charm I mean not only beauty, but wearability and effectiveness) lies in the details – and here’s a nice way to finish off snaps.
Certainly, covered snaps can be purchased, but you’re limited in size and color (they’re fairly large, and there’s not much of a color range). Fortunately, covering your own is easy enough – and I’ll show you how.
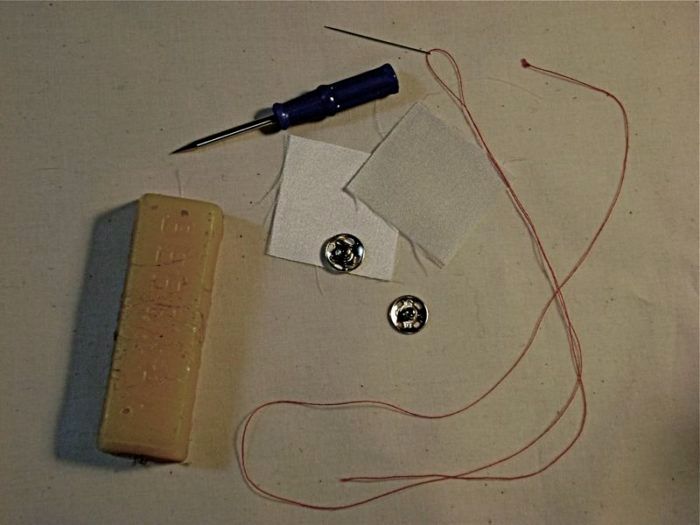
You’ll need the following supplies: a snap, a pair of one-inch squares of fabric, beeswax, a needle and thread, sharp scissors, and an awl.
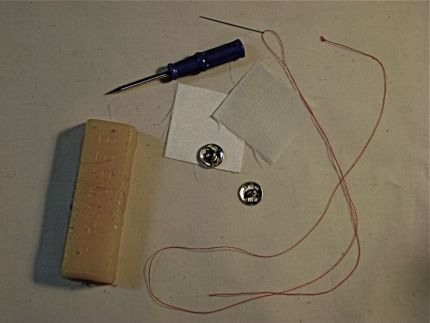
Choose a fabric that’s pliable yet firmly woven; silk crepe de chine and silk charmeuse are ideal.
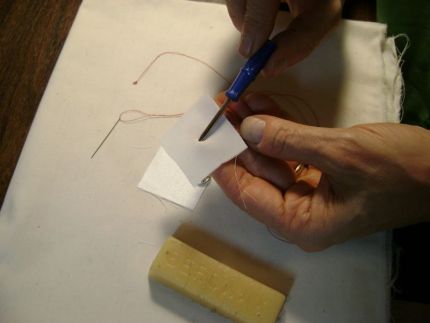
Begin by covering the with the male part of the set – it’s a little easier to control. Make a hole for the ball part of the snap with an awl. While it’s tempting to cut a little “x” into the fabric, making the hole with an awl is better. The fabric is going to be pulled awfully tight, and if the fabric were cut, the fibers would begin to pull apart under tension. If you don’t have an awl, you can use the points of your smallest, sharpest scissors to make the hole (keep the blades closed as you work).
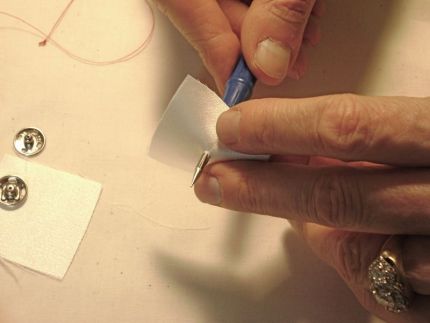
Once the hole has been made (and don’t make it any larger than you have to), use your fingernails to force the ball through.
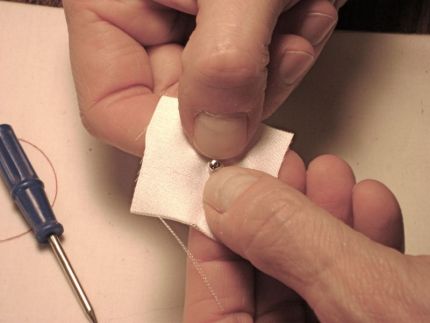
Then, make a little pouch by using your thread to create a drawstring.
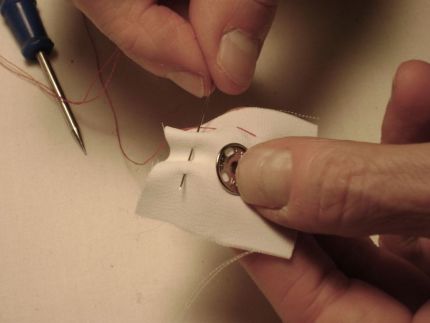
Much of this fabric will shortly be trimmed away, but having something to hang onto as you cover the snap is a good idea. As you finish with the drawstring, orient your final stitch so that the end of the thread is to…
Start your 14-day FREE trial to access this story.
Start your FREE trial today and get instant access to this article plus access to all Threads Insider content.
Start Your Free TrialAlready an Insider? Log in


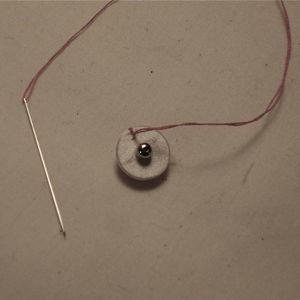




Ok! This is the one part of snap. What with the another half of snap?....
If you go to the end of the article, you'll see that that's been addressed. They're pretty much the same, but the other part is a little more slippery (without that ball to hold the fabric in place), so I think it's good to start with this part first to learn the technique.
Very well explained, and the photos are easy to follow. It makes it sound so simple I can't wait to try it. The end result really is attractive.
Thank you, thank you, thank you. When I sew, I want my results to be truly professional and couture looking. I always wondered how to create covered snaps as I've noticed that only the best articles of clothing have them. I can't wait to try this out. I also think covered snaps look great on hand knit cardigan sweaters. I find knit buttonholes always stretch out, so I tend to omit buttonholes, and either add some grosgrain ribbon to the front inside edges and close with snaps, or change the design and add a hand-sewn in zipper. I will use the covered snaps and coordinate the color with the grosgrain ribbon for a beautifully finished look.
Elizabeth
Thanks so much for a very clear explanation of covered snaps. Your magazine is an amazing reference for all couture sewing techniques.
After I complete the male half of the covered snap, I place the second square over the female half and snap the two together. I then finish the female half while they are connected. This keeps the snap from flipping over and gives you a little extra heft to hold onto. I go to you, Susan, for many, many couture techniques that I want to learn or perfect. You're the best!
Are there any step by step instructions regarding how to add a lining to a skirt with a kick-pleat? Attaching the lining to the kick-pleat is very difficult for me.
@sewerinprogress, The Cupcake Goddess has a nice tutorial on lining kick pleats here http://www.thecupcakegoddess.com/the-cupcake-goddess/2010/08/pencil-skirt-lesson-3-back-vent-tutorial-part-ii.html
Does anyone have a source for snaps that are curved so the bunch of fabric that is present due to the covering process at the back has a place to go? The large size(s) used to be called "Coat Snaps" yet now no one seems to recognize the name and worse yet, no one has them.
I love covered snaps, and do this often. I have a little trick on how to hold onto the snaps with ease as you cover them. Pictures on my little blog under Sewing Tips!
http://www.sewingwithkathleen.com
Hope this added little trick helps you sew this wonder finishing touch!
For a garment that will be frequently laundered, I wonder if a piece of iron-on stabilizer on the piece of fabric that goes on the male half of the snap would prevent fraying.
Also, I really like Redgate's suggestion for putting the two pieces together before finishing the female half of the snap. Very neat!
"Begin by covering the with the male part of the set"
Please insert the missing word. I'll try this, if even just for practice!
I appreciate you solving this problem for us.
Style.com has an attractive classic by Armani. Its beige with a jacket over it, perhaps done in silk. I think he used snapsfor the wrap blouse.
How did he make the ruffles on the edge of the blouse? Are they cut out as round ruffles on the edge, or is it all in one piece? Where can I find the information for ruffles in Threads? I've looked in the archives and couldn't find them.
I found those ruffles which are actually called flounces in the Sept. 2007 #127 magazine. Page 64. I'll practice covering those snaps on the wrap blouse.
I have used this method to cover snaps in the past and to
prevent fraying of the hole in the fabric, I put a drop of
Fray Check in the area of the hole and allowed it dry before
finishing the covering process. When using the Fray Check,
rub it in lightly with fingers to keep it from forming a
bead that will interfere with snap closing.
Am just finishing a jacket on which I wish to cover some snaps. It is so nice to be able to return to your helpful hints and teaching articles in Threads by going online and searching, and by being able to find them, also, in my Threads Archives. Thank you so much.