Create Ripple-Free Piping

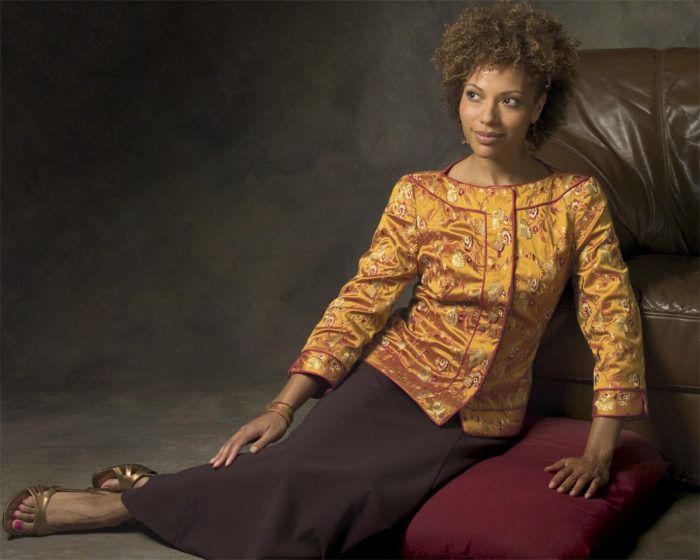
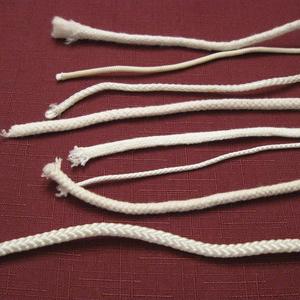
When you get down to it, piping is just a fabric-covered cord. It should be easy enough to produce, right? Well, the answer is yes…and no. This wonderful design detail adds structure to garment seams and edges. Sewers of any level can tackle this technique. All piping is made with bias strips of fabric cut on a 45-degree angle, which are then wrapped around a filler cord, and applied to a garment.
But the very nature of stretchy bias fabric requires careful handling within the framework of those few simple steps. These fine points are key to controlling bias stretch and are well worth the extra time they require. Your piping will be tight, even, smooth, and frustration-free-you’ll never again have to rip out stitches to fix a pesky snag, fold, or ripple.
Here, Susan Khalje demonstrates the key steps to creating ripple-free piping.
From Threads #120
Start your 14-day FREE trial to access this story.
Start your FREE trial today and get instant access to this article plus access to all Threads Insider content.
Start Your Free TrialAlready an Insider? Log in


Log in or become a member to post a comment.
Sign up Log in