6 Steps to Sewn-In Bathing Suit Bra Cups
Sew your own bra cup insert for a custom-fit bathing suit.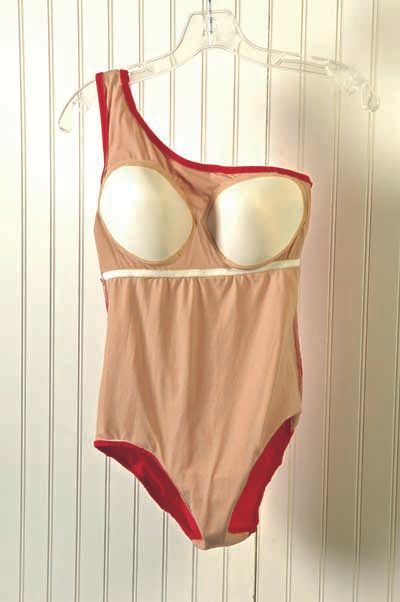
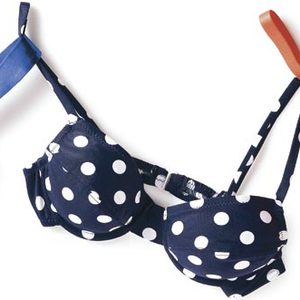
Add a bra for great fit.
Get a custom fit by making a bra cup insert for your self-sewn, one-piece bathing suit in six easy steps. Purchase separate bra cups and a little extra lining to make your own custom-fit swimsuit bra. Examine your favorite bra or swimsuit to determine the best placement for you.
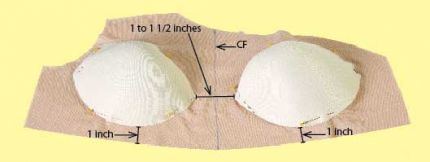
1. To establish a bra pattern, measure down from the underarm to beneath the bust. Mark a line on the front pattern piece 1 inch (for A and B cups) or 1 1⁄2 inches (for C cups and larger) below this point. Mark the center front. Mark a line on the straps 2 inches above the deepest neckline point.
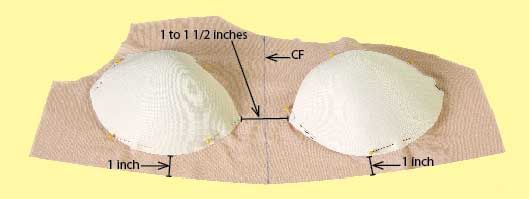
2. Cut the bra from lining fabric, and mark its center front. With suit side up, position and pin the bra cups to the lining’s wrong side. Place the cups 1 inch above the lower edge and 1 inch apart for A and B cups or 1 1⁄2 inches apart for C cups and larger.
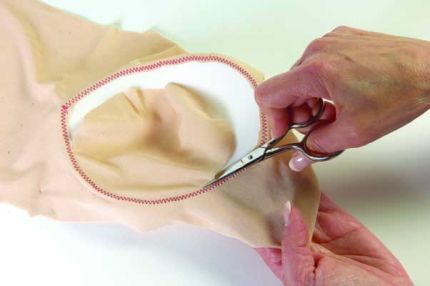
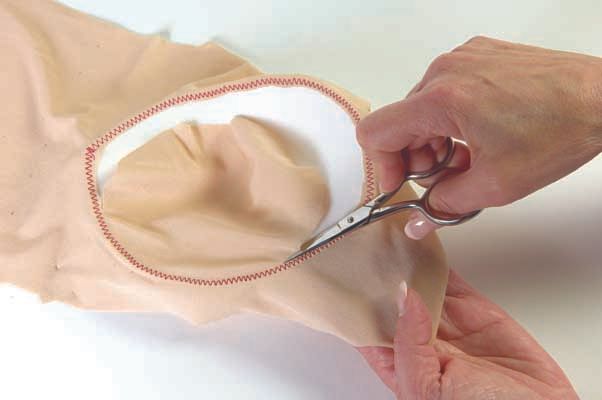
3. Zigzag-stitch around the cup edges, through the cups and the lining fabric. Trim the lining away from inside the cup.
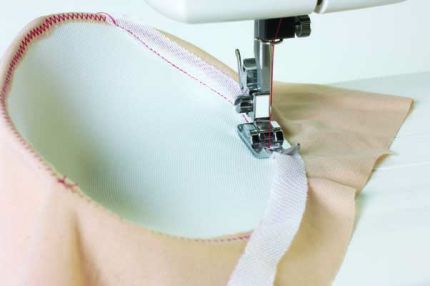
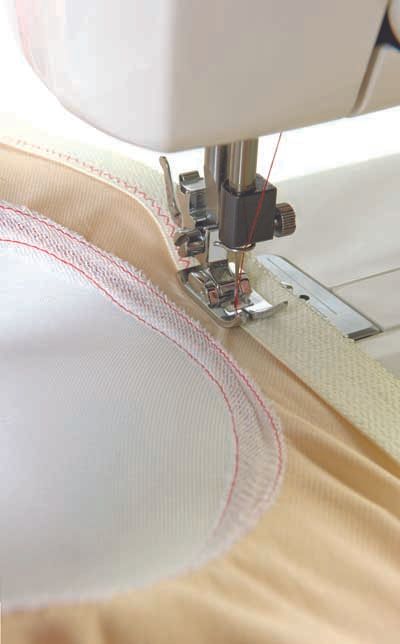
4. Cut and pin a strip of 1⁄2-inch-wide lingerie-weight tricot around each cup edge to cover the stitching. Overlap the ends and straight-topstitch 1⁄16 inch along both edges around each cup.
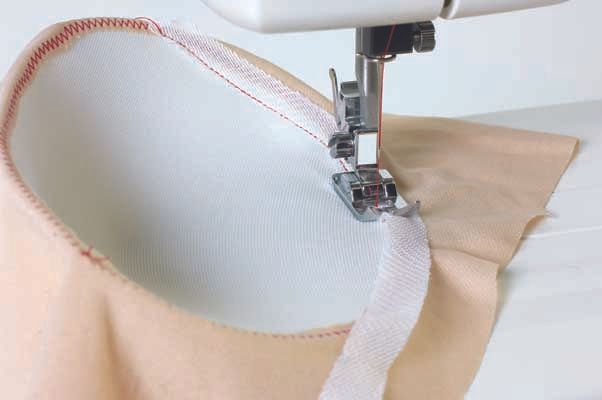
5. Cut a 1⁄2-inch-wide piece of picot-edge brushed-back elastic 1 inch shorter than the bra’s lower edge. Mark the center. Pin the elastic, brushed side up, to the inside lower edge of the bra, matching center marks. Topstitch using a wide zigzag stitch and stretching to fit.
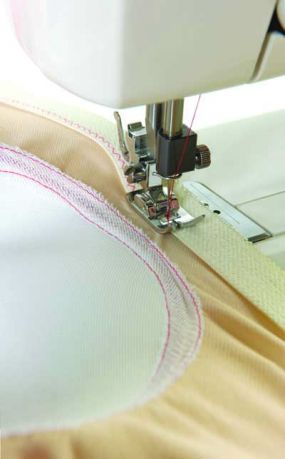
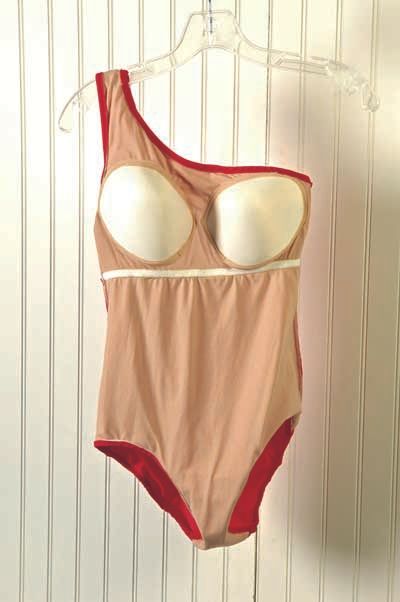
6. Install your bra before sewing your swimsuit layers together. Place the bra with the skin side up on top of the right side of the swimsuit front lining, aligning neckline and armhole edges. Baste the armholes, neckline, and side seams. Zigzag-stitch to the front lining across the straps. The lining and bra will now be treated as one piece.
Stitching tips
Set up your serger
If you’re using a serger, use a three-thread overlock stitch with wooly nylon in the upper and lower loopers and polyester thread in the left needle.
No serger, no problem
On a regular machine, use a long basting stitch and a zigzag stitch with a stretch size 11 needle. A walking foot may help with all the layers.
Baste seams before sewing
To ease fabric handling and minimize fabric slippage, baste all seams before machine-sewing.
This post is an online extra to”Bathing Beauties” from SewStylish summer 2011, which was adapted from “Take the Plunge” by Laura Keith, Threads #131 (June/July 2007).




Awesome work and nice...
I appreciate yur work