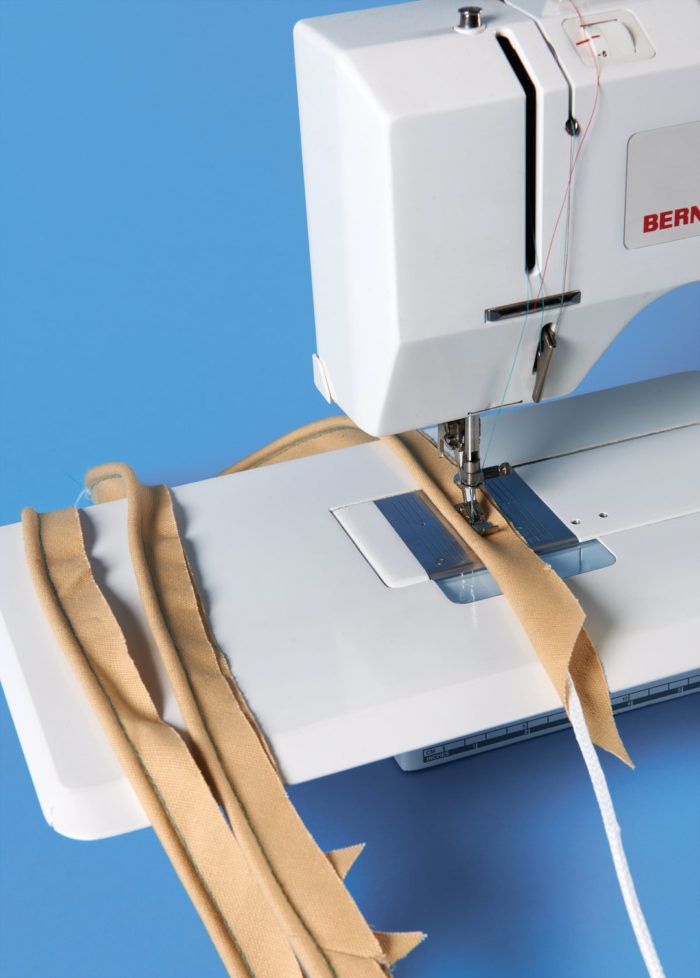
Learn how to make covered piping to match or coordinate with your projects.
In Threads’ Quick Stuff to Sew Winter 2012, Anna Mazur shows how to make a gorgeous oversized envelope clutch with custom-matched piping accenting the seams. It’s easy to make your own piping for your projects, whether it’s for accessories like the envelope clutch, garments, or home decorating.
To make custom piping for the envelope clutch project, you’ll need:
- 3 yards 1/4-inch-diameter cord (cotton piping cord is best)
- 1/2 yard fabric, leather, or faux leather
- Sewing machine zipper foot
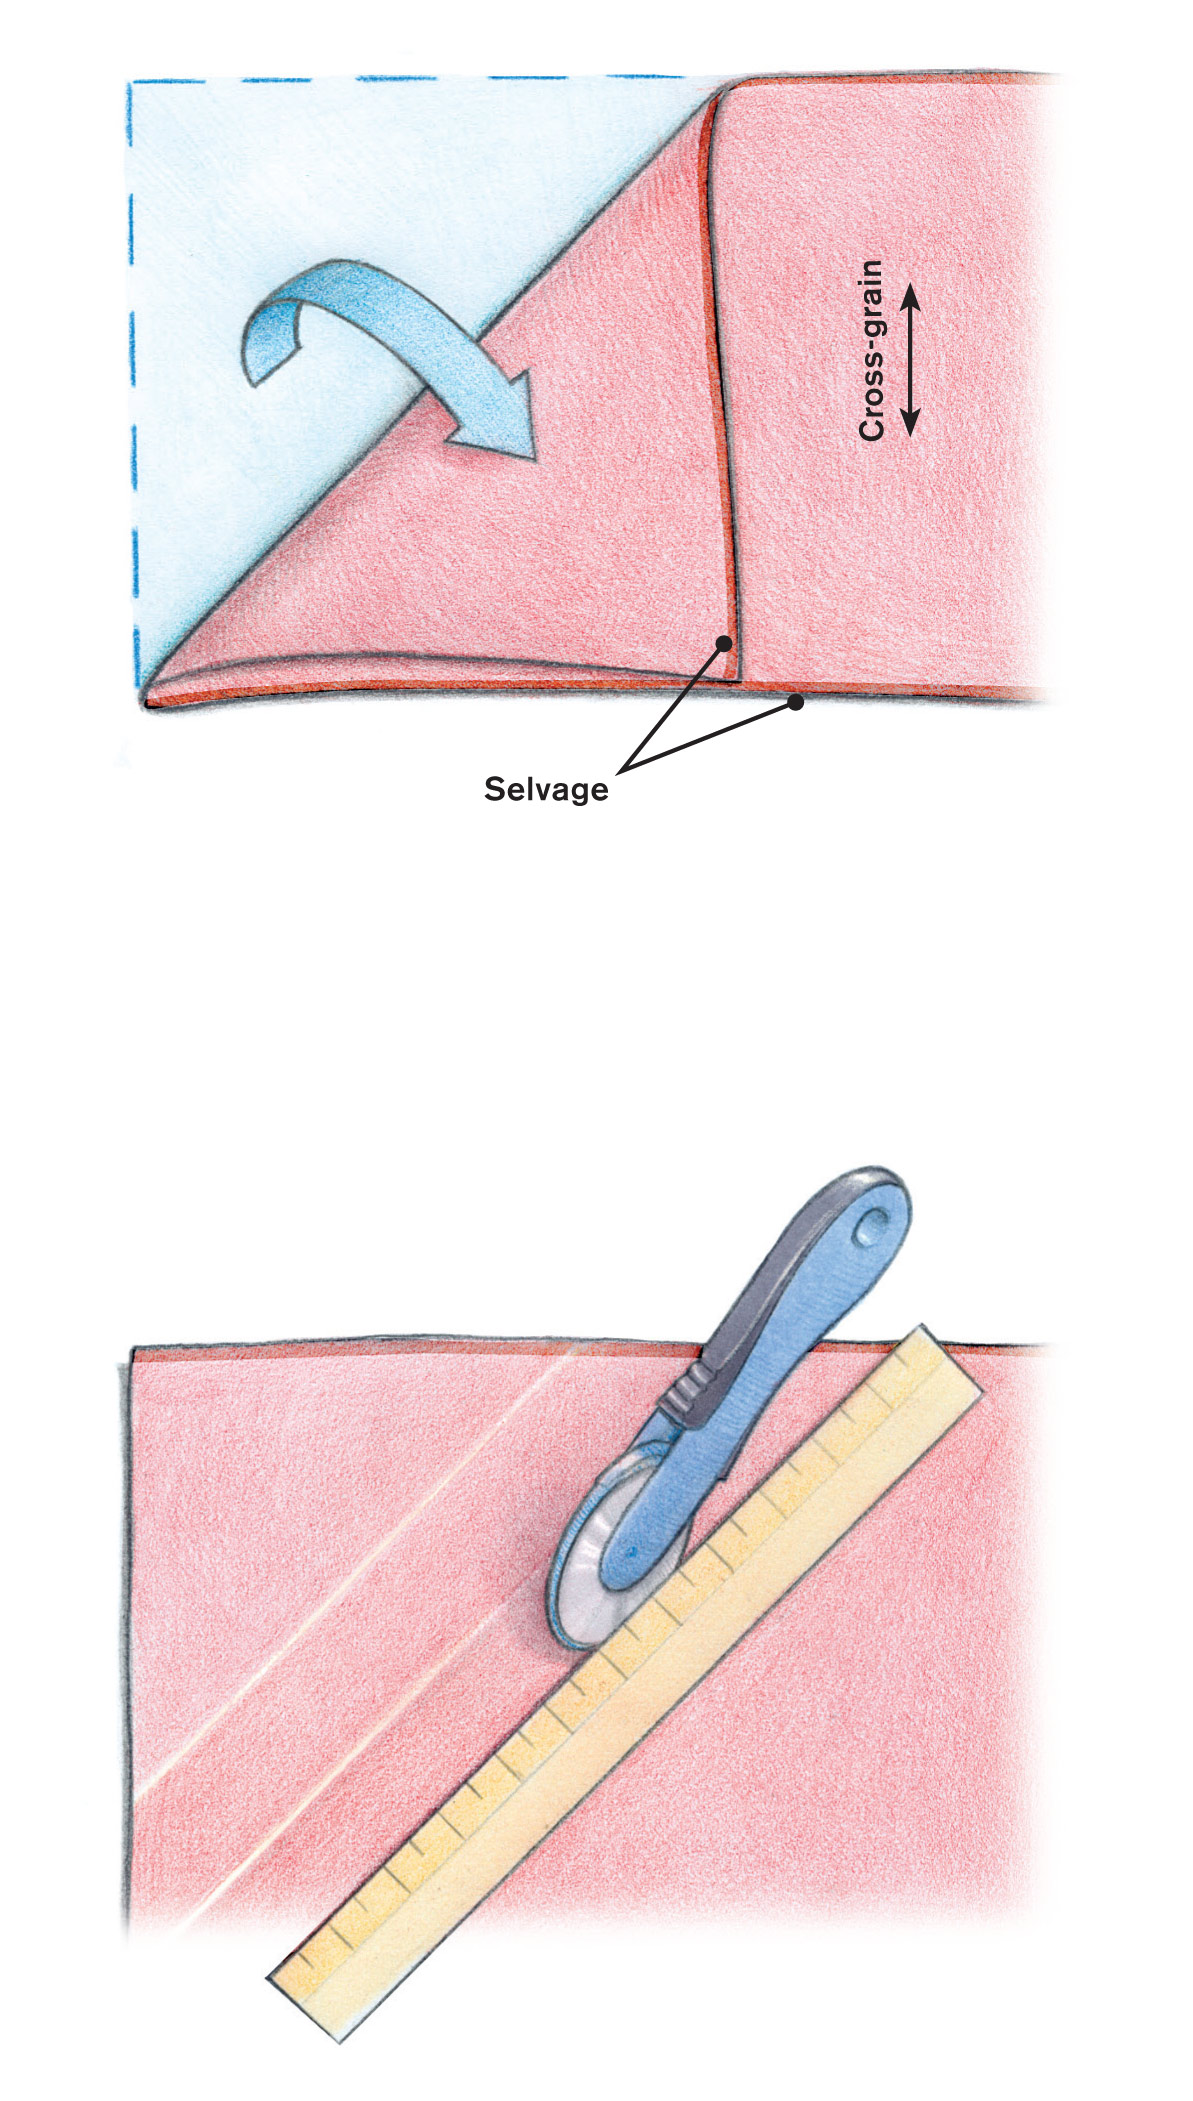
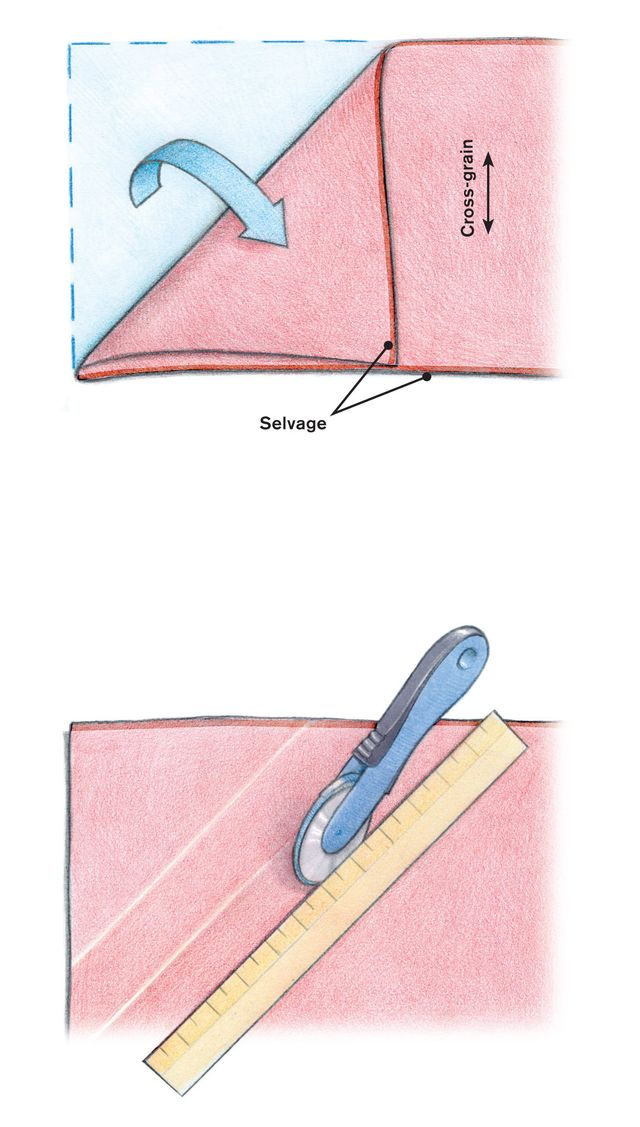
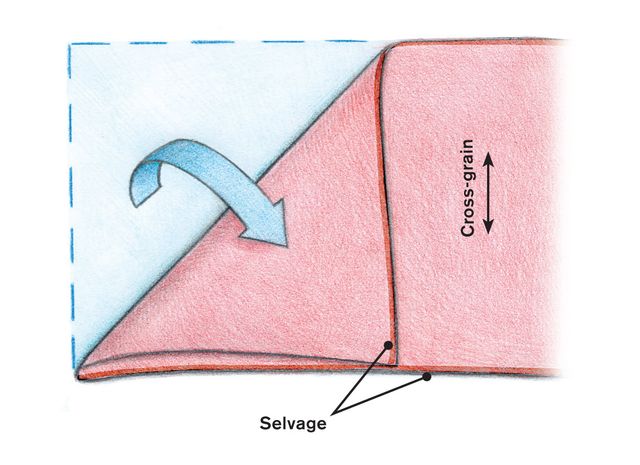
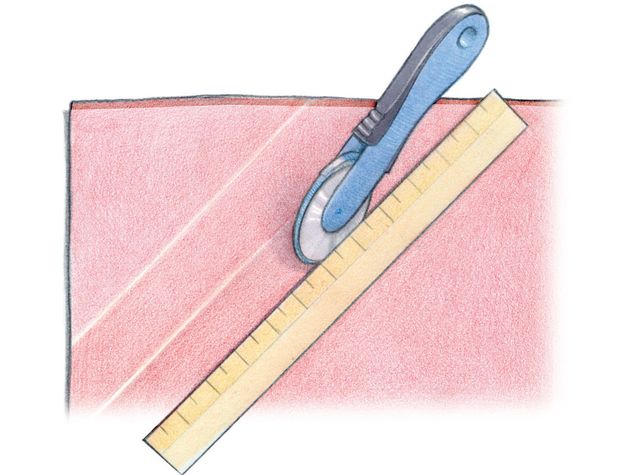
1. Cut strips of the fabric or leather 3 inches wide on the bias. The seam allowances are 1 inch , yielding a 1/2-inch-wide finished piping. The clutch’s piped edges are short, so it’s not necessary to create a long, continuous strip of piping.
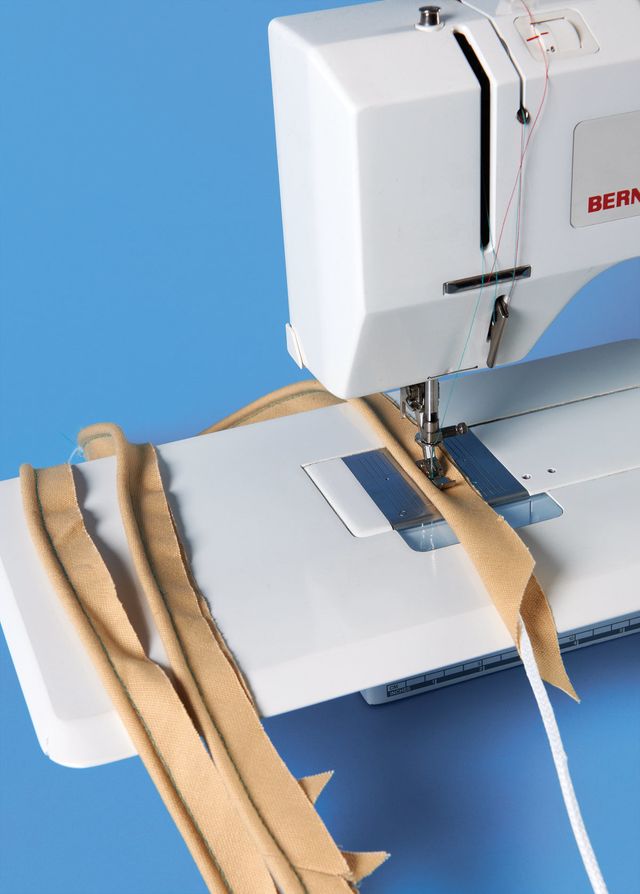
2. Lay a bias strip right side down on a flat surface. Center the cord lengthwise on the bias strip, Then, fold the strip in half lengthwise over the cord, enclosing it. Pin the seam allowances together, close to the cord.
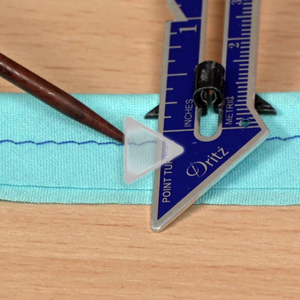
3. Attach your machine’s zipper foot. Sew the seam allowances together, stitching close to the cord.
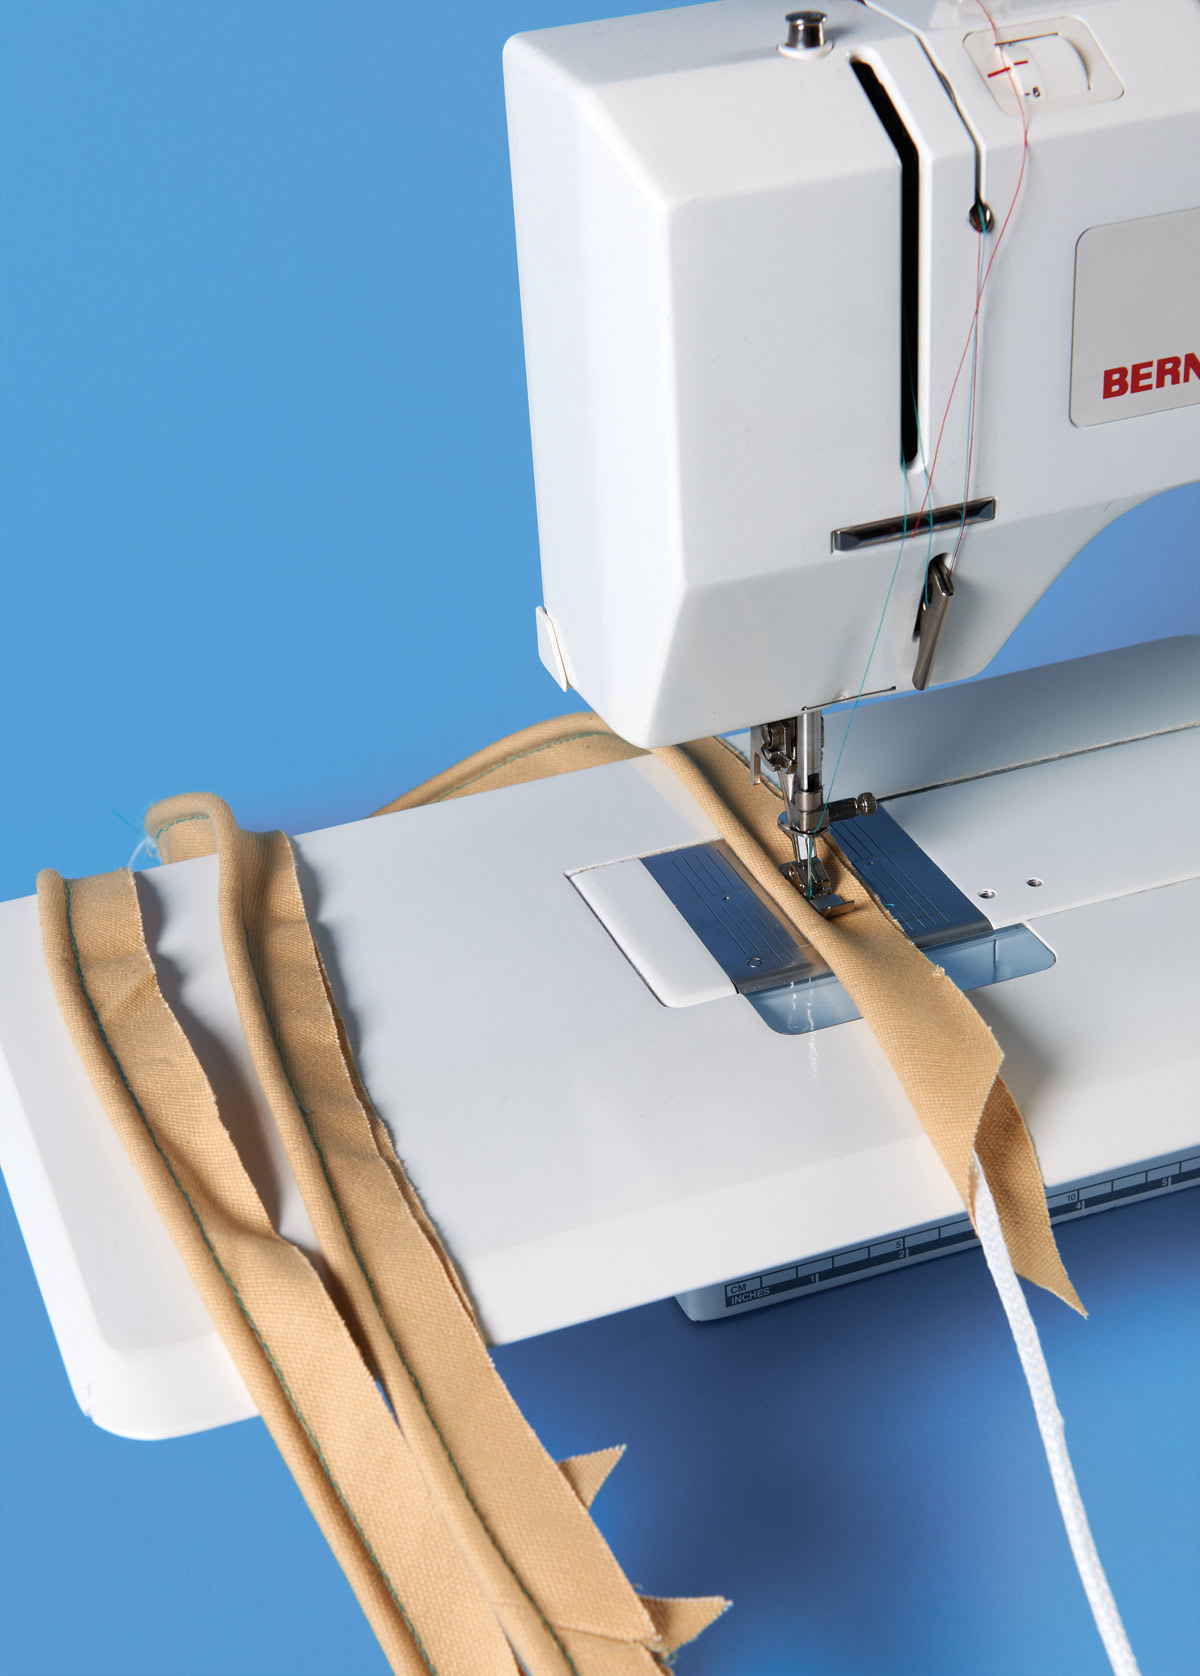
4. Sew the piping to the clutch edges as directed in the article.





How insubstantial an article this is! It does not even talk about how to join a larger piece of fabric so that you do not need to cut all of those little lengths. Most old time sewers know how to join to make a bias tube.
Also, it does not address the issue of stretch that occurs. I used to make a lot of bias when I did a home decor business. There is a lot more to it than represented in this article.
Threads should know better.
Tuesday...notice :"The clutch's piped edges are short, so it's not necessary to create a long, continuous strip of piping." she wrote
Good concise info here for me. Thanks for the mini tutorial!
I agree with LaurieDiane, Tuesday, but perhaps you could contribute with how to avoid the "issue of stretch"?
Thanks for sharing it
One of the best