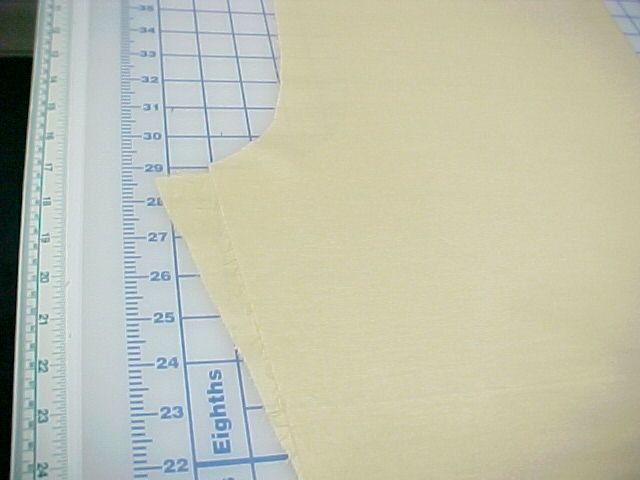
I notice during the alteration of better ready-to-wear pants that typically the back pant inseam is slightly shorter than the front inseam. The back inseam is on a greater bias than the front inseam and stretches to fit as it is stitched. Here, I’ll show you how to sew together two different off-grain fabrics.
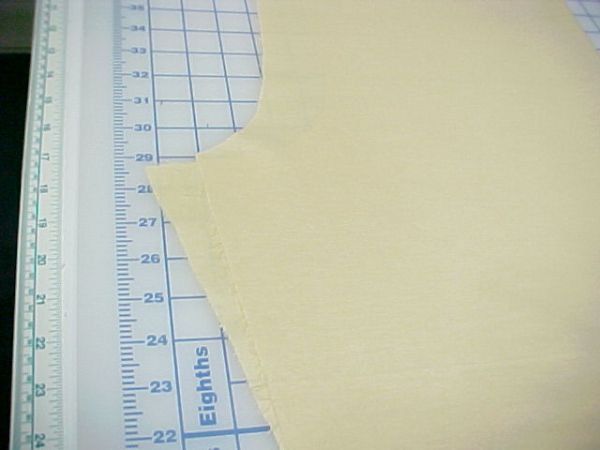
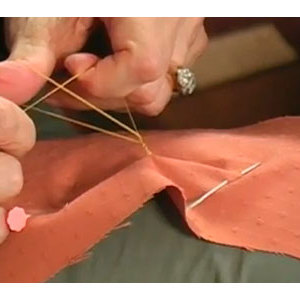
2. Place a pin at the top, matching the crotch corners. The pin placement should be perpendicular to the inseam with the pin heads visible from either side of the pants. The pins should catch only a few threads exactly at the stitching line. This is the only place the garment must match, along the stitching line.
3. Then, move to the hem and begin pinning the inseams together at a one to one ratio.
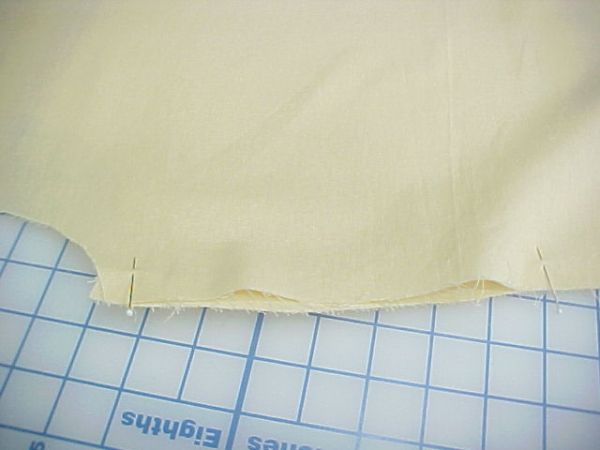
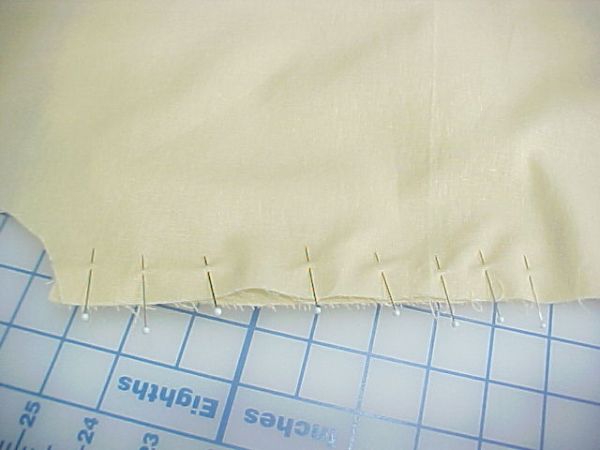
6. This will mean that one of the pant legs will be sewn from the crotch to the hem and the other leg will be sewn from the hem to the crotch. Always keep the back inseam on the feed dogs.
7. The back inseam will slightly ease into the front inseam. The front inseam shows the easing. 8. Press from the front and…
Start your 14-day FREE trial to access this story.
Start your FREE trial today and get instant access to this article plus access to all Threads Insider content.
Start Your Free TrialAlready an Insider? Log in




I wish the demo fabric had been in a color rather than in natural muslin (or in 2 different shades); even a denim which is shaded differently on the inside and outsides.
It is really difficult to see the Front and Back pieces separate from each other in these images.
Thx for the explanation however.
Louise, thanks again for such a wonderful explanation of "why" and "how".
I knew from my older (1970's) patterns that there was a discrepancy in length of back leg seam between knee and crotch, but had forgotten exactly where and what it was.
As always, you have made my sewing more easy and professional looking, important for my clients as well as myself!
I was taught to stretch the shorter piece with an iron before sewing them together, and have always wondered if there was any difference in result between the 3 alternatives: stretch, ease and same-length pieces. Has anyone ever compared them?
Hey fancy meeting you here...from feelted bears to sewing pants?
I agree, I had a problem seeing the fabric too, maarcella in Holland
Such an integral piece of the piecing puzzle.
Thanks Louise!
Funny, I had always been told that one places the slightly longer piece on the bottom and the feed dogs feed it in. I've even found it helpful to pin parallel with the seam about 3" in from the cut edge so the edges stay together and you don't have to take out the pins. Always sew from the wide to the narrow, ie, crotch to hem. For the other seam, sew with the bulk of the fabric on the right.
The back has fullness that needs to be eased to the front? I thought it was the other way around ...
Yes, gently stretching the front pant leg inseam at the upper 8"-10" junction is what tailors do. They even stitch with a short slight zig-zag stitch. The inseams never pull up this way. Tailors are adept at stetching, then shrinking, stretching, then shrinking areas such as this. This puts wonderful give and spring to good fabrics.
Thank you for your tute. I too have been taught to treat the inseam slightly differently, but I'm very appreciative of now having an alternate method of achieving the same result. I will try this way for the next few times of sewing pants, to see if it is easier and as effective as what I already do, and after all we are creatures of habit and a few changes along the way makes things interesting. We all can learn a few new tricks, and I try to learn as many as possible. I did find the colour of the demonstration fabric hard to see AT FIRST but when I re read the tute I could see quite clearly the differences. I love reading other peoples' methods of sewing and achieving results, and I add their ideas to mine, or I wouldn't have as many reference books on fitting drafting and sewing as I have.
Thanks for the tutorial
reply to GMterrie,
I was taught to steam stretch the inner seam, but after many attempts and over steaming and impatience or trying to get it right i stopped doing so. If I used beautiful fabric I would still steam, but with what i can buy today, i find all that extra effort is wasted. I have some pants on the to do pile, so i will give this method a go to see if i am comfortable with its application.
I once watched a London tailor work on pants for the Castle guards' uniforms. He stretched, steamed, then pressed, stretched, steamed (from about 1-2" from the fabric) to shrink it, then pressed. He must have done this over half a dozen times before he was finished. Of course, he had one of those billion dollar steam iron units. That makes a HUGE difference.
Also, he's the one that told me about either stretching an inseam while stitching, or using the smallest zig-zag stitch on those areas, depending upon the fabric. Careful pressing of the seam after sewing it is crucial.
He showed me the neatest trick for turning 45 degree points (and less, if careful). He only trimmed the layers at the corners, leaving the one on the outside the longest. He did NOT cut across the fabric at the point. Then, he folded the seam fabric along the seamline, creating a point. He had a metal caliper-type tool that grabbed the fold tightly as he turned the garment right-side out. Then, he "popped" the perfect point out! We all laughed. Today, I use my finger tips or long tweezers. Enjoy!
I've read this over several times and I still don't see how the shorter back inseam is eased to the front .. I can't make sense of this
I've always known there was a difference in the lengths but never knew how to deal with it. At first I just sewed the seam and cut off what was left at the bottom, making them uncomfortable to wear. Then I tried stretching before sewing but never knew how much to pull. It's so much better when you know exactly what to do, how you do it, and WHY you need to do it, especially the latter.
Thank you Louise
GMterrie, for turning points use a surgical clamp for grabbing that folded-over seam. They grab and stay that way until you release them, makes it much easier.
***Apologies for going slightly off topic there ***
Love the hints on the inseam. I think I always just trimmed off the extra at the hem. I'm about to use some very nice wool fabric for slacks and will add this to my techniques. I'll probably try a combination of steam-fitting and easing.
I usually sew my crotch seam first before the insesam, particularly since I make mostly jeans or pants with a front zipper. This tutorial shows sewing inseam first. Is this a problem?
Longest layer next to the feed dogs will ease it to match the top layer. The pant leg needs ease at the front thigh as this is the fullest part of the leg; crotch to knee.
Longest layer next to the feed dogs will ease it to match the top layer. The pant leg needs ease at the front thigh as this is the fullest part of the leg; crotch to knee.
I always teach beginners to put the longer side next to the feed dogs and allow them to ease the little bit of excess into the shorter side, which is on top, under the needle. This works so well when easing a sleeve cap, too.
I think it was Clotilde that recounted a story where she was explaining to her students that the piece being stretched should be on the top, and the longer piece should go next to the feed dogs to help ease in the fullness. One student remarked "so you always sew with a relaxed bottom!"
I would LOVE to see GMterri post a demonstraition how the London tailor did the 'point turining'with a 'caliper' type device. As for stitching the inseam, I too was taught to stitch with the LONGEST piece of fabric AGAINST the feed dog. I'm thoroughly confused now.
This article is hopelessly confusing. I hope Threads does some editing before new sewers become completely bewildered. If you're trying to create fullness in the front for the thigh, why would you stretch the back? You don't stretch the armscye to match the sleeve cap. Instead, you ease the fullness of the sleeve cap into the smaller armscye. It should be the same thing here. Also, if you want to use the feed dogs to help ease the fullness, then you sew with the longer piece down, next to the feed dogs. This is a matter of preference, though, since some people feel they have more control over the fullness and preventing puckers by keeping the longer piece on top. Personally, I would do the same thing I do with sleeve caps. I would pin baste the longer piece to the shorter one, hand baste, and sew with the longer piece on top to make sure I didn't stitch a pucker into the seam. At the very least I think the sentence, "The back inseam will slightly ease into the front inseam" is just plain wrong and should be corrected.
Yes, this confusing article should be edited for accuracy. I feel sorry for beginners who take these articles seriously.
What a good explanation for sewing along bias edges. I will change my pinning technique to this one.
Sorry.Confusing for me. I prefer to see this in video and with distintive fabric colors for identify the parts correctly...
Thanks for the tutorial. I often wondered that the back pieces of many garments (briefs, swimsuits, shorts) were larger than the front garments and now I know how to handle the discrepancy for a better fit and for better wear.