

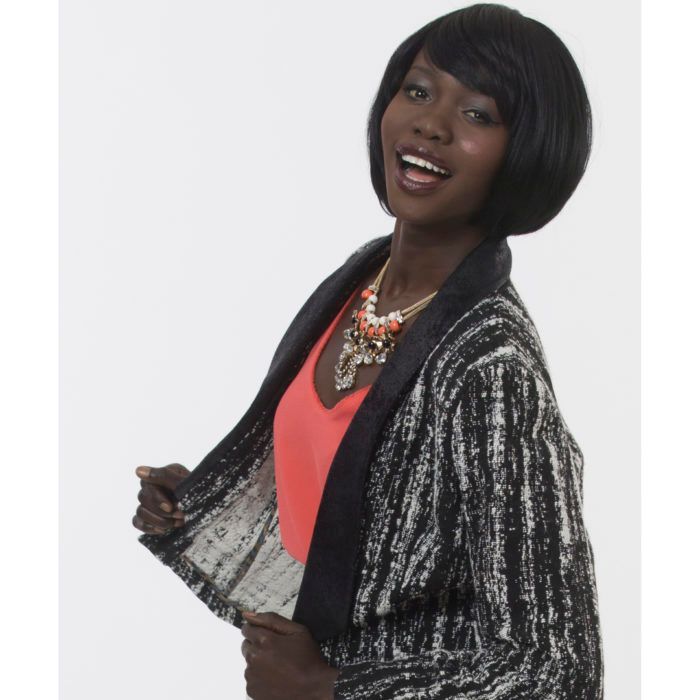
The seam allowances in this wool jacket were bound with multicolored silk from neckties.
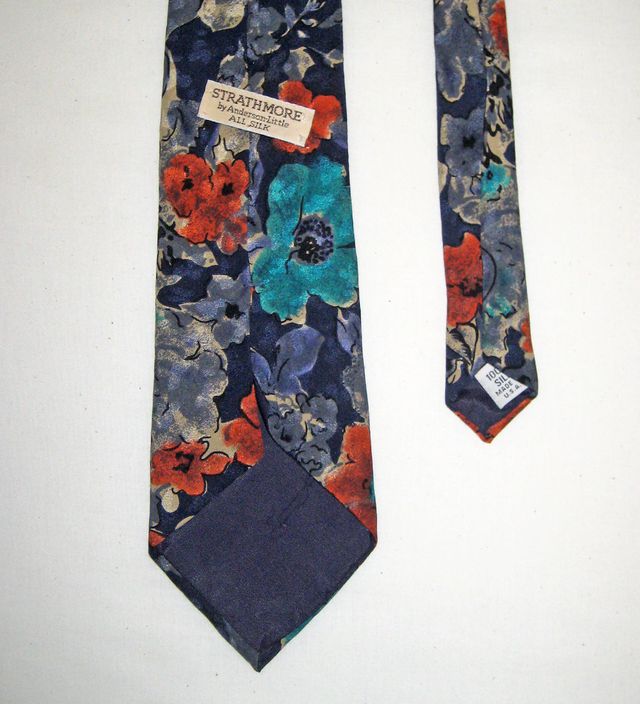
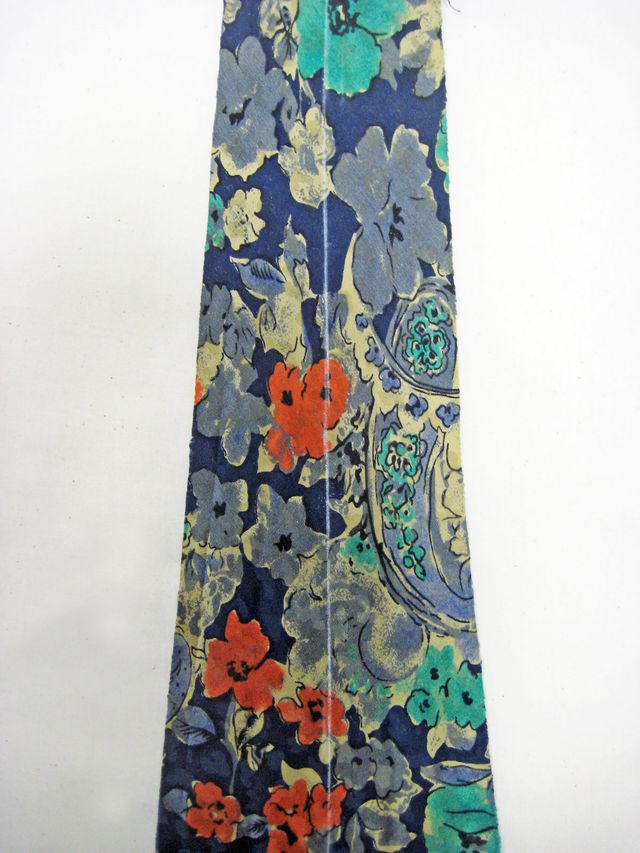
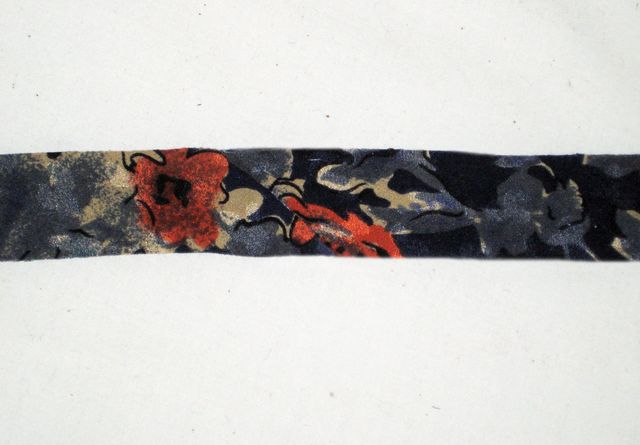
Secondhand silk ties provide a gorgeous and economical way to get quality fabric for bias strips. Neckties are cut on the bias, and many are made of finely patterned silk. The strips can be used to bind edges, make piping, or to create luxurious bias tape.
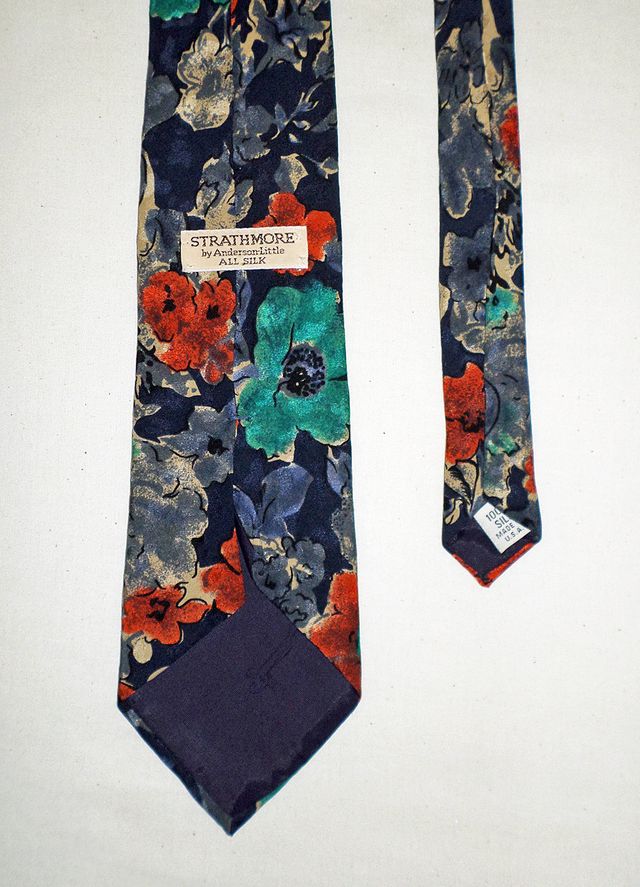
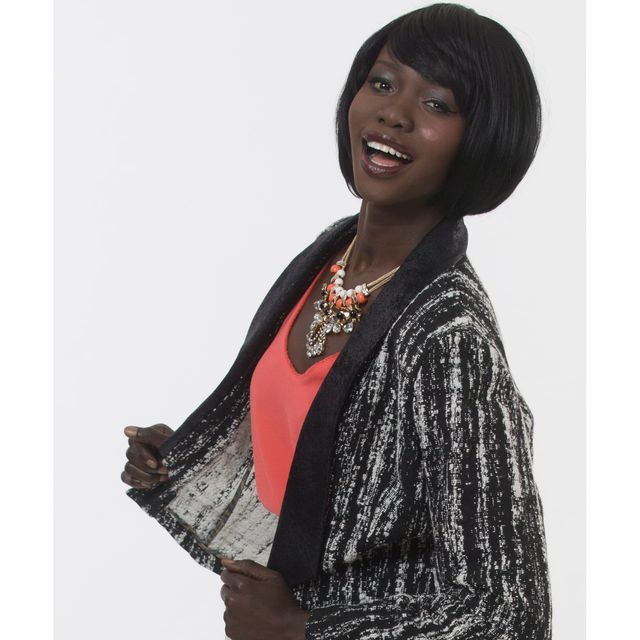
In the Fall 2013 edition of SewStylish, the article “Inspired Sewing” featured versions of the Simplicity SewStylish 1542 jacket, and one unlined version had seam allowances bound with necktie silk. Here’s how to prepare the neckties and cut them into binding strips, based on a technique by Patricia Keay, a Threads magazine author and expert in fine finishing techniques.
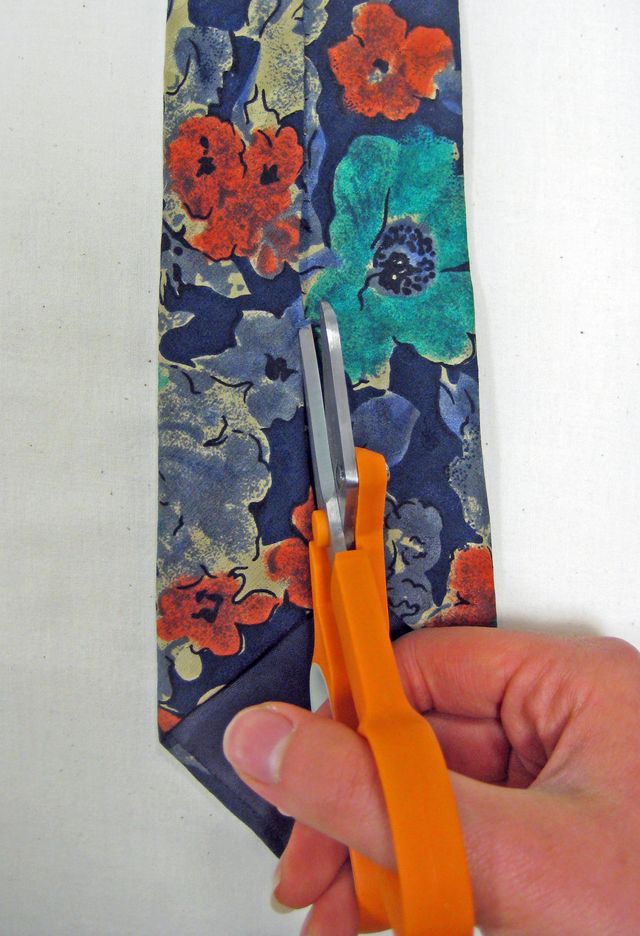
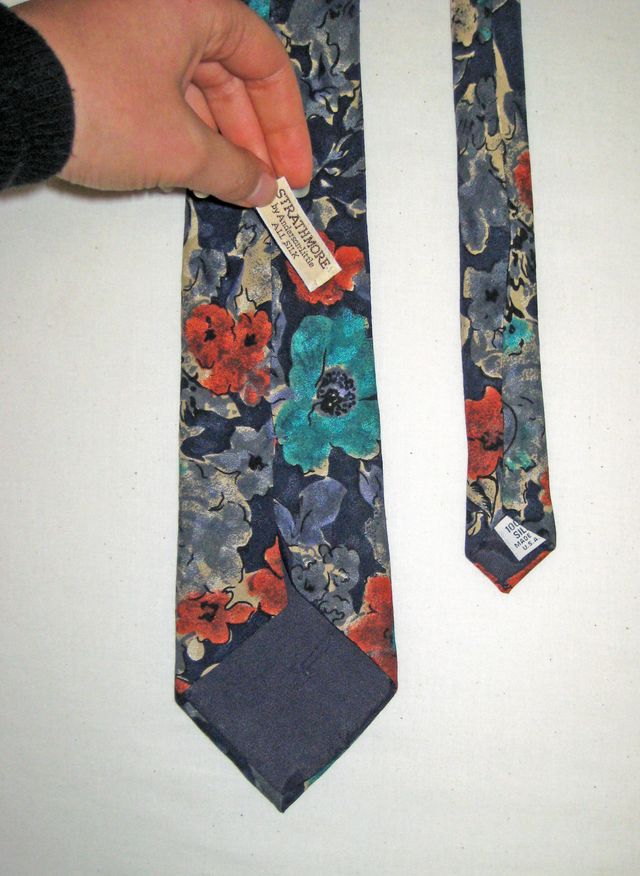
1. Disassemble the tie. Remove the loop (if there is one), the label, and the bartack near each end of the center-back seam.

2. The center-back seam is usually sewn with hand stitches that are easily pulled out. Snip the seam thread at each end and the center. Pull out the thread lengths at each end.

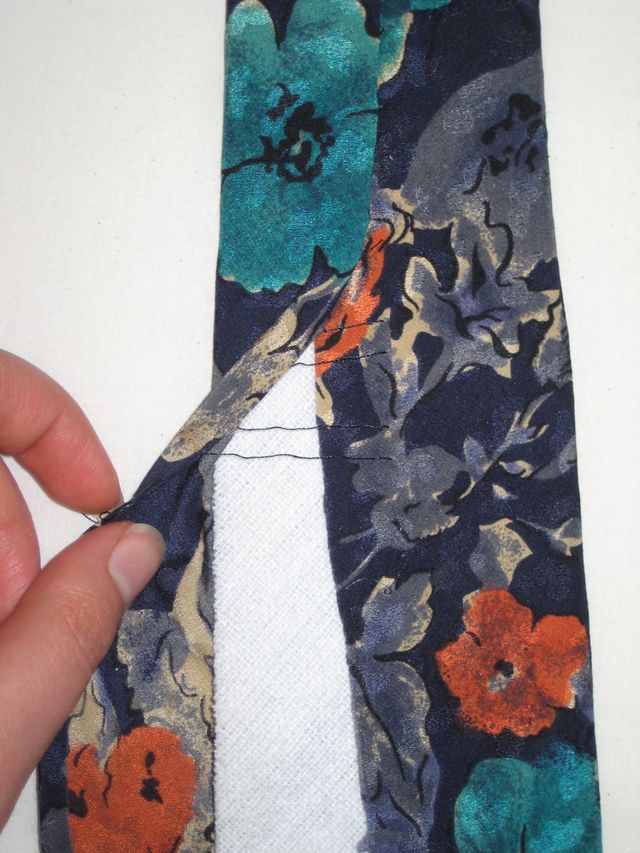
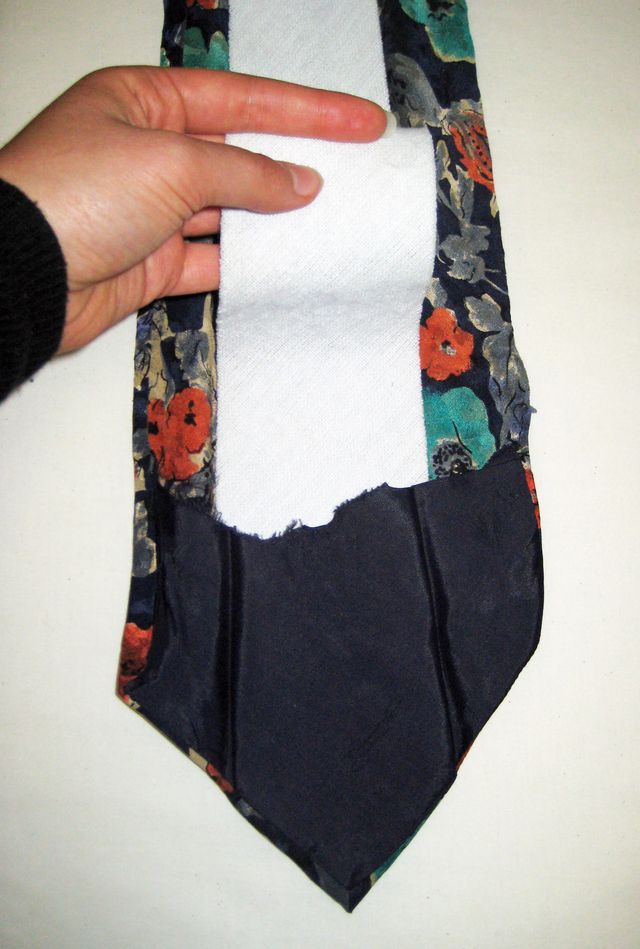
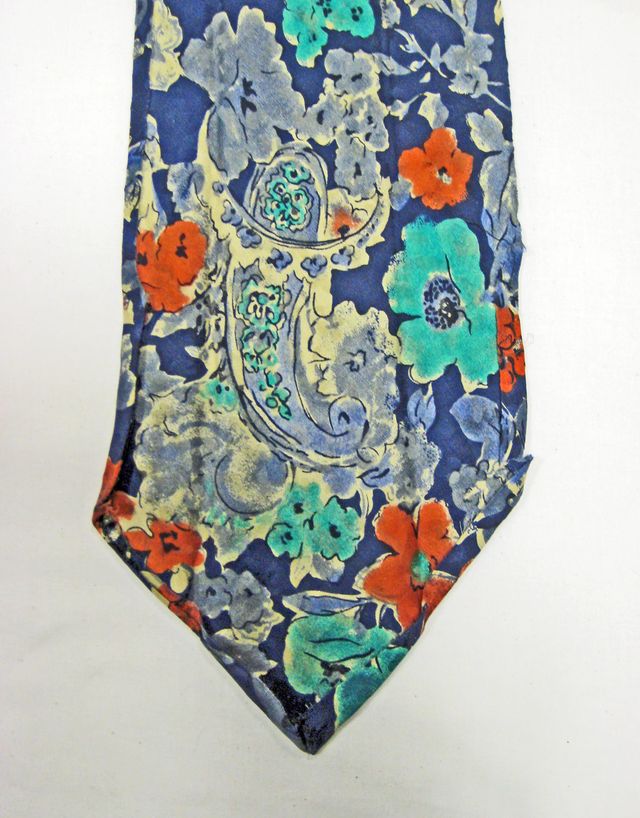
3. Remove the woven interfacing, and turn the tie inside out.

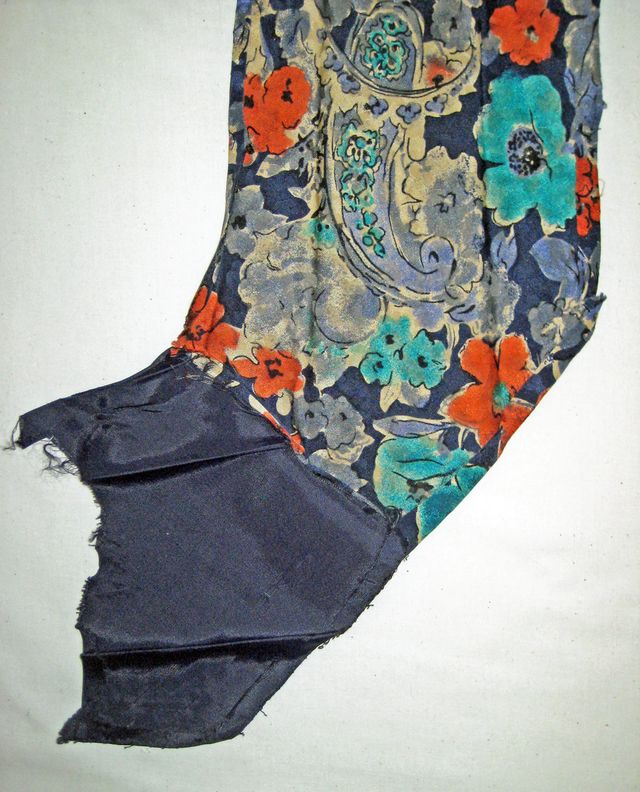
4. Unsew or cut off each end’s facing. (At this point, you could wash the tie fabric if you feel it’s necessary).


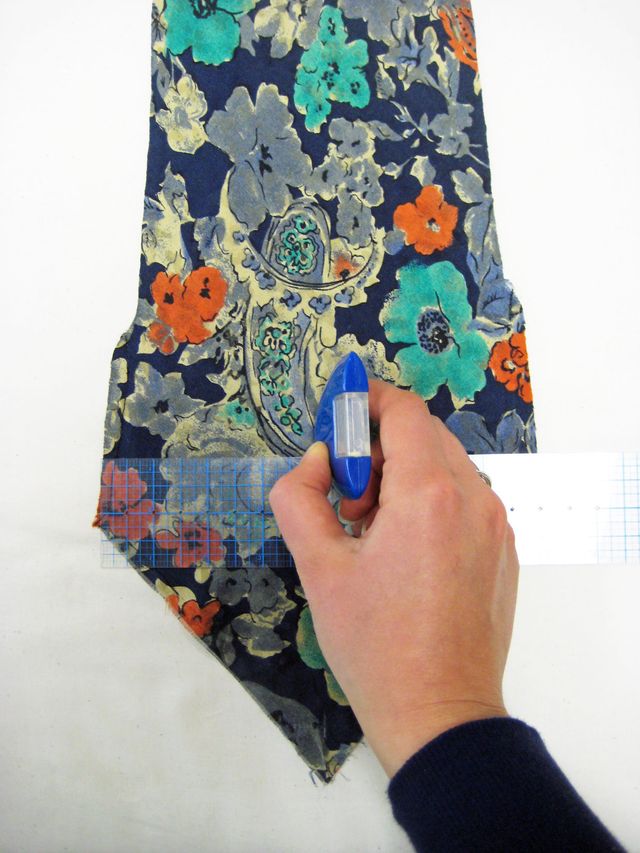
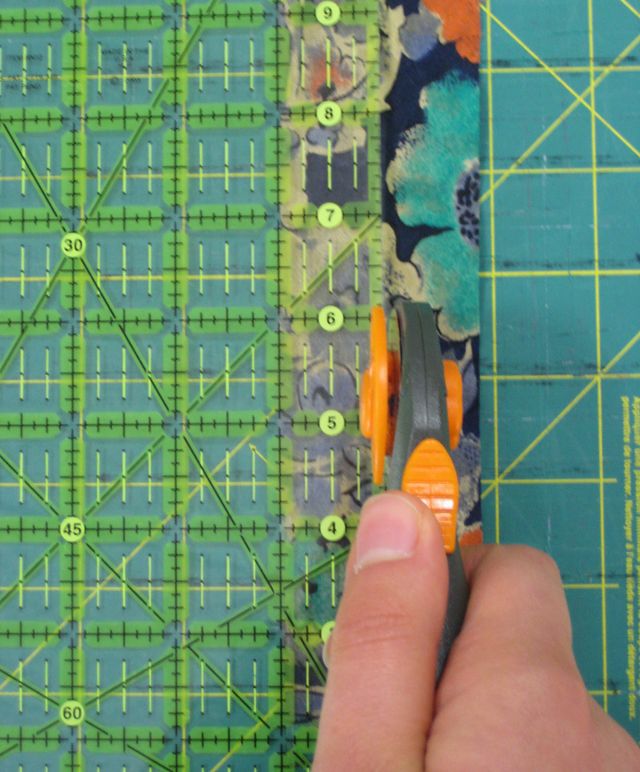
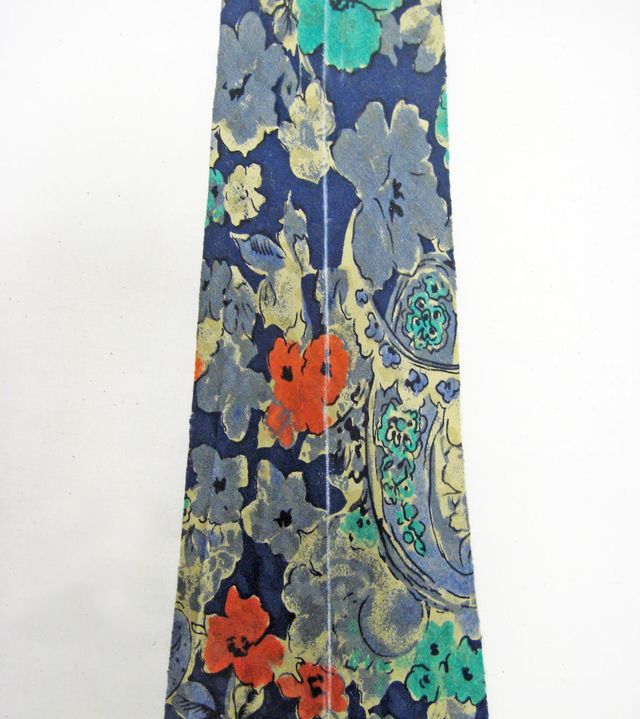
5. Press the tie flat. The true bias lies along the tie’s center width, and bias strips must be cut aligned with it. Mark the tie’s center at 6-inch intervals along its length.

6. Draw a line connecting the marks.

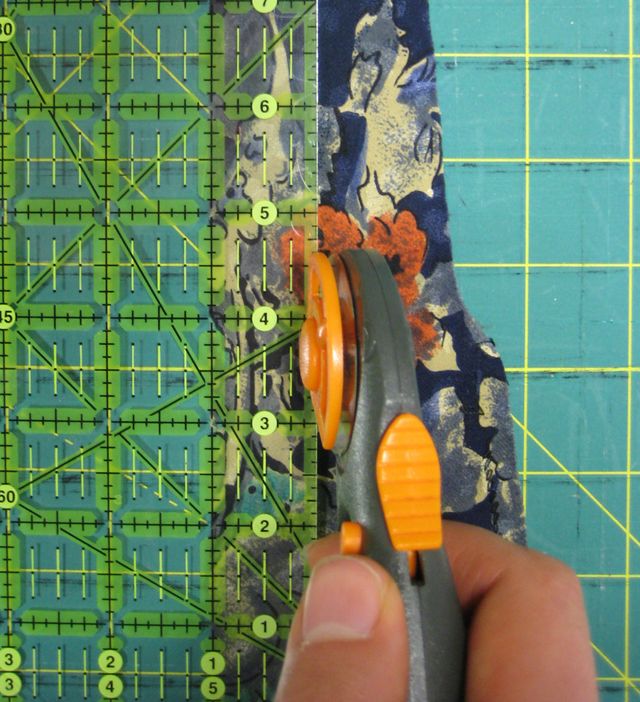
7. Use this center line as a reference to mark and cut the bias strips. Because a tie has one narrow end, only two or three strips can be cut along the tie’s entire length. The wider front end yields shorter strips.

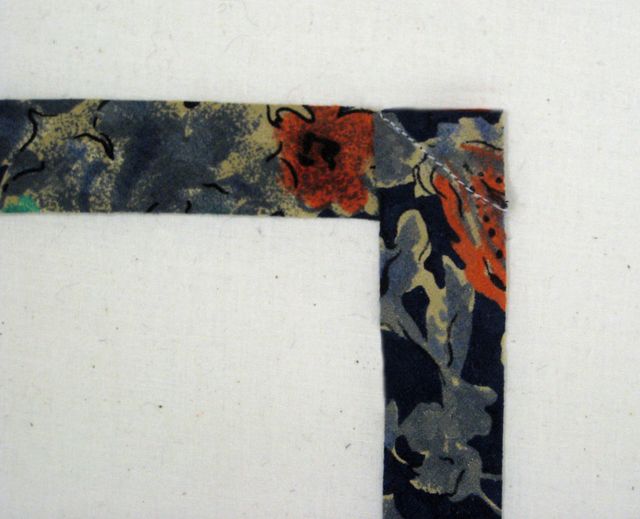
8. To connect strips end-to end, align two ends with right sides together. Sew the ends together along the grain.

9. Trim the seam allowances, and press the seam open. The bias-strip’s width determines the length you can make from each tie. When cut in 1-inch widths, a typical tie renders 3 to 5 yards of binding.

Have made anything from vintage ties? Can you think of any other garments that you would cut bias strips from? Share your ideas with us by leaving a comment below!


What a phenomenal idea! Talk about stimulating the creative juices . . .
I completed a garment last year with bias made from ties.
After collecting many silk ties from my local thrift stores, I used the ties as appliques and trim on the front, back and sleeves.
Sue McCollough
I just aquired a bunch of gorgeous silk ties knowing I wanted to use them in "something" just not knowing what......My brain is spinning with the possibilities using them this way.....THANK YOU!!!
I have seen skirts made from ties! That would be fun! The ties still had the triangle tips. Cute!
What a creative idea!!
I've taken approx. 50 ties apart. I find the best way is to wash by machine using a laundry bag. They will tangle but untangle and toss in the dryer after washing. Things always dry best when there's bulk so I usually just toss them in my common tepid/warm 4 minute wash laundry. Initially, I took each tie apart first and hand washed but find this much faster. Also, the machine wash helps remove any stains.
Ties are sewn with one long running stitch with tacks at each end. Good ties usually have hand stitched tacks and labels, however, care must be taken so as not to damage the fabric. Tacks can be very secure. Once apart, I leave the bottom wide lining attached to the the ends as they are easier to handle and press. They are made with 3 sections: one long; from bottom to neck and two opposite seams in the neck section.
Fabric contents are almost always on a tag inside the narrow end. Unless I really love the print I pass up any that aren't labelled. In the event there is no tag (often these are polyester) or I'm unsure of fabric contents I do a burn test.
Lining, interlining and interfacing vary somewhat in type or texture. Newer ties use synthetics and older, more expensive occasionally use silk and wool, but they tend to be rare. You might want to keep some of these as some make excellent internal shoulder/sleeve caps and are often much nicer quality fabric than you can buy now.
I usually pay about 50 cents at charity thrifts, never more than $1 because I'm not in a hurry to get more. I watch periodically for new ones. Initially, I started collecting them to make a skirt but when Threads Magazine wrote this article I separated them and set aside ones that are particularly nice for bindings and seam tapes. One thing to watch for is distortion in the pattern shapes. You may want to re-block them because the designs are often stretched out of shape from being tied. Compare the design near the wide end and block the upper area to match. Otherwise the design won't be consistent and/or your bias will not be the same width.
I can't wait to finish my rayon challis linen/rayon autumn pants! Coordinating ties will be used inside waist, and hems. If I'd been forward thinking, I could have made facing for their curved slash pocket. If all goes well I'll be wearing the skirt next summer. Any good ideas about lining? I'd like to keep the points w/ their original lining, but they will need to be supported somehow. This is one place procrastination has paid off. I've been able to collect more of similar designs and fabric types.
Happy stitching!