How to Make a Car Coat from Two Kilim Carpets
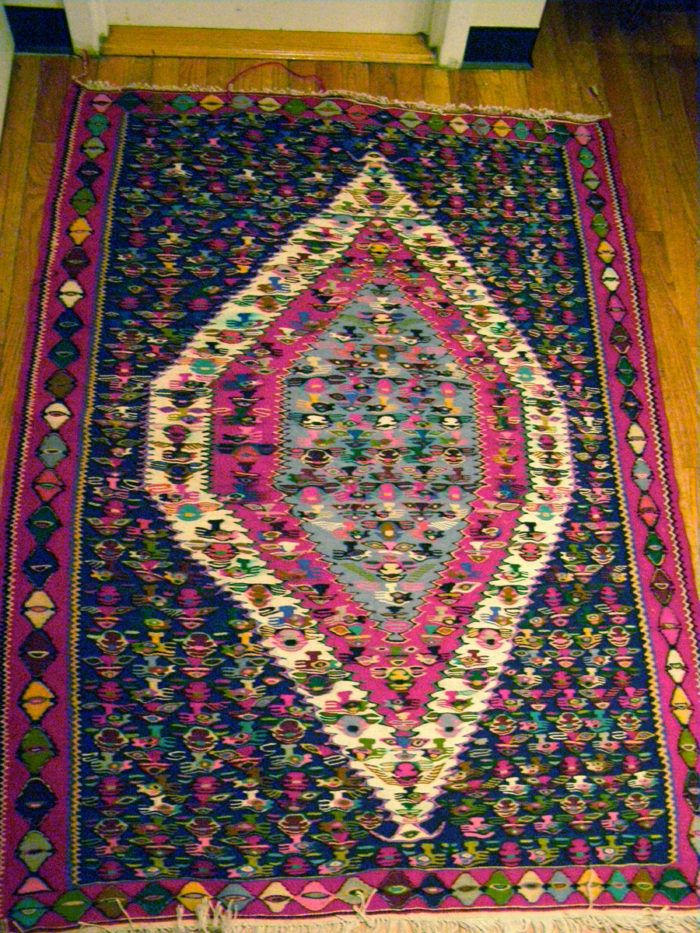
I recently held a sit-and-sew workshop with Susan Khalje in Baltimore, Maryland. We held it in her husband’s oriental carpet gallery, so I had a look around at the beautiful rugs.
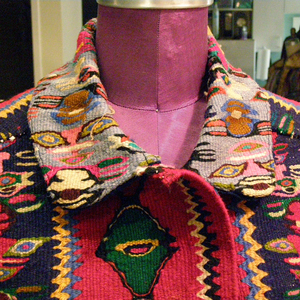
That’s where I fell in love with this rug, one of a pair.
As an aside, Susan and I are scheduling sit-and-sew dates for 2019. And if you ever need a beautiful carpet, Susan’s husband, Qadir, is the person to contact.
This rug was one of a pair. Susan gave me the pair of 4-by-6-foot kilim rugs in the same pattern.
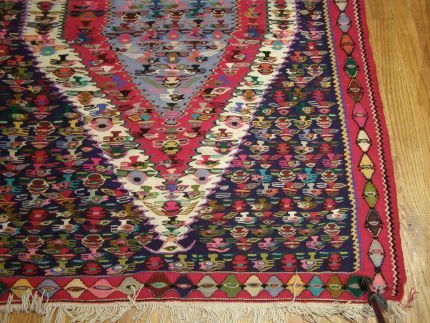
The photo isn’t distorted. These rugs were handwoven, so they aren’t symmetrical, which is part of their charm.
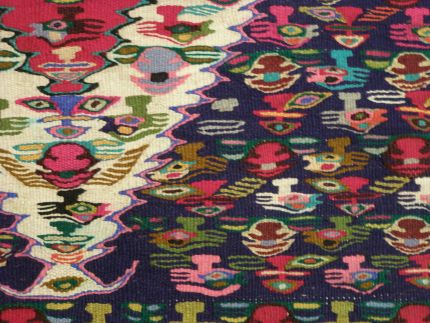
Here’s a detail shot.
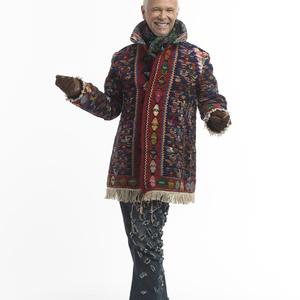
Whacky me, I got the idea to make a car coat from them, similar to my Pendleton blanket coat. I used the blanket coat pattern. The kilims were about the same thickness as the Pendleton blanket fabric. But they are a little stiffer.
My first stop was to the laundromat, to tumble them in the dryer for an hour. This softened them up considerably.
I figured I couldn’t match the pattern as exactly as a machine-woven product because the rugs weren’t symmetrical. So I laid out the jacket and cut.
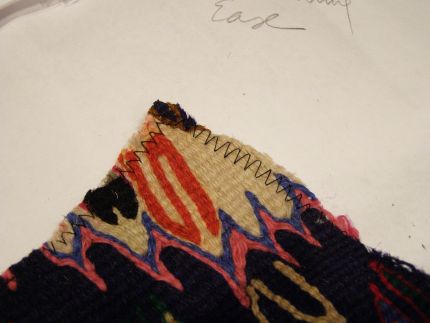
I didn’t know how much the rug fabric would ravel, so I zigzagged the cut edges immediately after cutting.
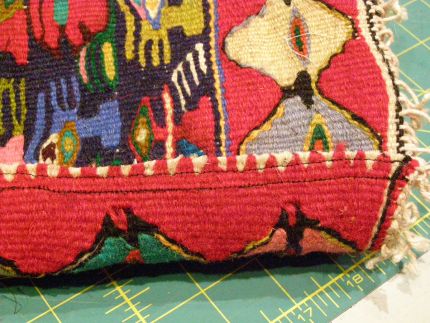
Sleeves were sewn first. I wanted to eliminate bulk anywhere I could, so I sewed the back sleeve seam as a lapped seam.
Note the crooked stitching. Perfectionists beware of this fabric: It was impossible to match a pattern. The weave of the fabric caused the stitching to go wobbly, so after ripping a couple of times, I just decided that this was part of the aesthetic.
This…
Start your 14-day FREE trial to access this story.
Start your FREE trial today and get instant access to this article plus access to all Threads Insider content.
Start Your Free TrialAlready an Insider? Log in





Senor King,
Creative congratulations are in order.
Now about that steam iron chatter; is such a device involved in taming a rug into a coat? Have we been privy to your steam iron antics vis-a-vis a poignant review, and I missed it?
A steam driven fan of yours
Thank you so much for showing us these great techniques. I am looking forward to seeing the finished jacket.
Another fan of yours!
Oh. My. Goodness. You are definitely amazing and creative. I thought I was doing well to make hooded coats from throws. And you tackle a coat. I do feel relieved that you had the buttonholes professionally done. LOL
Can't wait to see the end result.
As always-entirely inspiring! Thanks for being a boundary breaker, and sharing with us all.
Oh Mr Diva,
Before I opened my email,I knew you were the creator of this carpet jacket.
love it!
Thank you for taking us out of our boxes. Liberating us to think creatively.
dale :)
How fun is that? I am looking forward to the finished product.
Tell it like it is, Kenneth! You were in Cockeysville, not Baltimore, and right down the street from where I work. If I had seen you and the oh-so-talented Susan together, I would have instantly passed out! Can't wait to see the finished results of the coat. By the way, I concur. You are whacky! Lol
Looks like another fabulous garment, Kenneth! Can't wait for the second half of the process. Love all the photos and text. Definitely makes it sound doable. May have to look for some carpets!
Beautiful. Much better use of such carpet than a table cover. I'm really curious, what type of machine was used to stitch this. It must be an industrial machine. My little home machine would quiver and die at the prospect. :-)
I have a few antique Orientals and I love the irregularities. Folk art forever!
To Luvthreadsmagazine: I used my Reliable i500 steam iron for this, along with the water, and the mallet. It really penetrates though, well, carpet!
To HarmonyQ: Yes indeed it was Cockeysville--I stand corrected. Susan's husband has some spectacular carpets in his gallery there! And, yes-whacky!
To Gigidear: I used my Bernina 1260 to sew this. The machine did well going through the carpet, but I dulled a couple packs of size 16 needles! The one drawback came when sewing the sleeves (there are four posts total for this)--the arm of the machine could have been longer, and that would make sewing the sleeve easier.
To the rest: Thanks for the kind words!
Wonderful and Crazy and a whole lot of funnn. HUH? Can't wait to see the finished product Great boundry patternbreaking!!!
Have I missed an e-mail. I have received several Threads e-mails since this posting but still no instructions for collar and sleeves.
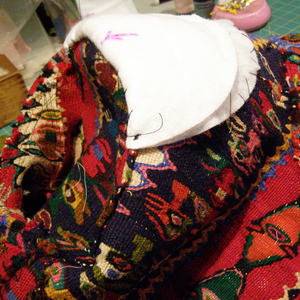
There will be four posts for this coat, so collar and sleeves will follow--stay tuned!