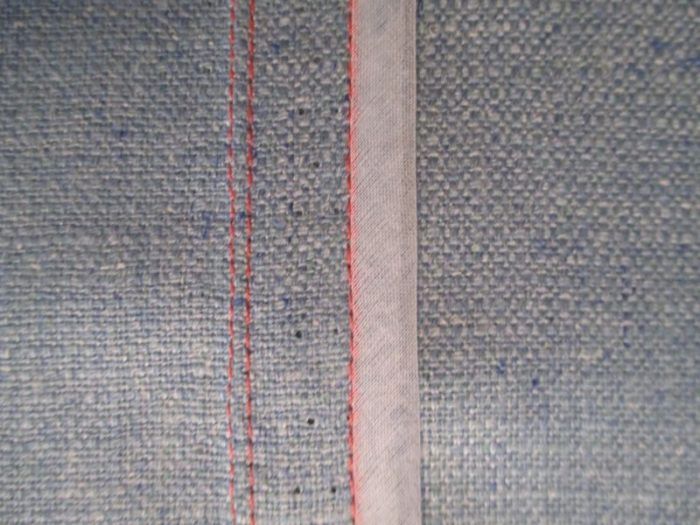
My friend and student Marguerite Longtin was working on an interesting project in class with me the other day, and she came up with what I think is a very clever finishing technique.
For the project, Marguerite used Vogue 1239, a lovely Chado Ralph Rucci dress pattern, and chose a thick, brushed red wool from Britex. The fabric is wonderful and sturdy enough to work all on its own; no lining (or underlining) needed.
The pattern, as you might expect, has complex seaming, so we spent a lot of time figuring out the best way to treat the seams: regular seams with topstitching, felled seams, overlapping seam, but visible raw edges on the inside were something of an issue. And multiple layers folded in on themselves created too much thickness – so Marguerite suggested binding them. We experimented to see how we could combine a Hong Kong finish (in which a raw edge is bound with a strip of bias-cut fabric) along with topstitching.
One problem with Hong Kong finishes is that they don’t always lie flat against the fabric – and sometimes it’s even necessary to put a row of invisible hand stitches between the seam allowance and the fashion fabric to keep things flat. However, with this technique it’s unnecessary.
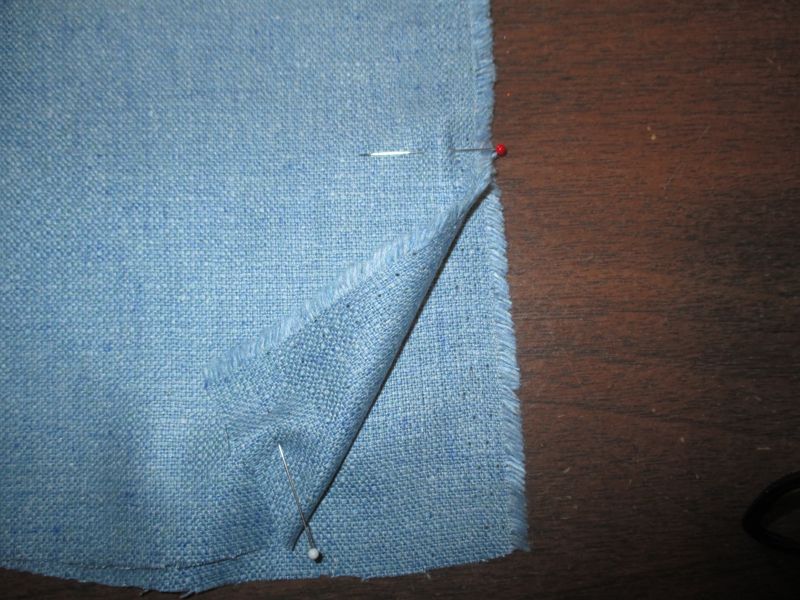
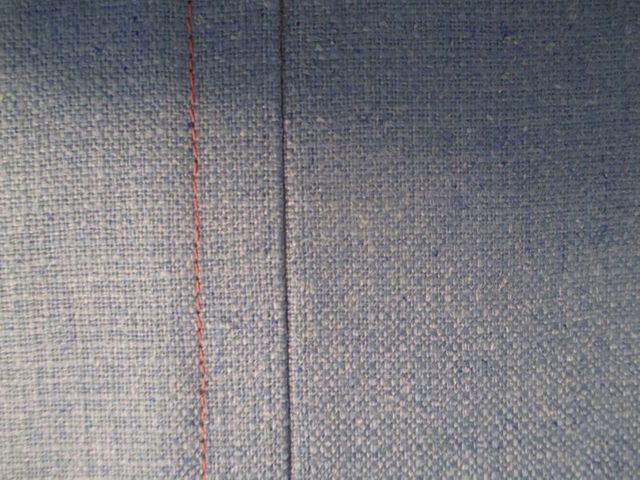
Sew the seam as usual: Line up, pin, and stitch the edges.
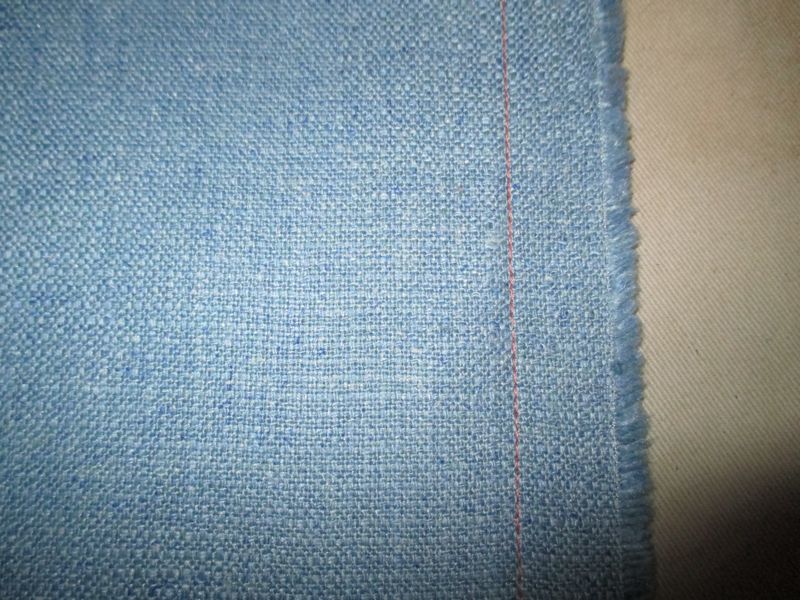
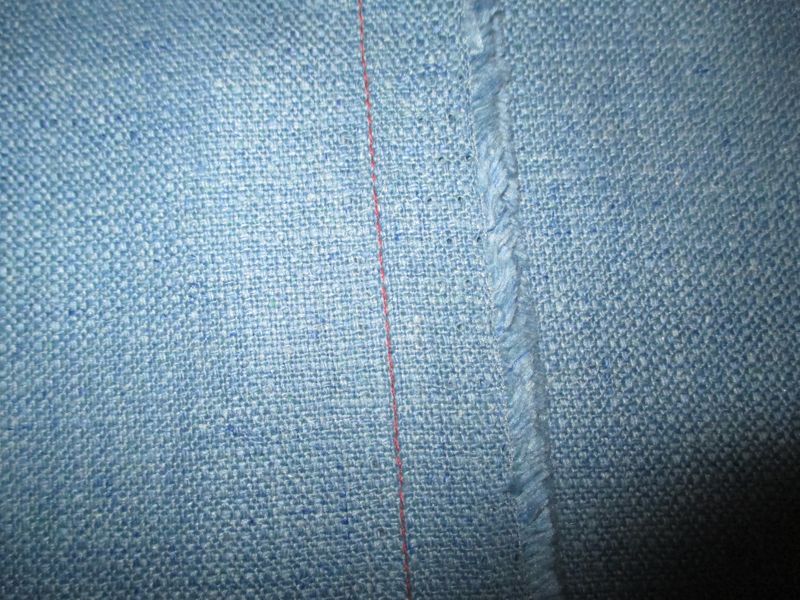
Press the seam allowances to one side.
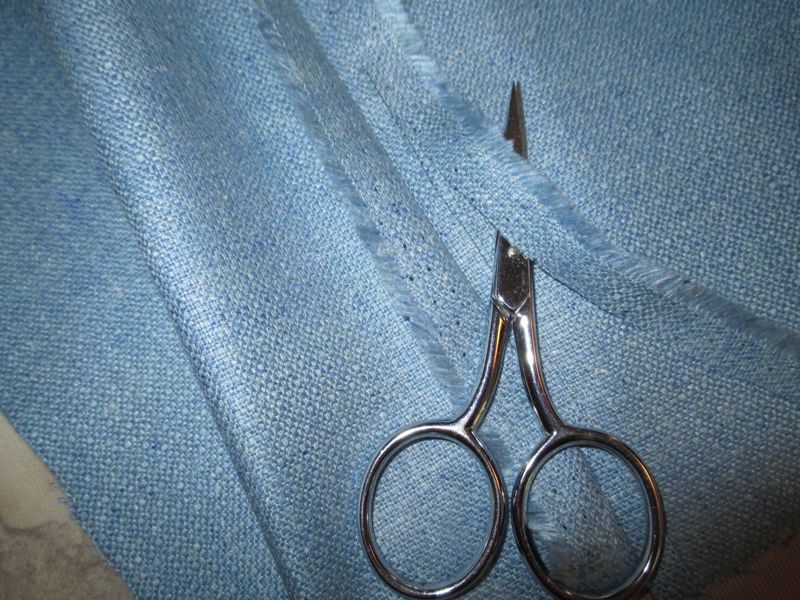
Trim the under seam allowance.
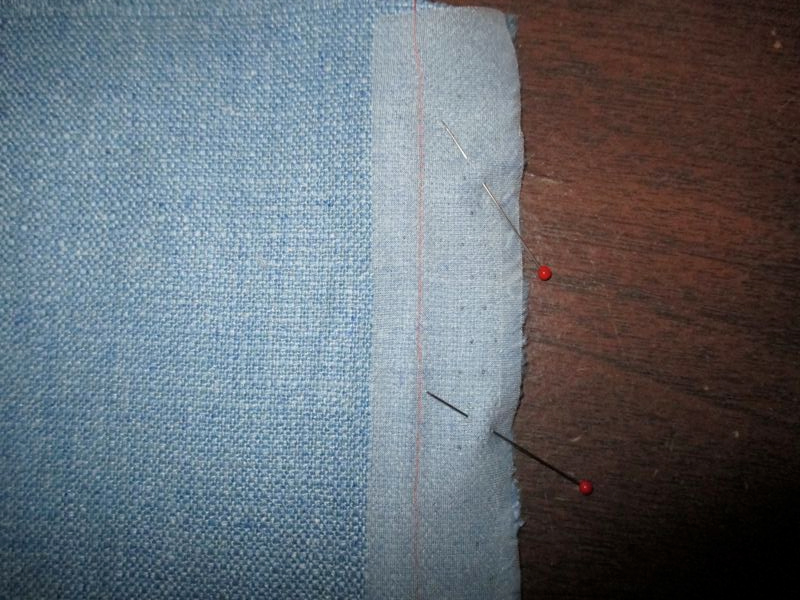
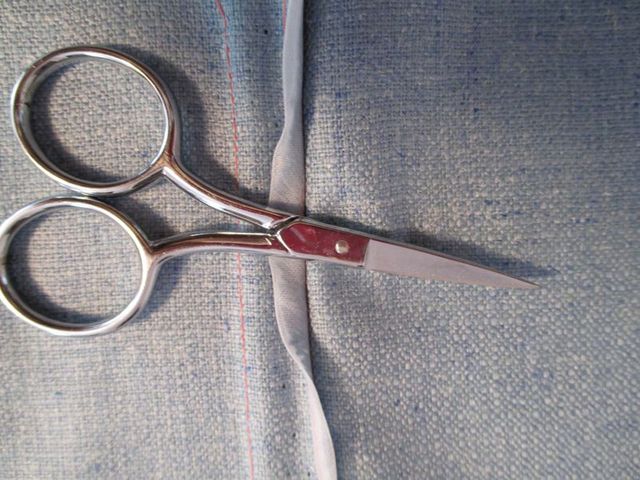
Pin an evenly cut bias strip of silk organza to the upper seam allowance.
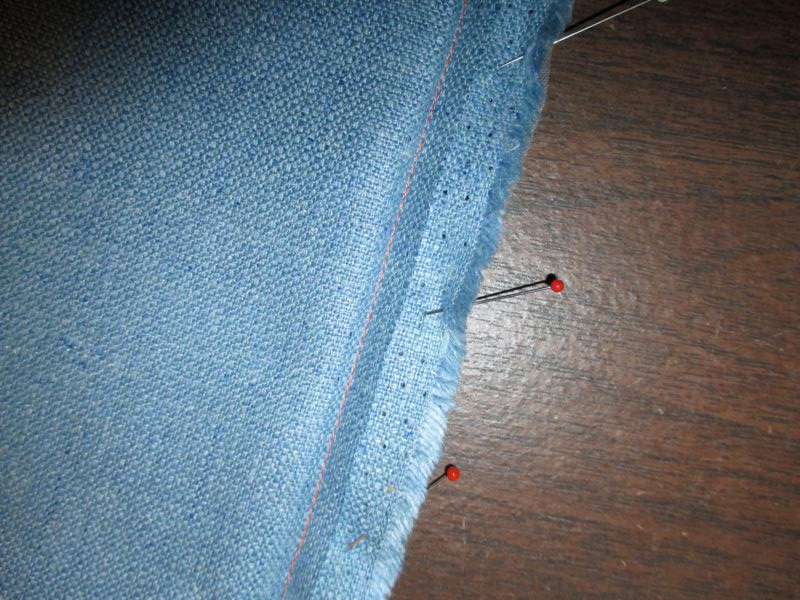
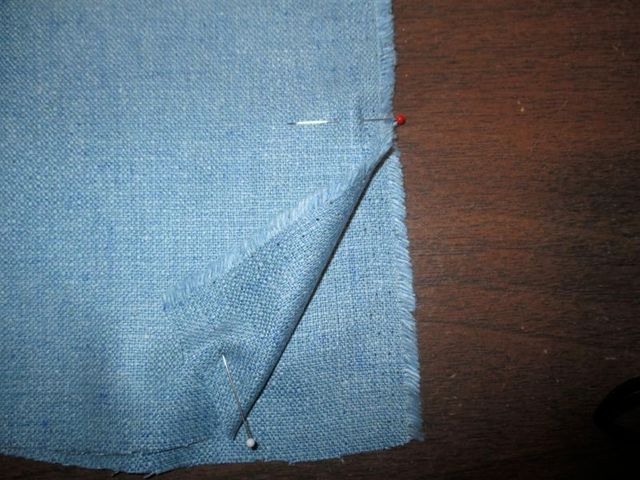
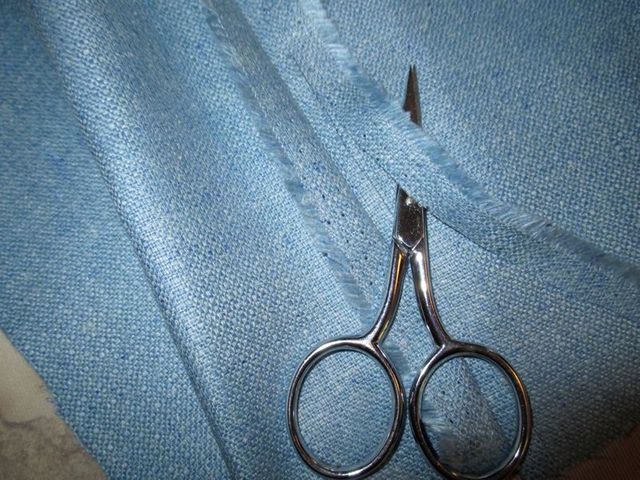
Here, on the underlayers, if you look carefully (it’s hard to see – the layers really do blend together), you’ll see the shorter seam allowance. Be sure to clear it when stitching the silk organza.
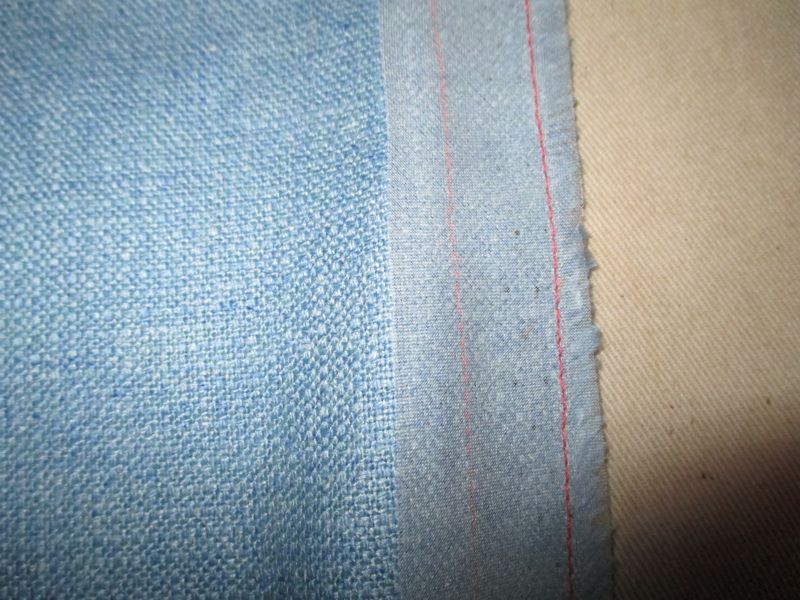
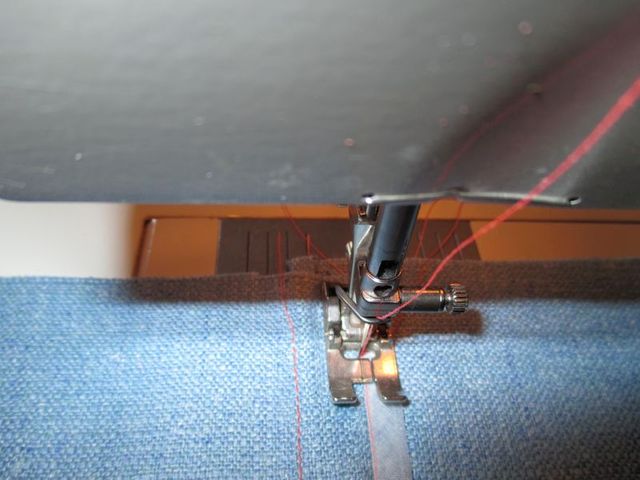
Stitch the silk organza to the seam allowance. Use some sort of guideline (I used the edge of the presser foot) to make sure the stitching line maintains the same distance from the seamline. You could also use a rolling chalk marker to help you keep things nice and even.
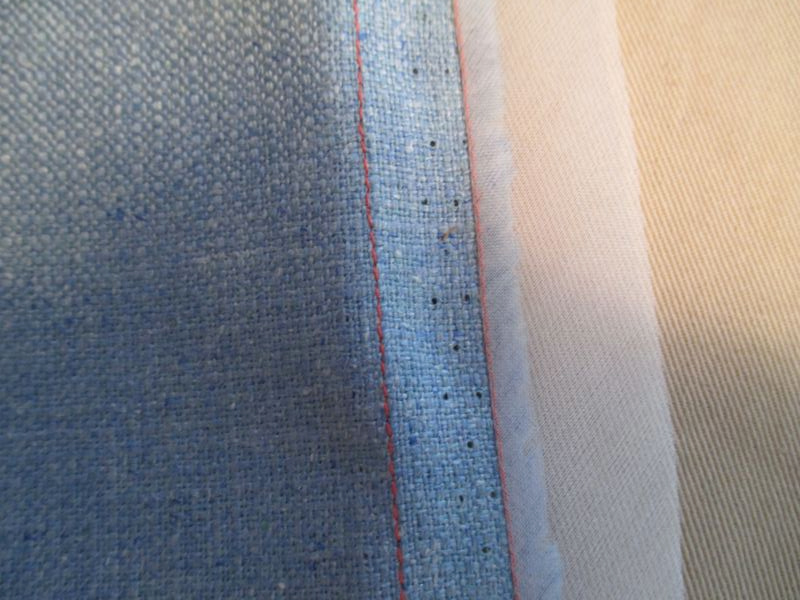
Press the silk organza to one side.
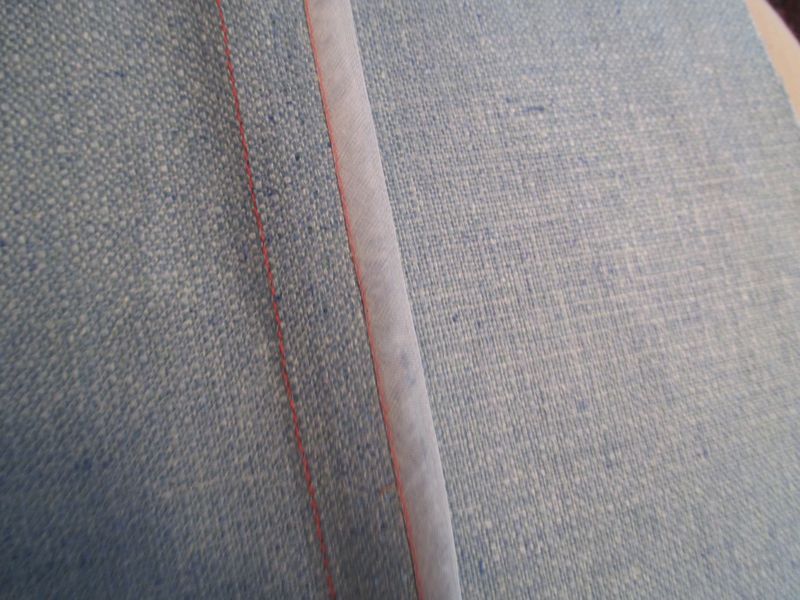
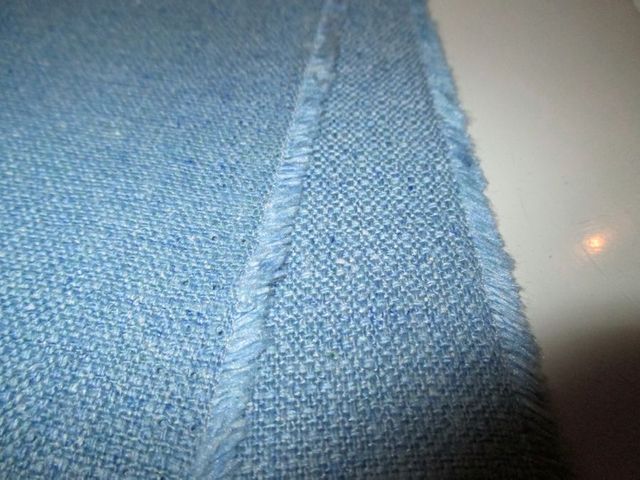
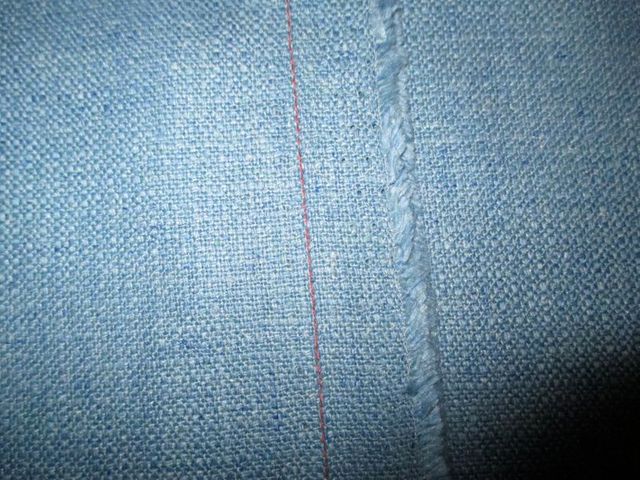
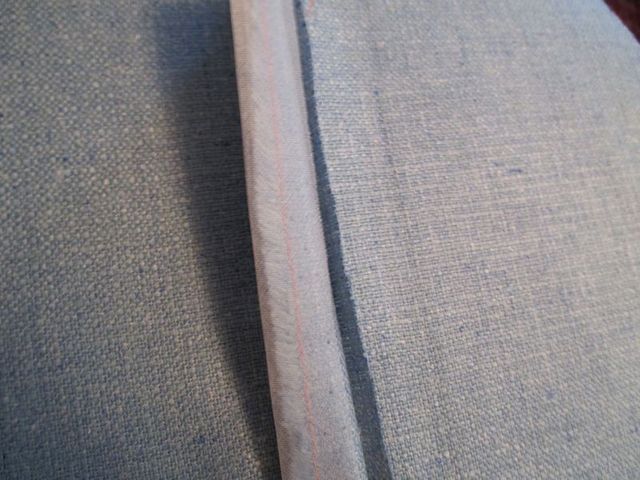
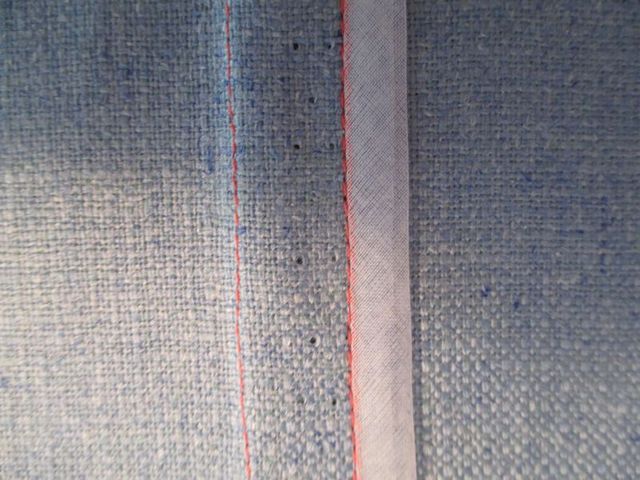
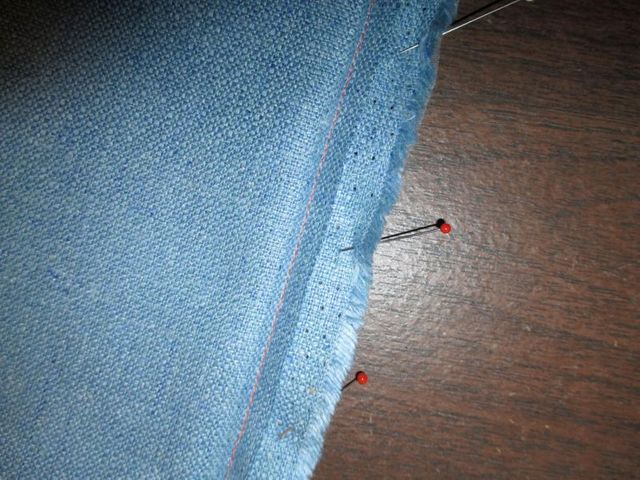
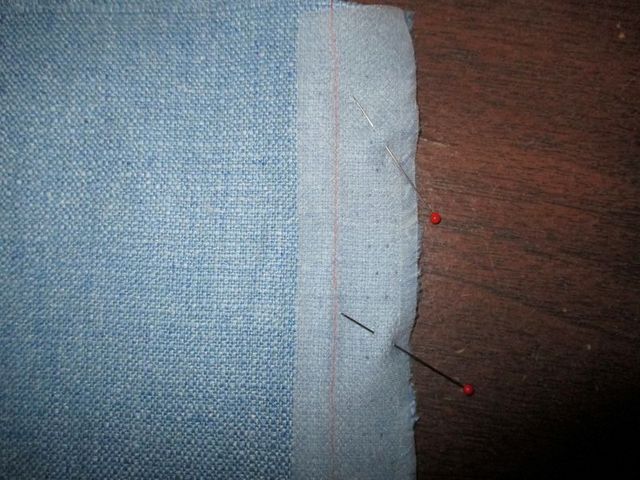
Then fold it to wrap the raw edge of the seam allowance. Here it is from the top side.
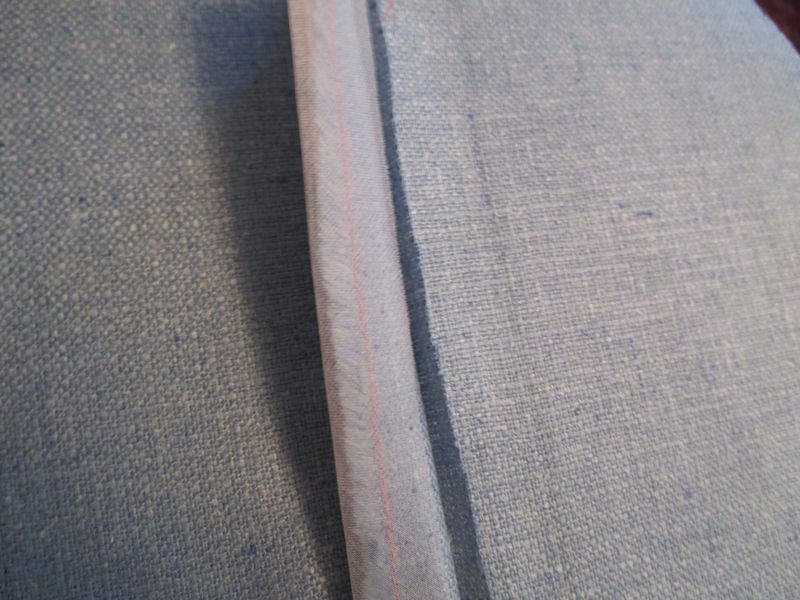
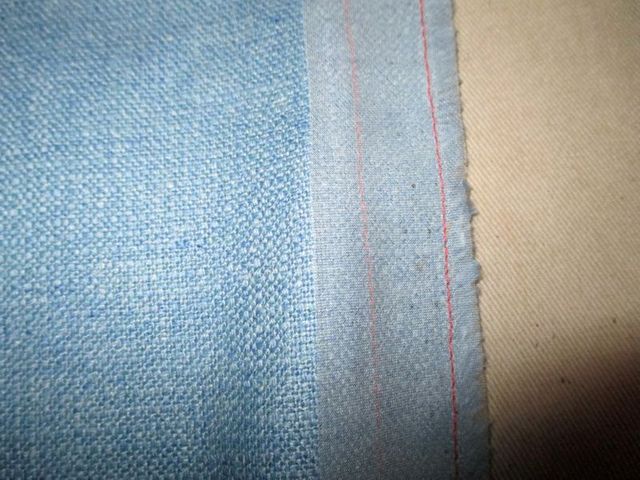
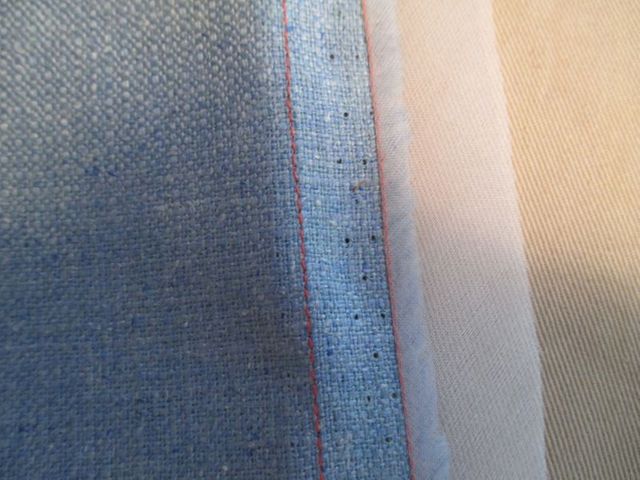
Here is the underside.
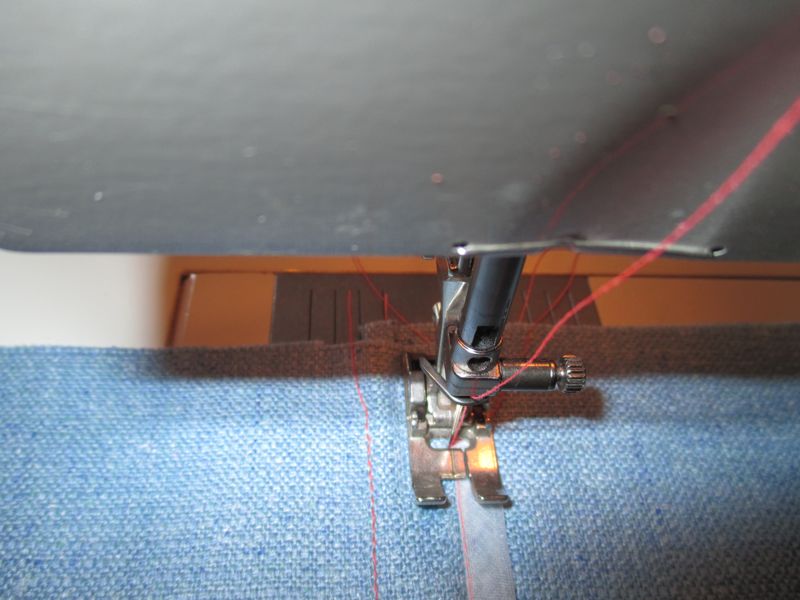
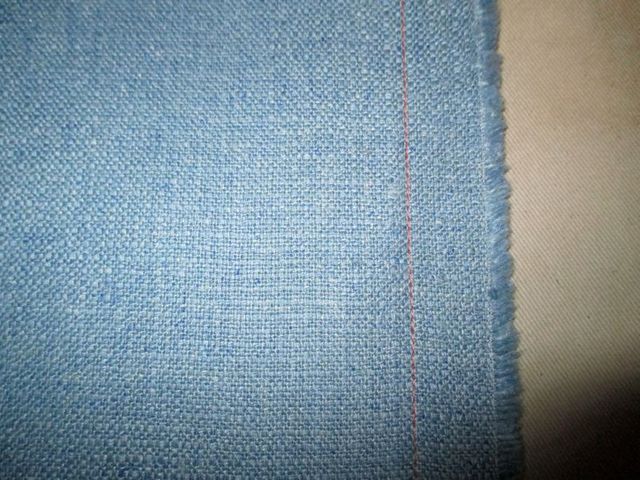
Stitch a row to hold the silk organza binding in place. Place the stitches along its folded edge.
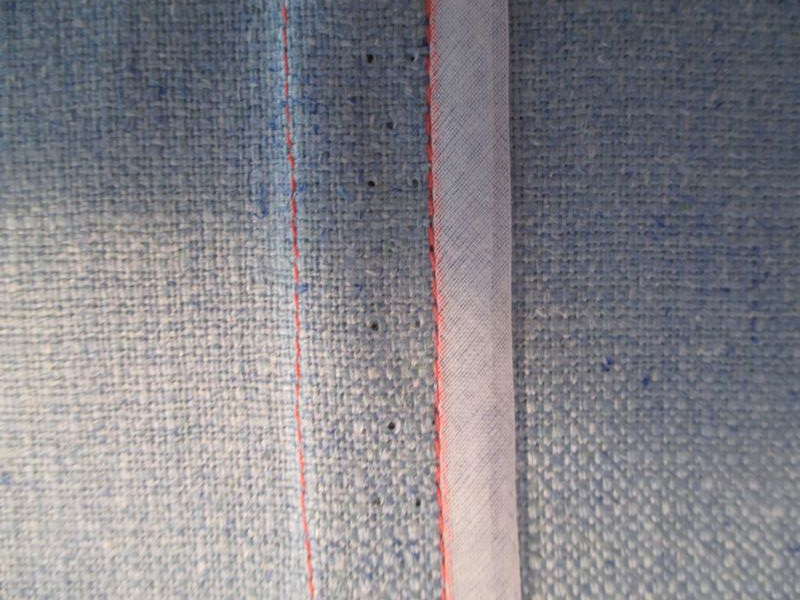
I’m not sure why, but this type of stitching is often referred to as “stitching in the ditch.”
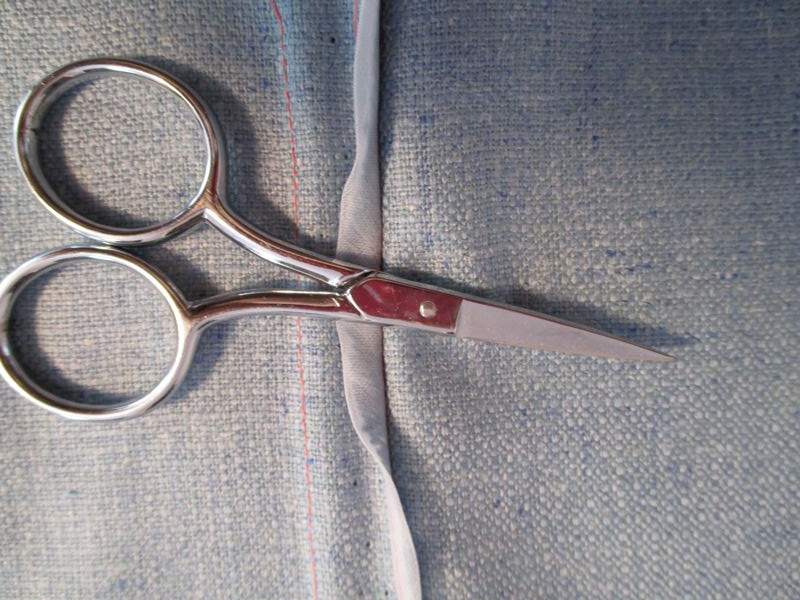
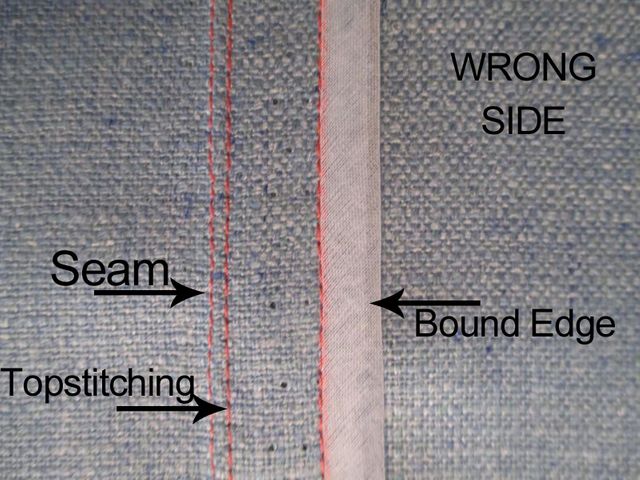
Here is the bound seam allowance from the underside, with not a raw edge in sight.
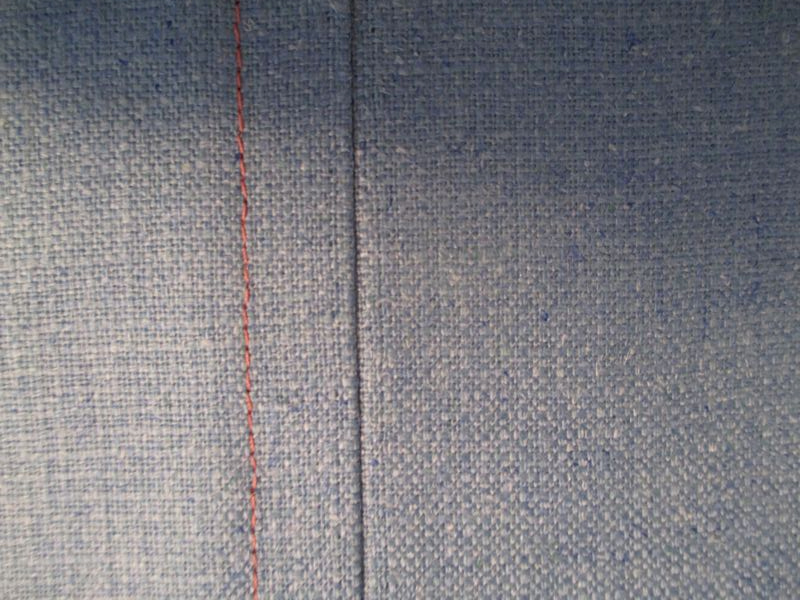
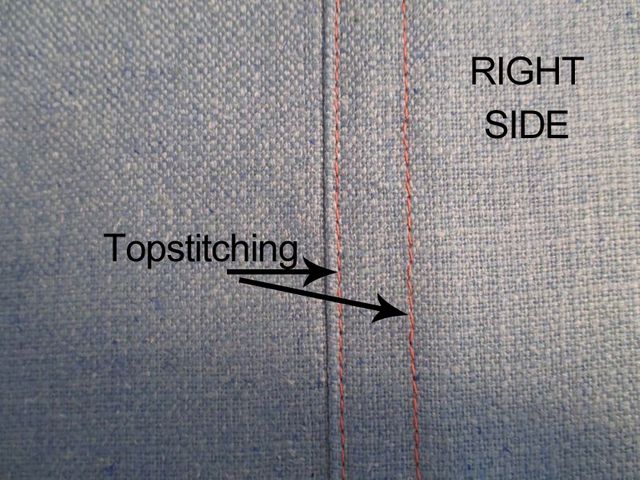
Here is the outside.
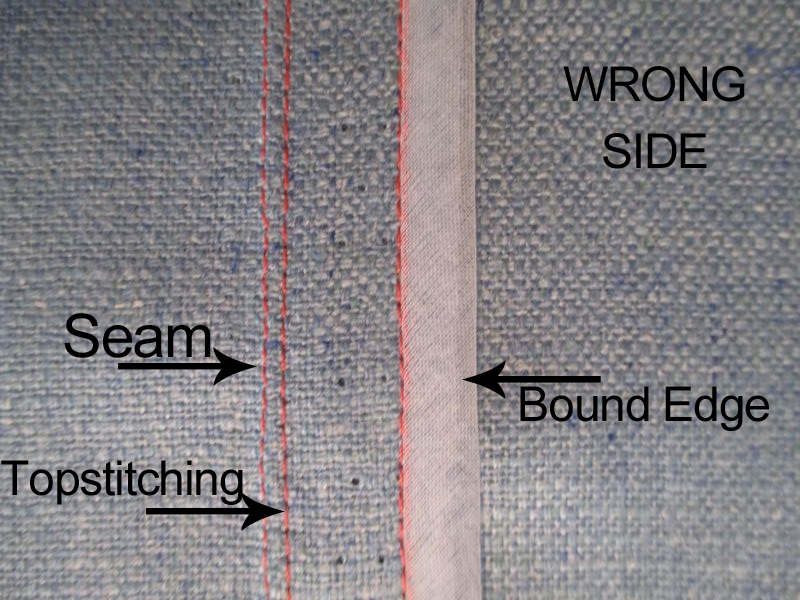
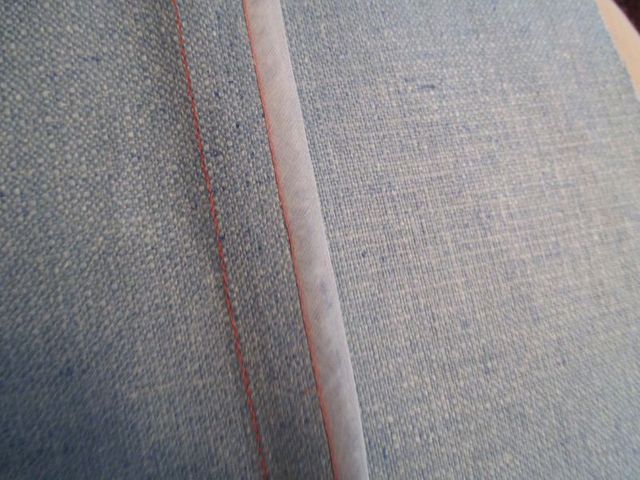
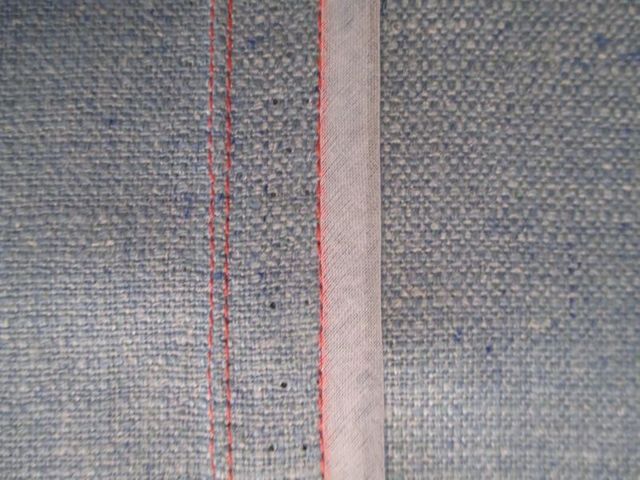
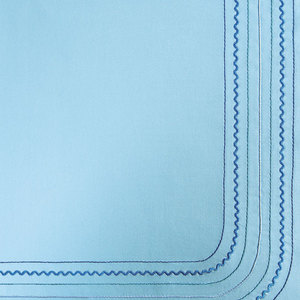
Although we decided against using it in on Marguerite’s garment, I added a second row here just to see what it would look like. I stitched both rows of topstitching from the inside, to make sure they’d look identical.
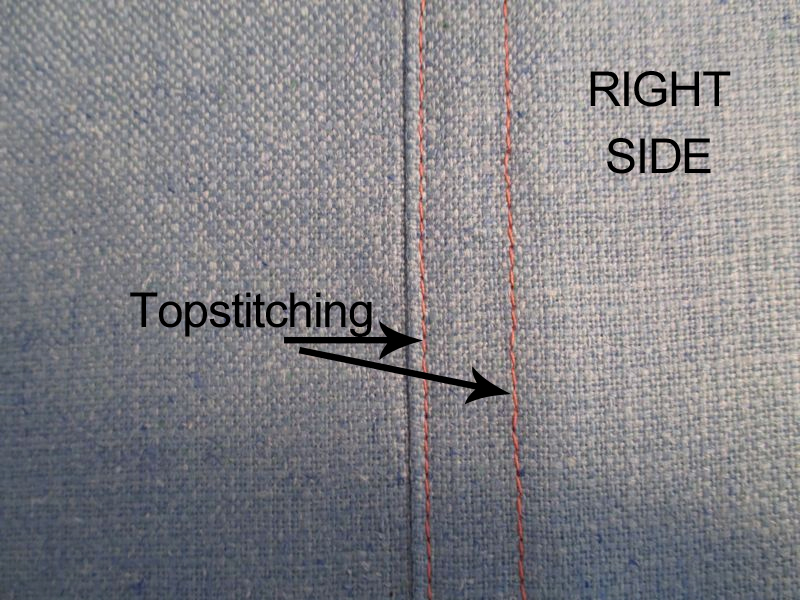
And here it is from the outside.
As you’ve seen, you have to do some careful marking and trimming (and a few samples) to make sure the stitching in the ditch puts the topstitching exactly where you want it, but that’s relatively easy to do.
Margueurite is still experimenting with different threads, stitch size, and so on – but that’s the fun part. She’s even thinking of using fish leather (yes, you read that right – fish leather) for the seam binding. That’s a little snappier than the silk organza I showed.
I think this is a lovely treatment. It’s nice to look at, firm enough but not overly thick, and, as are all good sewing techniques, it’s a clever combination of form and function.
What do you think about this technique? Will you try this seam finishing technique?




Yes, I'll give this one a try. A very nice finish for heavier fabrics.
Looks like a very nice finish...thanks for sharing it. I think I will do up a sample to refer to when just the right project comes along! Katherine's Design & Alterations, Sussex, WI
That's the great thing about Susan--no matter how long you've sewn, she'll always teach you something you've never seen before that is also very useful. I will definitely use this technique. Thanks for sharing Susan (and Susan's student). Deb Del Nero Micallef
I love it. I have thought about just this problem before. I will definitely try this.
'Stitching in the Ditch' is a quilter's term. When a quilter pieces the pieces of a quilt top together the 1/4" seams are usually press towards the darker fabric. After the pieced top is completed and the sandwiching of filler and backing are applied then the quilting begins. Whether the quilter is using a running stitch or a quilter's stitch when she/he quilts in the small channel immediately next to the seam on the lower side (not pressed to side) it is called Stitching in the Ditch'.
Thank you for this tutorial. It's a very nice finishing technique.
Very nice tutorial. Thank you Susan. I think I will give this a try.
I like Threads emails which remind or feature new dressmaking techniques.
Susan's columns are always a favorite.
That's a great idea which has come at exactly the perfect time for me. I am *trying* to hem an airy,loosely knitted shrug. What can I use as a binding for this?
Tessa
What about the Phoenix area would love classes here
Thank you Susan for sharing the tutorial. My issue is I always prefer the look of the top stitches rather that the bottom stitches. Therefore with your method the bottom stitches will appear on the public side of the garment and it wont be as nice. Not sure if this is an issue with my sewing machine.
Barbara J, Kuala Lumpur, Malaysia
I am currently working on a Sateen fabric dress with 7 skirt panels and this would have made a good way to finish the seams. It also has Princess seams in the bodice, front & back, as well as the side seams and the seam that connects the bodice to the skirt. SO, seams for days!!!It's too late to try on this dress, as I have already pinked all my seams down to about 1/4" and then stitched each seam at about 1/8" from the the edge and the original seam (in other words, in the center of the seam and the pinked edge). BUT, I will definately save this so I can experiment with it in the future, as it liiks ilke a nice, clean way to finish seams! Thanks for sharing this technique! Most Sincerely, SewingSadie
Hi Susan,
This is beautiful!! I am making a coat with no lining and using the Hong Kong finish on the seams. It says to lightly sew the seams to the jacket to keep them from flopping around. Just as you say it will! I love this idea and will finish with this seam finish. I think it will look great!
Once again, thank you for sharing your techniques, it is sooo appreciated!! Cindy
This is a lovely finish and has come at just the right time as I am about to make an unlined jacket so will try this out. I will make a few samples first to find the best stitch length, thread etc.
Brilliant technique! I will definitely use this seam finish in future projects. Thanks for sharing!
This method works well with sweater knit fabrics too, if you use tricot instead of the organza.
What a great idea! Thanks so much for sharing this. I am sure either I or some of the 4-H girls I help will use this.
This is a great idea. I will use on my next project.
Thanks,
This is a beautiful seam finish! There is a good possibility I may use the technique someday, but not on something with as many seams to finish such as the Vogue 1239. I love the results though, so I will keep this idea in my back pocket!
Thank you for sharing this method, my next project is a possibility to try this.
Also, thanks for your generosity in sharing knowledge.
This is wonderful information, thank you. I would have to find a substitute for silk, however, since it is inhumane to the silk worms. (They are dropped into a vat of boiling water to get the silk off them. Want to do that to your favorite pet, or person, to get the hair off them?) I can't quite figure out from the picture where you're doing stitch in the ditch, since it is supposed to be in the seam, but I am sick today and maybe it is and I'm just not seeing it. I'm dense when I'm well! LOL At any rate, it is great, gorgeous, and thanks so much for sharing.
Very creative way to finish fabric that ends to misbehave.. I'm just dying to know what fish fabric is though. Can you please explain.
Thanks Ojolly for the tip with sweater fabric tip. Those really misbehave and can be just as difficult.
I am freaky about finished seams. This is delightful and I hope I can remember when the occasion calls.
"Stitching in the ditch" is a quilting term. When two fabrics are joined and the seam is pressed to one side, a ditch is created on the right side. Just a small u-shaped curve that abuts the folded over s.a. Quilters stitch there to avoid the bulk of the s.a., add quilting to the edge, emphasize the block. (And any other reason they want.)
And wouldn't you know, someone else explained. I so enjoy your posts.