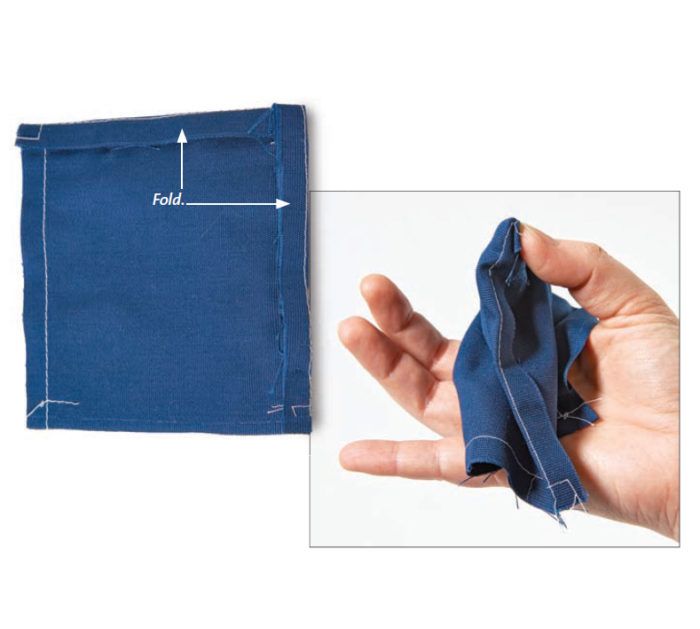
With the corner pinched between the index finger inside the corner and the thumb outside, turn the work right side out.
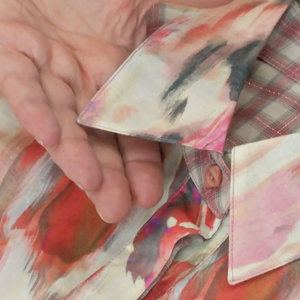
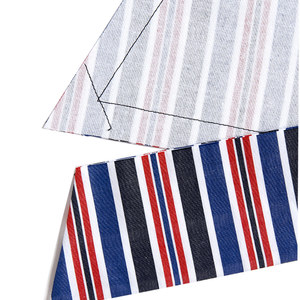
Getting a crisp point at sewn corners in garments and accessories can be challenging. Many solutions to this problem have been proposed-and here’s another one. This technique is simple and makes achieving crisply turned corners easy.
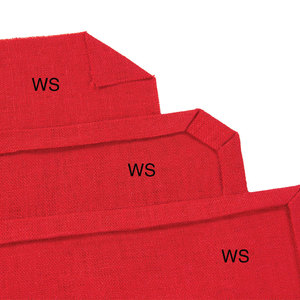
On the project’s wrong side, with the seams sewn, fold along the stitching lines. Insert your index finger into the corner between the fabric layers. Hold the two seam allowances down at the corner from the outside with your thumb. Pinch the seam allowances between your thumb and index finger, and turn the project right side out, turning the fabric over your thumb. Press.
By Norma Bucko, Threads’ seamstress.




Log in or create an account to post a comment.
Sign up Log in