Tailoring with Felted Wool, Part 1: The Bark Coat Project
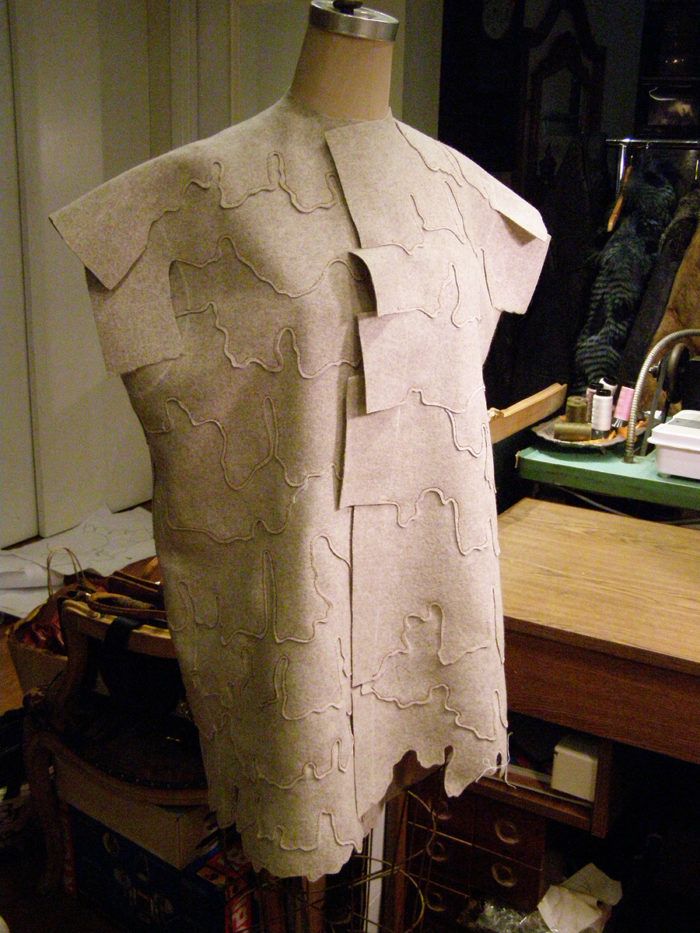
In the first part of this three-part tutorial, I'll show you how to create a custom design and how to construct the body on a tailored wool felt coat.
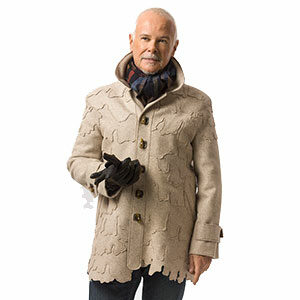
Recently, I was given several lengths of dense felt fabric. The challenge was that the felt pieces were 12 inches wide by 3 yards long–not conducive to making a traditional garment. However, wool felt and boiled wool are fabrics that don’t need edge finishing. You can use a cut edge as the finish, and this property appealed to me. It gave me another dimension for tailoring.
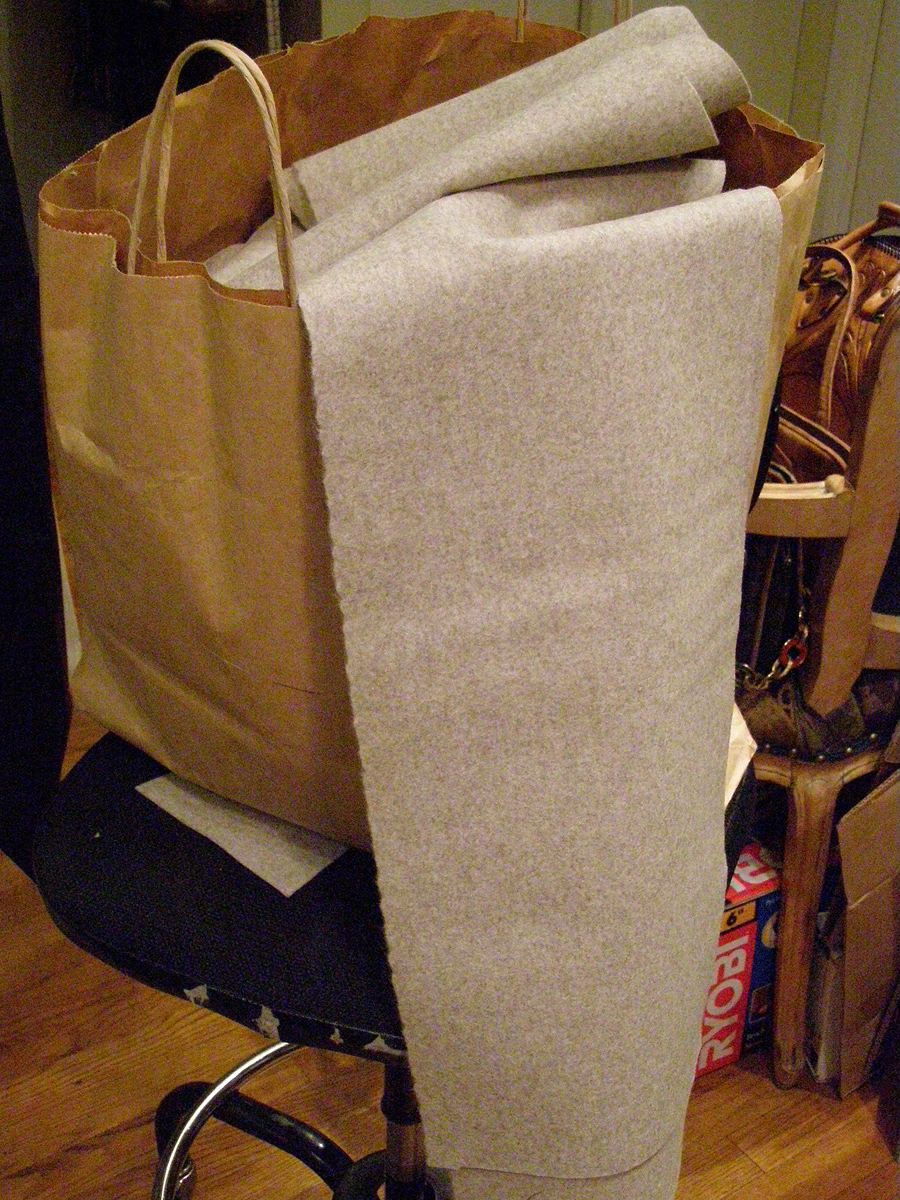
In the first of three related tutorials, I’ll demonstrate how I created a tailored coat using wool felt.
Do you remember the kilim carpet coat shown in this post? I used this pattern as my base by first copying the pattern and reducing it to half scale.
I’ve found that, when designing something complex, working in half scale is efficient, as well as economical in materials. It’s a chance to test-drive the pattern before committing to a full-scale garment.
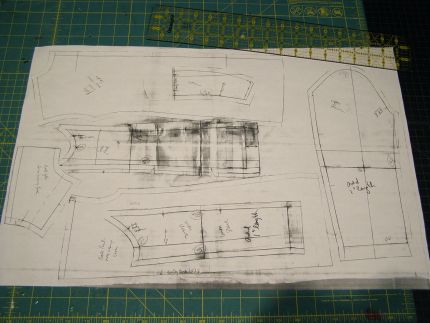
Making the half-scale pattern is a simple matter of using a photocopier and copying the pattern at 50 percent.
The neutral beige color of the felt inspired me to research tree bark.
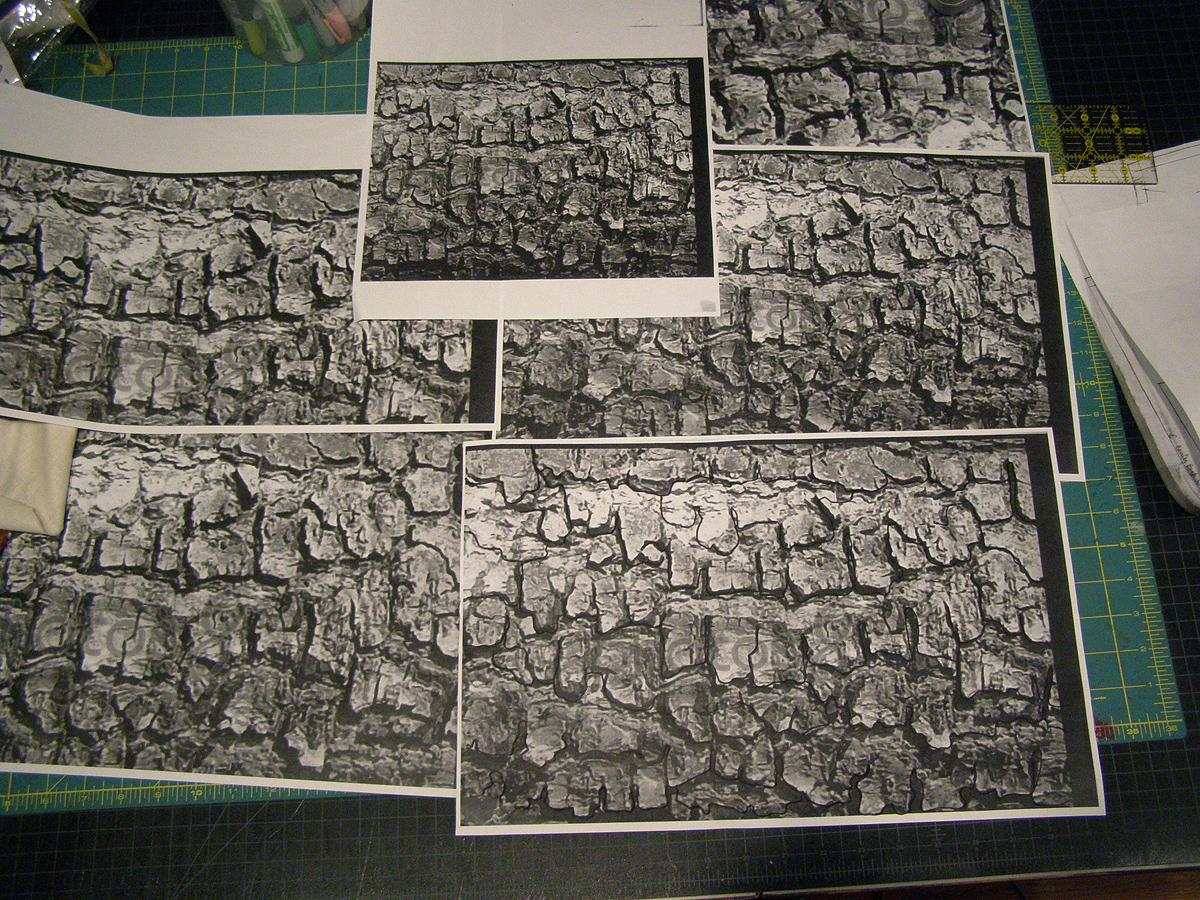
Once I found the image of tree bark I liked, I copied it at different percentages.
This enabled me to choose the image that had the proper scale for the coat pattern.
My drawing skills are lacking to say the least. I “cheat” by using a light box and tracing through.
I wanted all the seams on this coat to run horizontally across the coat, so I taped the pattern pieces together at the stitching lines, essentially “sewing” the vertical seams together in paper. You can follow these steps for a similar outcome.
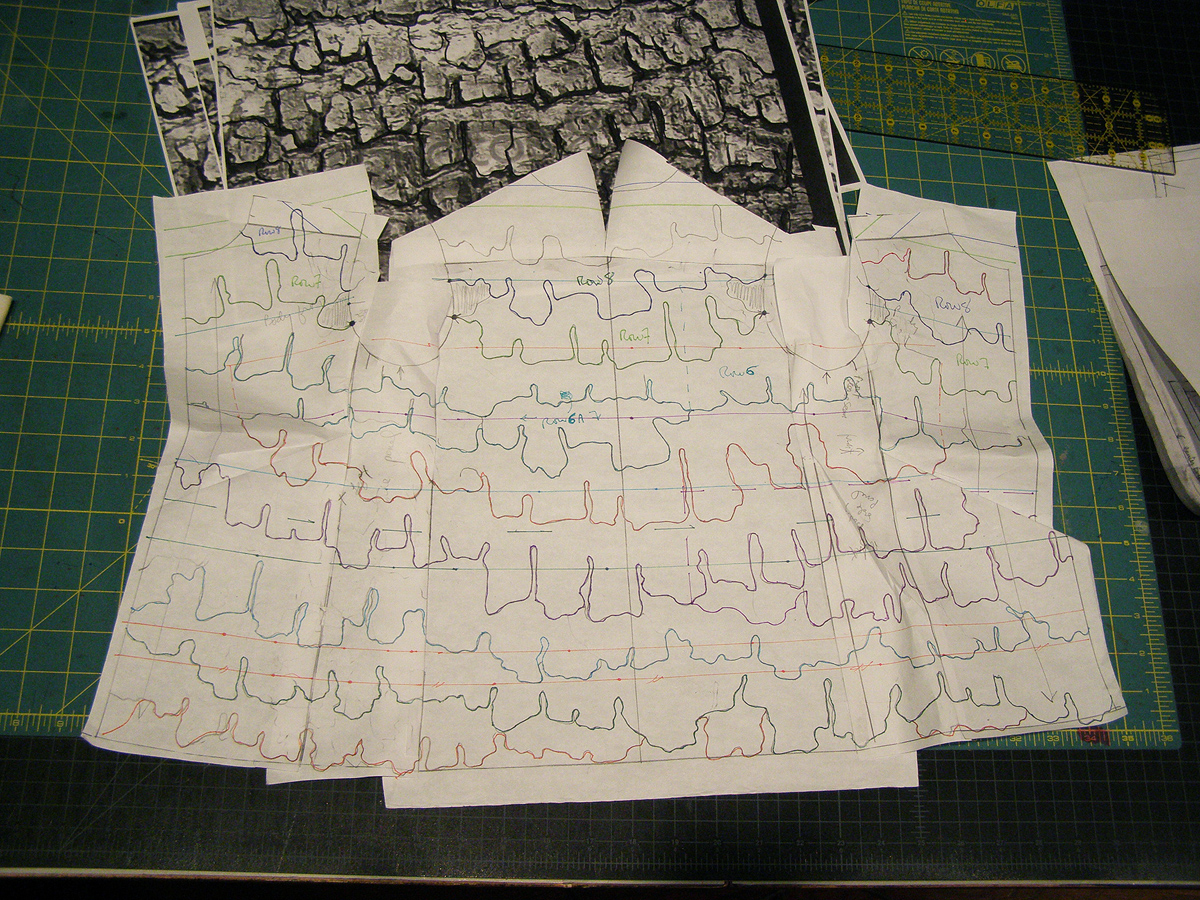
Lay the pattern over the bark photo on the light box and trace it. The design lines are achieved this way. Color-code each row to avoid confusion later.
…
Start your 14-day FREE trial to access this story.
Start your FREE trial today and get instant access to this article plus access to all Threads Insider content.
Start Your Free TrialAlready an Insider? Log in




One of my favorites by you Kenneth!
Thanks! Just wait until you see the finished piece--it turned out really nicely...
Love the process and can't wait to see the finished piece. thanks for sharing your knowledge.
My pleasure, Odeboy. I love process, and used this also to talk to my students at FIT about process. The finished coat is really fun to wear--most people don't register right away that this isn't a fabric I bought like this.
I like that element of surprise--the realization that something apparently simple is way more complex than the first impression suggests. It's only after looking at the finished coat for a few minutes, that people realize that the fabric didn't start out this way.
This is wonderful! I have had a desire to do something in a leaf pattern for years and this is what I need to inspire me to stop thinking about it and DO it. really looking forward to the next session.
Thank you.
You truly are the "King" when it comes to the unique. You have a very special vision. Thank you for sharing.
How clever! I love the texture. I am surprised you used embroidery thread to sew this as it is not a strong thread.
This is absolutely fabulous. The construction is flawless. It's absolutely STUNNING! Oh my goodness, I feel so inspired to run to my sewing area and try this technique...
To Sewknitcro: I used a double thickness of this thread, and it seems strong enough for this kind of work. I also used Gutermann Sews Everything thread in the bobbin for more strength.
To the rest, I'm glad I've inspired you to go to your workrooms!
There seem to be some inquiries about the electric perforating tool. This is such a rare item, that I traded one of my embellished jackets (about $4500.00) to get one.
I've tried a google search, and can't run any to ground. To, if you're looking, you just need to keep your eyes peeled at tag sales or other odd places that sell old stuff.
Rare. Really.
As always I am a Johnny-Come-Lately with viewing the articles here, but I love this one, now that I have the time to read it. It is something I think I would truly like to try. Thank you for being so talented and willing to share your knowledge.
What an exciting technique! I think this could be used in interesting ways with stable knits too. What about running it vertically? Do you think it would work as well? I bet it would look good as a sleeve feature, too
To Soexperimental: This can run vertically as well as horizontally, as well as diagonally. After you join the side seams of the bodice, you can put seams in wherever you wish.
To JennyEbner: Thanks for the kind words!