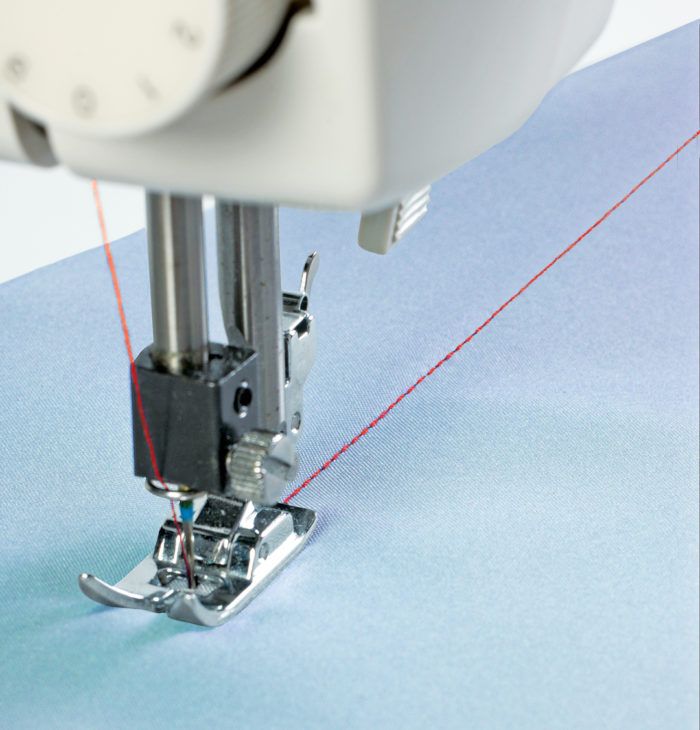
Poor sewing machine tension on a machine-sewn seam can result in an unstable seam, puckering, or just plain unattractive stitching. Perfect machine stitches interlock smoothly and look the same on both sides of the fabric. If you see small loops on the right or wrong side, the thread tension isn’t correct.
|
|
A tension precheck
A number of factors can throw off thread tension besides the machine’s tension settings. Before trying to adjust the machine settings, take a look at other issues than can throw off the tension:
- Is the sewing machine needle bent or does it have a burr on the tip?
- Is the needle the correct size for the fabric?
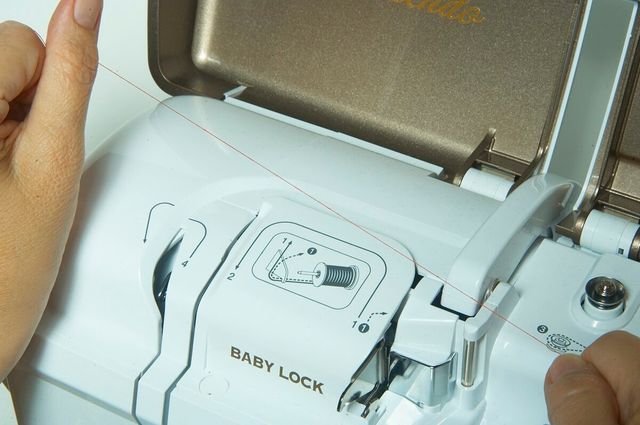
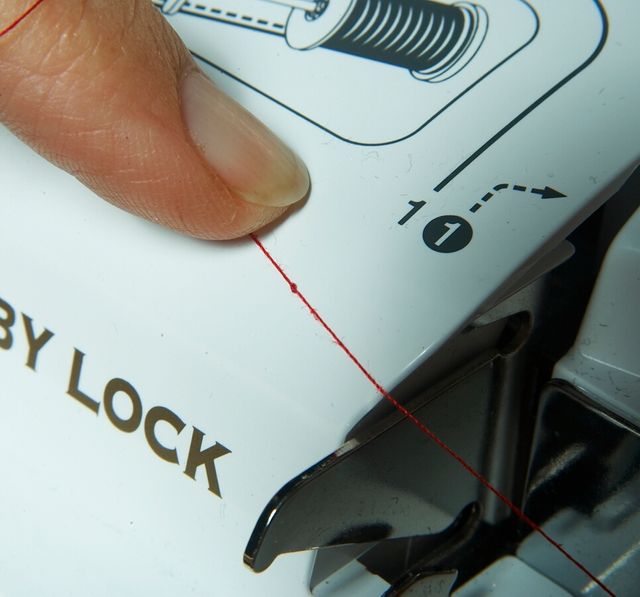
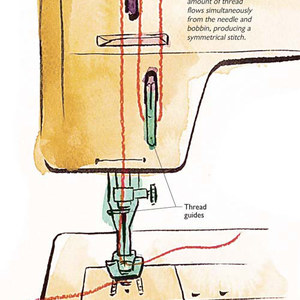
- Is the machine threaded properly? Most machines have thread guides, tension disks, a tension regulator, and a bobbin case spring that controls the bobbin-thread tension. Be sure the machine is threaded correctly. Remember, most tension discs close when the presser foot is down, so be sure to thread the machine with a raised foot. A good habit is to put the spool on the machine, and pull out 18 inches of thread. Hold the thread firmly in your nonthreading hand, so you can “snap” the thread into the tension disks (much like flossing teeth). This ensures the thread is placed correctly in the tension disks.

- Does the bobbin have the same weight of thread as on the top spool? Is the thread good quality?
- Is the upper thread catching on the thread notch or on another rough spot on the edge of the thread spool?
- Did you drop a metal bobbin on a hard floor? If so, nearly invisible damage to it might keep it from working properly.
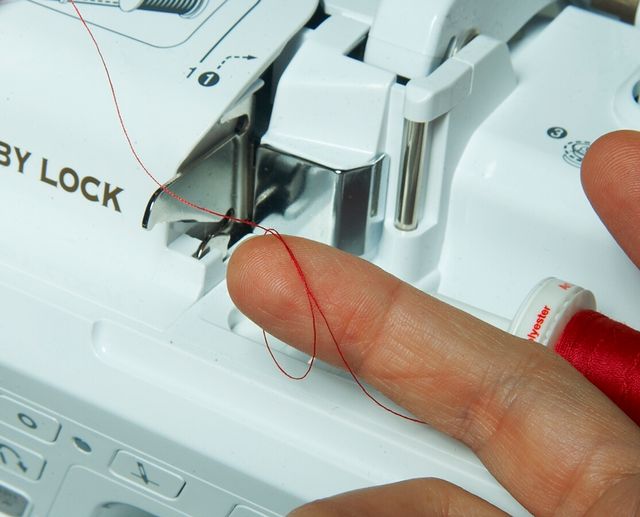
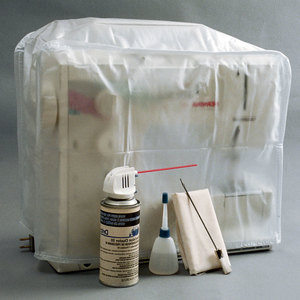
- Are the tension disks clean? Lint sometimes collects in the tension disks. Thread your machine as usual. Pull some thread off the spool in the machine and cut it close to the spool. Tie two or three overhand knots in the thread, and be sure they are tight. Unthread the needle, and pull the knotted thread through the tension disks down by the needle. The tiny knots often catch bits of lint in the tension discs. Remember to cover your machine between uses to prevent dust from collecting in the machine.
 |
 |
Diagnosing faulty sewing machine tension
If you’ve eliminated all of the possibly causes listed above and the tension is still bad, try this diagnostic exercise.
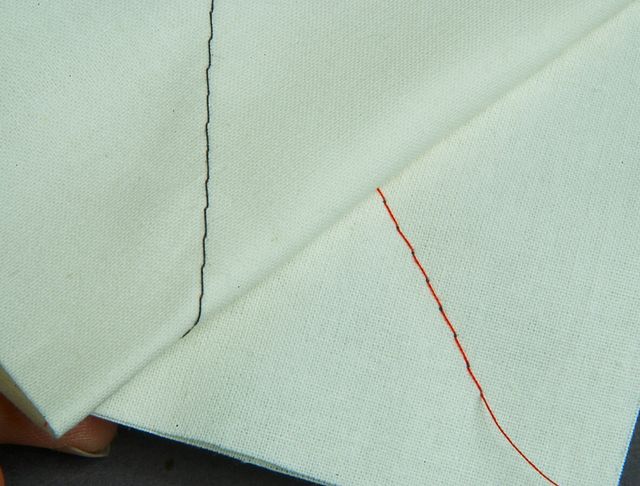
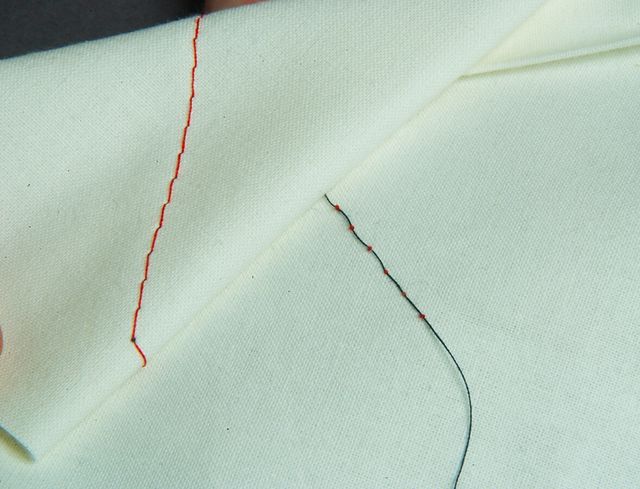
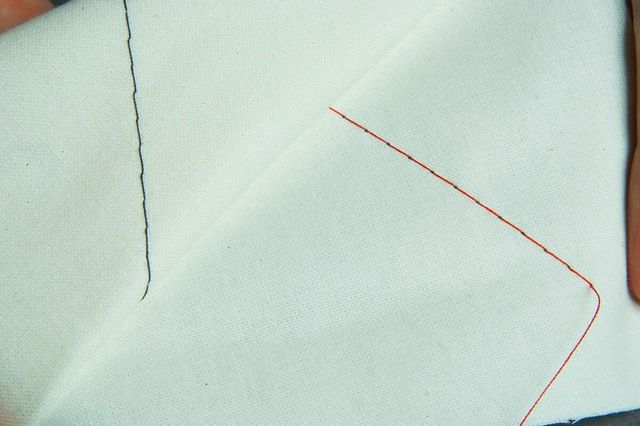
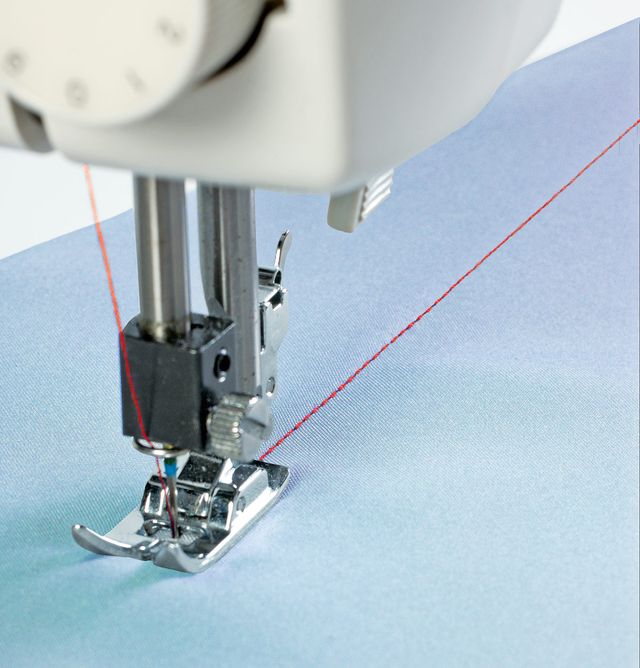
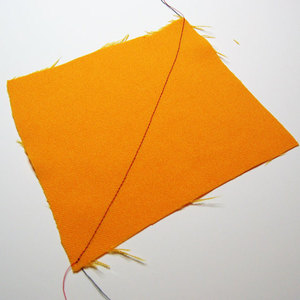
Begin by making test swatches. Get some light-colored fabric. Thread the machine with different colors of thread in the needle and bobbin. Sew 6 inches or so, and look at the fabric’s right and wrong sides.
|
|
|
|
Most of the time, the upper tension needs to be adjusted.
Adjusting the upper thread tension
When you’re adjusting the upper thread tension on your machine, remember that higher numbers on the dial indicate higher (tighter) tension, and lower numbers indicate lower (looser) tension.
Try changing the tension dial up or down one unit. Sew another line of stitching on your sample to see if the tension is balanced. Continue to change the tension settings until the stitches are balanced and no loops are visible on the top side. Run your fingers over the stitches on both sides of the fabric; they should feel smooth.
Adjusting the bobbin thread tension
To check the bobbin thread tension: If you have a front-loading bobbin, remove the bobbin and its bobbin case from the machine. Be sure the bobbin thread is threaded through the bobbin spring. Holding the thread, release the bobbin case over a padded surface (bobbin cases should not be dropped on a hard surface, as the impact may change how they perform). If the bobbin case falls a couple of inches, the tension is correct. If the bobbin case falls several inches, the bobbin tension is too loose. If the bobbin doesn’t fall at all, the bobbin tension is too tight.
There is a small screw on the side of the bobbin. Using the screwdriver in your machine tool kit, turn the screw a quarter-turn right to tighten, left to loosen. It is a delicate calibration, so make only the tiniest of adjustments.
If your machine has a top-loading bobbin with a nonremovable bobbin case, you can’t adjust the bobbin thread tension. Instead, balance the tension by adjusting the upper thread. Although you have less control, you can usually set the tension successfully by working with only the upper thread.
When to consult a professional about your sewing machine tension
If you have tried all of these tips and your machine is still not making good stitches, it is time to take it to the shop.
Sometimes “bad” tension is a good thing. When basting a garment, change the tension so the stitches are loose. After the seams are permanently stitched, removing the basting stitches is fast and easy. Just remember to correct the tension before you sew more seams.
To learn more:
- Understanding Thread Tension
- Get Perfect Thread Tension Every Time
- Video: How to Check Thread Tension
Photos: James Keller unless otherwise noted.




The only way I ever used to get the right tension is trial and error. Practice on a scrap piece helps too.
Somewhere along the line I was taught to cut two 12" squares of the same fabric, layer them together, and then sew diagonally from corner to corner. Next, grasp the line of stitching in each corner, and tug firmly until a thread breaks, then inspect it to see if the tension was tighter in the top or bottom. Also note how long it takes for this breakage to occur, since it happen pretty quickly if one thread has an extreme tension problem.
Recently I have had problems twice with bird nesting In the bobbin area and on the bottom of the stitching. Both times, after much ado, the last thing that I did was to insert a drop of oil in the hook assembly as per the instruction manual.
It worked.
Yes practising on a paper first is what i do too.
http://www.homeofkhalessi.blogspot.com.
I work in a college costume shop and have found that the first thing to check for is lint build up in the bobbin area.
Ruth
I like your suggestion to pull a knotted thread through the tension discs to remove fibers stuck there.
When I teach about tension I relate it to a "tug of war". The thread that wins the "tug of war" and pulls the other thread to its side is the winner or the one with the tighter tension. Kids understand this analogy and tension as a result.
Thanks for the info
Cheryl Pollock
Lady Cher Stitch Studio, LLC
I have a heavy duty Singer and I can't get the tension to be right I try sooo many things the the top tread don't pick up the bottom one and just get all bubble up im tired heeellllppp Pleaseeeeeeeee
I registered specifically to thank you for the tip on checking bobbin case tension. It saved my sanity today!
My machine was working well while I was attempting to make potholders using insu-lite and a layer of cotton batting. I don’t have a walking foot and layers not staying together. My needle slipped out. After reading I changed it, rethread upper machine. I have drop in bobbin.
I cleaned out bobbin area with blush including in machine.
Was matting you underneath.
Now regular material, different color threads I tried changing upper thread tension- still too loose, wavy stitch bottom.
Discontinued WalMart bought sewing machine.
Am I looking at getting new one?
Want one with walking foot but not break the bank. If fix this one, any suggestions????