Design a Rolled Collar
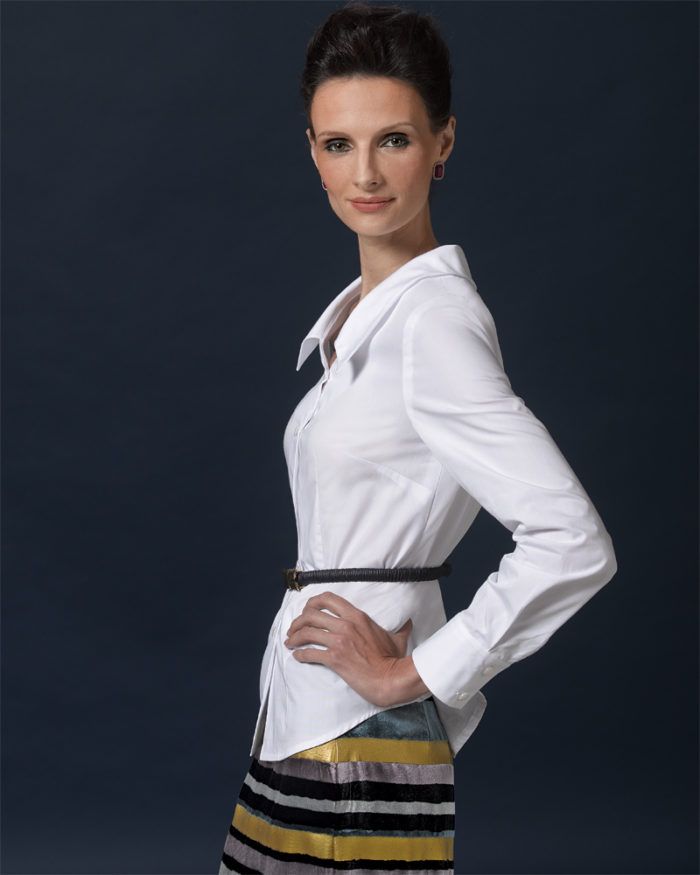
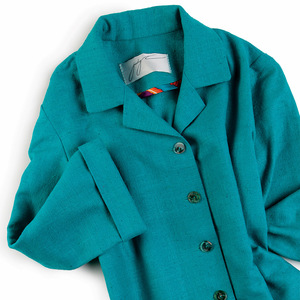
A rolled collar is a simple but endlessly versatile neckline detail. A new collar is a great way to transform a favorite, well-fitting garment pattern. By changing the shape and size of the collar’s perimeter, you can vary the height of the self-stand, as well as the width and silhouette of the collar. Sewing a rolled collar is quicker than sewing a collar with a separate stand, and the results are perfect for garment styles ranging from casual camp shirts to softly tailored ladies’ jackets. You can achieve a wide range of looks, from blouses with dainty little collars to jackets with broad, dramatic, face-framing collars.
In this article from Threads #182 (December 2015/January 2016), Sarah Veblen shows you how to draft and then adapt a rolled collar to the size and shape you want. Once you understand the principles involved, you can design new collar styles for a neckline of any shape or with any opening location. The drafting and draping skills she demonstrates are easy to master and will give you confidence to test your creativity.
Start your 14-day FREE trial to access this story.
Start your FREE trial today and get instant access to this article plus access to all Threads Insider content.
Start Your Free TrialAlready an Insider? Log in


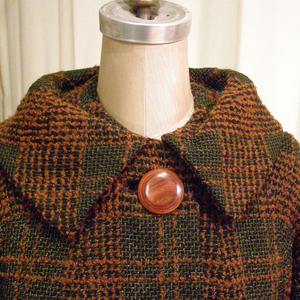

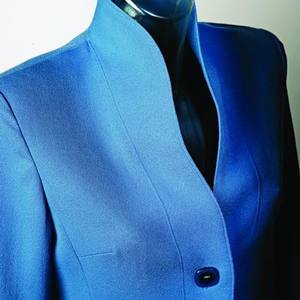
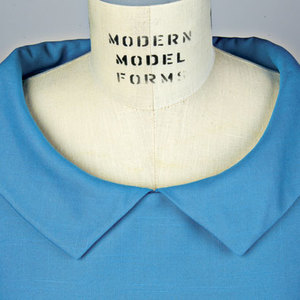


Thank you. Following your instructions, I am trying to draft a rolled collar for a kimono jacket (to create the illusion of a shawl jacket). Since this style's shoulder seams incorporate the sleeves, they are really long, not just 4 or so inches as illustrated on your example. Depending on which point of the shoulder seams I designate as "end point" (5" as measured from the neckpoint vs. 10" vs. sleeve hem) to create the overlap, I get very different collar necklines. Please advise how I should proceed. Thank you.
Claudia U.
Hi, Claudia,
I would make a mark about 4 or 5 inches along the shoulder seamline on the front and pattern pieces, and overlap the seams using those points as the "seam ends." Use the guidelines in the article for determining how much to overlap the seams. You'll need to make a test collar and see how it looks, adjusting it to get the effect you want.
Different fabrics create different looks, too, so much of this process is done by experimentation. Enjoy!
Carol Fresia
Threads Senior Technical Editor
Thank you, Carol! I will give that a try.