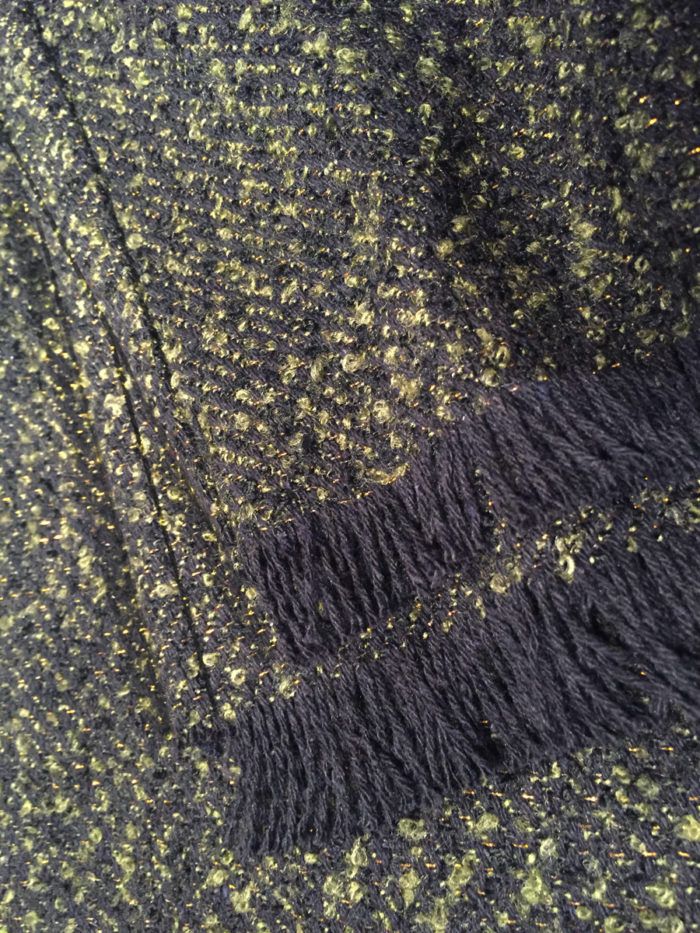
Follow along to learn how to make this beautiful scarf that features a long edge finish.
With the holidays and winter fast approaching, my thoughts turn to holiday gifts. One favorite gift among my friends is a new scarf. For my next scarf project, I’ve found a better edge finish for the long edges, rather than the zigzag-and-trim that I have sewn in the past. My newfound solution is outlined in this tutorial. Follow along to learn how to create this lovely scarf!
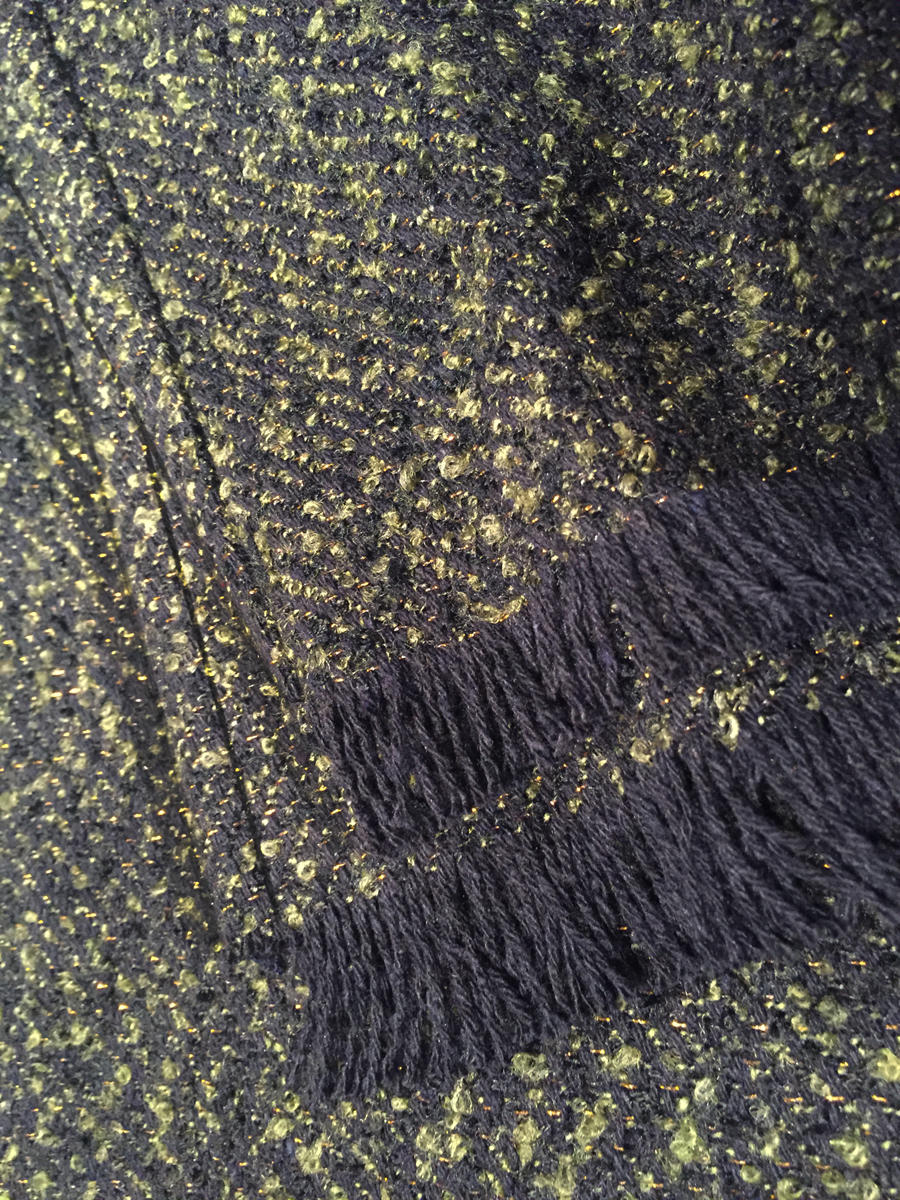
This finish works especially well with textured fabrics. The machine stitching disappears into the texture, and the illusion is of a hand-stitched finish.
How to Make the Scarf
I’m illustrating this method, first in muslin, then in wool fabric.
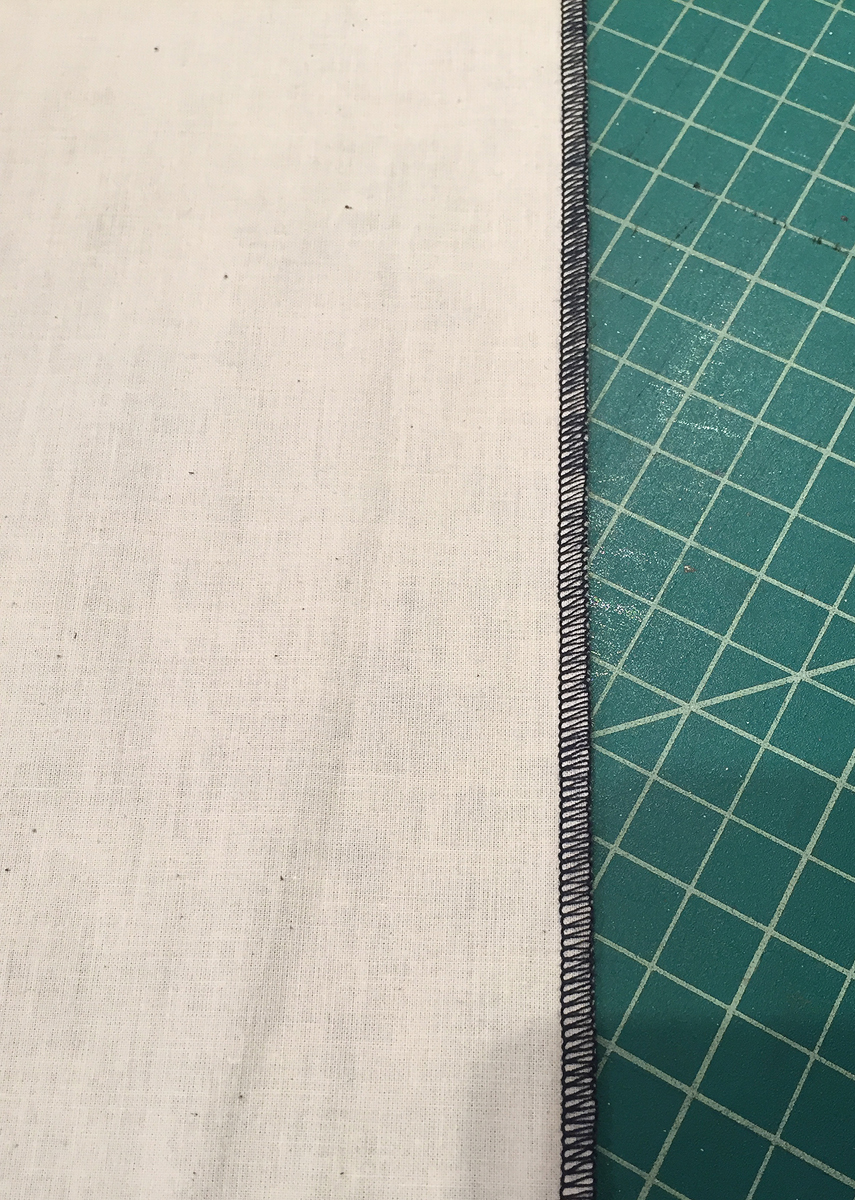
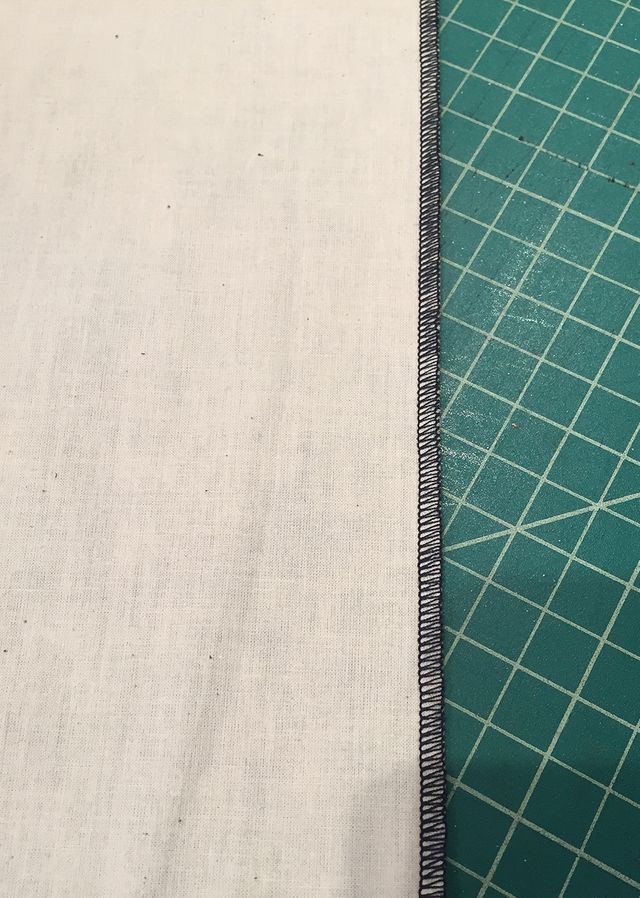
1. Serge the long edges of the scarf. Here it is in muslin.
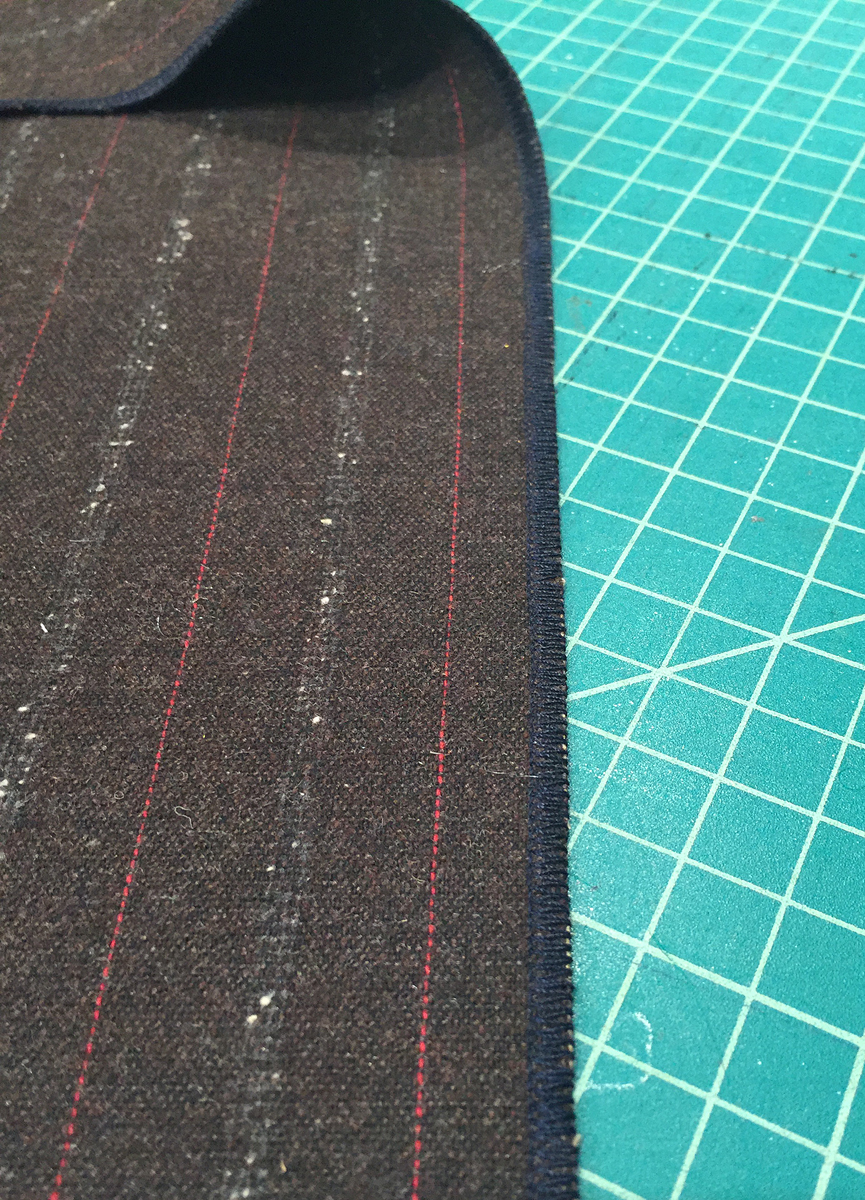
This is what it looks like in wool fabric.
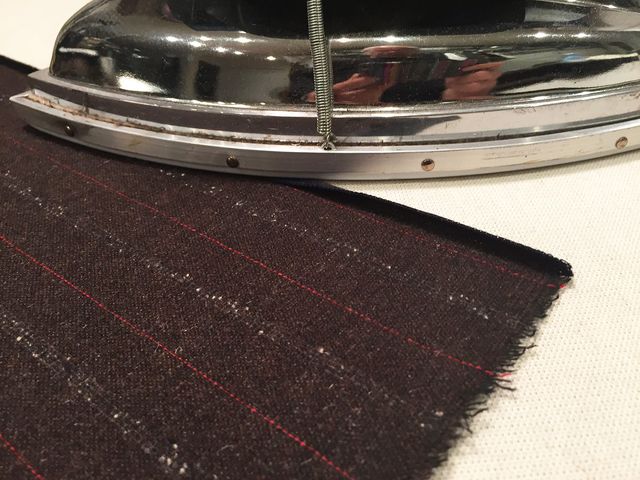
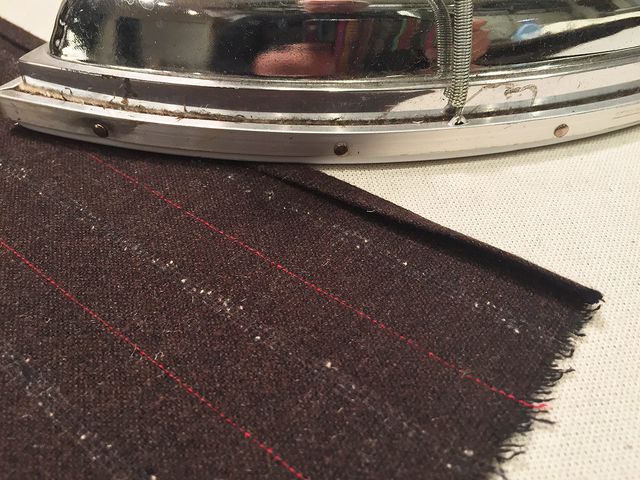
2. Press the serging to the wrong side of the scarf. Serging enables you to press this edge back cleanly and quickly.
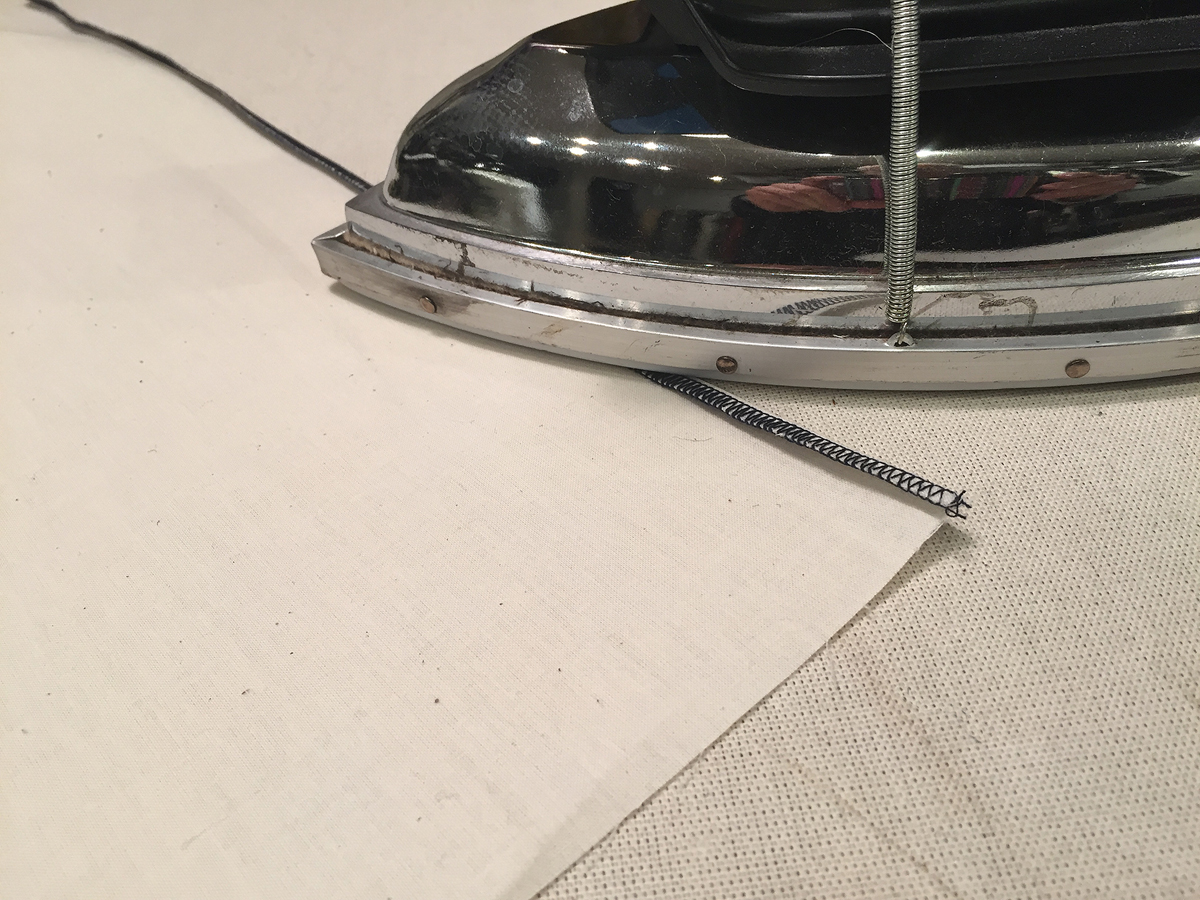
Here it is in muslin.
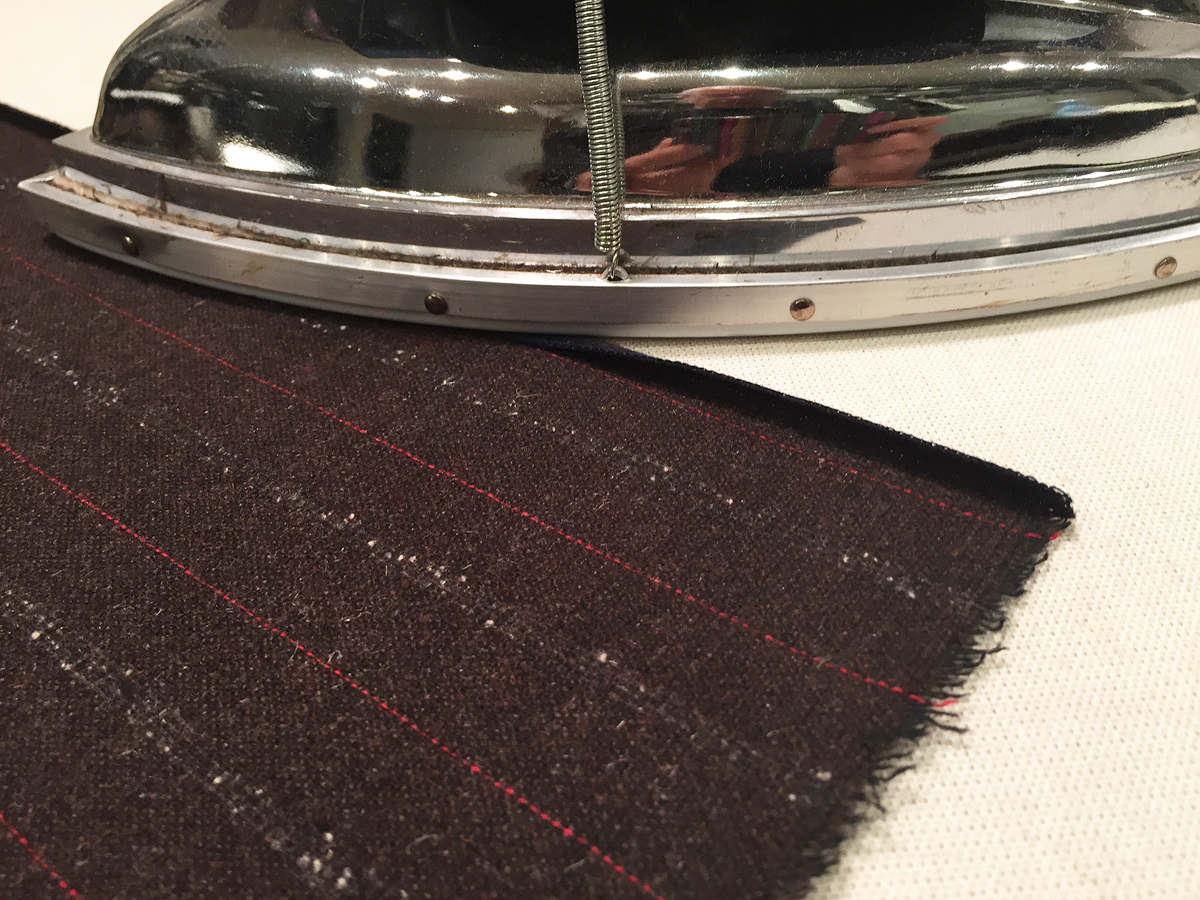
This is the same step in wool fabric.
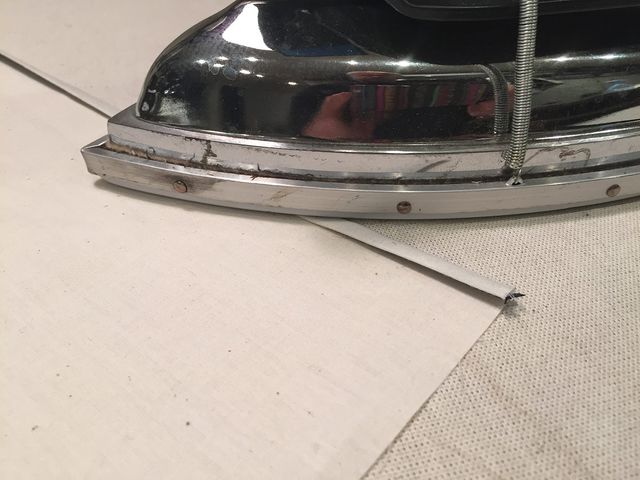
3. Press the edge over again to encase the serging within the hem.
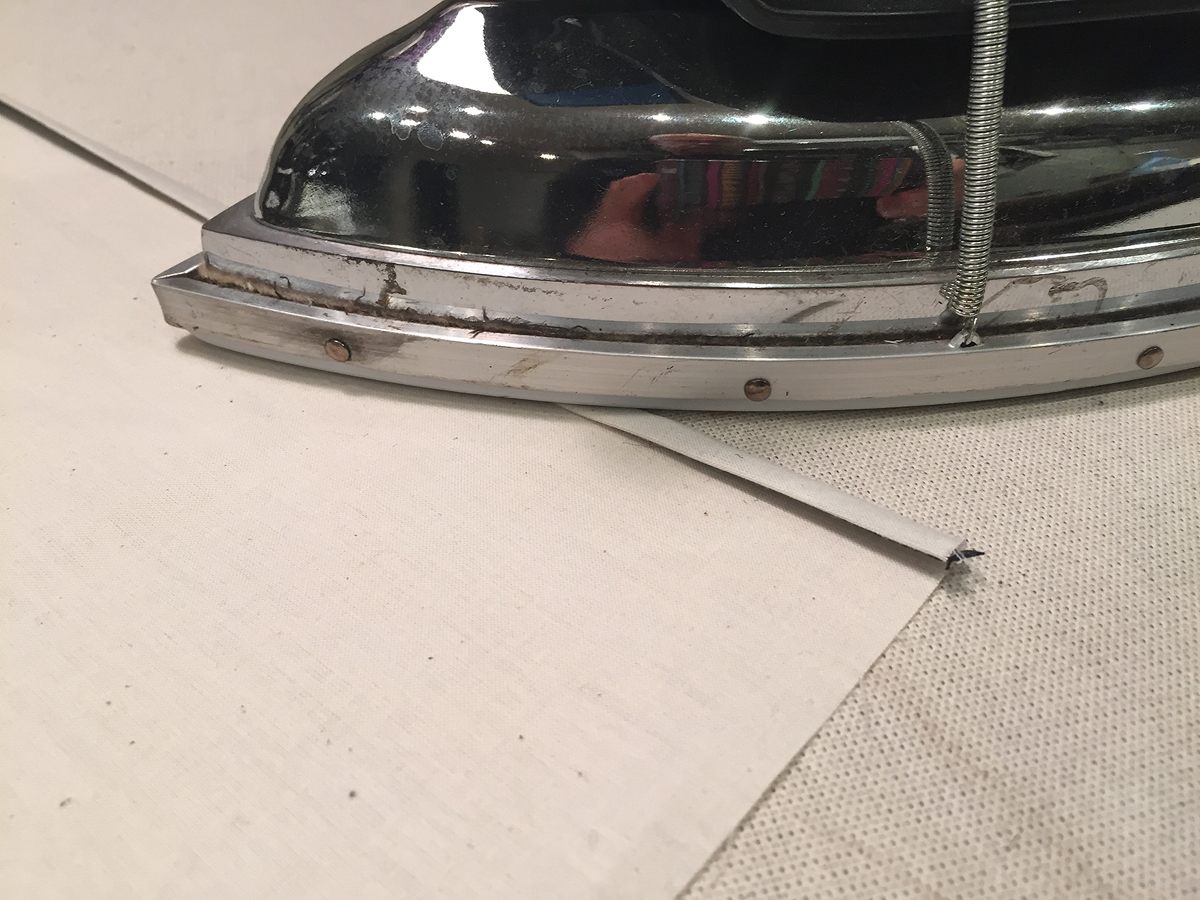
Here is the muslin example . . .
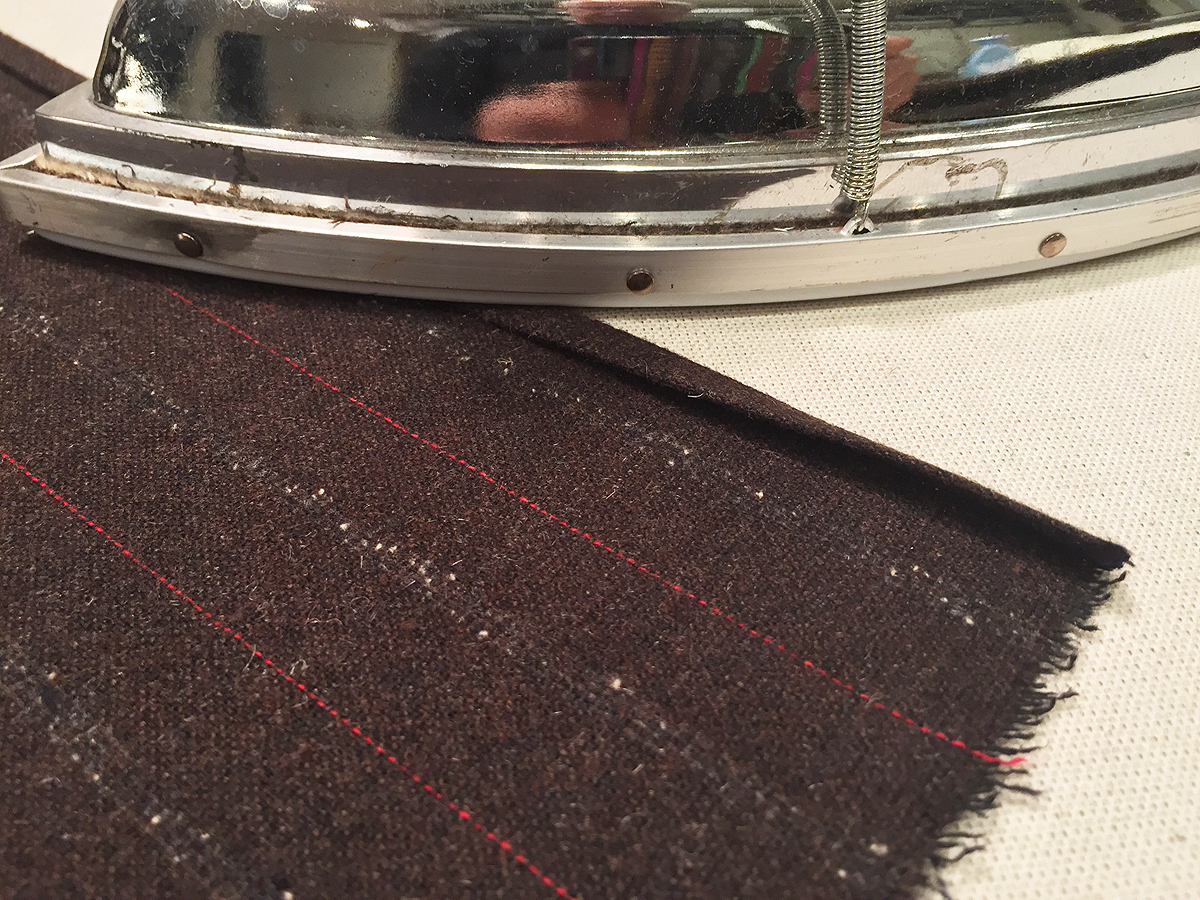
. . . and the fabric example.
Use the machine blind-hem stitch. If you have a machine embroidery foot for your machine, it makes sewing the hem easier.
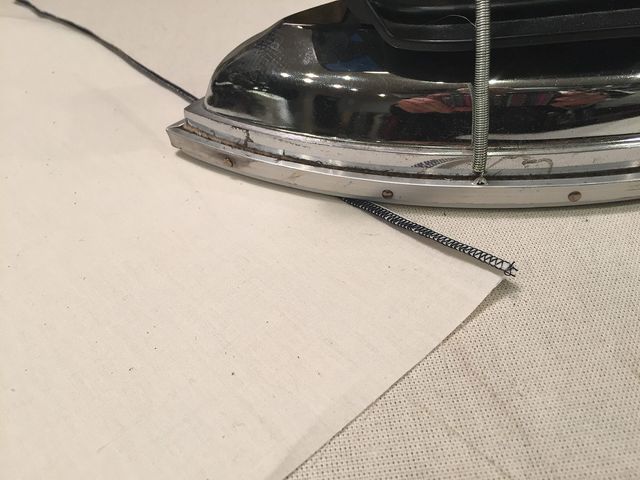
4. Use a machine blind-hem stitch, with a stitch length of 1.5 mm, and a stitch width of 0.75 mm to 1.0 mm. The thicker the fabric, the wider you can make the zigzag width. The object, though, is to take just a bite out of the fabric.
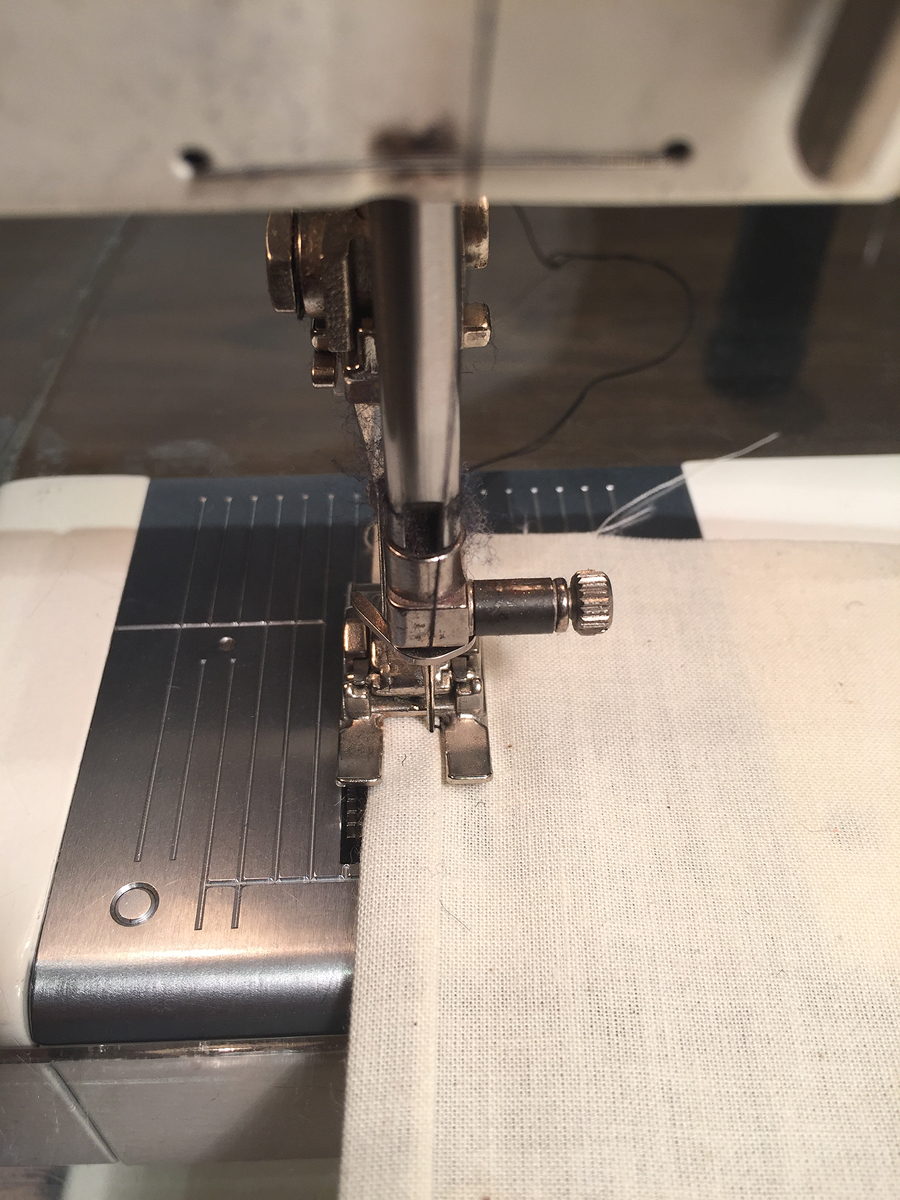
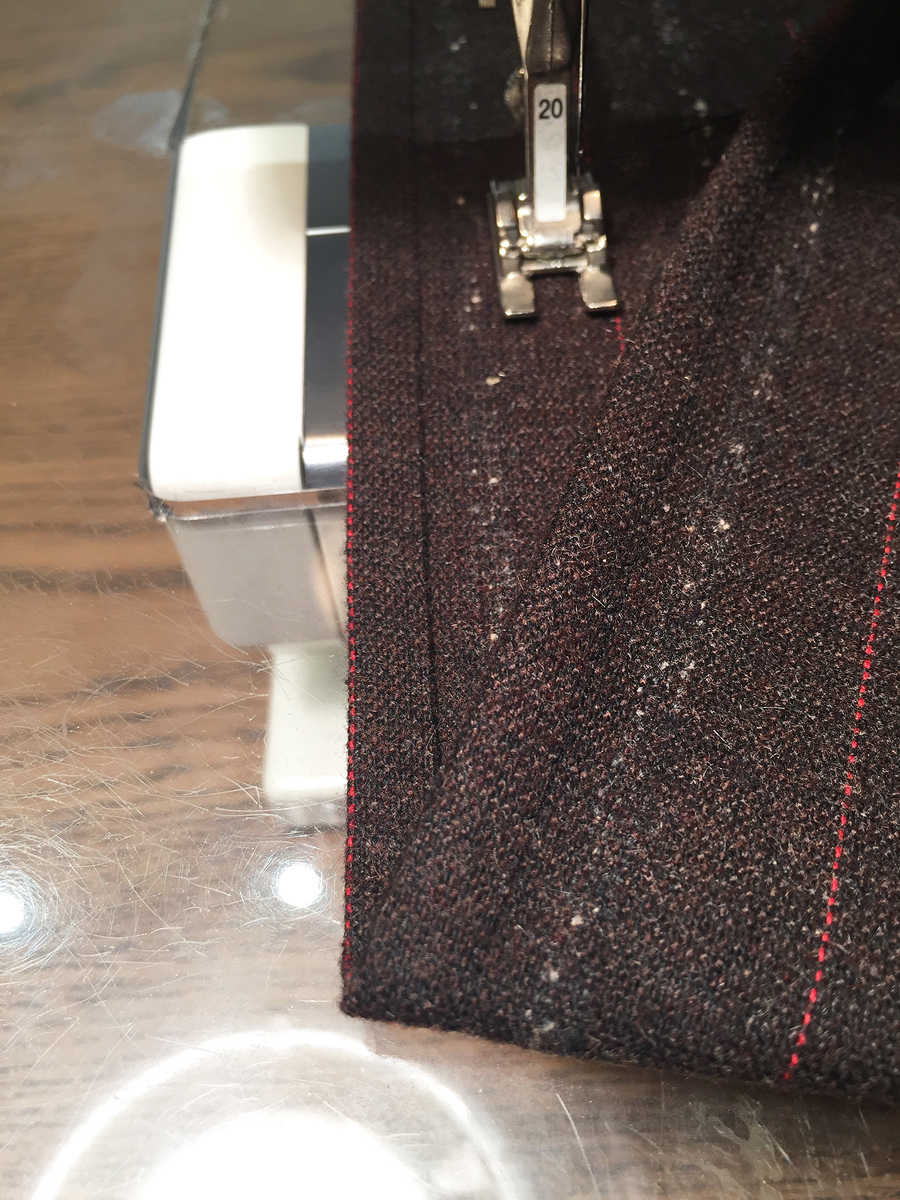
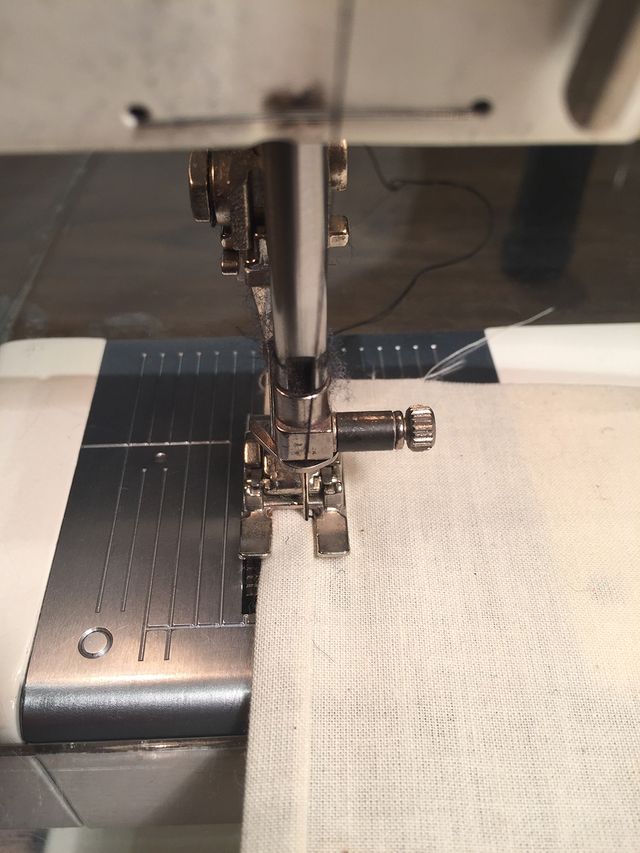
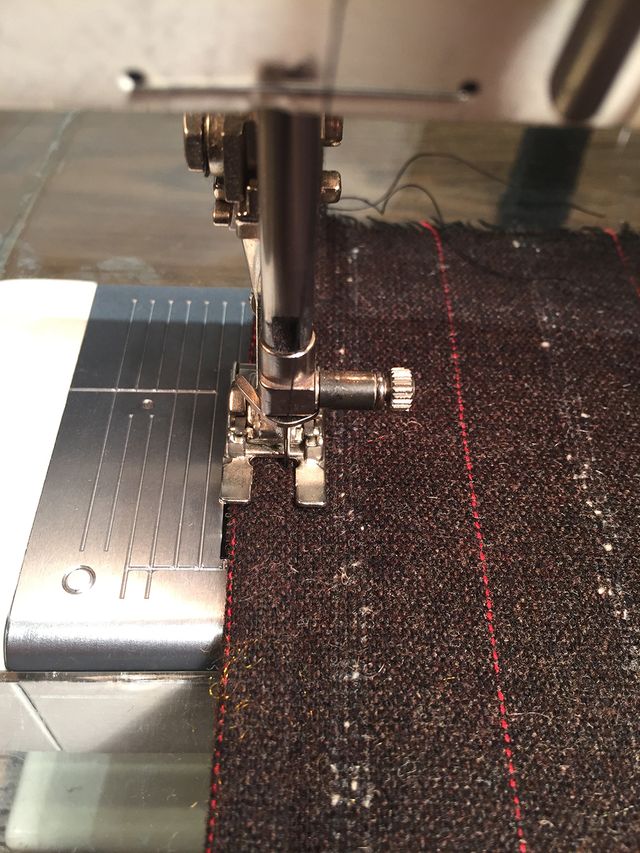
Place the work under the foot on the machine. The blind hem swings to the left when it makes the zigzag stitch, so you want the inner folded edge of the hem facing right. The body of the scarf also is to the right of the foot.
This is the work in muslin.
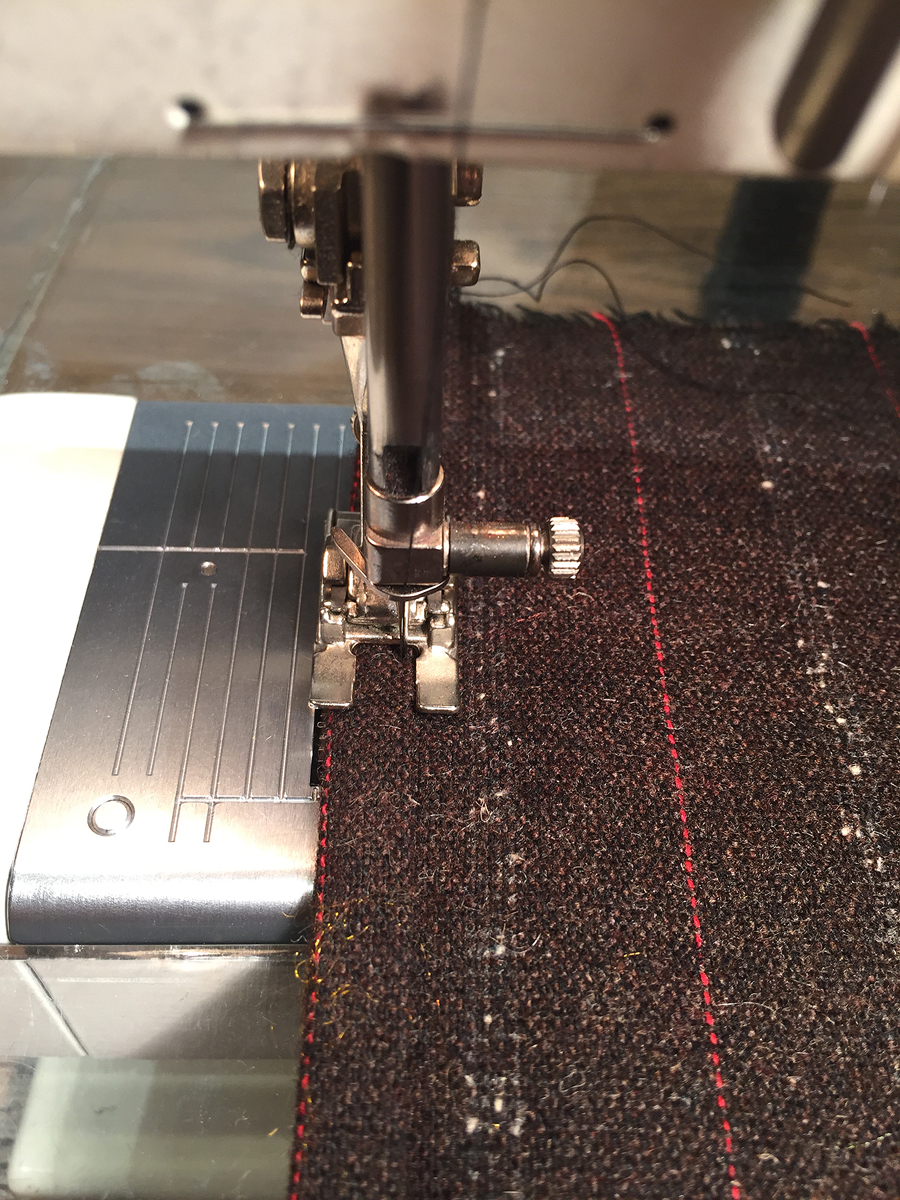
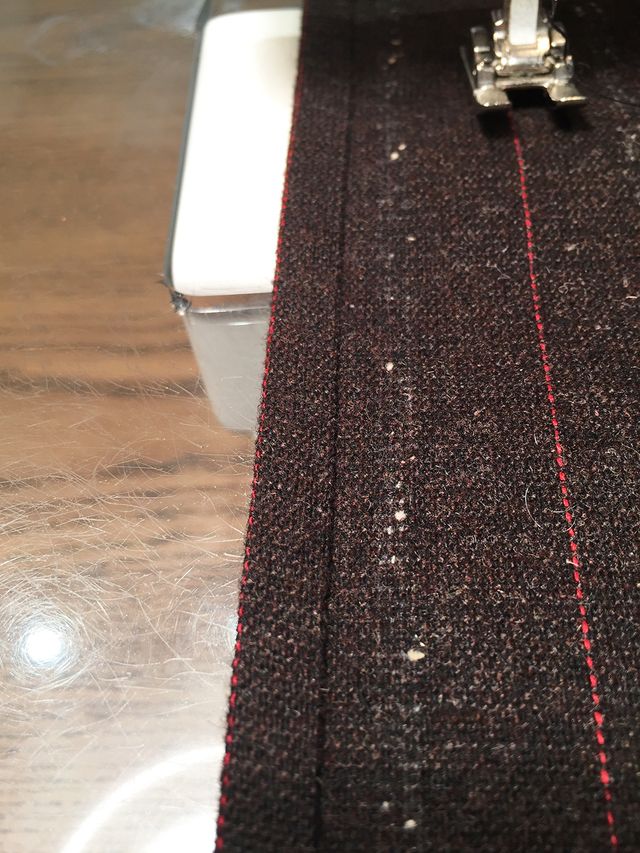
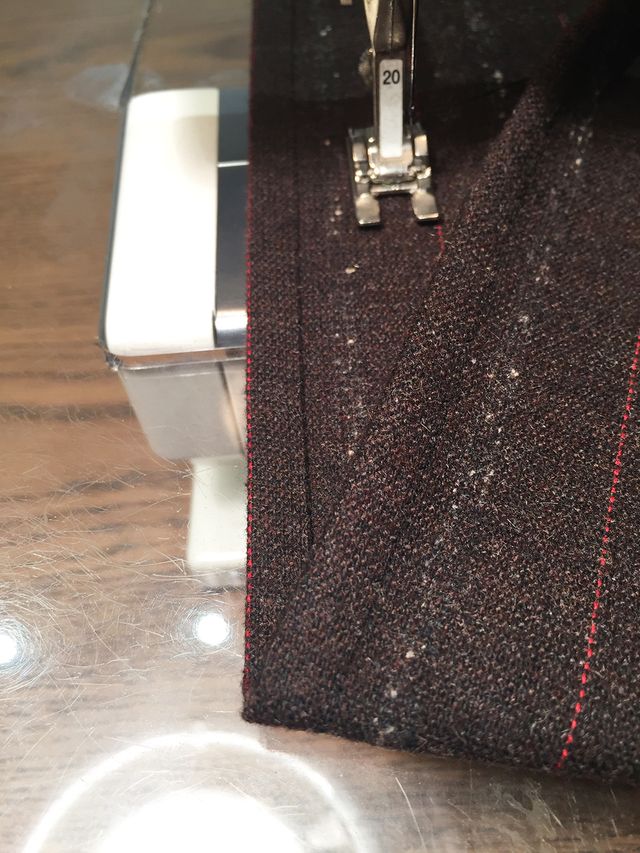
This is what it looks like in wool fabric.
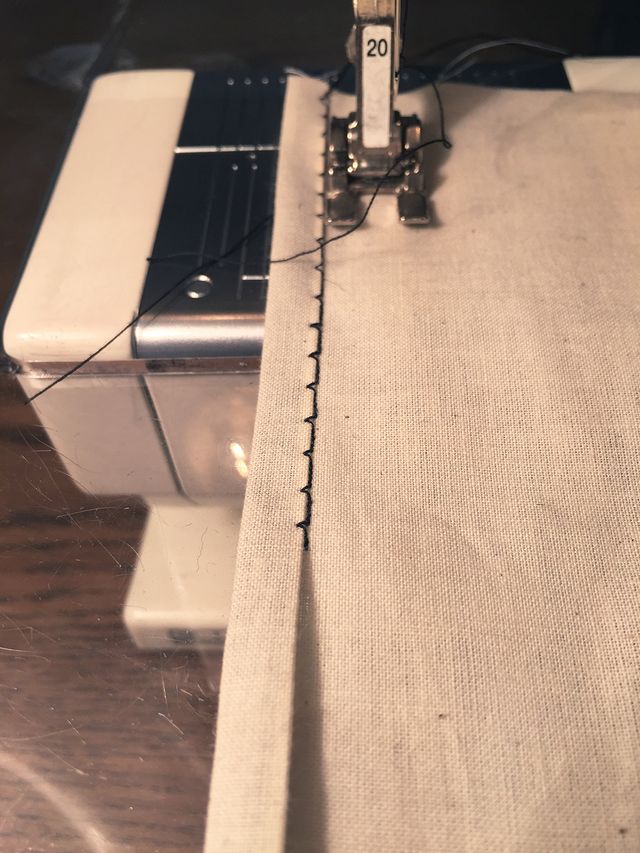
5. Sew along the edge, with the straight stitch part of the blind hem, just outside the hem’s folded edge. The zigzag stitch swings to the left, just catching the hem’s folded edge.
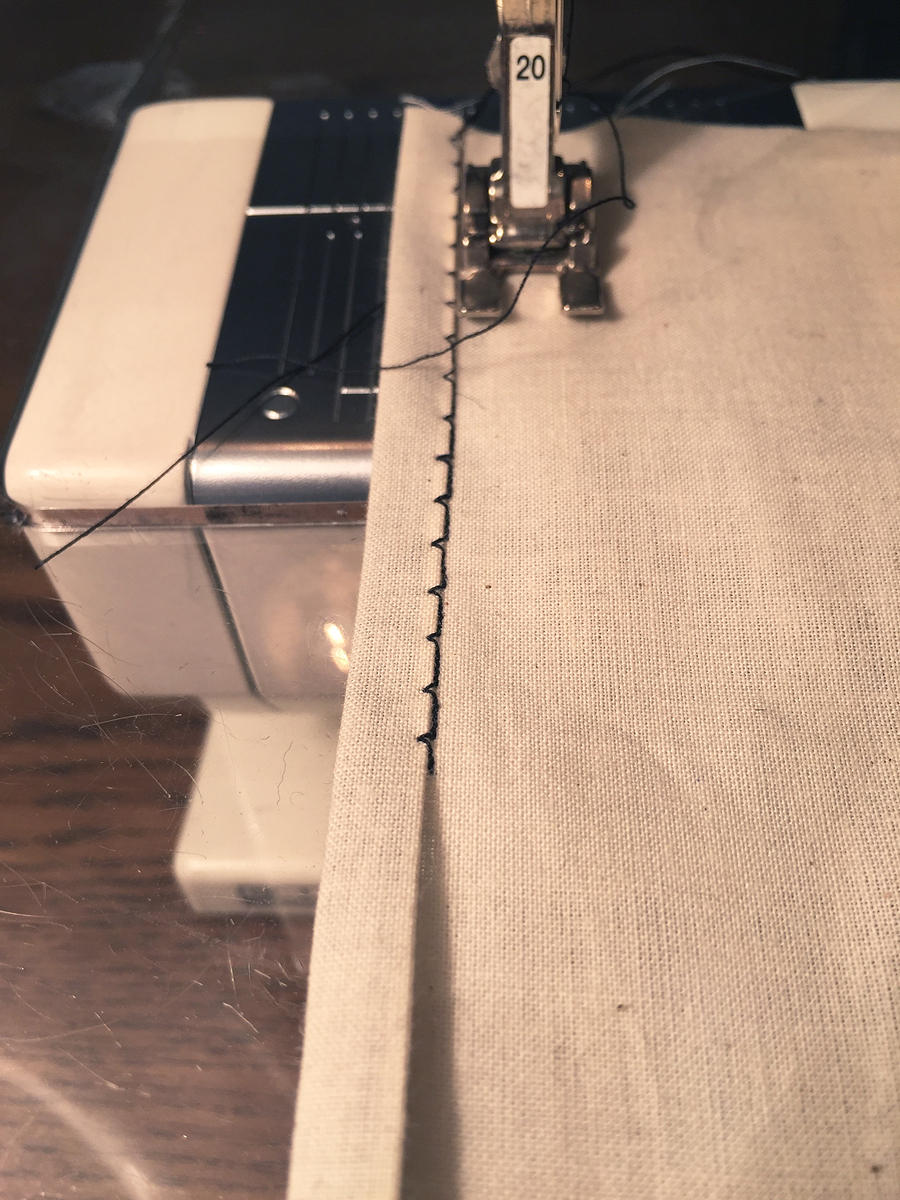
The black thread against the muslin shows the stitching pattern.
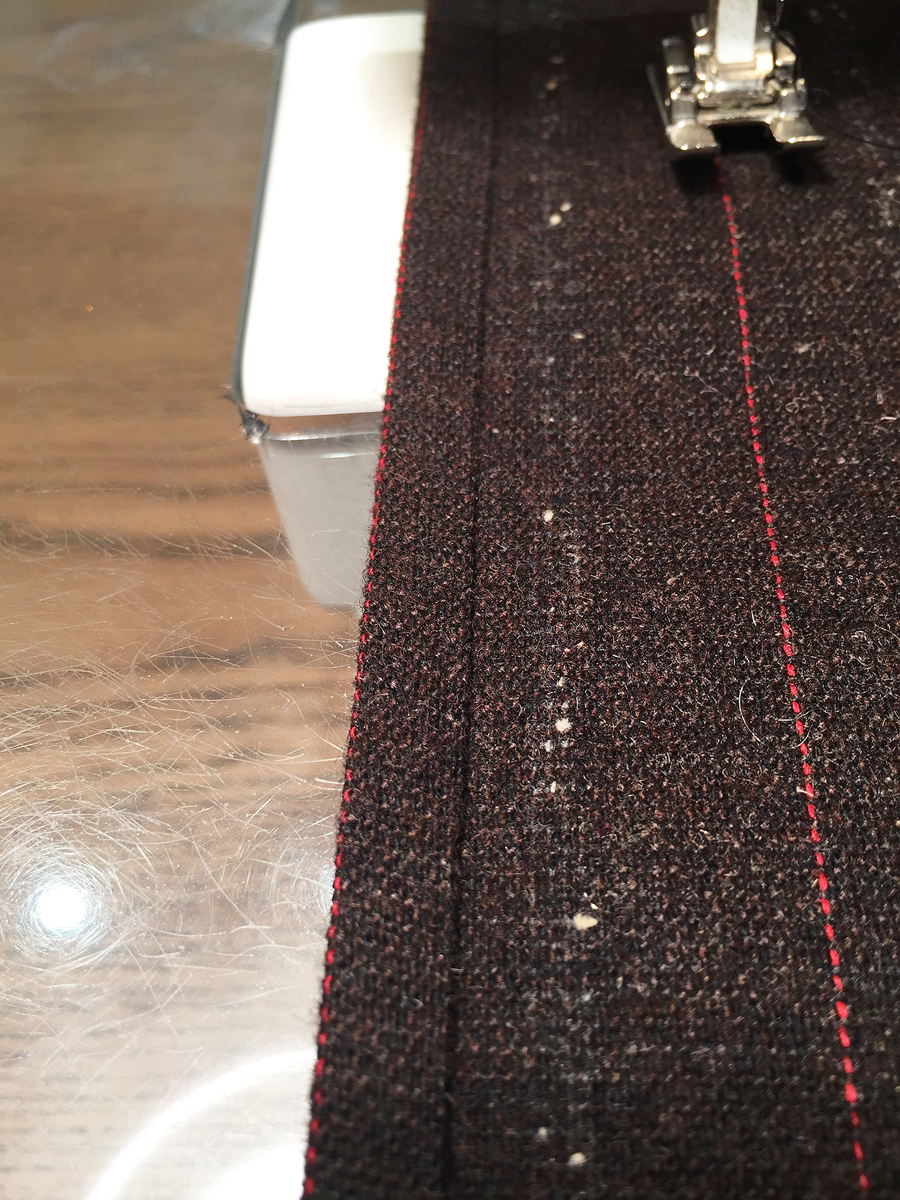
You can see how the stitches disappear in the fabric when you use a matching thread.
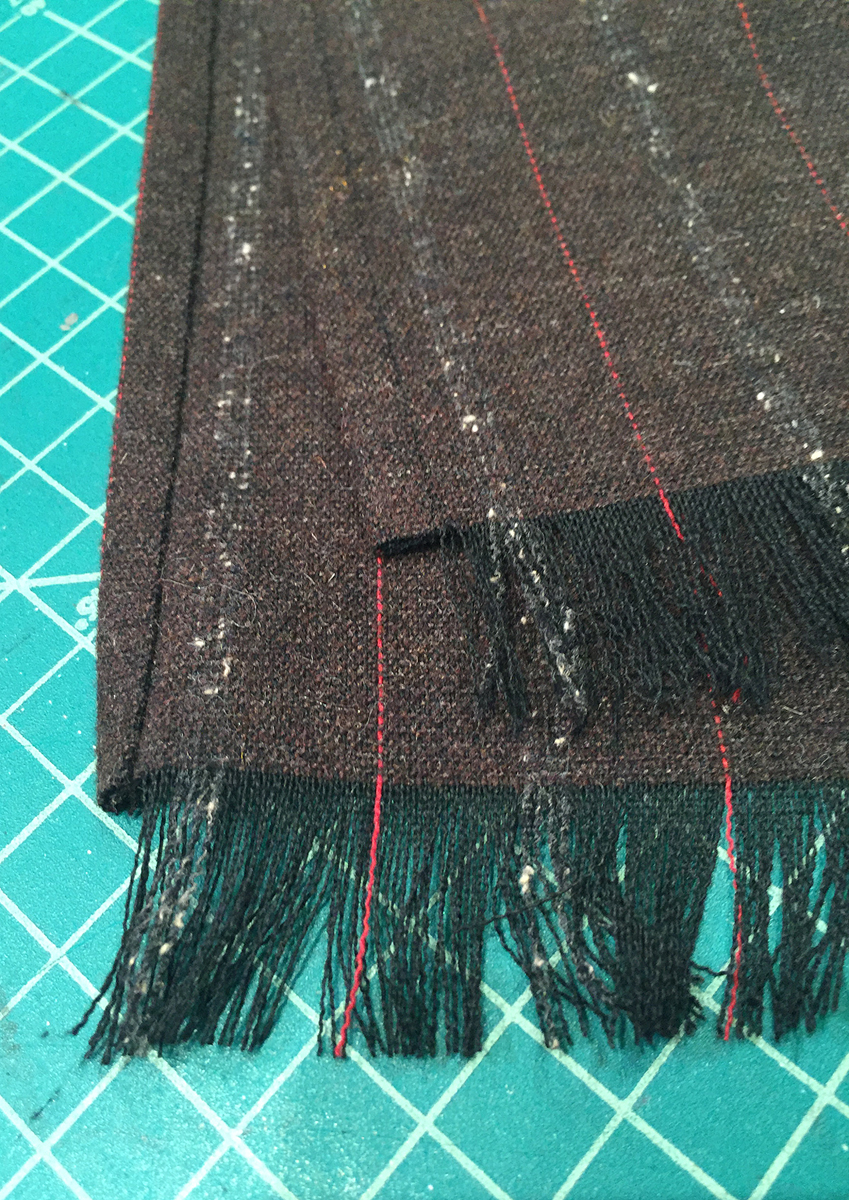
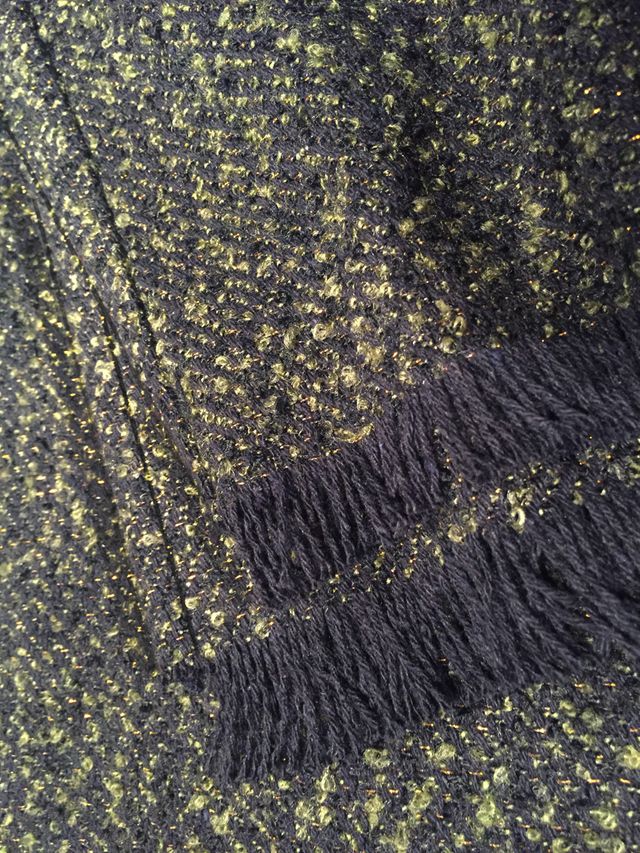
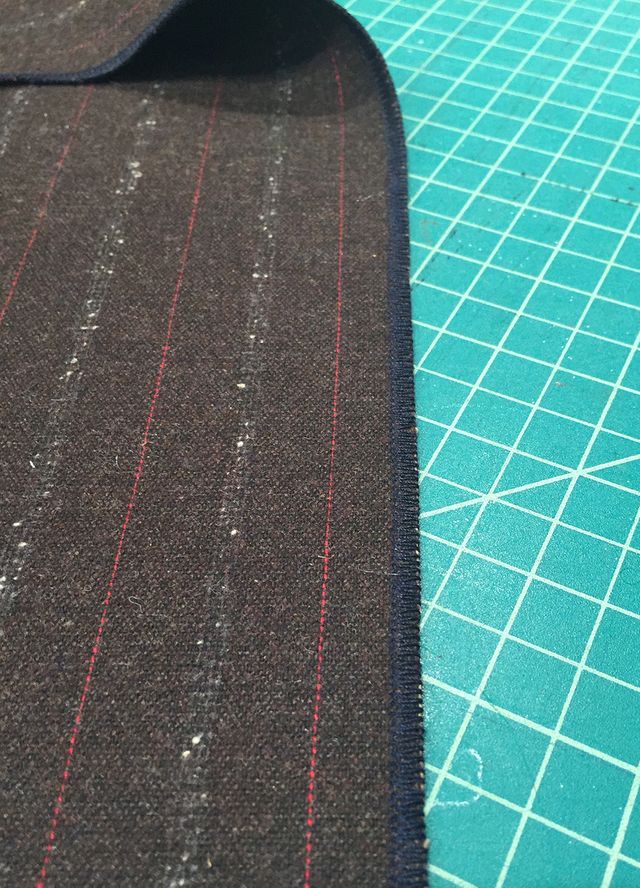
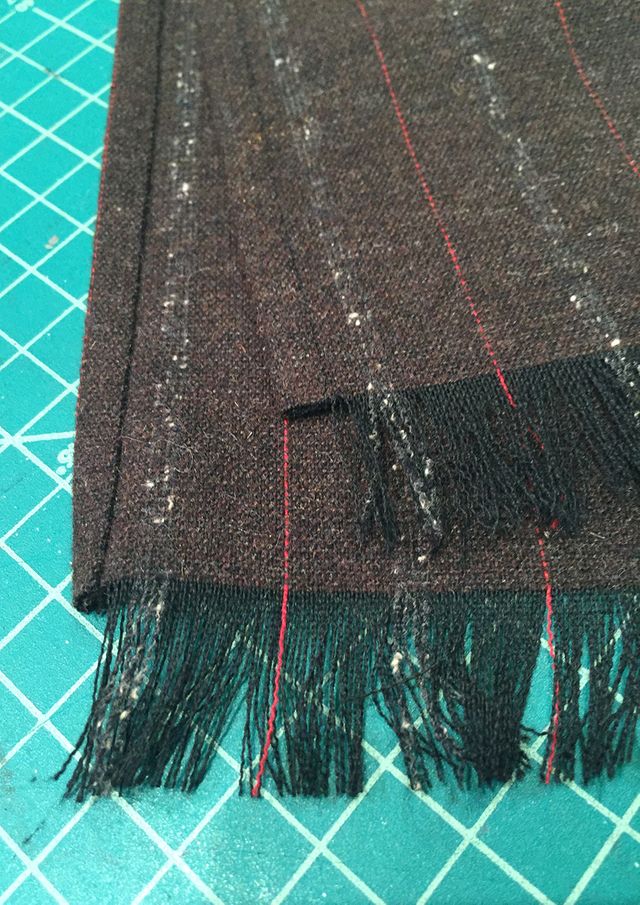
Here is the work folded back. Notice how the stitching disappears into the fabric texture on the right and wrong sides.
After hemming the long edges, you’ll fringe the ends, and then some lucky person will get to wear a beautiful, warm scarf this winter.





Thanx for the excellent photos; a picture is worth a thousand words!
I recently made a gift scarf in a wool houndstooth and secured pressed long-edge hem with dots of fabric glue then whip stitched edges--on diagonal--with narrow leather strips.
Thank you for the great 'gift' instructions! Have a wonderful Christmas.
Thank you for your very clear tutorial on sewing a wool scarf. Yes, I've sewn a lot of gifts over a span of 50 years. Purses, totes, scarves, fleece tops, aprons, napkins, table runners, dolls and teddy bears and their outfits, and numerous clothing items as well as costumes. I'm sure I've forgotten something. ;)
Marla, in Indiana
numberless gifts = a fave "edge" for me is to tightly zigzag a plushy wool that just swallows the stitching and then fringe the long and short edges. King's idea will work well for my less boho friends! Thank you
Why are there no fabric dimensions? How long and how wide is the scarf?
I have made and given tea cozies and shoe bags, both practical and fun to make (although I'm not sure that either of my cousins drink hot tea!). I'm thinking about one of these scarves for gifts this year. They are great! Thanks!
This is a great idea a a god tutorial, as far as it goes. The Threads I read from the very first issue would never have something so incomplete as to have the fringe on the body and not on the hems. It looks unprofessional. I'm surprised he agreed to post this given how detailed his other work is.
I love a project where the fabric does all the work! I really like how you showed the muslin version between each step. I've read your material before and consider you to be most creative AND an excellent teacher; thank you! I've made travel makeup bags, purses, quilts, baby quilts, pants, suits, dresses, scarves, place mats, pillowcases; simple sewing, nice fabric is my motto!
I'm making a mental note to myself, that next time I make a wool coat, to make sure I have enough fabric leftover for a matching scarf! Fabulous idea! And I really appreciate seeing the steps in muslin, as well as the wool. My eyesight isn't what it used to be!
About other handmade gifts - I've made lots over the years. My latest is doll clothes.
Lovely finishing technique. I agree with the comment about doing the fringing first. What I like about this is that it can be adapted to whatever size scarf you want (depending on how much fabric you have!). In light fabrics I like big scarves, that are more like shawls. Depending on the weight of the wool, a shorter and narrower scarf would still work well.
Thanks!
Hello, all!
Thanks for all the kind words!
As to the question of length and width: it's a personal one, but I prefer a scarf two yards long by at least 15-18 inches wide.
As for fringing the ends first, point taken--this post really was more to show the sewing of the long edges, though. Sorry to distress those who think this tutorial incomplete.
I wish you all a happy healthy 2016!
That is actually a great idea for a present. I never were good with presents. With sewing however I do have some skills. My sis would be really fascinated of her new scarf, I'm sure. Thank you for the idea AND the tips. :)
Happy Holidays
This is a great project, I bought some cashmere fabric, specifically for making a scarf for myself, and just hadn't got around to doing it. But his is a great reminder to do it. This scarf is very pretty. Thanx for sharing and inspiring.
Yes I have gifted many handmade projects, monogrammed bath towels, made and monogrammed napkins, pillowcases, monogrammed sheet sets, made stuffed animals, hats, and I actually made a scarf similar to the one you've given instructions for, but instead of encasing the long edges, I did a decorative stitch along the edges, the short ends I fringed, and then I monogrammed the scarf. I must say, it was a very pretty gift.
As always, you make it easy with your well planned instructions. Thank you.