


In Part 1 of my Fortuny Gladstone bag series, I walked through how to deconstruct an old Gladstone bag. I also showed you how I created the new bag body out of Fortuny fabric. In Part 2, I show how I constructed the end gussets and attached them to the bag body.

The gusset was cut in two pieces–an upper and a lower half–and seamed together. Notice that I used binder clips instead of pins to hold them for sewing.

Here’s the completed gusset, ready for the seams to be pressed open.
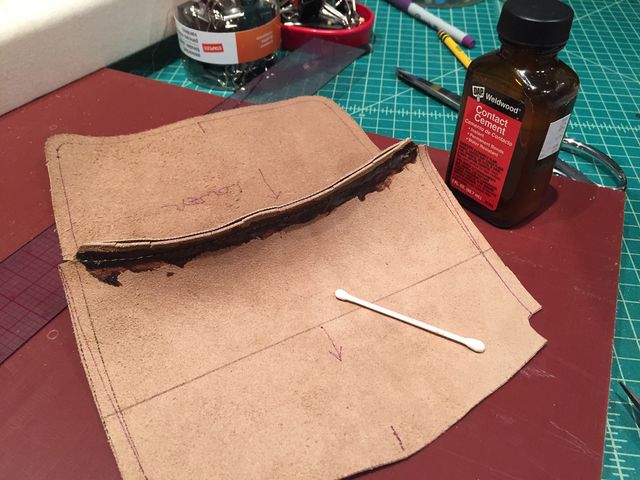
On a leather like this, glue the seam allowances open with contact cement.
I spread the cement over the seam but not to the cut edge of the seam allowance.

If you apply the cement to the edge of the seam allowance, when you press it open, the cut edge will read through to the right side.

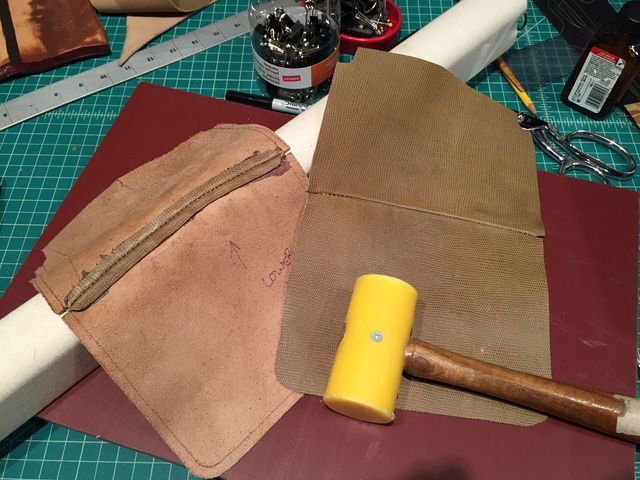
After the cement dried and set, I pressed the seam allowance open. I hammered the seam allowance flat on a wooden seam roll.
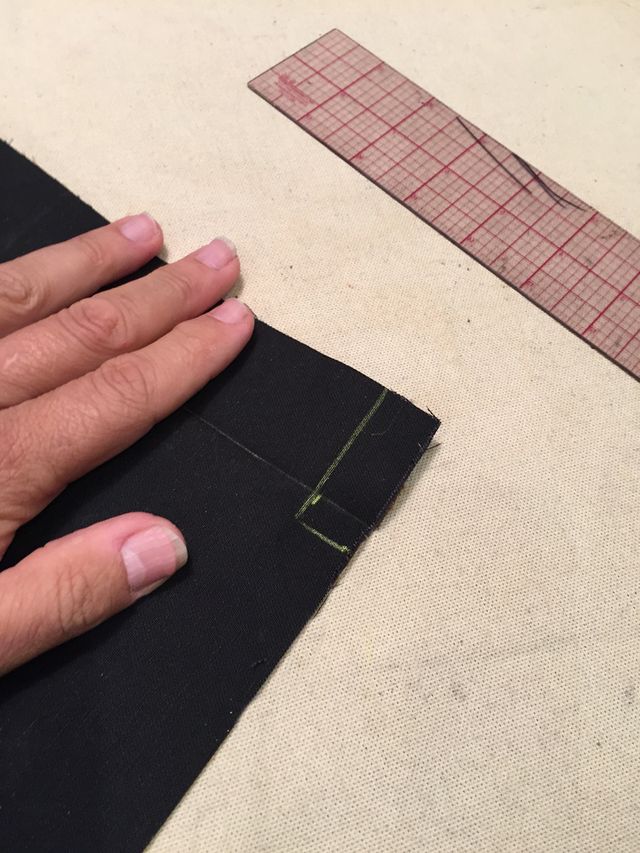
Notches were needed at the top edge of the bag to accommodate the frame. I made the notches before attaching the gussets to the completed bag body.
In leather, this was easy to do, as there was no worry about raveling fabric. I simply cut the notches when cutting the upper gusset pieces.

On the fabric-covered bag sides, though, I made a finished edge at the notched areas by peeling the canvas (black) away from the fabric and drawing the shape of the notch onto the canvas back.

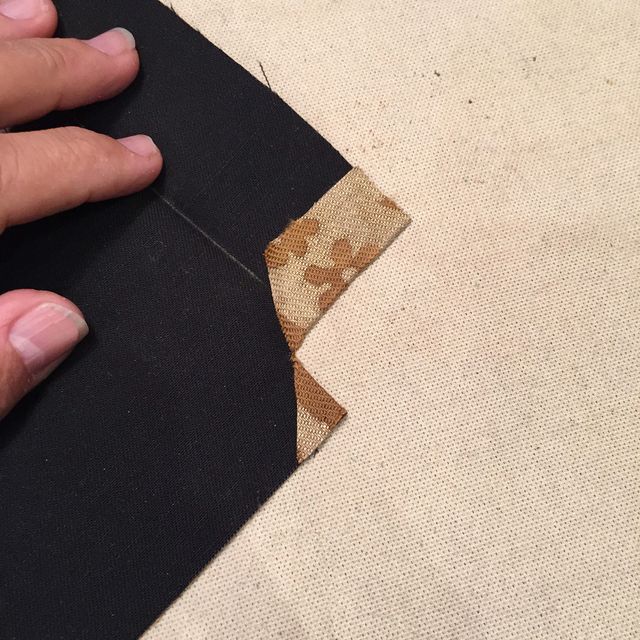
I cut the shape from the canvas and pressed the Fortuny fabric back against the canvas. Fusible web was applied to secure the seam allowances.
Next, I cut a 1-inch-wide strip of leather and sewed it to the side and bottom edges of each gusset. To install each gusset, I glued first the base, secured it to the base with binder clips, and let it set.
Tip: Use leather scraps between the fabric and binder clips, so the clips don’t mar the fabric and leather.
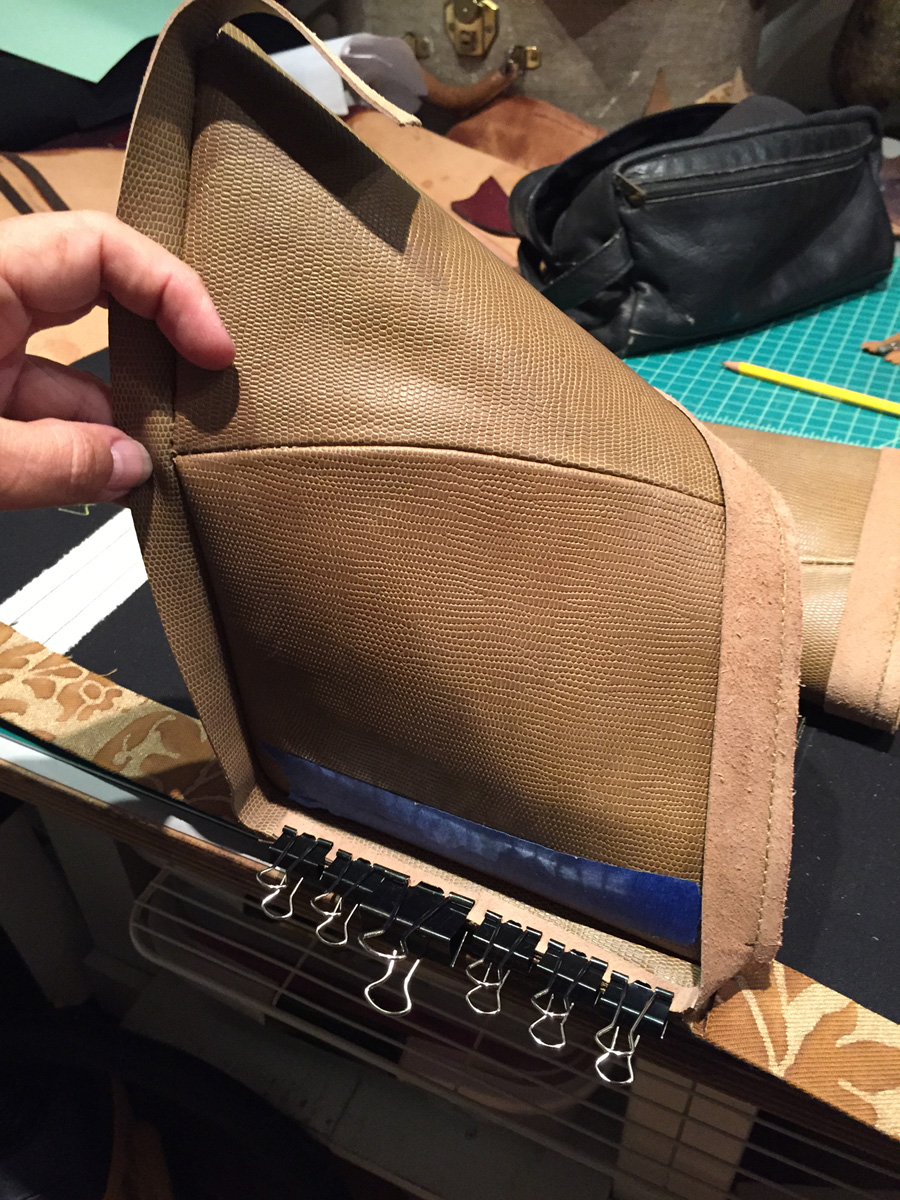
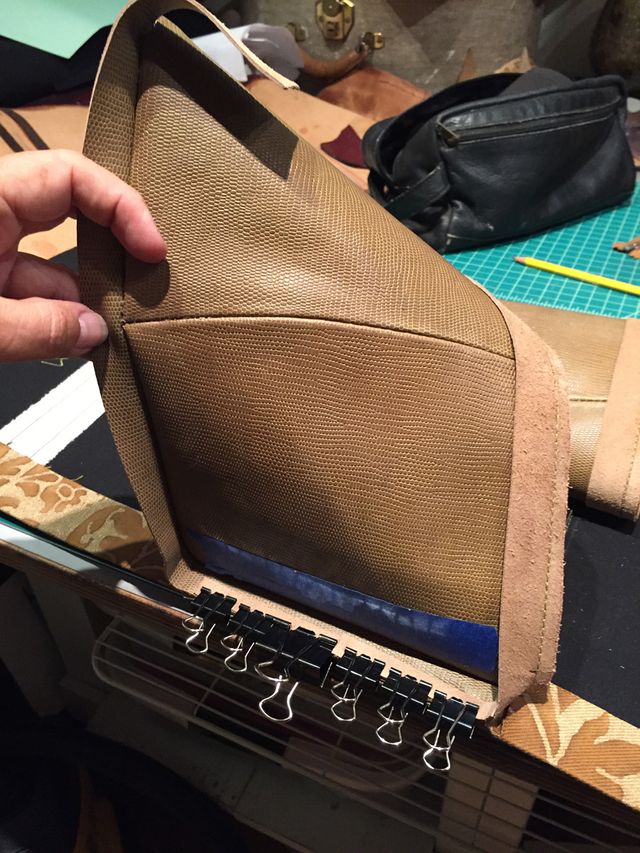
Here is the bag, with two sides of the gusset glued, and the third side clipped while the glue set.

It’s easier to manage this when you glue and allow the sides to set one by one, rather than trying to attach them all at the same time.
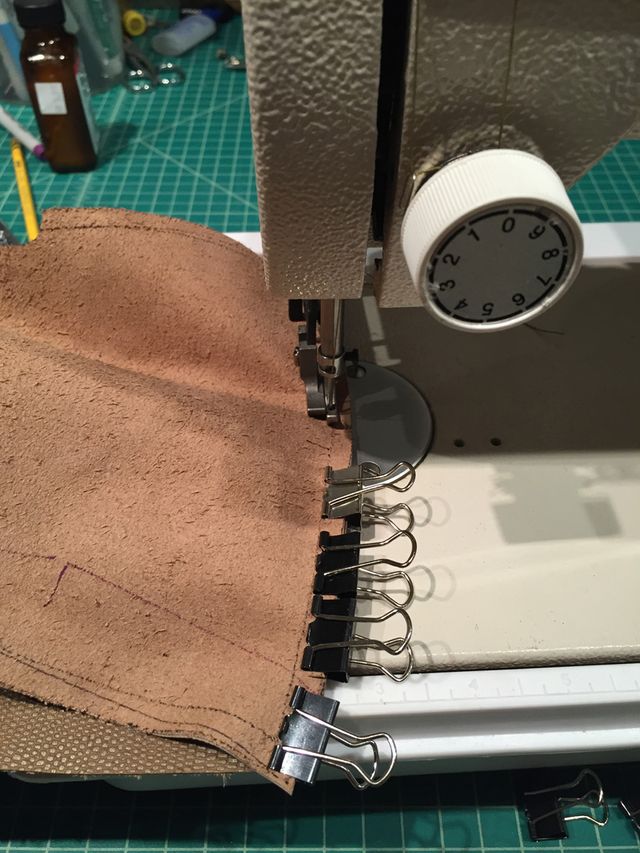
The next step was to sew the leather strips to the edges of the body, joining the gussets to the body.

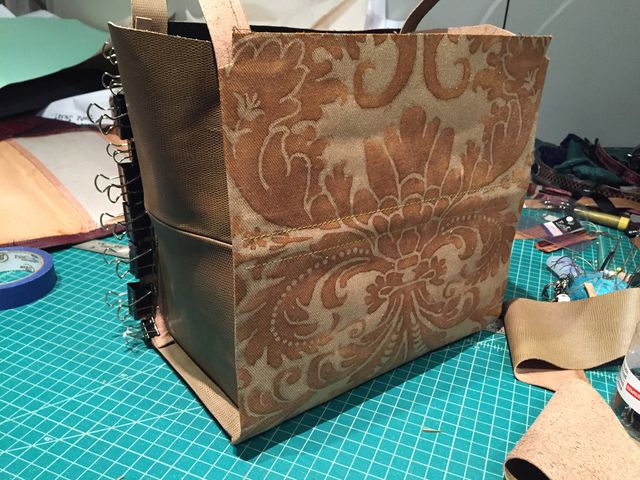
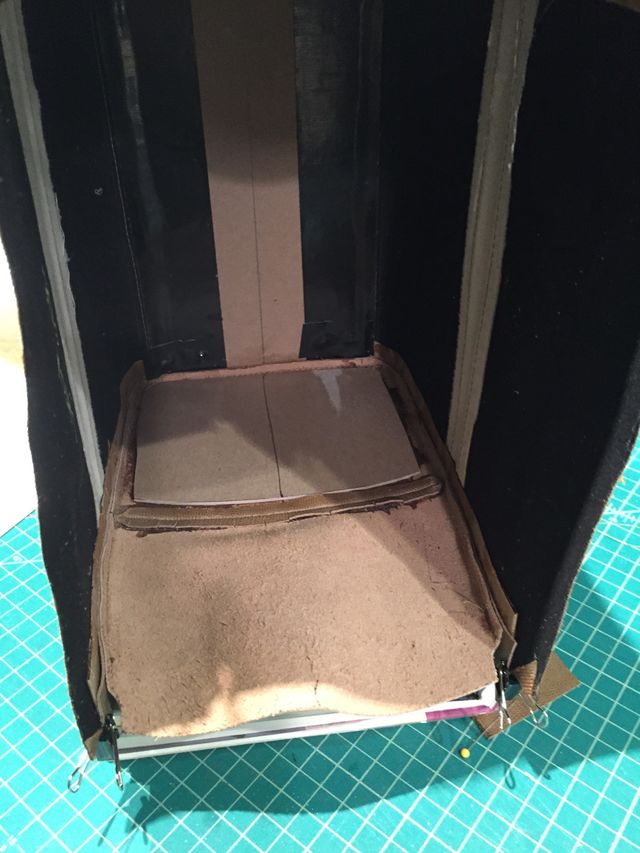
Afterward, the chipboard for the lower portion of the gussets was adhered with contact cement. In this view, the gusset is at the bottom of the photo; the chipboard is in position.

The body of the bag was ready for the lining. The fabric-covered sides came together at the top, where the frame was to be installed. The upper half of each gusset was pleated inward, while the bottom half held its shape due to the chipboard backing.
Continue to the big finish in part 3.
Leave a comment: Have you ever undertaken a bag project such as this? If not, would you consider taking it on?


WOW!!! This is like a designer label showing us how the magic is made.
The progress is impressive, as always.
Senor King, looking forward to the completion of this project in 2016, and all of your upcoming creations and techniques.
Thanks for the kind words! And best wishes of health and happiness to you in 2016!
Fascinating; your ambitions for exotica seem limitless! Just curious: assuming no friends stumbling on old Gladstone bags at estate sales, would there be a retail source for such a frame?
Thank you for pushing our creative impulses into ever-new places!
I love this bag! I make felt bags and found that good internal support for the structure (and waterproofing) has come in the form of the insides of old life jackets. There is a heavy, dense foam there that holds its shape, is easy to cut with a box cutter and waterproofs (especially on the bottom) the portion that needs structure
To VickyGrainger: That's good information to know! I'll research that. Is there a certain age of life jacket, or a particular kind?