


In “Finishing Knits,” (Threads #183, February/March 2016), I offered tips on sewing necklines, waistlines, and hems in knit garments, for a professional look. It’s also important to review how to install a zipper in a knit garment.
The less stretch a knit fabric has, the more likely it is that you’ll want to install a zipper at the waist or neckline. Opt for an invisible zipper, and use one that’s at least an inch longer than the zipper opening.
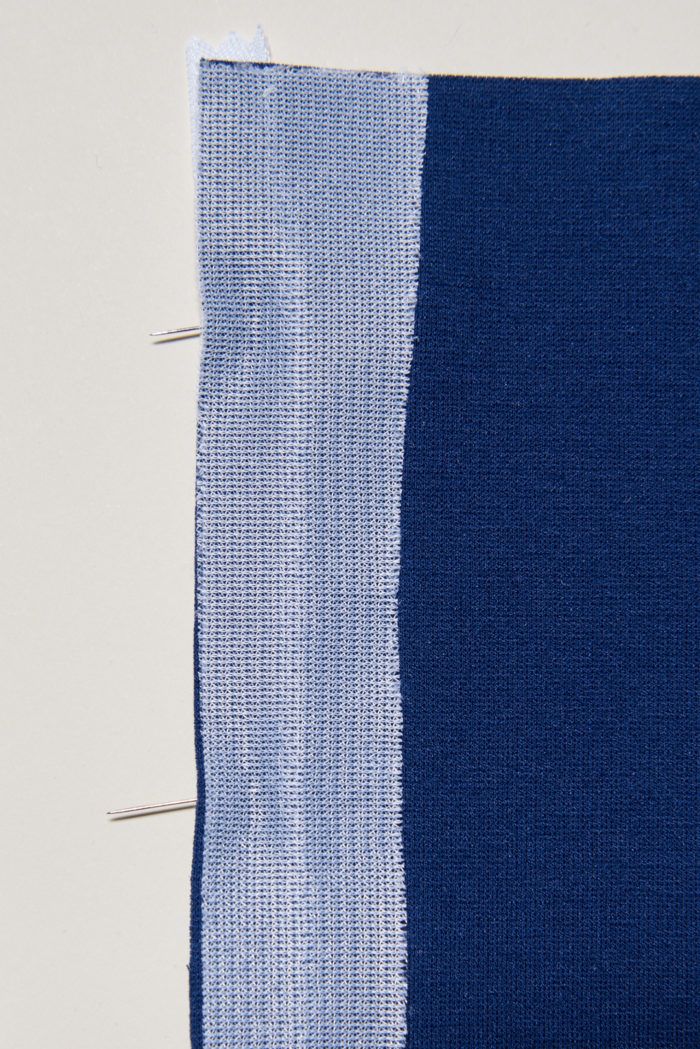
1. Interface the zipper opening. Fuse a 1-inch-wide strip of knit interfacing, cut on the cross-grain, to the wrong side of the zipper opening seam allowance. Extend it 1 inch below the opening.

2. Sew the garment seam. Sew it from 1 inch or 2 inches below the zipper opening to the hem. Use a narrow machine zigzag stitch for this seam rather than serging it, so you can open the seam allowances.
3. Machine-baste the zipper into the garment. Open the zipper. With right sides together and the top stop at the waist or neck seamline, pin, then machine-baste one zipper tape to the garment seam allowance, stopping at zipper’s bottom stop. The excess zipper length remains unsewn. Repeat for the second zipper tape.

4. Permanently sew the zipper. First, close the basted zipper to be sure it is smooth. If there are ripples, unstitch and rebaste it, easing the fabric slightly as you sew.

Once you’re satisfied with the basted zipper, upzip it, and permanently sew it to the garment.
Install an invisible-zipper foot, or simply use a regular zipper foot and fold the coil away from the needle as you sew very close to it.
Sew the last inch or two of the seam closed. By hand or machine, sew the bottom tape ends to the seam allowances.
The finished zipper is invisible and smooth.

Have you ever installed a zipper in a knit garment? If so, do you have any useful tips and techniques to share? Please add them to the comments below.


Looks perfect. One could never tell there's a zipper there. Thank you for another great sewing tip.
Just make sure that you sew both sides of the zipper in the same direction. It is best done from top to bottom. In that way , you will have no puckering of the zipper as you do when sewing from top to bottom then across the bottom and then from bottom to top.
Just make sure that you sew both sides of the zipper in the same direction. It is best done from top to bottom. In that way , you will have no puckering of the zipper as you do when sewing from top to bottom then across the bottom and then from bottom to top.
I followed these tried & true recommendations on a ponte knit. Unfortunately, i had ripples in the skirt portion, perfection in the bodice portion. I am still pondering what I did wrong.
It's quite easy to hand sew an invisible zipper in to a knit. I did this for a foundation garment for a cocktail dress made out of 35mm film. The dress has a life of its own - requests for appearances! It won 3rd place at ASG's national convention in 2015.
wow vry well information.. thanks for sharing this ..
The zipper will also look smoother at the bottom if you leave about 3-4 inches of the seam below the zipper open before you install the zipper. Then, after you have sewn both sides of the zipper tape to the garment, use a regular zipper foot to close the remainder of the seam. Then sew the ends of the zipper tape to the seam allowances.
Good tutorial! thx
I'm generally a fan of zippers but last month during the holidays I wanted to wear something more elegent and attempted to sew an invisible zipper. Unfortunately, I didn't like the way it turned out. Perhaps because I didn't think to leave a few inches of the seam below prior to instalment.
I leave the entire seam open below the zipper and sew it after applying the zipper. Where in this article did you mention closing the seam below the zipper? Did I miss something?
Good tutorial! Good idea! Where in this article did you mention closing the seam below the zipper? Did I miss something?
Looks perfect. One could never tell there's a zipper there. Thank you for another great sewing tip.
This is cool. Remember making dresses with a zipper clearly showing. Looks so much more elegant when it does not.
I made a DIY project for my rented flat using this tutorial. It looks amazing, thank you for inspiring me!
I sew invisible zippers in stretch tricot fabrics and lace a lot in dance costumes. They can be very frustrating but I find if I leave the bottom completely open until I am ready to finish it off it works the best. It also helps to adjust the zipper and get it lined up straight. It works best for me if I sew the zipper in the same direction on both sides of the zipper. If I need to match two seams ( intersection) I pin those into place before I sew. It usually will help to get the intersection to line up and easier to adjust then as I am putting in my first basting stitch than to go back and have to adjust it later. This is something that definitely gets better as you do more.
Inserting an invisible zipper: if you have a Bernina, the 3-Groove Pin Tuck foot #30 does an excellent job. For other machines, check whether you have a compatible foot and test, it may work well for you too.