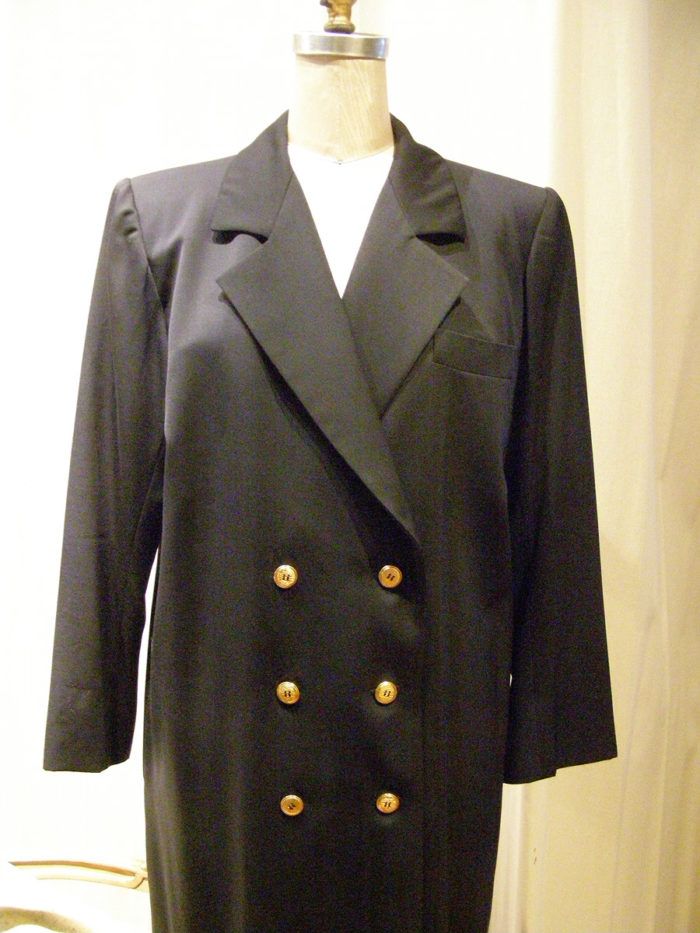
I purchased this Yves Saint Laurent jacket recently and, when inspecting it, found a really nice detail.
This Yves Saint Laurent jacket is deceptively simple, but it was constructed with a sophisticated trick. I purchased this jacket recently and discovered it has a really nice detail.

I call this trick a hybrid lapel facing: The upper half of the lapel facing, above the break is a separate piece, while the lower half of the lapel, below the break, is a cut-on facing.

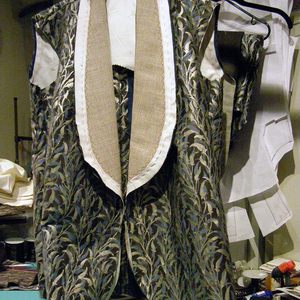
The interior view reveals the horizontal seam that cuts across the facing.
This close-up shows the portion of the facing at the break.
You see a nearly right-angled seam where the seam pivots from the lapel edge, across the facing. For clarity, this break is marked X.
This hybrid lapel facing method works for both shawl and notch lapels. My example below will show a shawl lapel.
Why would you want to draft and make a lapel facing this way? I was taught to eliminate seams whenever possible, and this is a case where I should apply that lesson. We need the seam around the collar portion of the lapel, but not below the break. Having a fold below the break eliminates the seam, reducing the thickness of the front edge of the jacket.
Eliminating thickness along the front edge is especially useful when working with heavy coat fabrics, such as wool Melton or boiled wool. A seam creates a thick, stiff edge. A fold, instead, makes for a flat, sleek, and fluid edge at the coat front.

See the finished muslin sample for clarity.
Note the shape of the facing at the hem of this sample. This method works only when the hem forms a right angle at the coat’s opening.

Below the break, the edge of the jacket is a folded edge.
Patternmaking:
This method works for either notch lapels or shawl…
Start your 14-day FREE trial to access this story.
Start your FREE trial today and get instant access to this article plus access to all Threads Insider content.
Start Your Free TrialAlready an Insider? Log in


A great method when using a contrasting fabric for the lapel. Would also make sewing buttonholes easier on a thicker fabric. Thank you - can't wait to try in on my next jacket.
Glad you enjoy the post!
Well-illustrated, I didn't understand until I saw you cutting the pattern tissue!
This will be so great on a plaid, which is my next project. Thank you for the perfect timing!