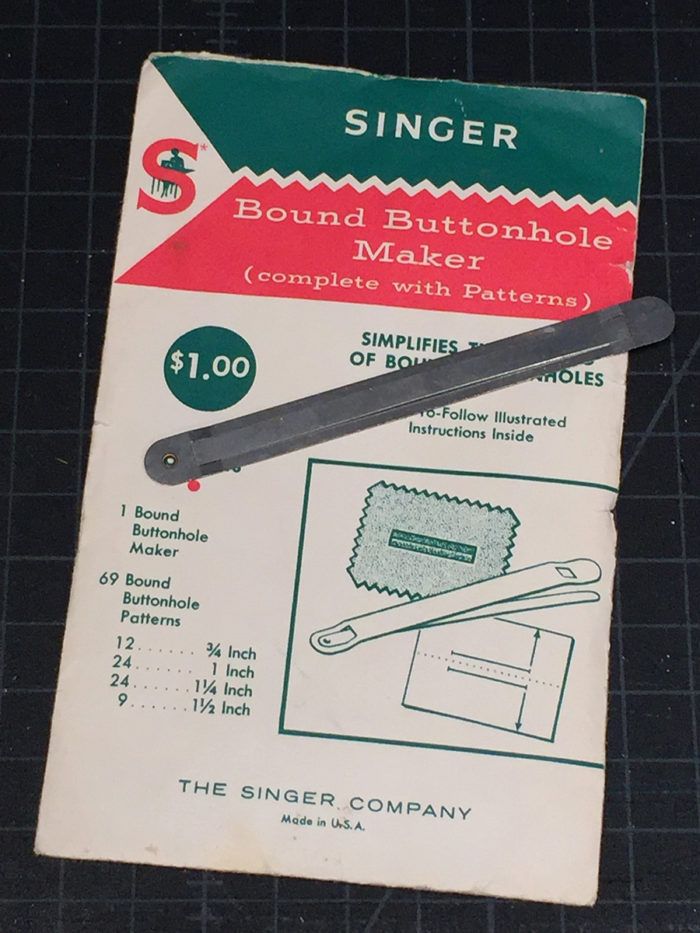
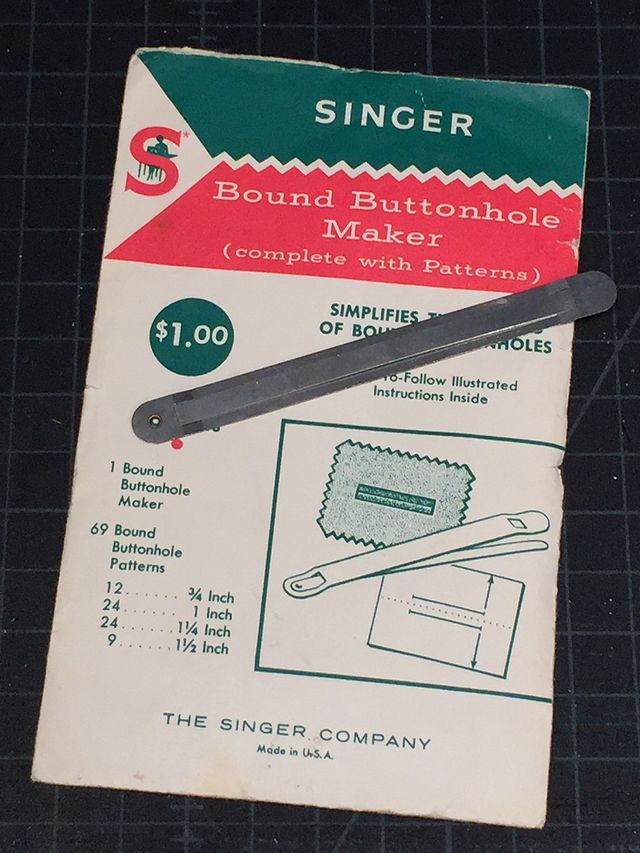
I was at the flea market recently and bought this mostly complete set of the Singer Bound Buttonhole maker.
I’ve seen the main metal tool from this kit in boxes of miscellaneous sewing tools but never knew what it was. Having the entire kit answered the question.

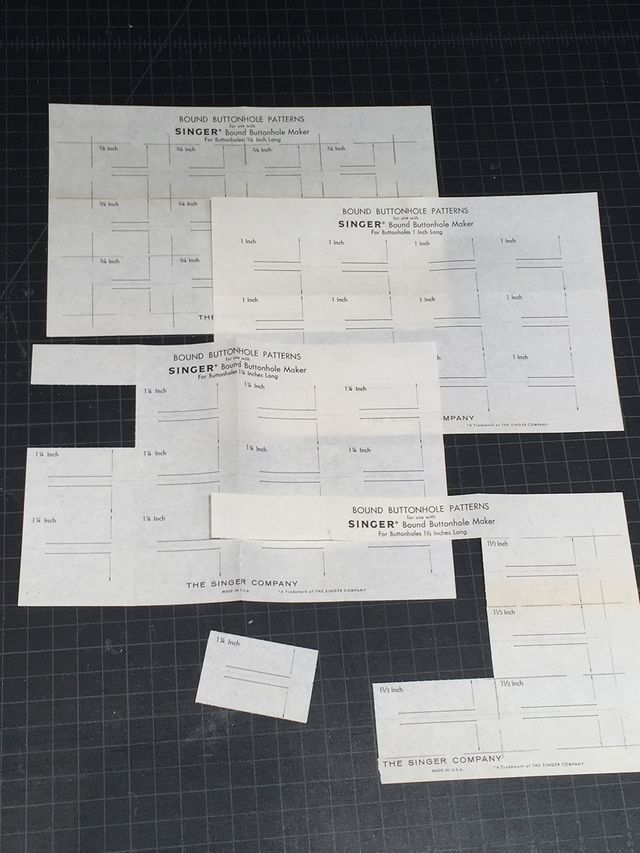
Along with the metal tool, the envelope contains directions and paper pattern pieces. These patterns are perforated to be easily separated and are used to cut the fabric for the “lips” of the bound buttonholes of various sizes: 3/4 inch to 1 1/2 inches. In the past, once these pieces had been used, and no replacements were available, the tool was forgotten.

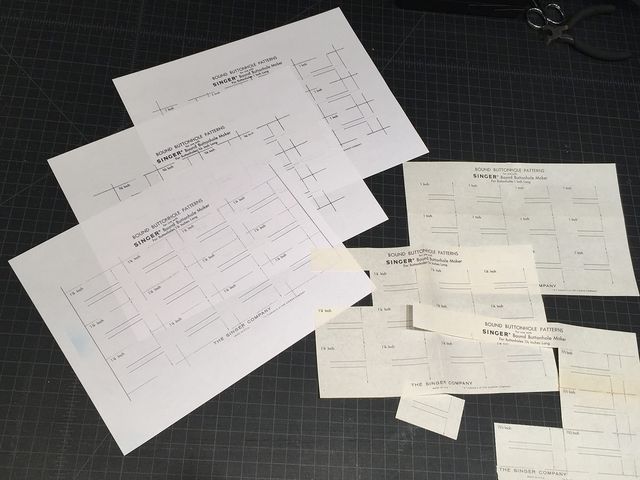
I have scanned the pattern sheets into my computer and now can print as many copies of the pattern as I want. Please see the PDF linked below to save your own copy.
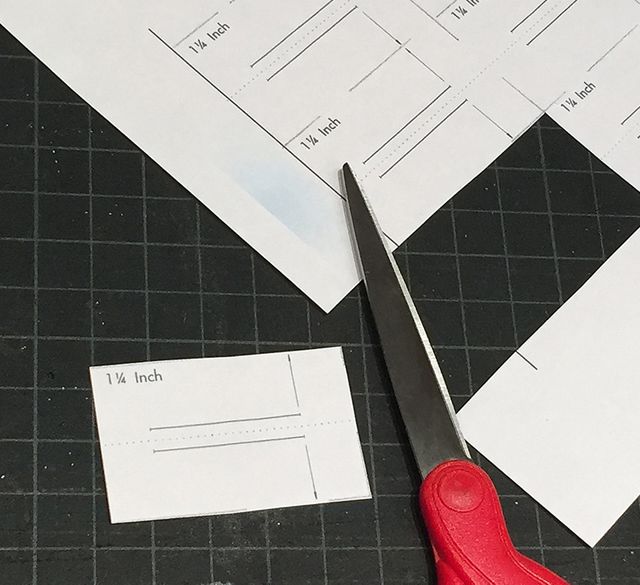
I have drawn lines along the perforations, so I will know where to cut to get my new pattern pieces.

I have cut one of the pieces. Notice that there’s a dotted center line along the length of the piece. There are also two stitching lines marked, and the end of the buttonhole. These are used to align the piece to the buttonhole markings on the fabric’s right side.

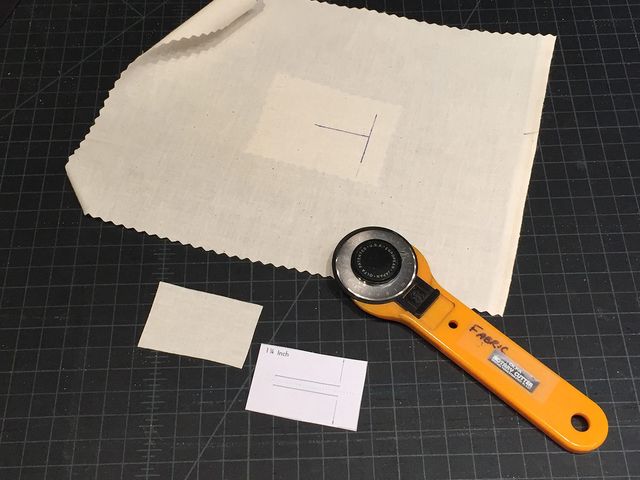
For the sample, I’ve cut a rectangle to represent the main body piece and applied fusible interfacing to the buttonhole area. I have also used the pattern to cut the fabric for the buttonhole lips. On the main body piece, I’ve marked the center line of the buttonhole, and the end.

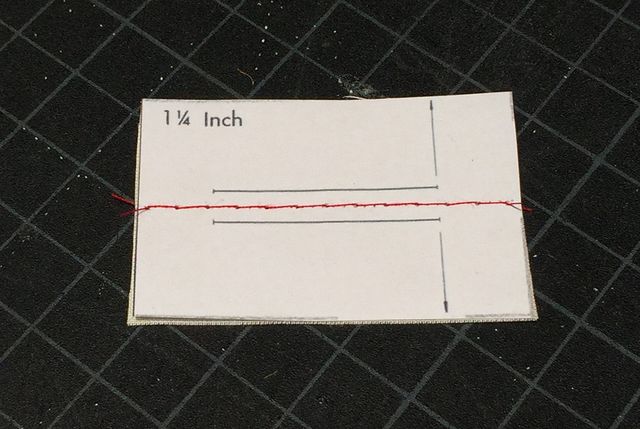
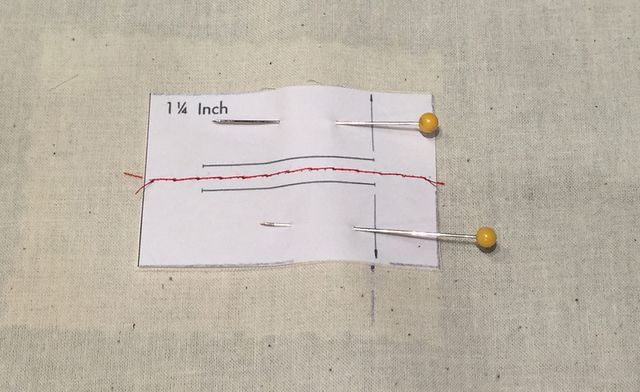
Pin the paper pattern onto the WRONG side of the buttonhole lip fabric. Machine-baste the pieces together along the marked center line. This the welt unit.

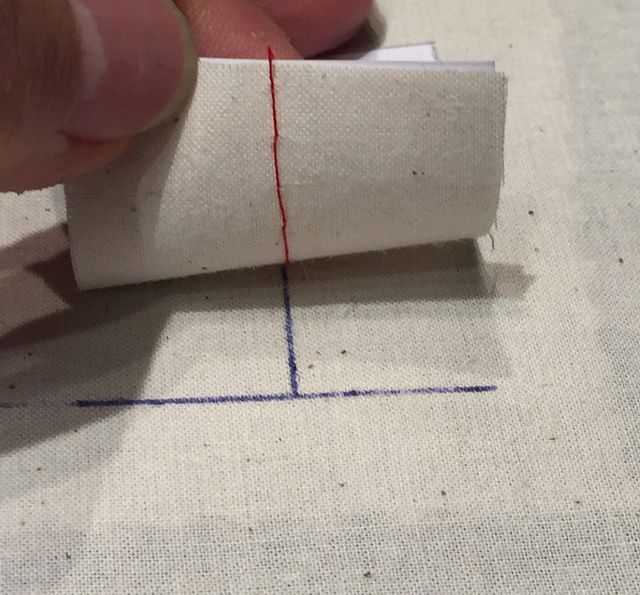
With the pattern side up, lay the welt unit onto the right side of the fabric, aligning the machine-basted line along the fabric’s center line. Align the crosswise marks on the welt unit with the end mark on the main piece.

Pin in place.

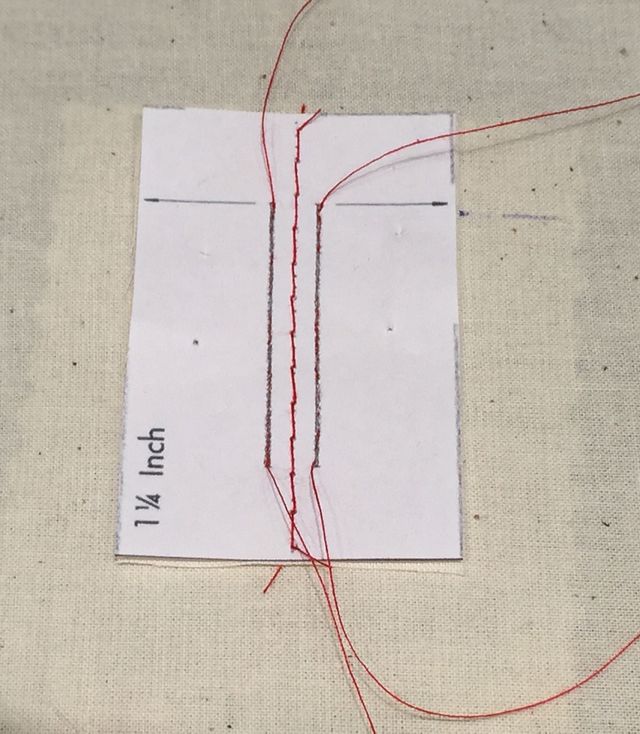
Using a stitch length of 0.5 mm to 0.75 mm, sew along the stitching lines marked on the pattern.

Tear away the paper.
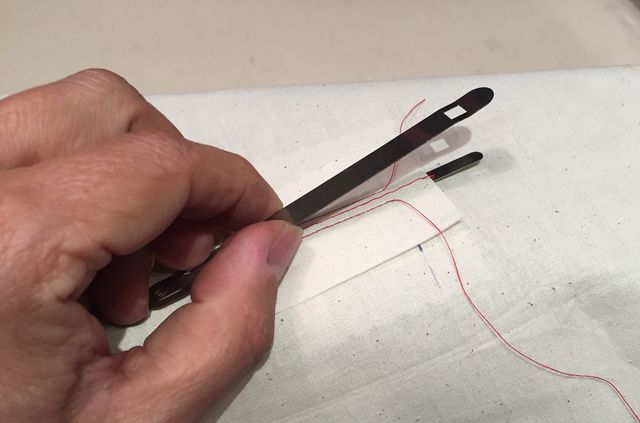
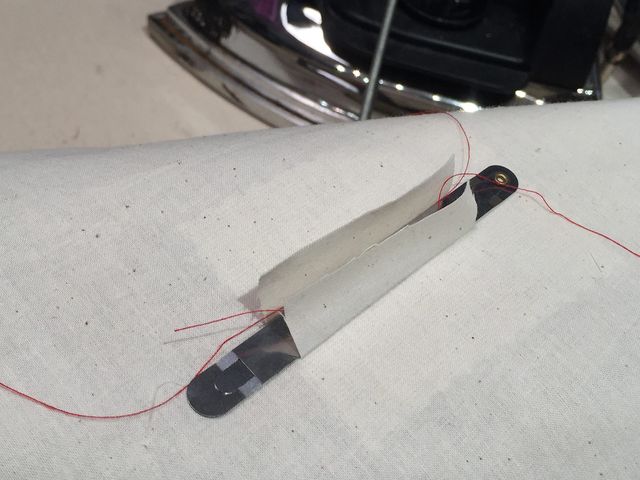
This is where the metal tool, or pressing tool, comes in. Open the end, and slip the narrower blade between the two stitching lines.

Close the end of the tool.

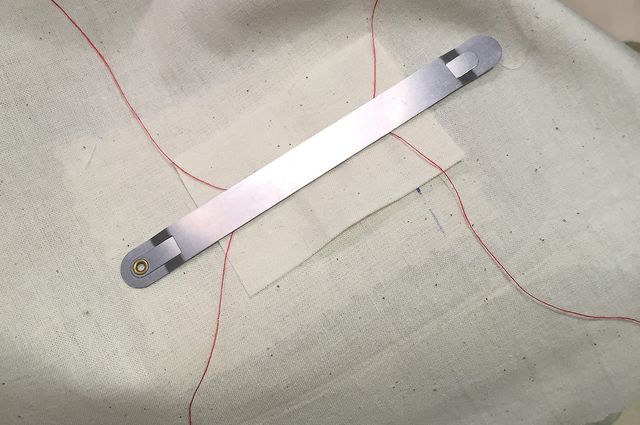
Press first one side of the welt unit, then the other, over the edges of the metal tool.

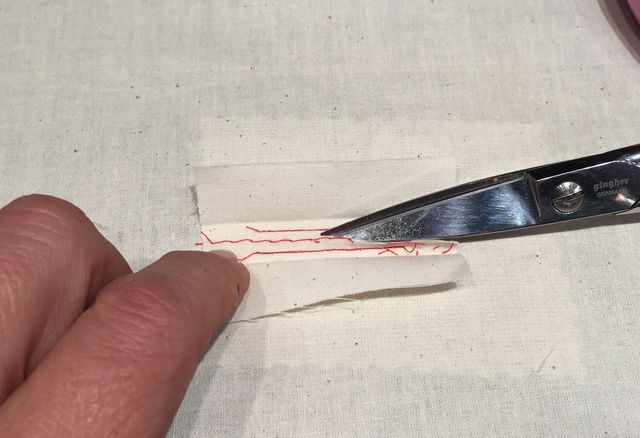
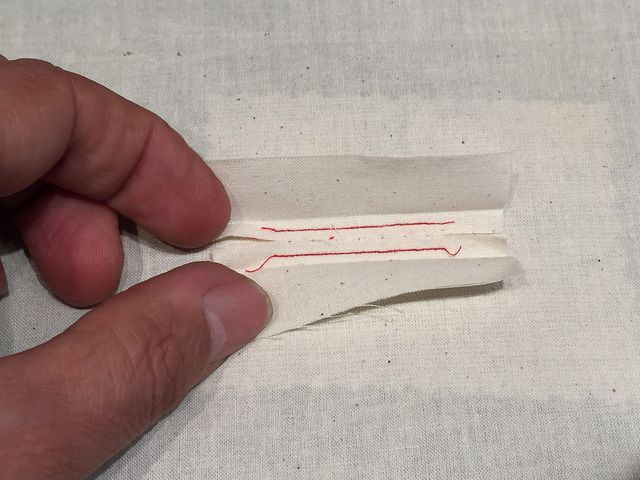
Remove the tool and cut ONLY the welt unit layer along the machine basting line.

This creates two separate pieces that will form the lips of the buttonhole.

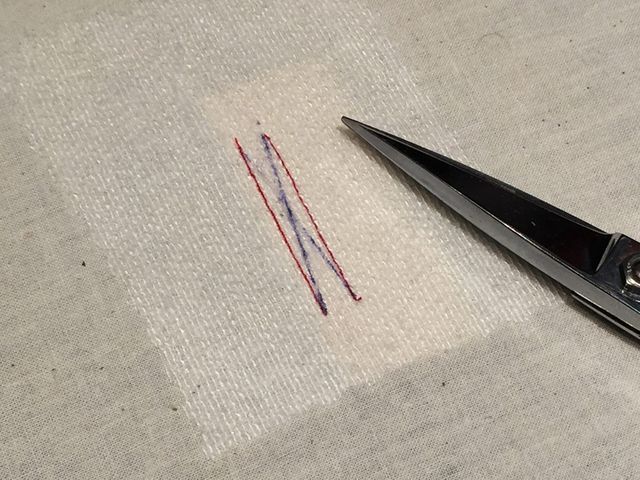
From the wrong side, slash the body layer between the two rows of stitching in an elongated X, as shown.

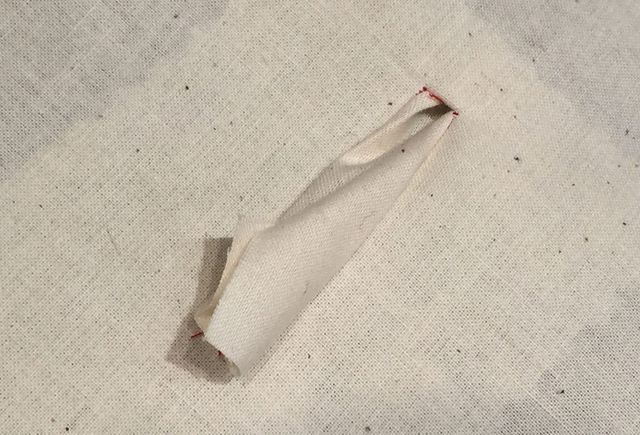
Turn the the buttonhole lips through the buttonhole opening to the wrong side, abutting the lips’ folded edges neatly. Press.

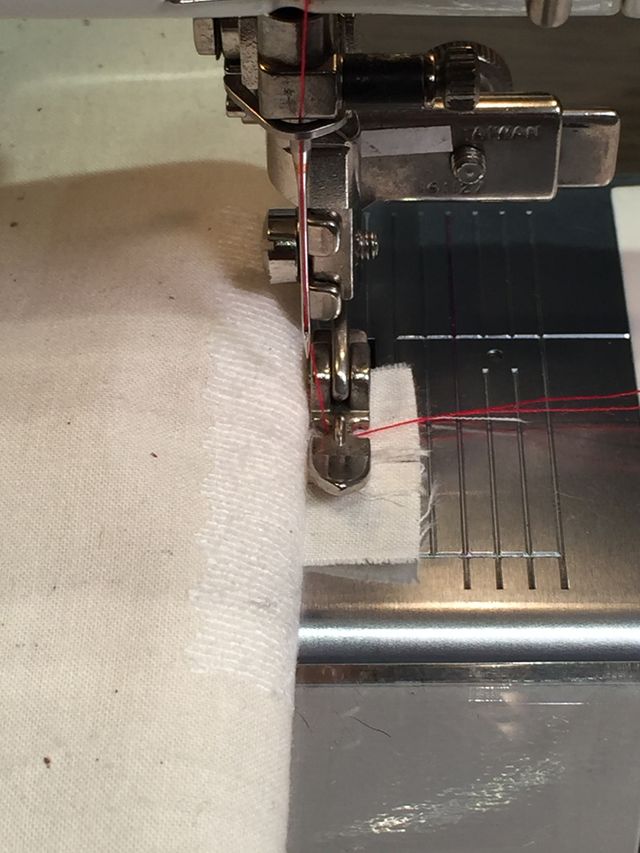
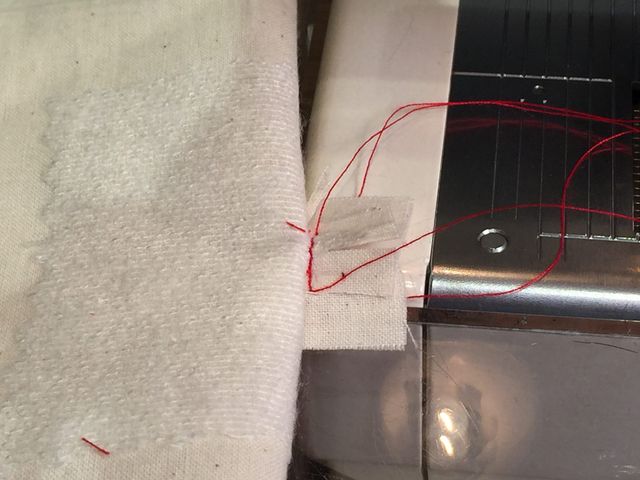
Using the Singer adjustable zipper foot, sew the triangle ends to finish the ends of the buttonhole.
Sew with a 0.5-mm to 0.75-mm length stitch.

Sew both ends.

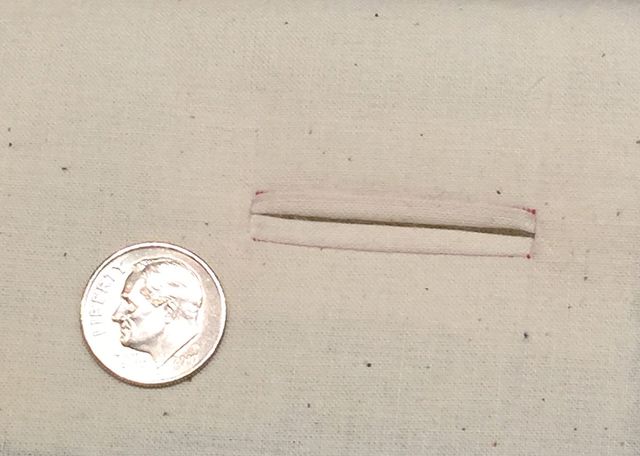
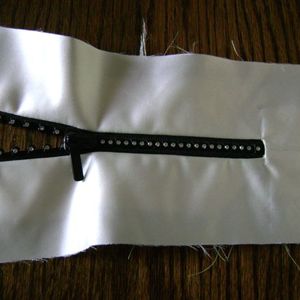
Now I have a very narrow bound buttonhole.


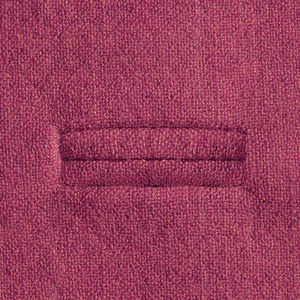
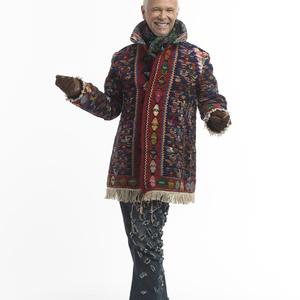
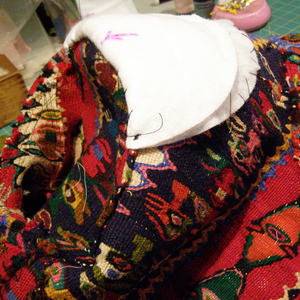
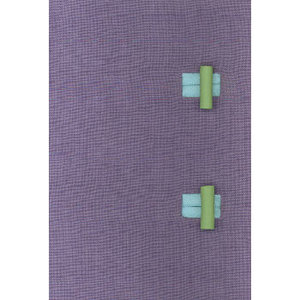


I’ve seen it used, but find it easier and more accurate to pre-press and insert individual welts - especially on something as tiny as a buttonhole. I rarely wear tailored jackets in my current life, but still love adding many styles of welt pockets to everything else. And as a Nashville native, lately I’ve been playing with classic curved welts à la Nudie!
Have to laugh. I just picked one up at a yard sale a couple of months ago too. I was planning to set aside a good hour to delve into it and figure it out.. You have saved me. I think it might be easier than it actually looks but nice tool for pressing it for sure. Thanks for your lesson. Now I still want to find that hour to try it out.
Thanks Kenneth. Mystery solved! As one who collects, restores, uses and trades vintage machines, I often acquire "that sewing stuff" that accumulates with a machine and sometimes goes along with it to it's next home - especially fun is going through the drawers and accessory boxes to see what sort of items can be found. I have two of these, but have never run across the kit! I think I could probably figure out how to draw the lines appropriately now, and will use your Tute to make one. Bound buttonholes have never been a strong suit for me, so I'll see if this helps me make them like I know what I'm doing!
- Karen Alexander, Austin, Tx
I don't have the bound buttonhole maker, but Singer also made a "Buttonholer" with 4 templates to create even buttonholes. I got mine from my mother, along with a set of an additional 4 templates in different sizes. My mother had a Bernina sewing machine and found an adaptor foot to enable her to use the buttonholer. It made even button holes on all of my childhood clothing. The logo is the same as the Bound Buttonhole maker shown above.
I have a copper metal tool that looks like a large hair barrett with embedded measurements. It is for making bound buttonholes. Also, have a large one for making bound pockets. Still have the original instructions, and it is even faster and more efficient than the Singer tool. I don't dread making bound buttonholes with this trusty gadget - they always come out perfect.
Kenneth, this came out about the same time as a small paperback sewing book by Vogue during WWII. It was intended to use less fabric than a traditional bound buttonhole. The Vogue book shows how to do this without the tool. The sewist could decide how big to cut the "binding" and then how big to sew the initial rectangle. It allowed the sewist more freedom of design but kept the amount of fabric to just the minimum required. My Mom passed this book on to me in 1956 when I was learning to sew. I have kept it all this time and occasionally refer to other techniques in it.
My mother, who was a wonderful seamstress, had one of these. I found it in her sewing room and now it's in my stash. I haven't checked for the papers, but I wouldn't be surprised if she used it. She did some amazing tailoring before she went back to work in the early '60s. She made all her own clothes and a lot of mine, as well as slipcovers, drapes, and upholstery...all on her 1940 Singer Featherweight (which I also still have, in its original case WITH handle!).
While I'm positive I don't have one of these with papers intact, I do have all sorts of presser feet and gadgets for vintage sewing machines and it will be fun to see if I have one. At least now I will know what it is for. Someday I hope to make a garment out of a vintage pattern, vintage fabric on one of the vintage machines I have around the house. Usually they were bought for decoration or the table, but one was an obviously top of the line singer as not only does it have oodles of presser feet, it also has a whole lot of what we think are Bakelite cams to use in making decorative stitches! I grew up and learn to sew on a very vintage Singer that only did straight stitches and when needed to make buttonholes it had some sort of big clunky gadget that attached to the machine and made the stitches.
I really enjoyed this walk back in time sewing technique. thank you!
Very practical solution :)
I have to try this
My first sewing machine was a straight stitch White and it had a buttonhole-making attachment like the one that Lorr mentions. Essentially, they moved the fabric back and forth to make a zigzag stitch. Mine was made by Greist and they probably made Lorr's too as well as many other sewing machine attachments.
Genialny patent! muszę zacząć go stosować w swoich projektach
Fantastic Work...Keep it up
Would you be able to make the patterns that you scanned in available to us? I don't have the tool, but the patterns would come in handy.
I’ve seen it used, but find it easier and more accurate to pre-press and insert individual welts
Really nice project.
Na coś takiego nie wpadłabym sama.
hmm, nice tutorial
Thanks for all your comments!
I myself have easier ways to do this, but wanted to see if it worked, and then share the knowledge. Not my favorite way, but it does indeed work. It's amazing the different devices that were invented to accomplish this task.
I have the scans on PDF, so email me through Threads, and I can email them out.
I have one of these - without it's instructions. Always wondered what it was for!!
I have these - circa 1950's - 35¢. I too have scanned the different sizes into my computer. I remember my Mother using these to teach me how to make bound buttonholes. As a matter of fact, I'm using them today to make buttonholes for a jacket in progress.