Stretch Your Sewing Skills with Millinery
Learn new techniques and skills by making your own hats. Hat-making materials can be difficult to impossible to find locally. You can make some substitutions from local craft stores; however, there's nothing like the real thing for the best results.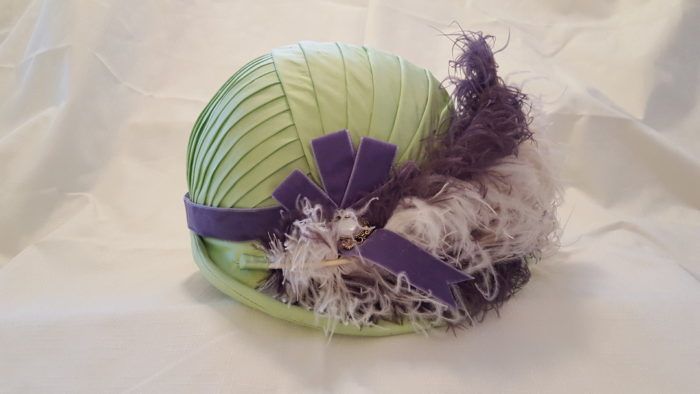
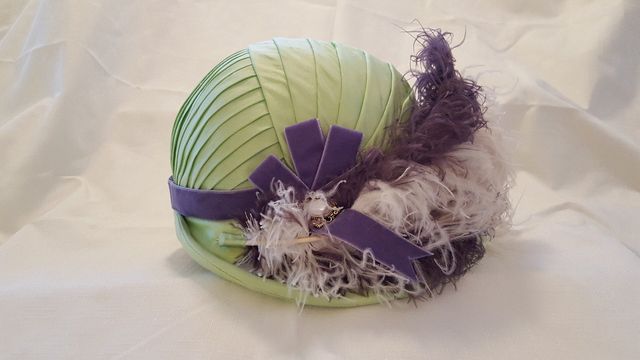
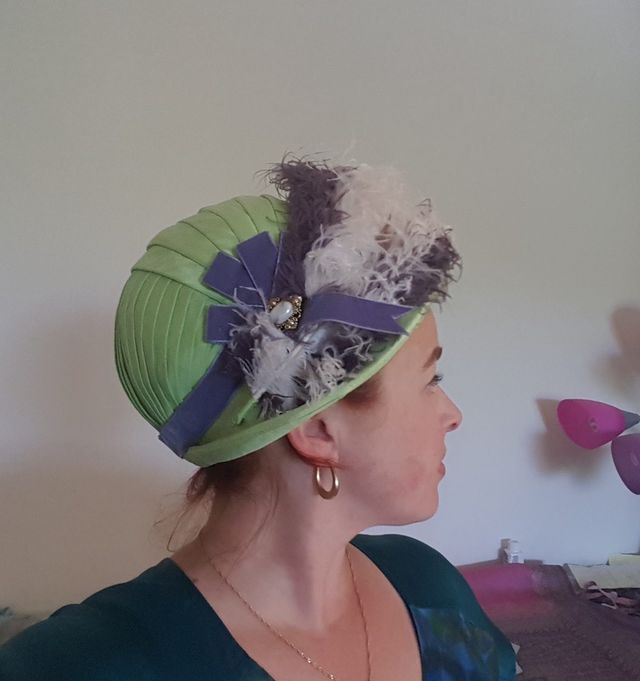
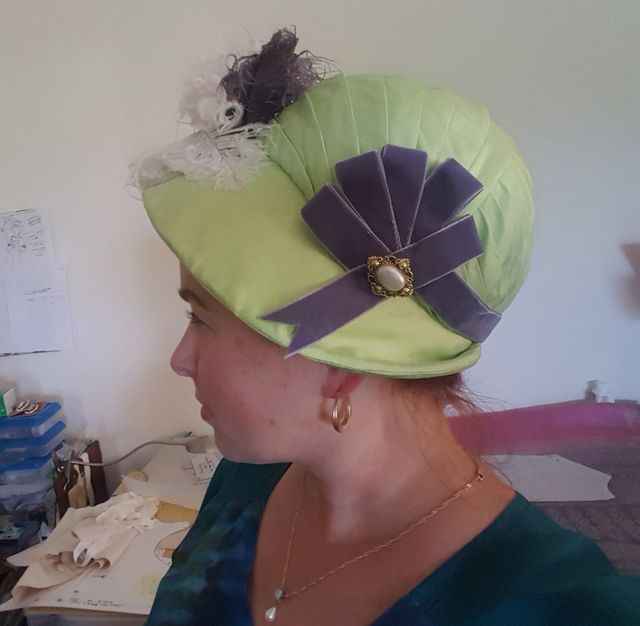
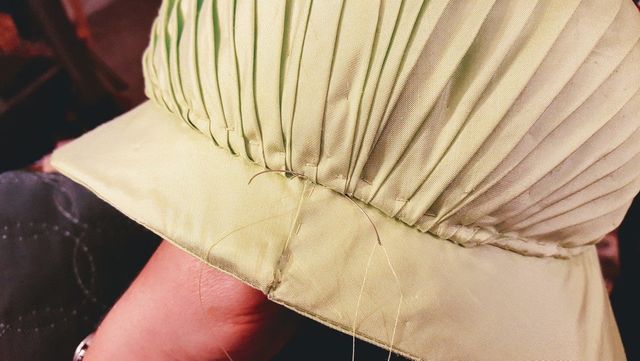
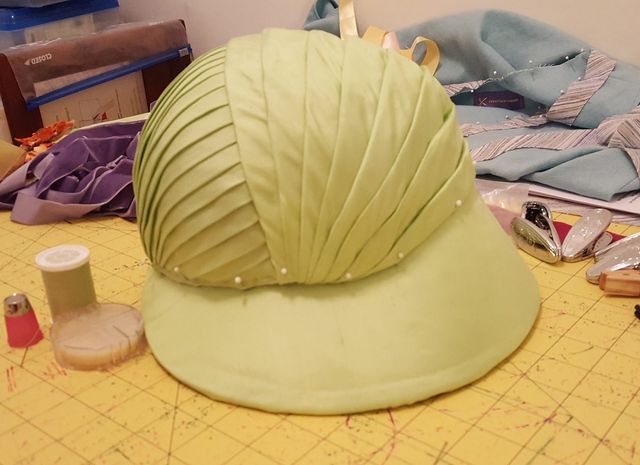
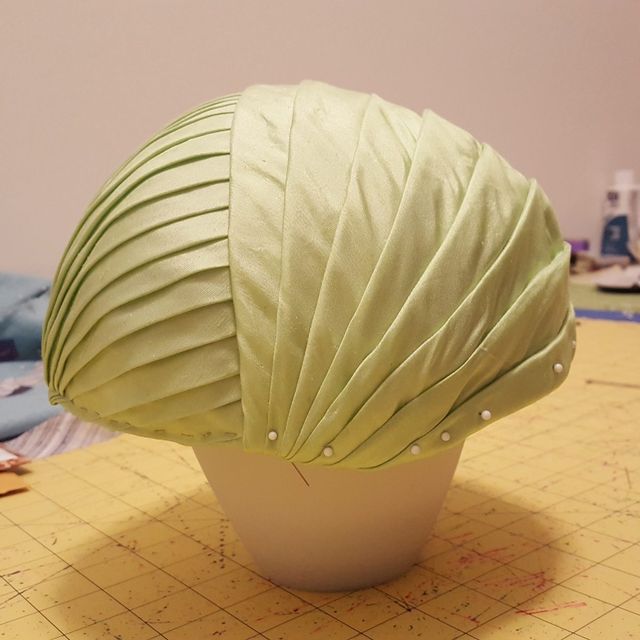
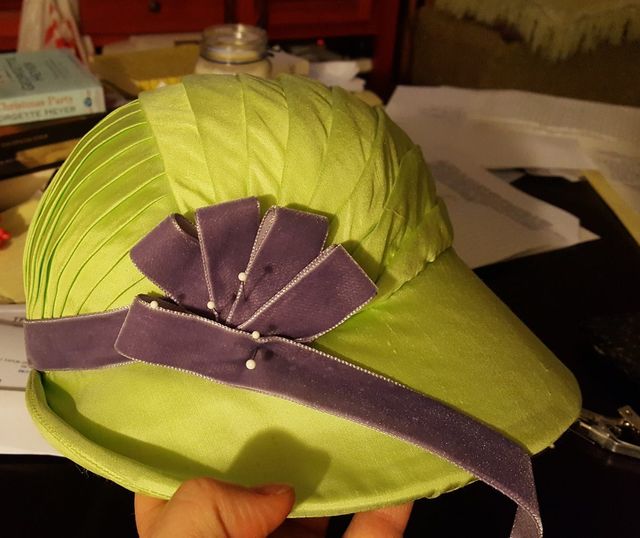
An early 1800s Regency-era jockey cap, covered with pleated silk taffeta and trimmed with velvet ribbon, ostritch drabs (feathers), and decorative pearl buttons.
I’ve been sewing garments and historical costumes for myself (and occasionally for others) for nearly 20 years now. Even so, every new project presents learning opportunities, especially my historical costuming projects. I learn so many new-to-me techniques for constructing and finishing garments by making these costumes and the accessories that go with them. Perhaps the biggest education-and stretch of my existing skills-has come from making early 19th-century hats.
Making hats isn’t more or less difficult than making garments that fit well, but it requires a specific set of knowledge, along with some different tools and difficult-to-find materials. You don’t have to make historical hats to gain this knowledge. You can make retro/vintage or modern hats and learn the same skills and some of the lessons I’ve learned.
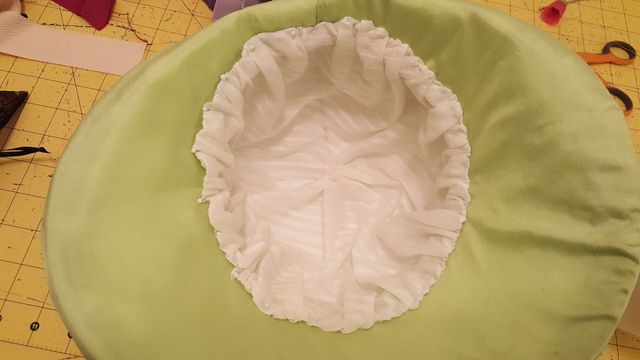
This is the kind of project where your trim stash and larger fabric scraps or ends can be used to good effect. Any kind of fabric can make a beautiful covering for a hat built on a buckram base, as long as it has good body and a firm hand. I have a fondness for silk dupioni or taffeta in bold or unusual colors. Linings should be of natural fibers and lightweight; lightweight cotton shirting or lawn are ideal.
Hat-making can be frustrating and tedious when you’re new to it, not to mention exhausting to the muscles and tendons of the hands. I’ve also found it to be satisfying to learn new skills, knowing that I can create a unique hat as a finishing touch to my historical outfits. I’ve learned how to sew millinery wire to a buckram frame, how to join the brim and crown, how to cover and line the hat, and how to sew and shape feathers for decoration.

Materials and Tools
Hat-making materials can be difficult to impossible to find locally. You can make some substitutions from local craft stores; however, there’s nothing like the real thing for the best results. Online specialty shops, such as Judith M Millinery Supply (JudithM.com), are the best sources. In addition to a fashion fabric, a lining fabric, sewing thread, and decorative trimmings, here are the essential materials:
- Buckram, medium- to heavyweight (you can substitute a heavy stabilizer such as Pellon Peltex or C&T Publishing’s Fast2Fuse Heavyweight Interfacing)
- Size 21 to 23 millinery wire (you may be able to substitute florist’s wire)
- Mulling material to cover the buckram base; use cotton flannel, thin cotton batting, or cotton interlock knit
- Heavy craft or buttonhole thread for the buckram base
- Petersham (also called milliner’s grosgrain) ribbon (TheSewingPlace.com)
- Straight hand-sewing needles (a size 9 sharp and a size 11 milliner’s needle)
- Curved hand-beading needle (John James or Clover brand, size 10 or 11)
- Clothespins or sewing clips
- Fabric glue
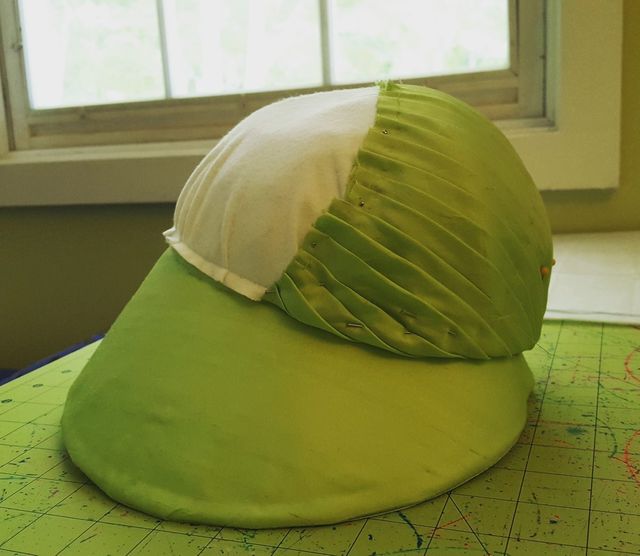
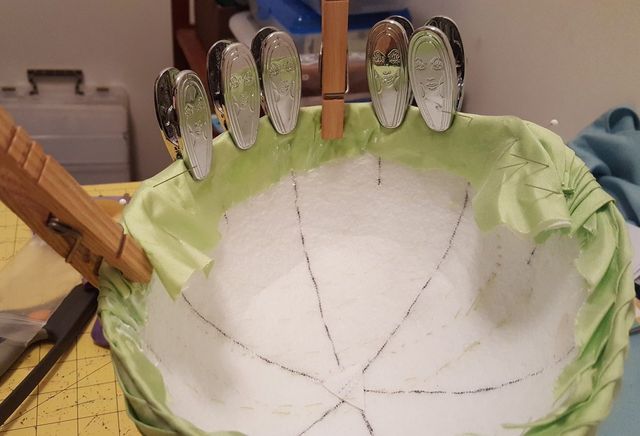
You may also find a foam head form (try Michaels craft stores) or a wooden hat block handy, depending on the style of hat and its covering. I ended up using the end of my foam muscle roller and a plastic lampshade on my worksurface to prop the hat’s crown while I wrestled through pleating the fabric covering.

Tips for getting started
Before you start your own hat-making adventures, here are some tips to help you avoid some of the more common pitfalls.
Take a Workshop
The guidance of an expert in hat making is invaluable. The instructor will walk you through the hat construction, assist, answer questions, and troubleshoot. Plus, in a workshop setting, typically the necessary materials are provided, along with a pattern for the hat. The companionship and support of other sewers learning these new skills is also a benefit.
Make a Mock-up
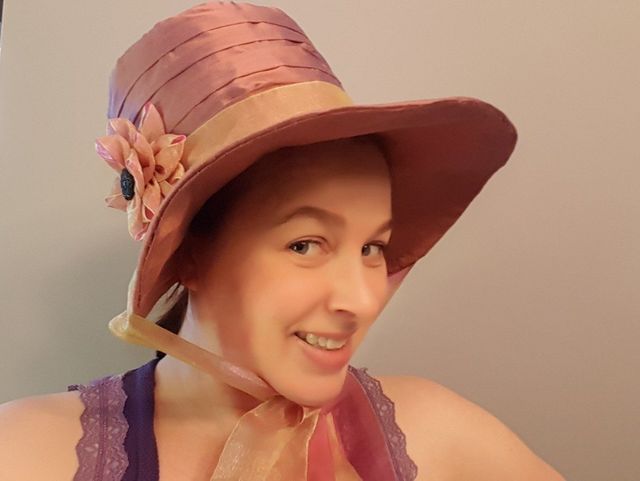
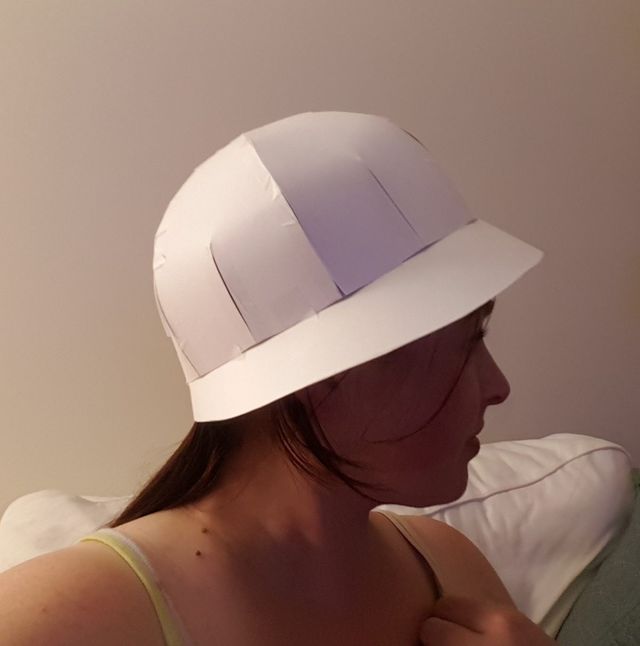
Just as with garments, it is important to make a mock-up of the hat, even if you’re using a commercial pattern and not crafting one from scratch. You want to make sure the style of the hat is complimentary to you before you spend numerous hours making it. My first hat was a high-poke Regency-era bonnet with a deep brim, and it turned out to be ridiculously unflattering to my face and figure. It was a valuable lesson. Had there been time in the workshop I attended to make the bonnet, a mock-up would have shown me how the hat’s shape would have looked on me. I eventually sold the hat to another costumer.

A mock-up will also show you whether the hat pattern is sized correctly. For my second hat, started at another workshop, I chose the size based on the guidance in the pattern. Unfortunately, when I eventually finished it, I discovered that the scale of the size I’d made wasn’t the same as shown in the pattern’s finished sample. The crown was smaller and the brim wider. Luckily, it is still wearable. I recut the pattern a few sizes larger and made a poster board mock-up to check the new size. Success. The scale is the same as the finished sample; so my next hat in this style will fit correctly and won’t look undersized.

Before you cut your hat base or fabric, make a mock-up from poster board and tape, and try it on. Don’t just look at it in the mirror. Take some photos and evaluate the hat’s fit from the camera’s perspective.
Get Creative
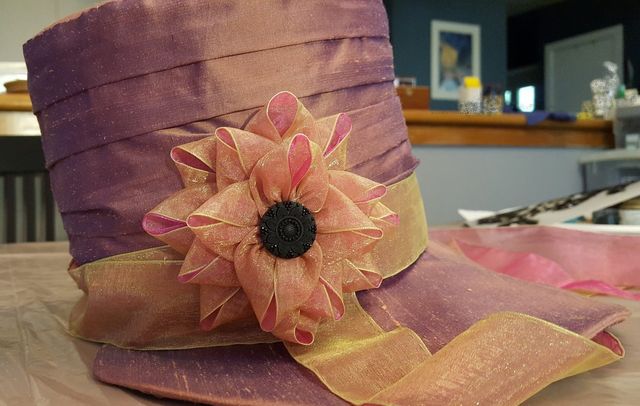
Depending on whether you’re following a pattern for the hat covering and decoration, you may have a lot of leeway for creativity in the treatment of the covering and trimmings. This is the exciting part of hat making for me, because it’s the part where my personal style and expression can come into play. Ribbons, decorative buttons, brooches, beads, and feathers are excellent materials for decorating a hat. This is an opportunity to raid your stash for any pretty but orphaned materials that could be turned into excellent hat trimmings. Consider various pleated ribbon treatments, ribbon flowers or cockades, or eschew trims altogether-it just depends on your personal aesthetic and the style of the hat.

Trust your instincts about what will look good and will flatter you, but if you find yourself wondering whether a certain trimming will look good on your hat, pin it to the hat and take a step back. Take a few photos as well and spend time evaluating them. Try different arrangements until you find one you like. Ask the advice of someone whose style you trust, if you’re still unsure. But if something speaks to you, go with your gut. If I had listened to a professional milliner acquaintance of mine about the ribbon I intended to use on my spring green Regency jockey cap, I would have ended up with a pretty enough hat, but one that didn’t express my personal aesthetic.

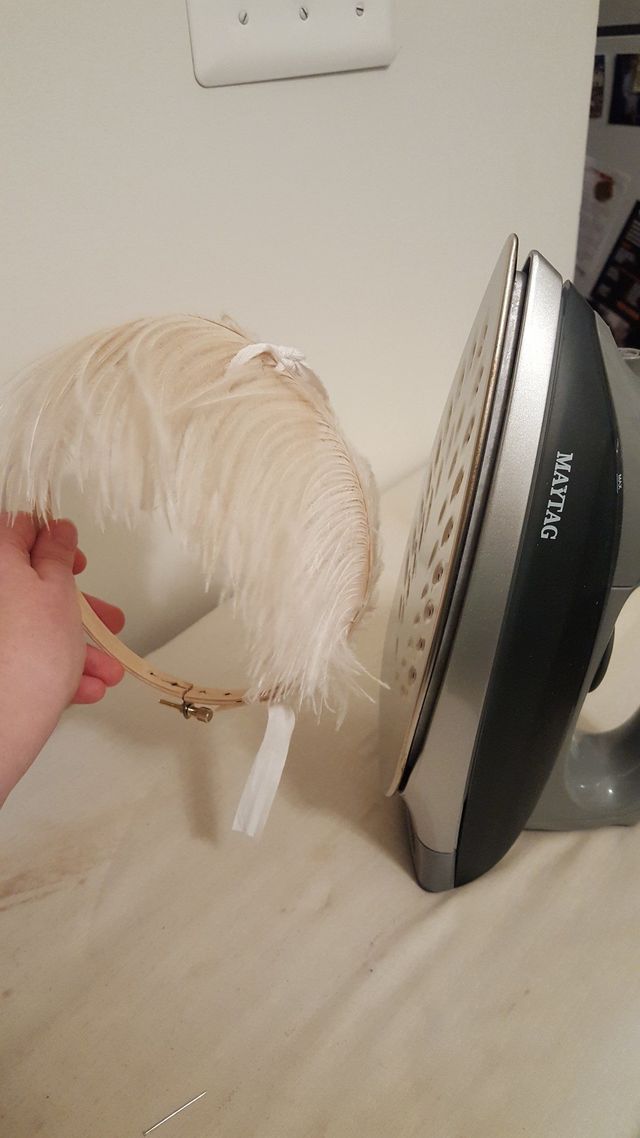
Feathers come with their own challenges, but learning how to trim and shape them and attach them to hats adds another set of skills to your repertoire. I’ve read many tutorials on how to shape feathers into an elegant curve so they arch charmingly over a hat’s crown or brim, but the methods that worked best for me was one I came up with: I tied a feather snugly onto the rim of a small wood embroidery hoop and to then applied steam from my iron. After the feather cooled and was removed from the hoop, it held the curved shape well.


All in all, hat making is challenging, but fun—and few feelings can beat the one you get when someone admires your hat and gasps when you say, “Thanks! I made it!”
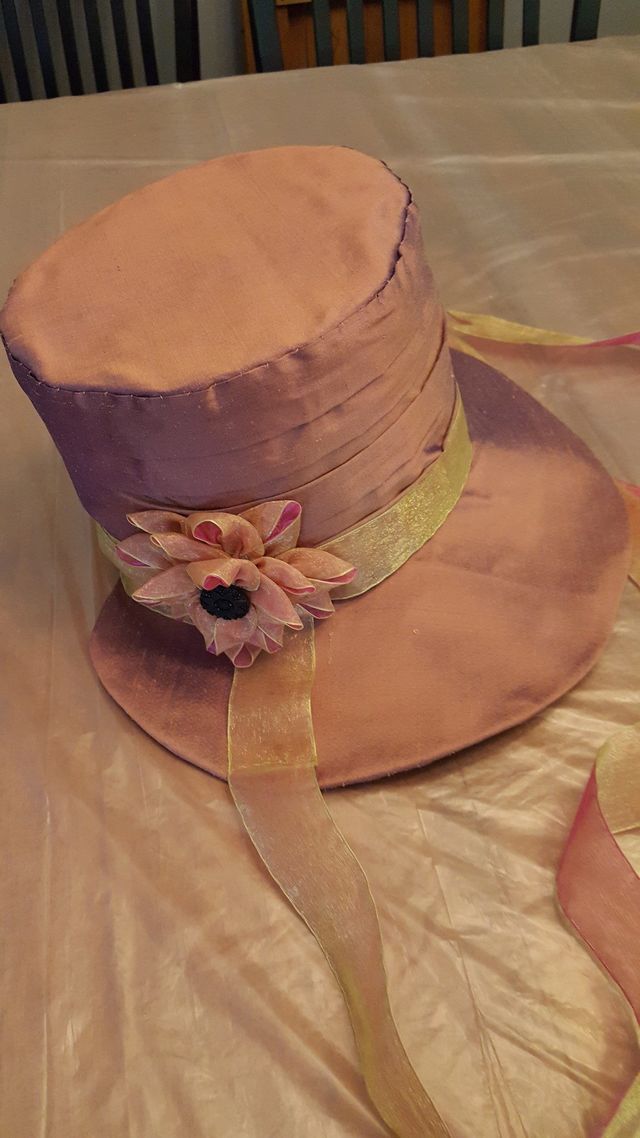
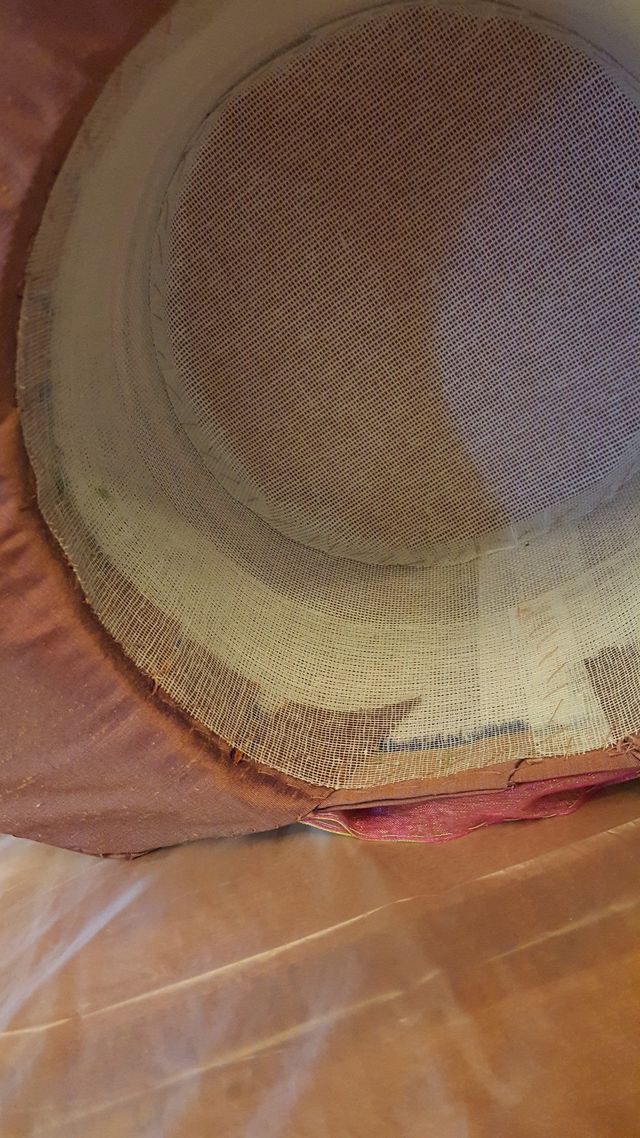
**Hats shown in this post were made using patterns by Lynnette Miller of Miller’s Millinery (pink) and Lynn McMasters (green).
Have you ever made a hat? What do you think is most challenging about millinery?




It looks interesting, convinces me to try it
wow! look's amazing :D
Thank you SO much for this!!!
I always wanted to make matching hats to my 40s'50s garments I make. But was intimitadet and frankly had no clue where to begin. Even though, like you, I love the challenge f learning new skills and messing with it until it's just right.
So..this is super valuable and may I say ;your creations are DEVINE!!
And to use an upside down lampshade to hold the hat while working in it, is quite brilliant.
Terrific article! I am embarking on a new hat project as we speak. This is very helpful. I see how the mock up hat is so important in the process. This should save me from big mistakes! Thank you!
wow great!