

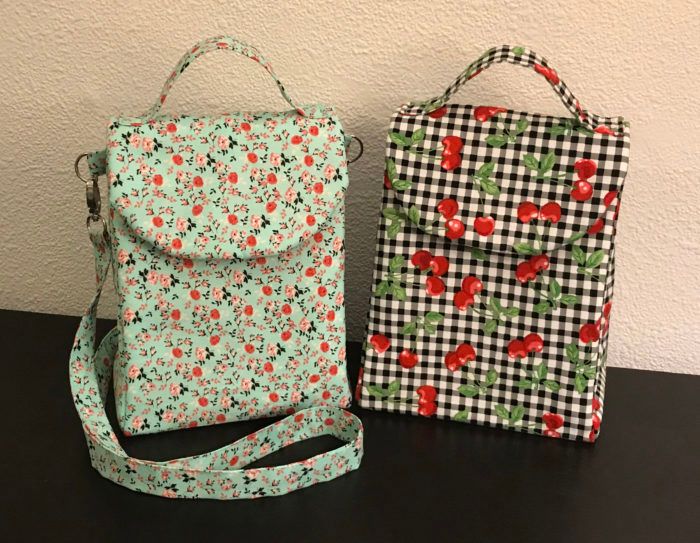
Cute lunch bags are the perfect motivation for you and your family to pack healthy meals and snacks, for school or work. With back-to-school season upon us, there’s no time like the present to make one-of-a-kind lunch bags for those closest to you.
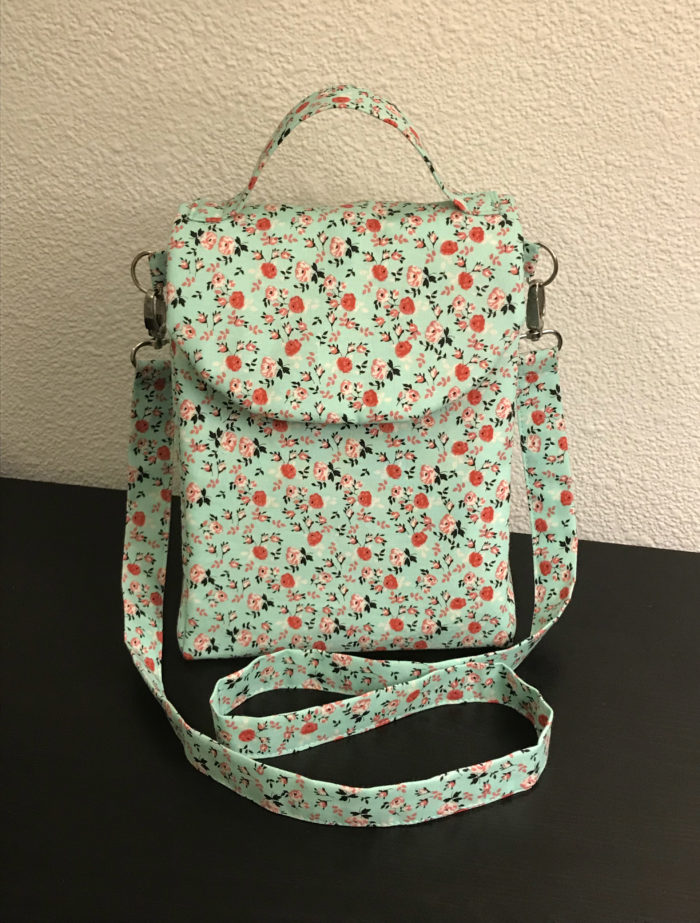
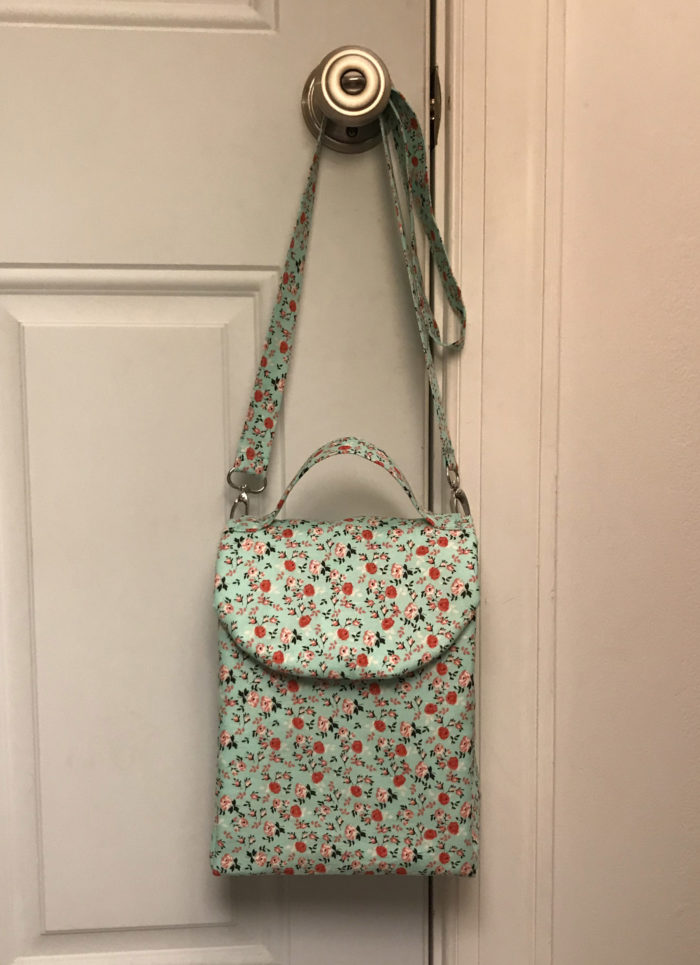
This bag features a hook-and-loop tape front closure, a top handle, and an easy-to-clean vinyl lining. A special insulating batting is inserted between the lining and exterior layers to help keep the bag’s contents at the appropriate temperature. In addition, there’s an optional shoulder strap for those of us who already have plenty to carry in the morning.
Finally, this is a great opportunity to be creative. Customize the exterior with a bold print for kids, or choose a more sophisticated palette for adults. Consider adding a top flap embellishment, such as an embroidered initial or an iron-on patch. The possibilities are endless.

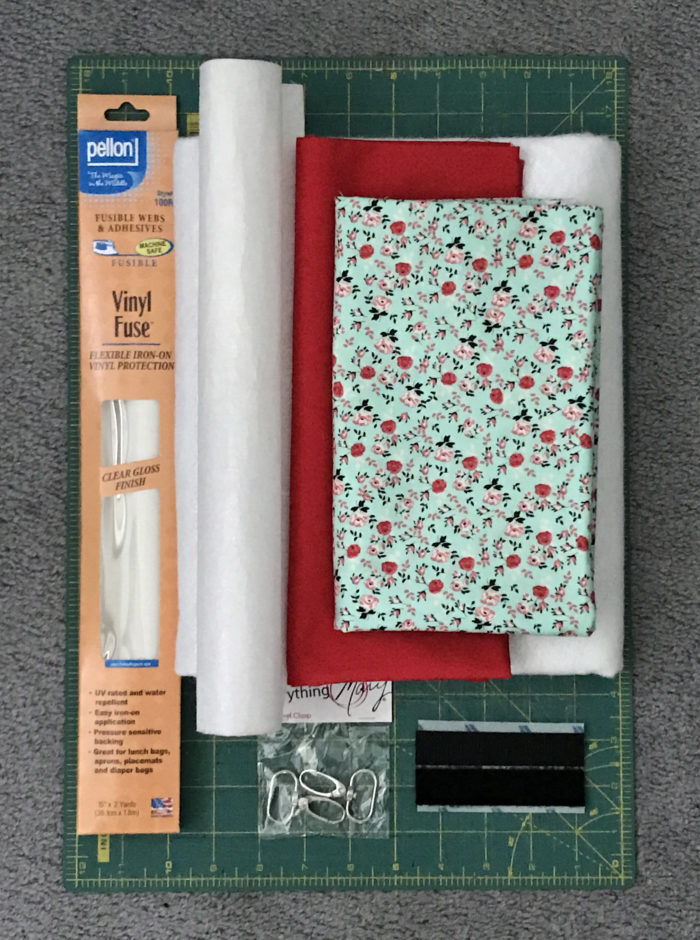
Gather the materials
1/2 yard exterior fabric
1/2 yard lining fabric
1/4 yard medium-weight fusible interfacing
One package Vinyl Fuse
1/2 yard Insul-Bright Polyester Fabric (referred to below as insulation)
Two swivel hooks, for shoulder strap (optional)
Two 3/4-inch-wide D-rings, for shoulder strap (optional, not pictured)
One 2 1/4-inch-long strip of 3/4-inch-wide hook-and-loop tape
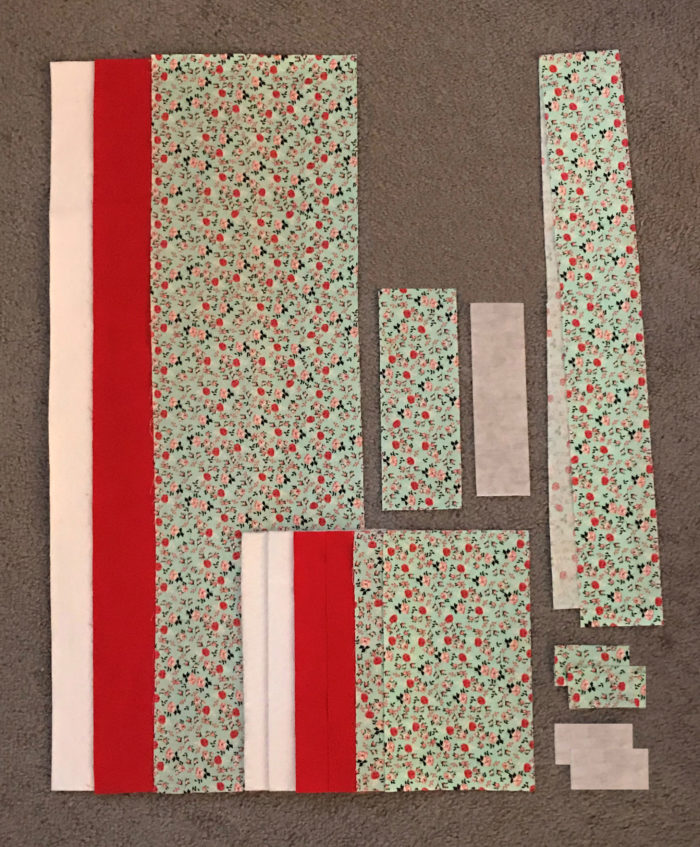
Cut the fabric
Use the following dimensions to cut the fabric.
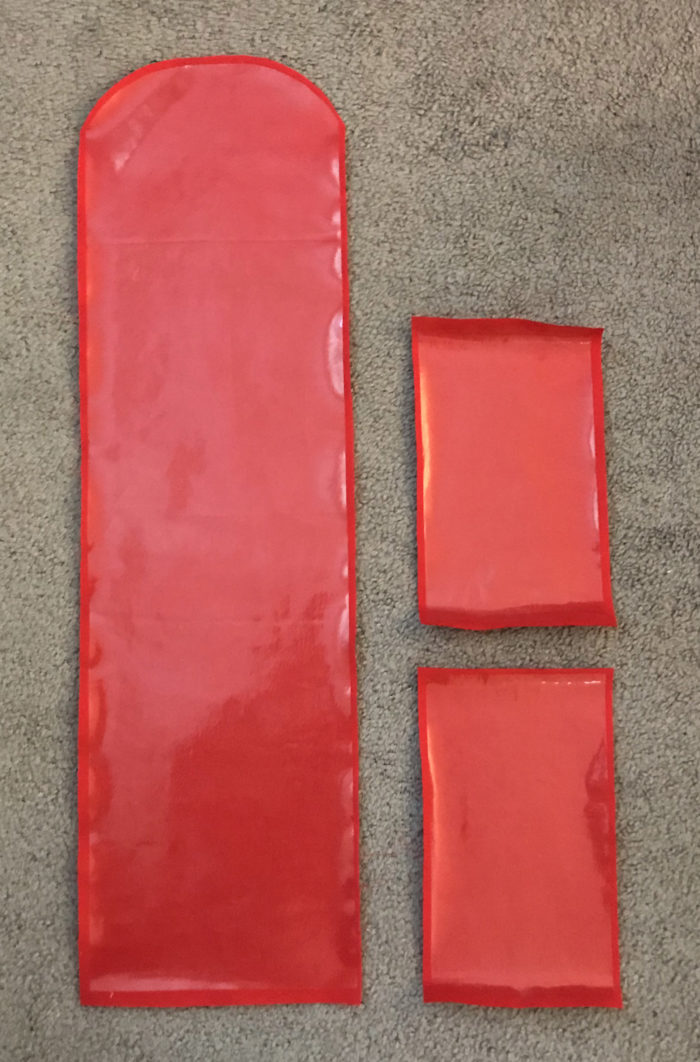
Exterior fabric, lining fabric, insulation, and Vinyl Fuse (not pictured):
one piece 28 inches by 8 inches (for body); two pieces 9 1/2 inches by 5 1/2 inches (for side panels)
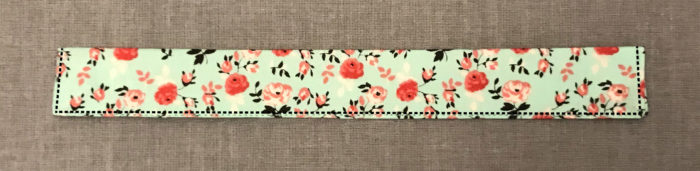
Handle: 9 inches by 3 inches
Handle interfacing: 8 inches by 2 inches
Strap (optional): 42 inches by 3 inches
Strap interfacing (optional): 41 inches by 2 inches (not pictured)
Tabs (optional): 2 1/2 inches by 2 inches
Tab interfacing (optional): 1 1/2 inches by 1 inch
Prepare the pieces
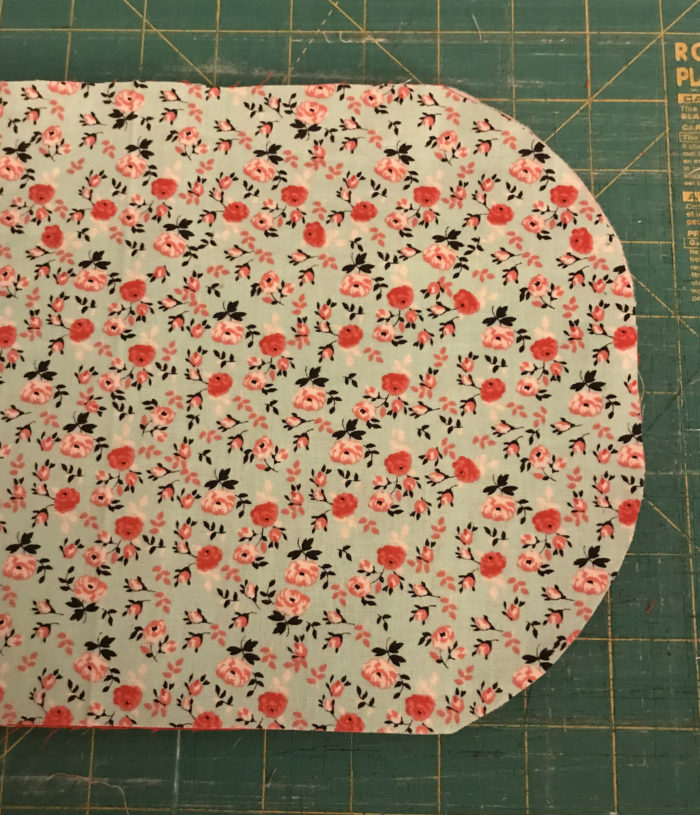
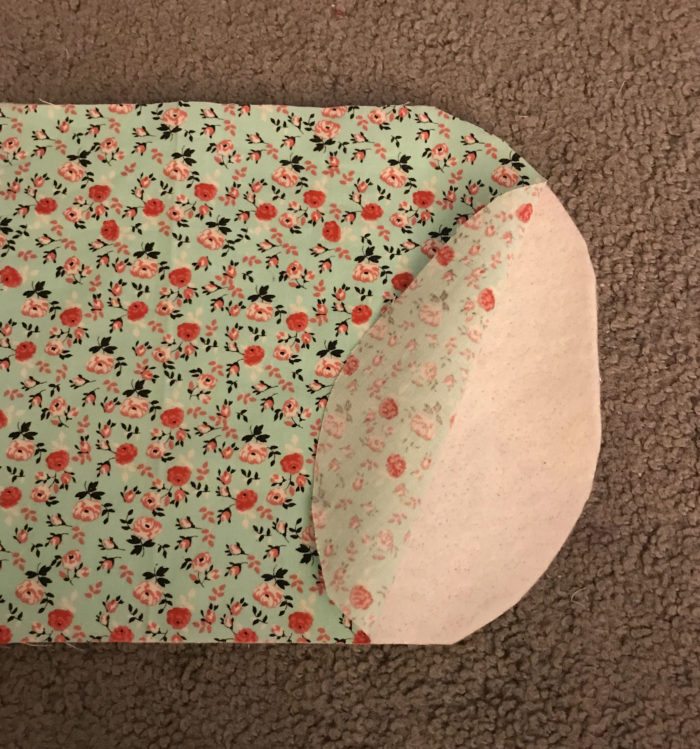
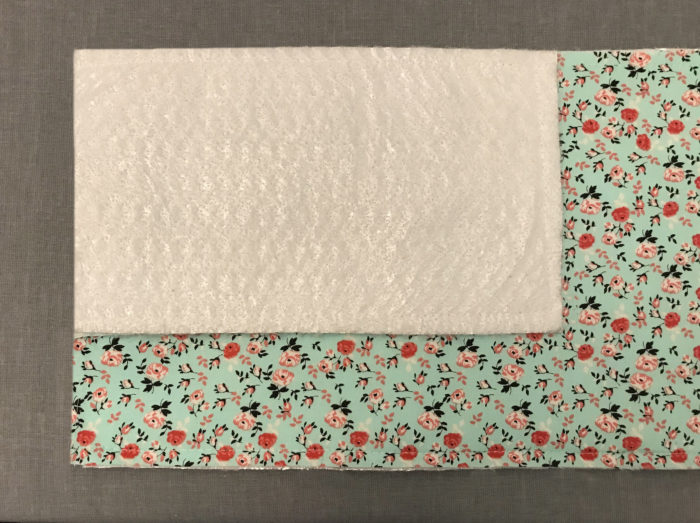
1. Print the Top Flap downloadable PDF pattern (click the View PDF link at the bottom) at full size, without scaling the image. Use the dimensions listed on the pattern as a guide to ensure the printed size is correct. To save time, layer the lunch bag body’s Vinyl Fuse, insulation, lining, and exterior fabric pieces on top of each other with all edges aligned. Place the Top Flap pattern’s curved edge along one short fabric end. Pin the pattern in place, and use the pattern as a guide to trim the fabric corners. Alternatively, cut each layer separately. Note that placing pins through the Vinyl Fuse may cause permanent holes. Place pins within the seam allowance or use clips.
2. With the right sides up, place the body and side panel exterior pieces over the corresponding insulation pieces and pin in place. Baste around the edges using a 3/8-inch-wide seam allowance.
3. Before fusing the vinyl to the lining, trim each piece of Vinyl Fuse 1/4 inch on all sides. Also make sure all the lining pieces are ironed perfectly flat. Then, with one lining piece right side up, place one corresponding Vinyl Fuse piece directly in the center of the lining. Fuse the vinyl to the lining according to the manufacturer’s instructions. Repeat for all three lining pieces.
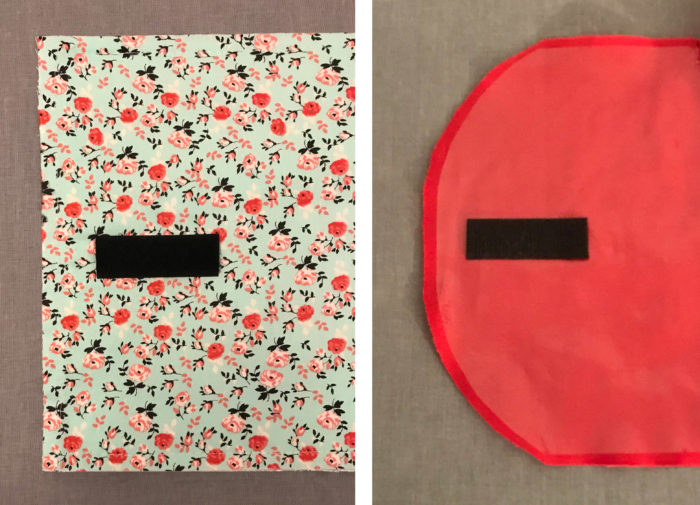
4. With the exterior body (and attached insulation) fabric right side up, center the loop side of the hook-and-loop tape 1 inch in from the short straight edge. Edgestitch around the tape. Similarly, with the lining body fabric right side up, center the hook side of the hook-and-loop tape 3/4 inch in from the curved edge. Edgestitch around the tape.
Create the handle
1. Place the handle interfacing’s fusible side in the center of the handle fabric’s wrong side. Fuse in place. Then fold both long edges in 1/2 inch and press. Repeat with the short edges. If desired, miter the corners.
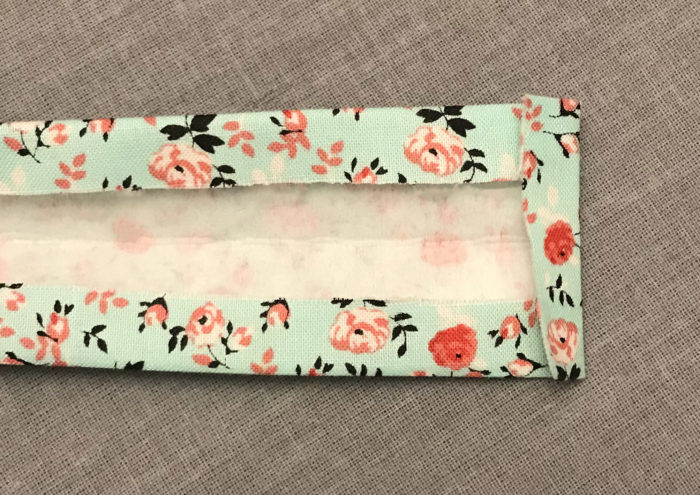
2. Fold the handle piece in half lengthwise and press. Edgestitch along the three open edges.
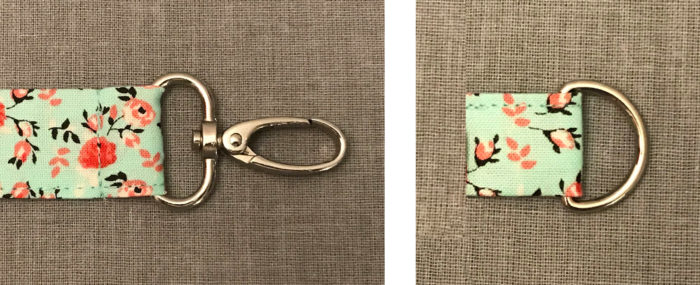
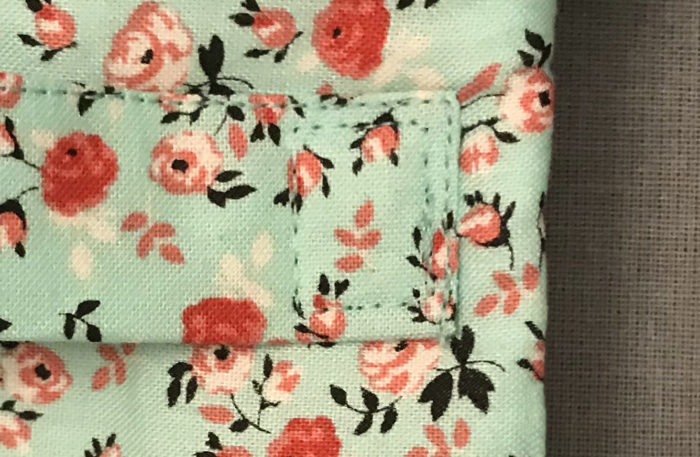
3. (Optional) Repeat steps 1 and 2 for the strap. Then fold about 1/2 inch of one strap end around one swivel hook ring. Stitch in place close to the fabric edge. Repeat on the opposite strap side. The tabs are made in almost the same manner. Begin by placing one tab interfacing’s fusible side in the center of one tab fabric’s wrong side. Fuse in place. Next, fold both short edges in 1/2 inch and press. Fold the piece in half lengthwise so it measures 3/4 inch wide. Edgestitch along the open edge. Finally, fold the tab in half widthwise around one D-ring so the raw edges are even. Press in place. Repeat for the second tab.
Sew the lunch bag
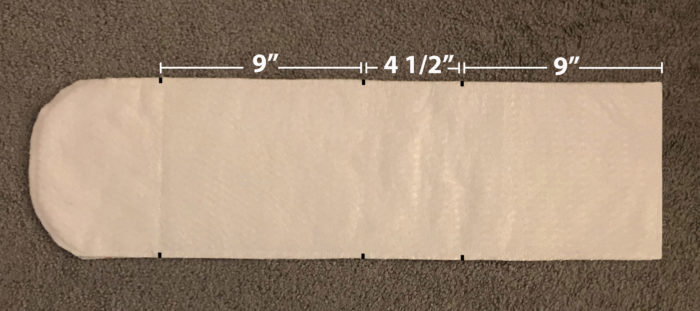
1. Place the body’s exterior and insulation piece right side down. Use a ruler to make three marks at the following points: 9 inches from the short straight edge, 4 1/2 inches beyond the first mark, and 9 inches beyond the second mark. Repeat on the parallel side. Clip into the marks 1/4 inch at all six points. This makes it easier to sew the side panels in the following steps.
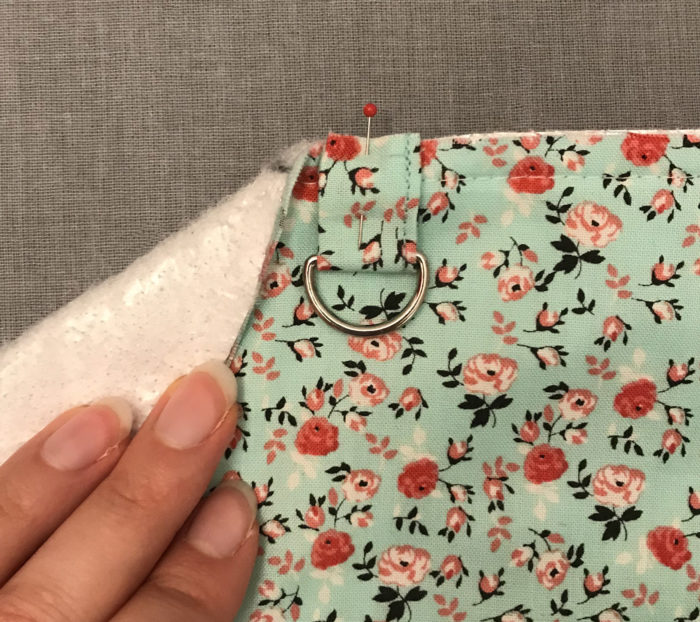
2. (Optional) If sewing the strap version of the lunch bag, pin each tab and D-ring unit (from step 3 above) on the exterior body piece’s right side 7/8 inch below the mark closest to the top flap. Be sure to align the raw edges.
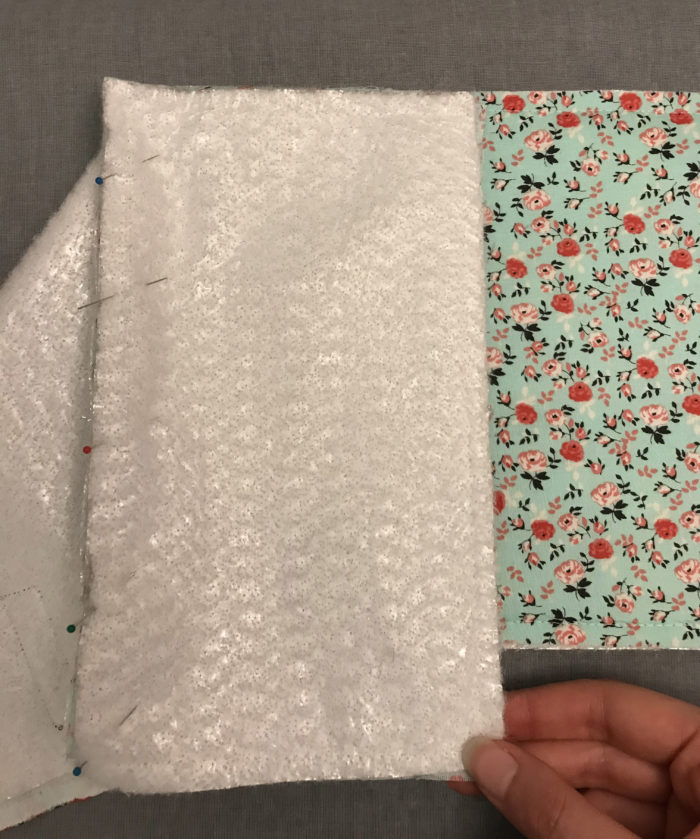
3. With right sides together, align one exterior side panel piece with the top corner of the exterior body piece, as shown. Pin along the long edge. Note that the side panel should extend 1/2 inch beyond the first 9-inch clip.
4. Rotate the side panel so the short edge aligns with the body piece’s long edge and pin. This corner should extend 1/2 inch beyond the second clip. Rotate the side panel one more time and pin the adjacent side to the body piece’s long edge. Here, the side panel’s top edge should end exactly at the last clip.
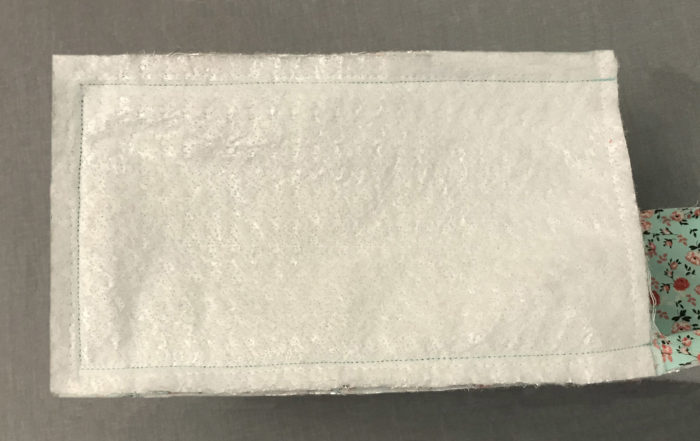
5. Using a 1/2-inch-wide seam allowance, stitch the side panel to the body piece. Sew down one long edge of the side panel, across the bottom, and up the remaining long edge. Be careful not to sew over bunched fabric when pivoting at the corners. Finish by trimming the corners and seam allowances only along the side panel edges. Do not trim along the top flap. Repeat steps 3 through 5 on the second side. Then repeat steps 1, 3, 4, and 5 for the lining pieces. Again, try to pin the lining pieces within the seam allowances, or use clips to avoid making permanent holes in the vinyl.
6. Turn the lining right side out and slip the entire lining unit into the exterior body unit with right sides together and corresponding edges aligned. Pin around the open sides and the top flap, being sure to match all seams. Stitch around the pinned sections using a 1/2-inch-wide seam allowance. Leave a 3-inch-wide opening for turning the lunch bag right side out.
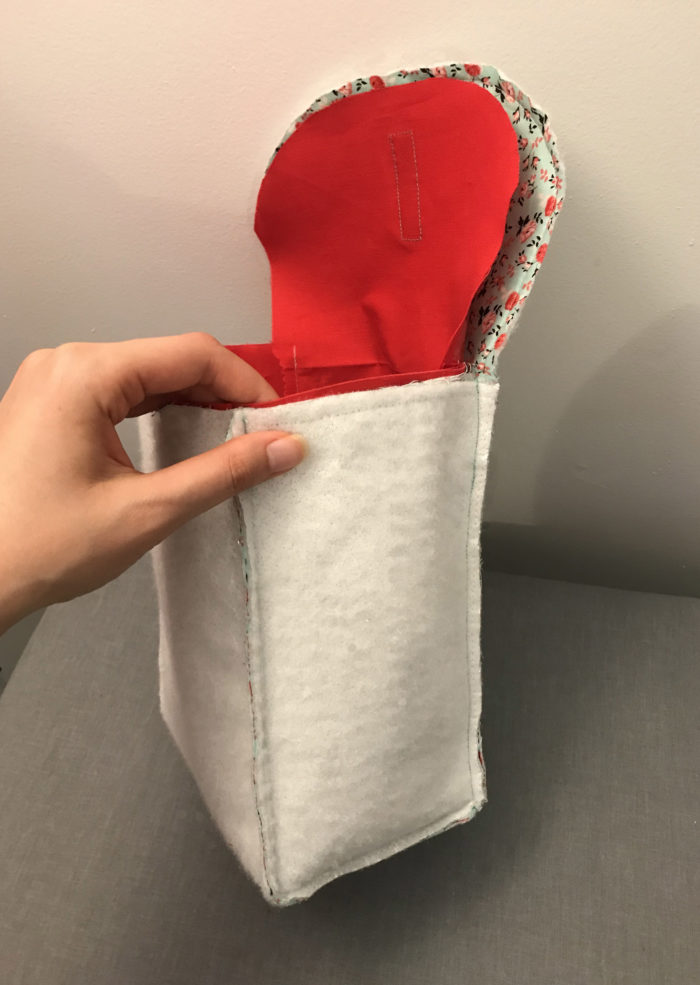
7. Trim into the corners and seam allowances to reduce bulk. Turn the lunch bag right side out and give the exterior a final press. Hand-sew the opening closed, or topstitch around the entire top edge.
8. Pin one handle side 8 3/4 inches up from the lunch bag base and 1/4 inch in from the side edge. Stitch close to the handle edges through all layers, forming a rectangle. Repeat on the other side. Tip: It helps to place clear tape along the sides of the feed dogs to help the vinyl move more smoothly through the sewing machine.
9.(Optional) Clip the strap to the D-rings and your lunch bag is done.
Is there anyone in your family who could use a new, one-of-a-kind lunch bag? How would you embellish the top flap if you had the chance? Please share your comments below.


Very cool idea, be sure to make such a handbag, thanks for the tutorial.