
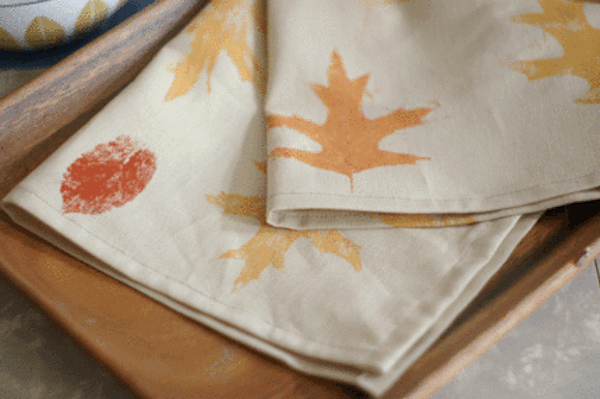
Nothing says autumn more than the glowing colors of fallen leaves. Make these simple napkins to dress up your holiday table and capture the fleeting beauty of fall.
If you prefer to print leaves on ready-made napkins, skip the “Make the napkins” instructions.
Supplies
- A selection of leaves in different shapes (be sure they aren’t brittle)
- 1 yard solid cotton or linen
- Wax paper or newsprint
- Sponge brush
- Fabric paint
- Brayer
- Iron
- Rotary cutter and mat
- Sewing machine and thread
Print the leaves
1. Lay the fabric out on a large, flat surface. Protect the surface with wax paper or newsprint.
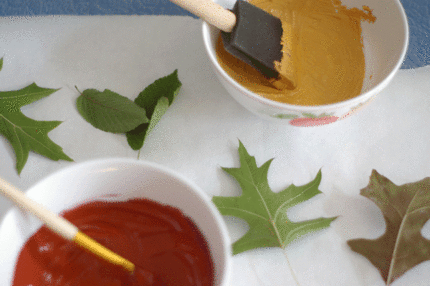
2. Lay out another small wax paper sheet, and lay one leaf front side down on it.
3. Put a small amount of fabric paint on a sponge brush and daub the back of the leaf to coat.
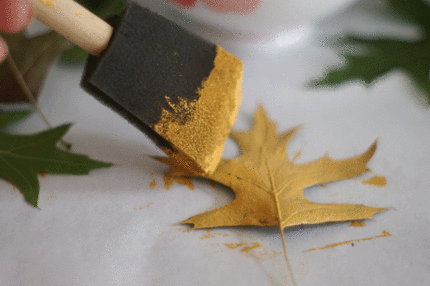
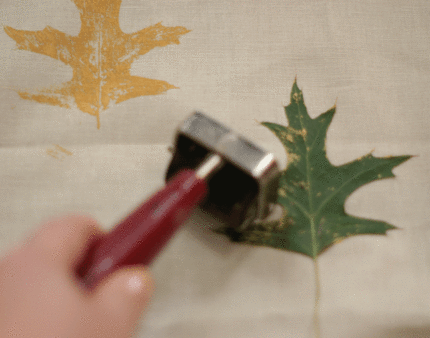
4. Flip the leaf over, and lay it on the fabric as desired. Roll a brayer over the leaf to print it. If you have never done this before, practice on a few scraps of test fabric first.
5. Continue with the design as desired. Let the paint dry, then iron on the wrong side of the fabric to set the paint.
Make the napkins
1. With a rotary cutter and mat, cut fabric into four 17-inch squares.
2. On one edge of one napkin, fold over the edge 1/4 inch, press, and fold over 1/2 inch. Press again. Repeat on the other side. Sew down both sides close to the inner fold. Backstitch at each end.
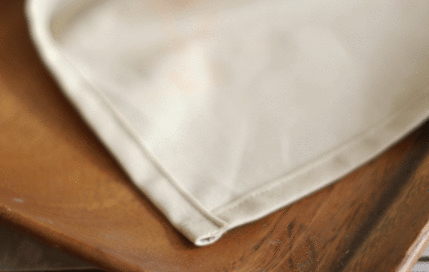
3. Repeat on the other two sides.
4. Repeat with the other napkins. Clip all threads.
This article by Kayte Terry was originally published October 19, 2012 on Craftstylish.com.


Log in or create an account to post a comment.
Sign up Log in