

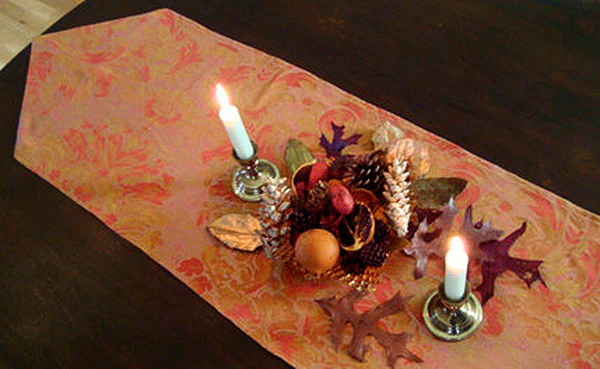
Let’s face it, during the busy holiday season we need some fast projects like this table runner. All this project takes is a great piece of fabric and some thread.
Choose and prep the fabric
If you aren’t sure where to start, check out decorator fabric stores, or look for used draperies at a resale shop. You don’t need much for this project, and you can always piece a couple of compatible fabrics together. Keep in mind that home dec fabrics are often stiff because of added sizing or other applied finishes.
Pre-washing once or twice on the gentle cycle and tumble drying will soften most fabrics while maintaining the body. Since you want to be able to wash the runner after each use, prewashing is a good idea no matter what type of fabric you choose. I recommend washing a test piece of the fabric first—at least a 6-inch square. That way, if the fabric doesn’t respond well to washing, you’ll be able to use it for something else.
How to sew the table runner
There’s no standard size for a runner; it all depends on your table, but be sure you straighten the fabric before you start by pulling a thread or squaring from the selvage. If you need to seam two lengths together, I suggest dividing the second length in half, adding a piece to each end of the full length, rather than having one seam in the center of the runner. This runner starts with a long rectangle and ends up with a point at each end.
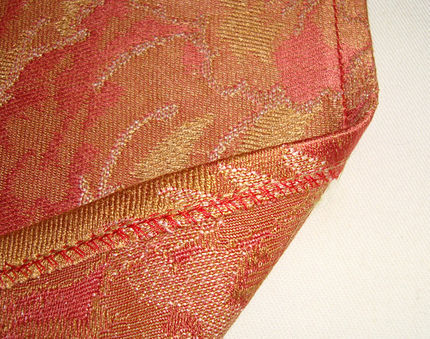
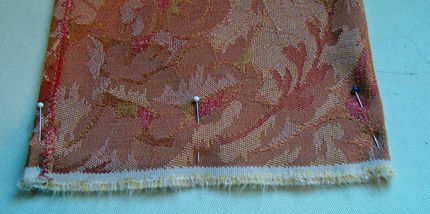
1. Hem the long side edges.
If the fabric is somewhat heavy, serge or zigzag the raw edge and turn under 1/2 inch and topstitch in place so you have the least amount of bulk.
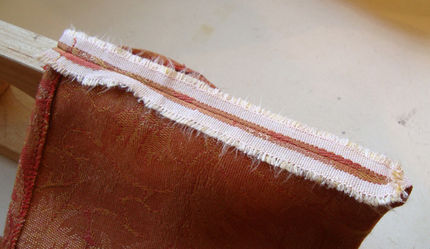
2. Create the point
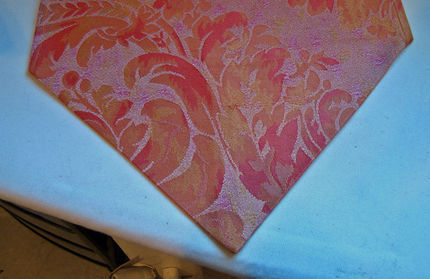
To create the point, fold in half lengthwise, right sides together, and stitch across the short end. Press the seam allowances open over a point presser or point turner. Turn right side out and position the seam so that is it centered and parallel to the runner’s long edges. A point forms at the tip of the centered seam. Press to flatten the pointed end.
3. Set the table and enjoy.
This article by Mary Ray originally was published on CraftStylish.com.


This doesn't explain how to get the point
We've just updated the post to clarify step 2, so it's easier to understand how to create the pointed ends.
Enjoy your table runner--just in time for the holidays!
Carol Fresia, Threads Senior Technical Editor
Sorry, I still don't understand how to get the point. Maybe another picture? I don't understand if I sew across the straight short end how that ends up being a point.
The seam is sewn horizontally, then--after turning it right side out--it is pressed so it is parallel to the long edges. This creates what is essentially a mitered corner, and that forms the point. In the finished piece, the seam bisects the angle of the point.
If you are having trouble visualizing this, I recommend experimenting on a scrap of fabric or even a strip of paper. Another way to visualize this is to lay the strip flat, then fold the bottom corners in to create a point. You'll then see how those edges meet--that is the seam you sew to form the point.
Carol Fresia, Threads Senior Technical Editor