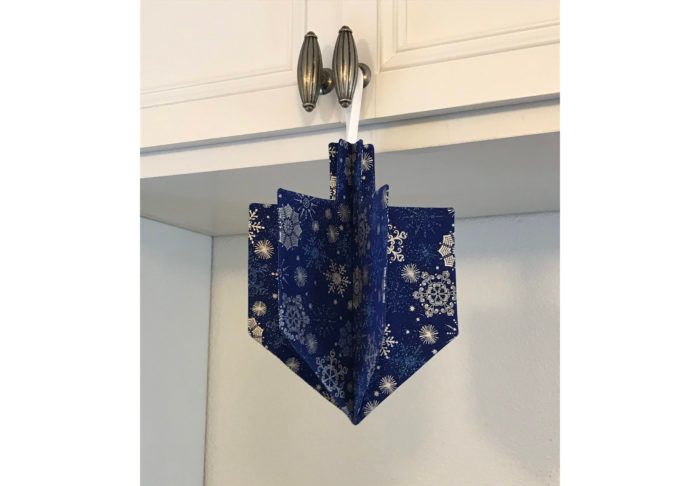
Even with Hanukkah around the corner, it can be difficult to find unique decorations. So why not sew your own? Consider adding a new creation to your collection with this adorable 3-D dreidel ornament pattern.
Supplies
- 1/4 yard Hanukkah-inspired cotton fabric
- 1/4 yard heavyweight fusible interfacing
- 7 to 9 inches 1/2-inch-wide satin ribbon
- Erasable marker
Note: A smaller version of the 3-D dreidel ornament, shown below, is included in the attached PDF pattern. This version makes an especially great gift and requires the same materials.

Assemble and stitch the 3-D dreidel ornament
1. Prepare the pattern.
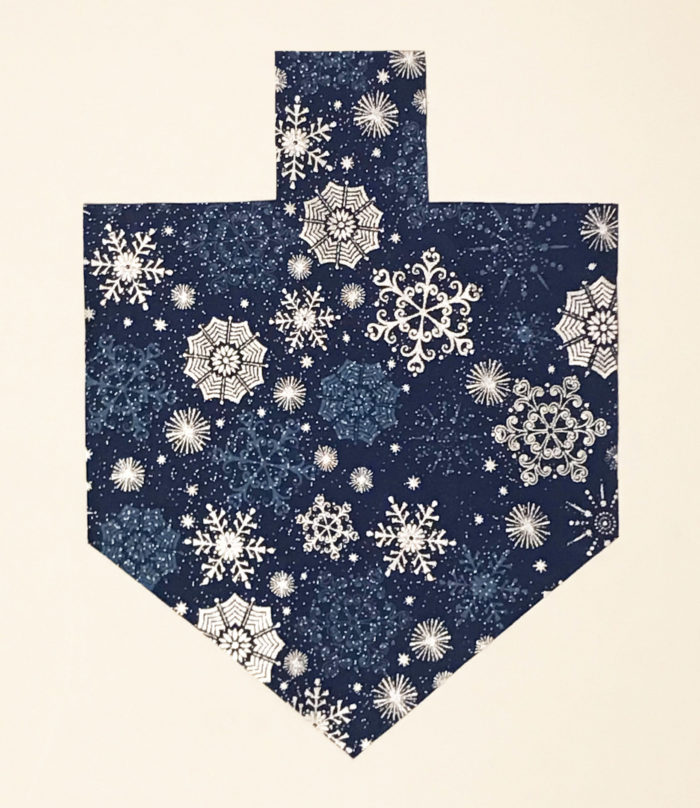
Print the 3-D dreidel ornament downloadable PDF pattern (click the View PDF link at the bottom) at full size, without scaling the image. Use the 1-inch square on the pattern as a guide to ensure the printed size is correct. Then use the pattern to cut six fabric dreidels and three interfacing dreidels. Note: The pattern includes 1/4-inch-wide seam allowances.
2. Fuse the dreidels.
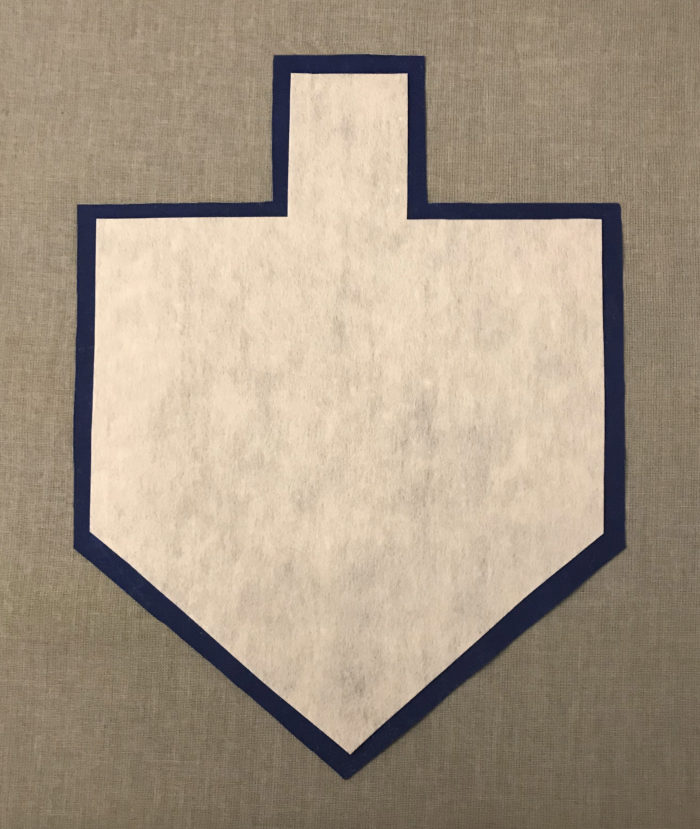
Trim about 1/4 inch from the edges of each interfacing dreidel to reduce bulk. Next, with one fabric dreidel wrong side up, place one interfacing dreidel in the center of the fabric with the fusible side down. Fuse the interfacing to the fabric according to the manufacturer’s instructions. Repeat with the remaining two interfacing pieces so that three of the six fabric dreidels are interfaced.
3. Match the pieces.
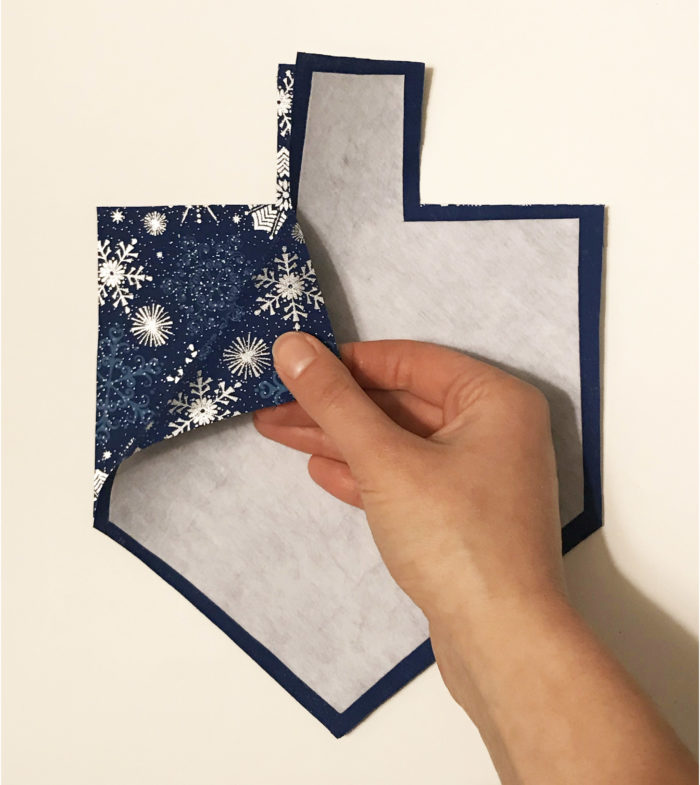
With right sides together and all edges aligned, pin one interfaced fabric dreidel to one uninterfaced fabric dreidel. Repeat one more time.
4. Create the ribbon hanger.
Before pinning the final dreidel pair together, you must first prepare the ribbon. Determine where you plan to hang the dreidel and measure the amount of ribbon needed to accommodate this location. Add 1/2 inch to this measurement to account for the seam allowance, and cut the ribbon. Next, with wrong sides together, fold the ribbon in half and pin it in the center of the short top edge of the remaining uninterfaced fabric dreidel. Make sure the raw edges align. With right sides together, place the remaining interfaced fabric dreidel on top of the uninterfaced fabric dreidel so all edges align. Pin around the edges.
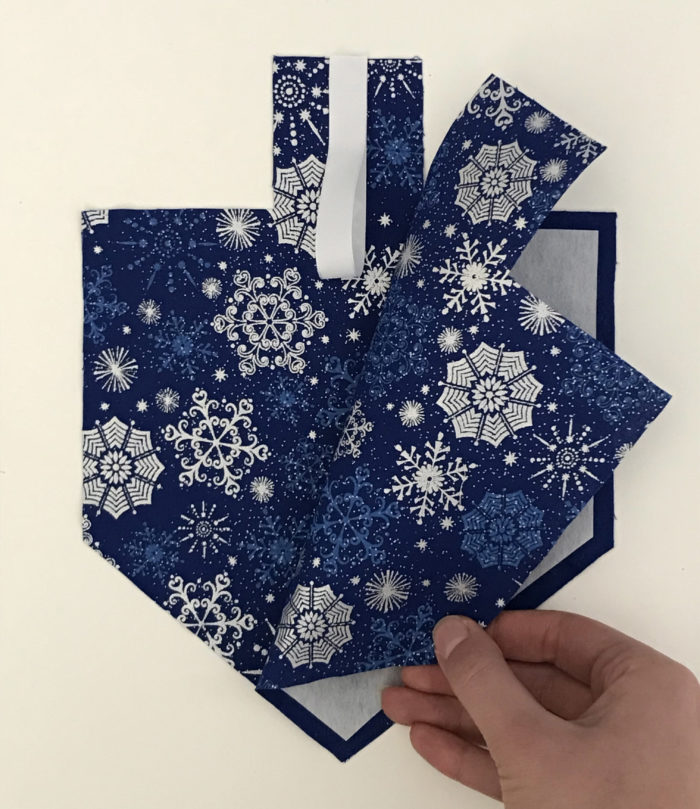
5. Sew the layers.
Stitch around the dreidel edges using a 1/4-inch-wide seam allowance. Leave a 3-inch-wide opening for turning the dreidel right side out. Repeat on the remaining two dreidels.
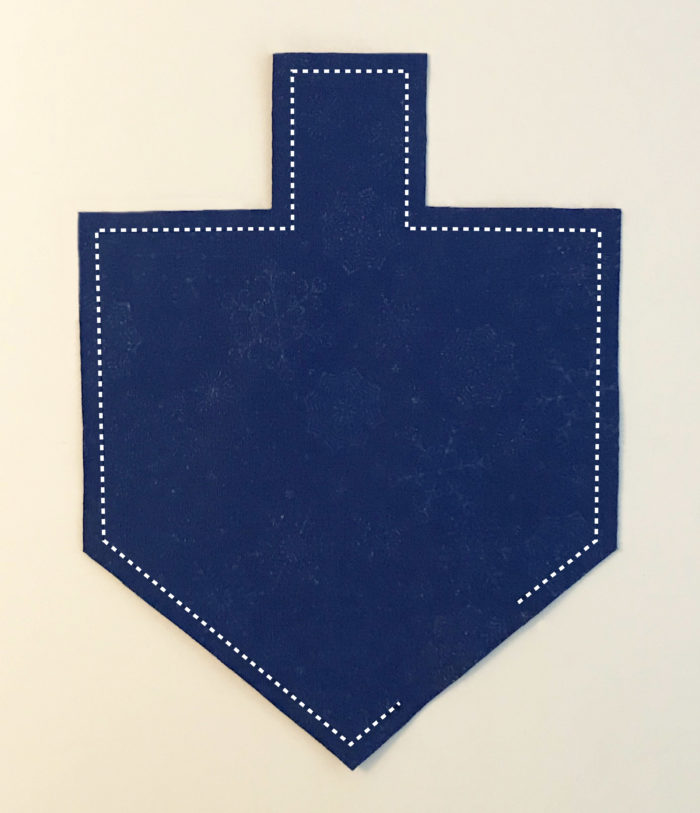
6. Turn and press.
Trim around the corners to reduce bulk. Turn the three dreidels right side out and press each. Hand-sew the openings closed, or topstitch around the edges.
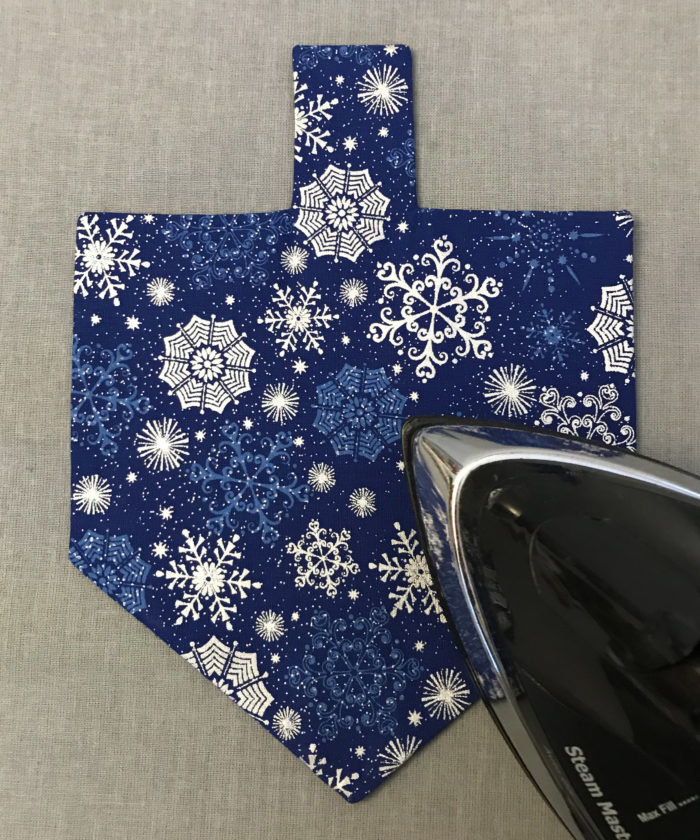
7. Mark the center.
Use a ruler and an erasable marker to draw a vertical line down the middle of one ribbonless dreidel. Stack the dreidels, starting with the plain dreidel on the bottom, followed by the ribbon dreidel in the middle, and the marked dreidel on top. Pin together to make sure all edges are aligned.
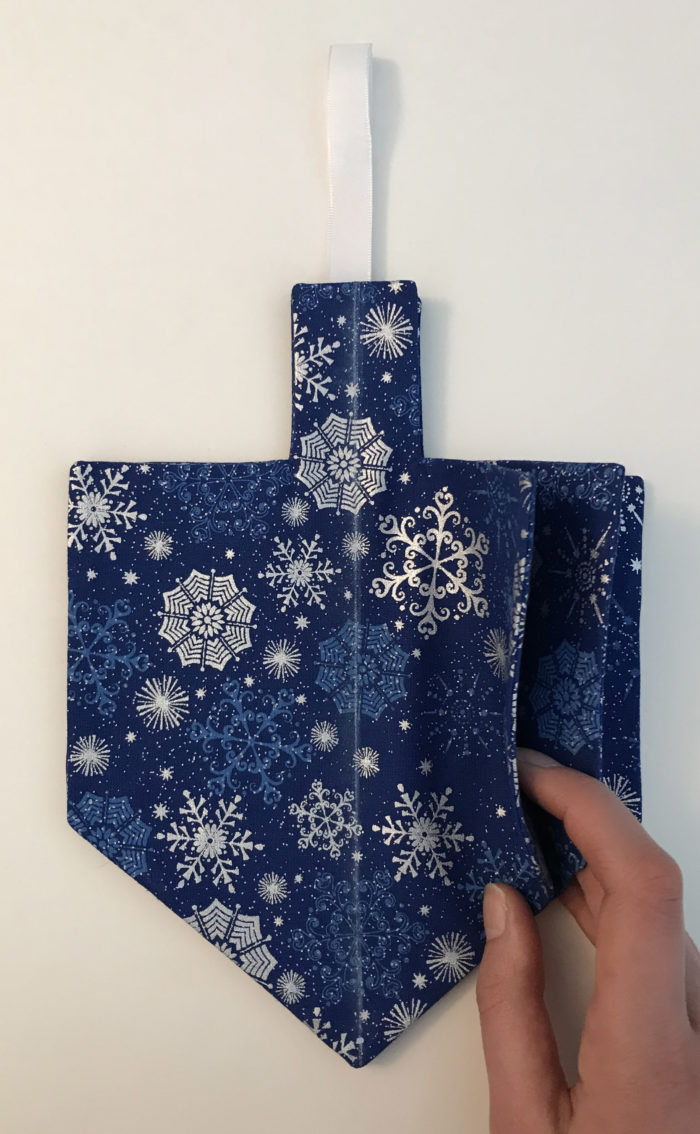
8. Stitch together.
Using a thread color that matches the fabric, sew through all dreidel layers. Use the center line as a guide, and be sure to backstitch at the ends.
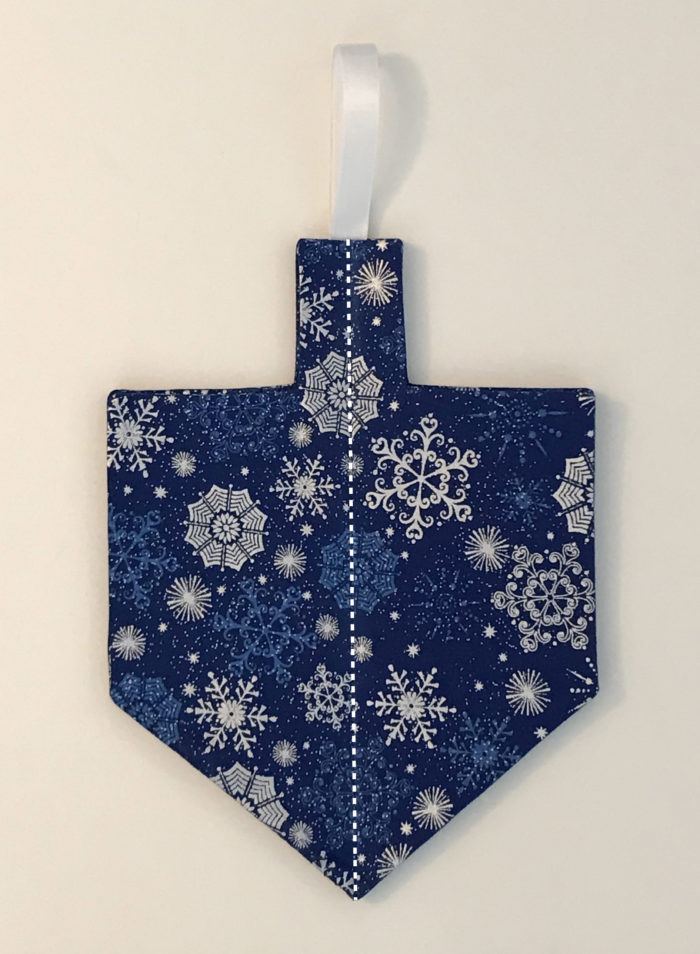
9. Add dimension.
Create the 3-D shape by folding the top dreidel layer in half lengthwise. Press along the center seam. Repeat on the remaining five dreidel halves until the sections are equidistant from one other and resemble the second photo below. The 3-D dreidel is now complete.
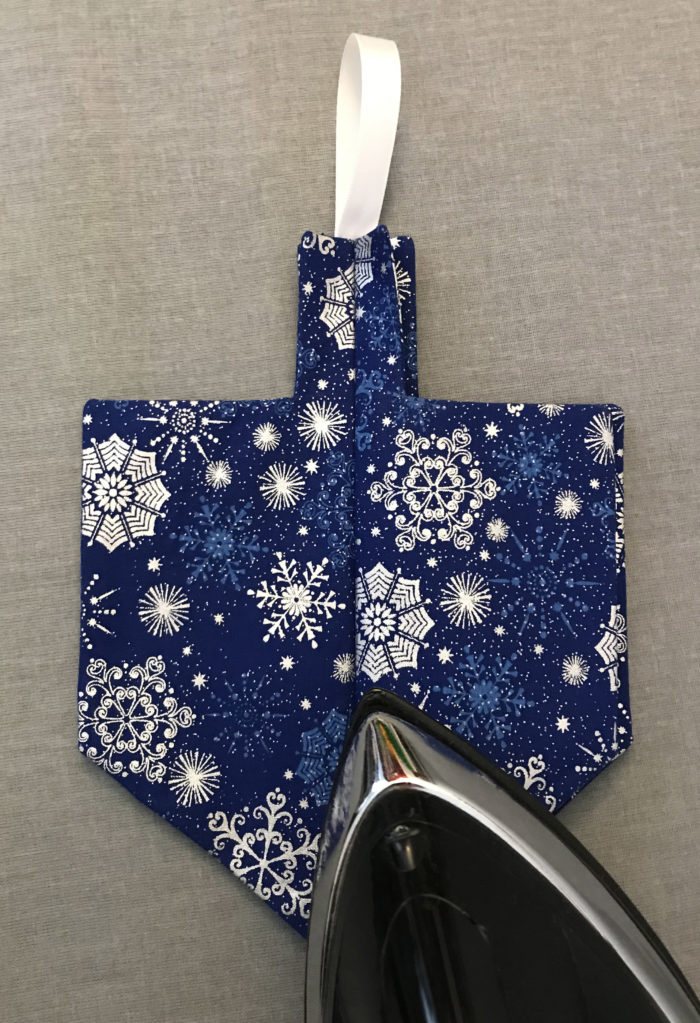
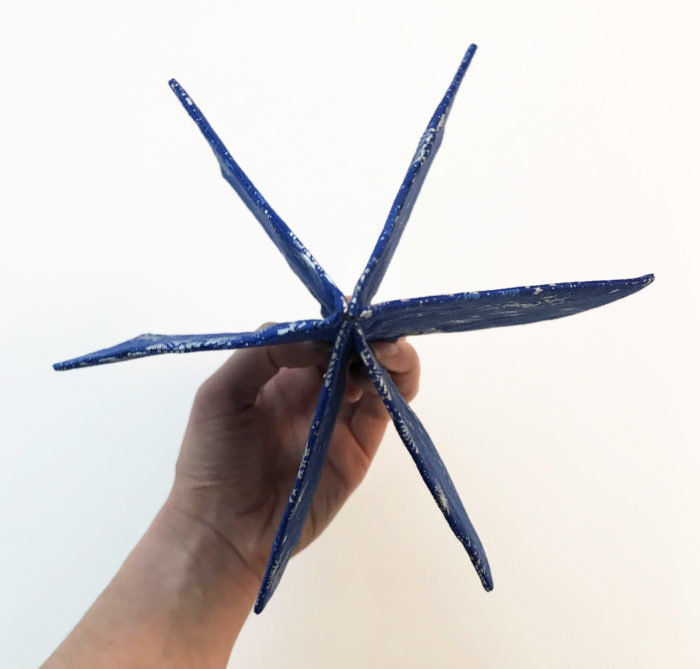
Have you sewn any Hanukkah decorations before? Are there any changes you would make to this design? Please share your comments below.
More Winter Sewing Ideas
12+ Projects for the Winter Holidays
View PDF





This is actually easier than what's posted. A dreidel is a four-sided spinner for the four letters Nun, Gimmel, Hay, and Shin. So cut four fabric dreidels and two interfacing dreidels. Happy Hanukkah!