
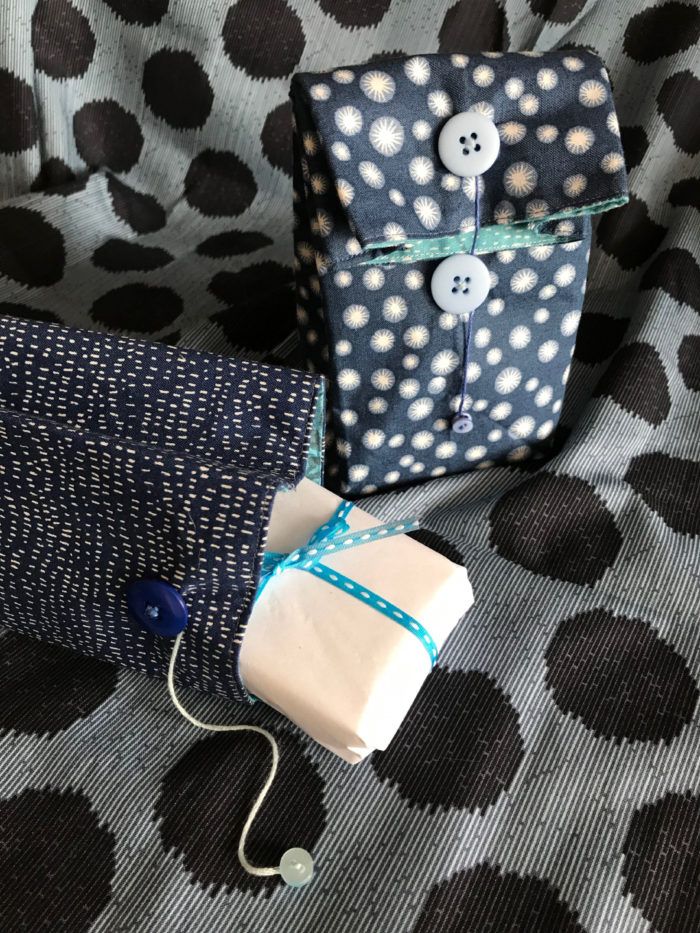
Inspired by the humble lunch bag, these lined fabric gift bags take wrapping to a new level and are the ultimate in recyclable packaging.
Use up precious scraps of fabric and buttons from your stash to create unique and personal gift wrapping.
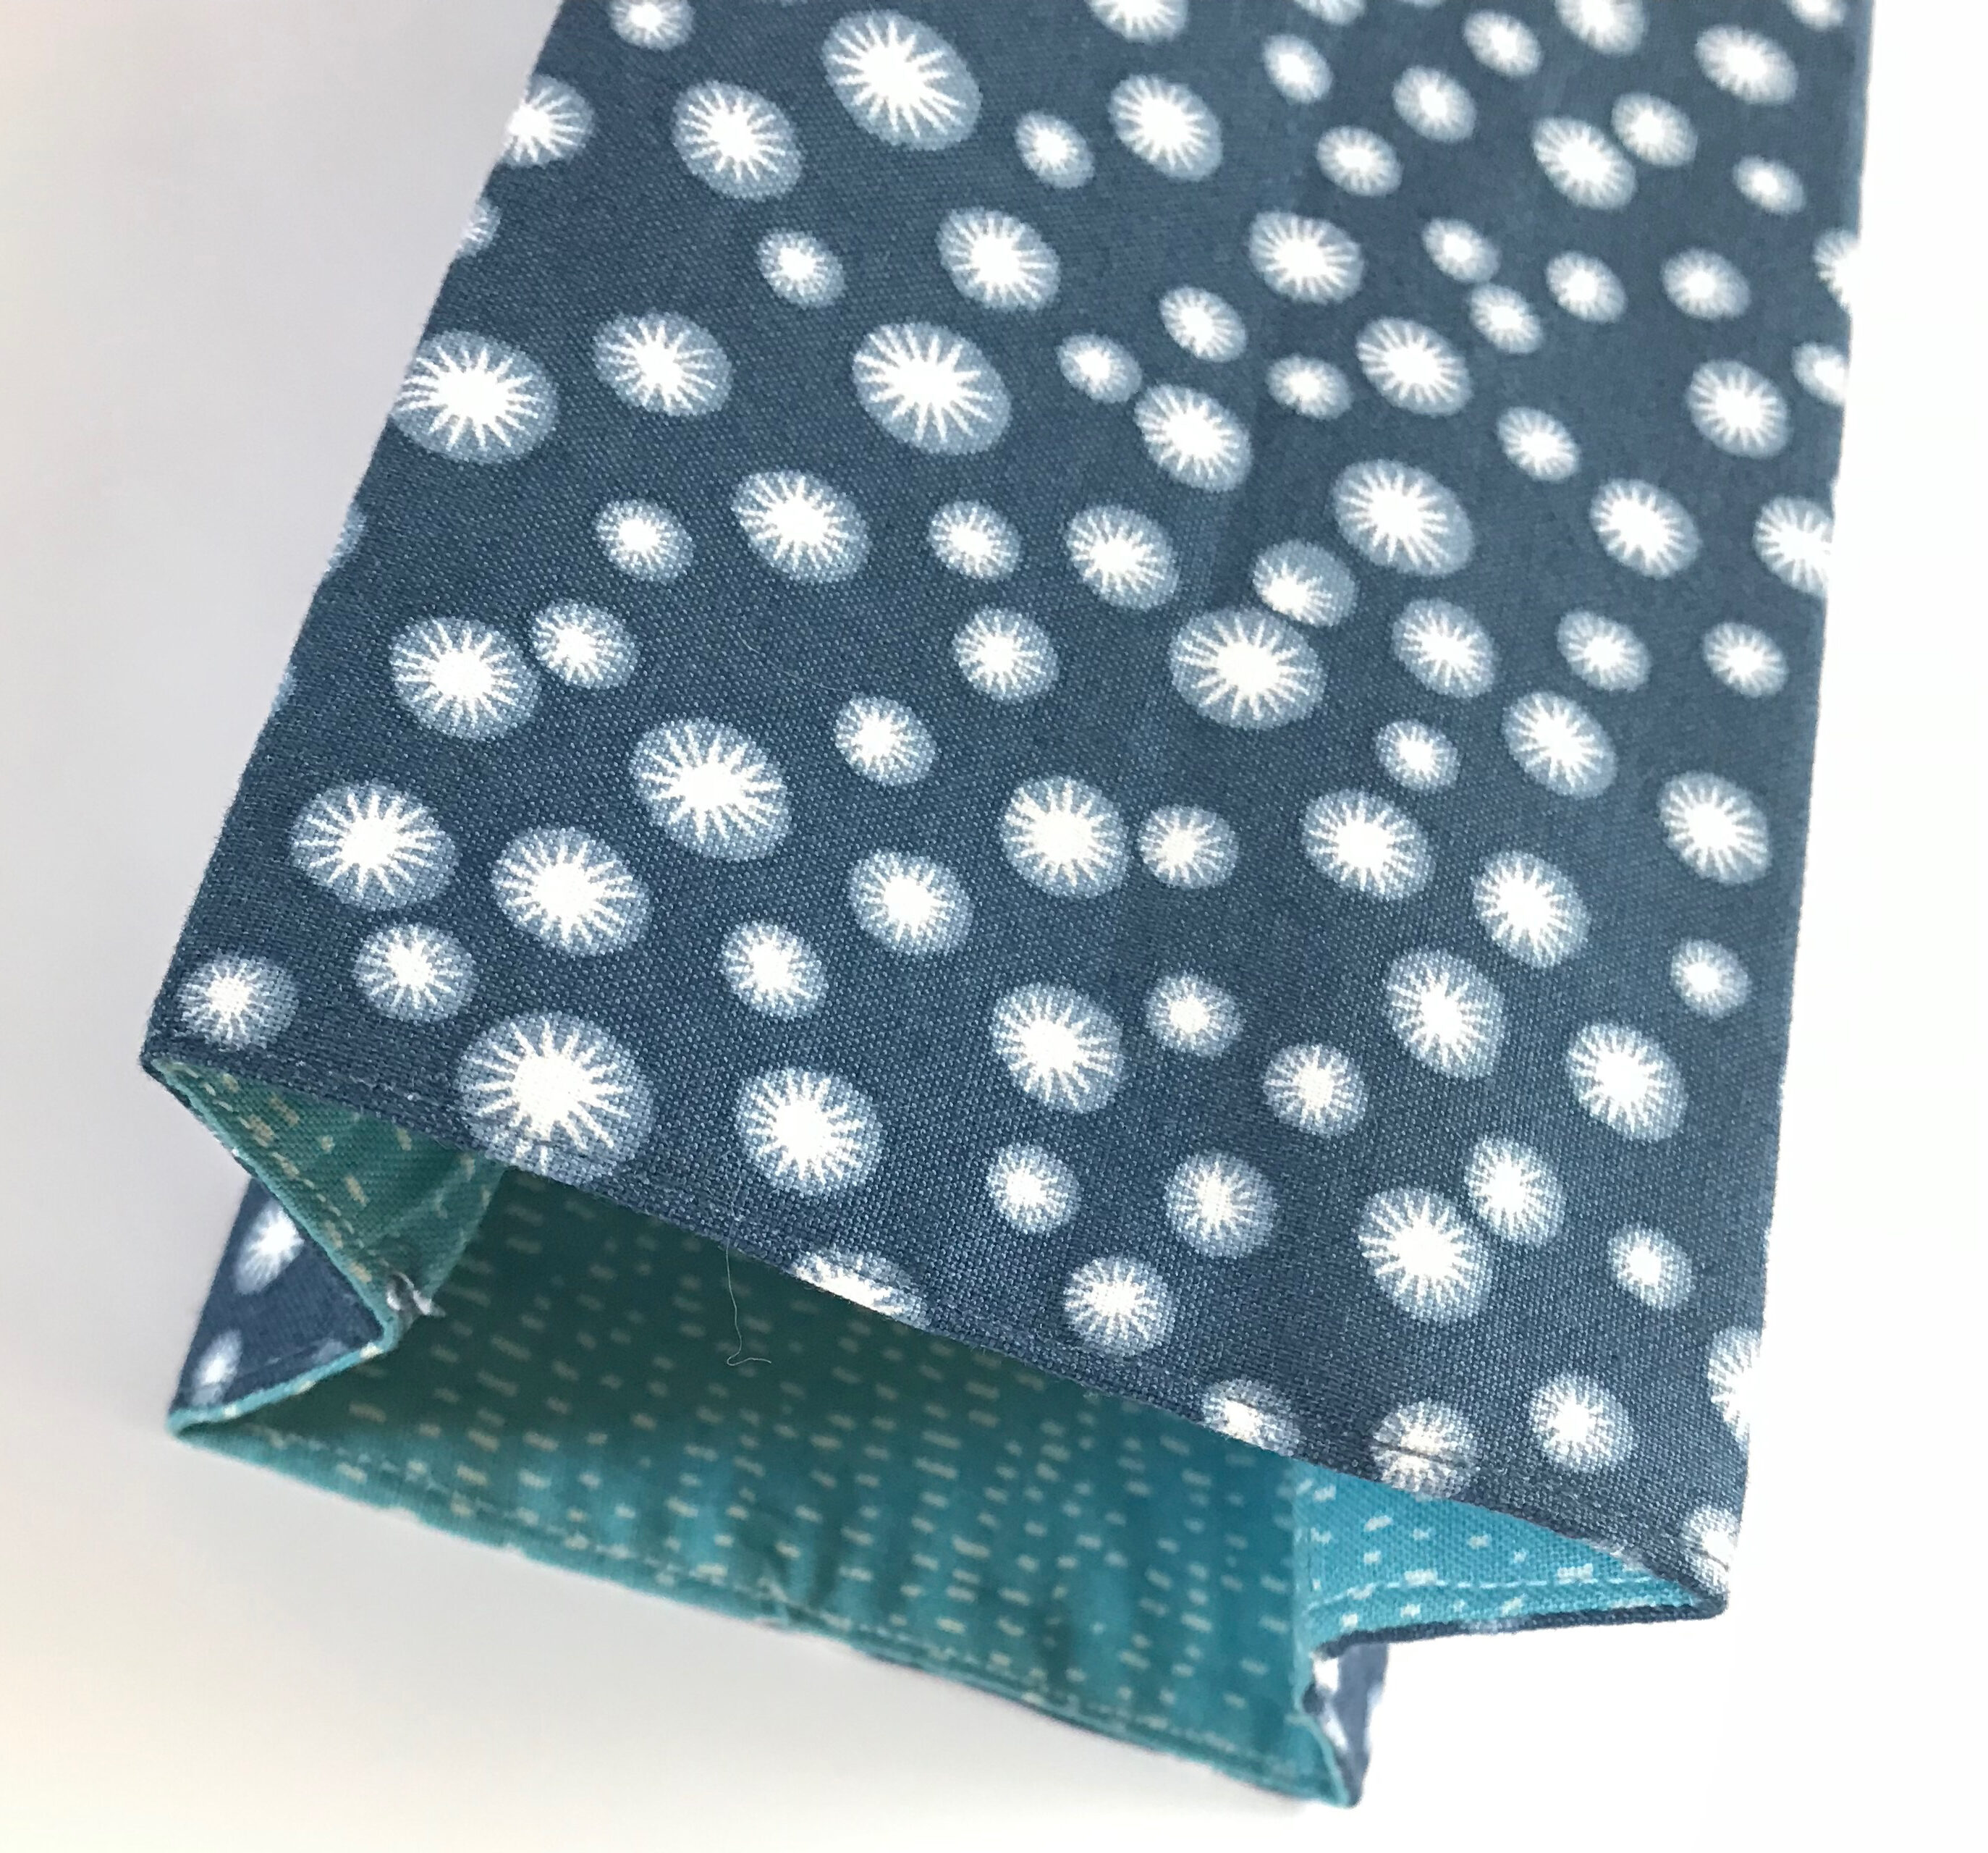
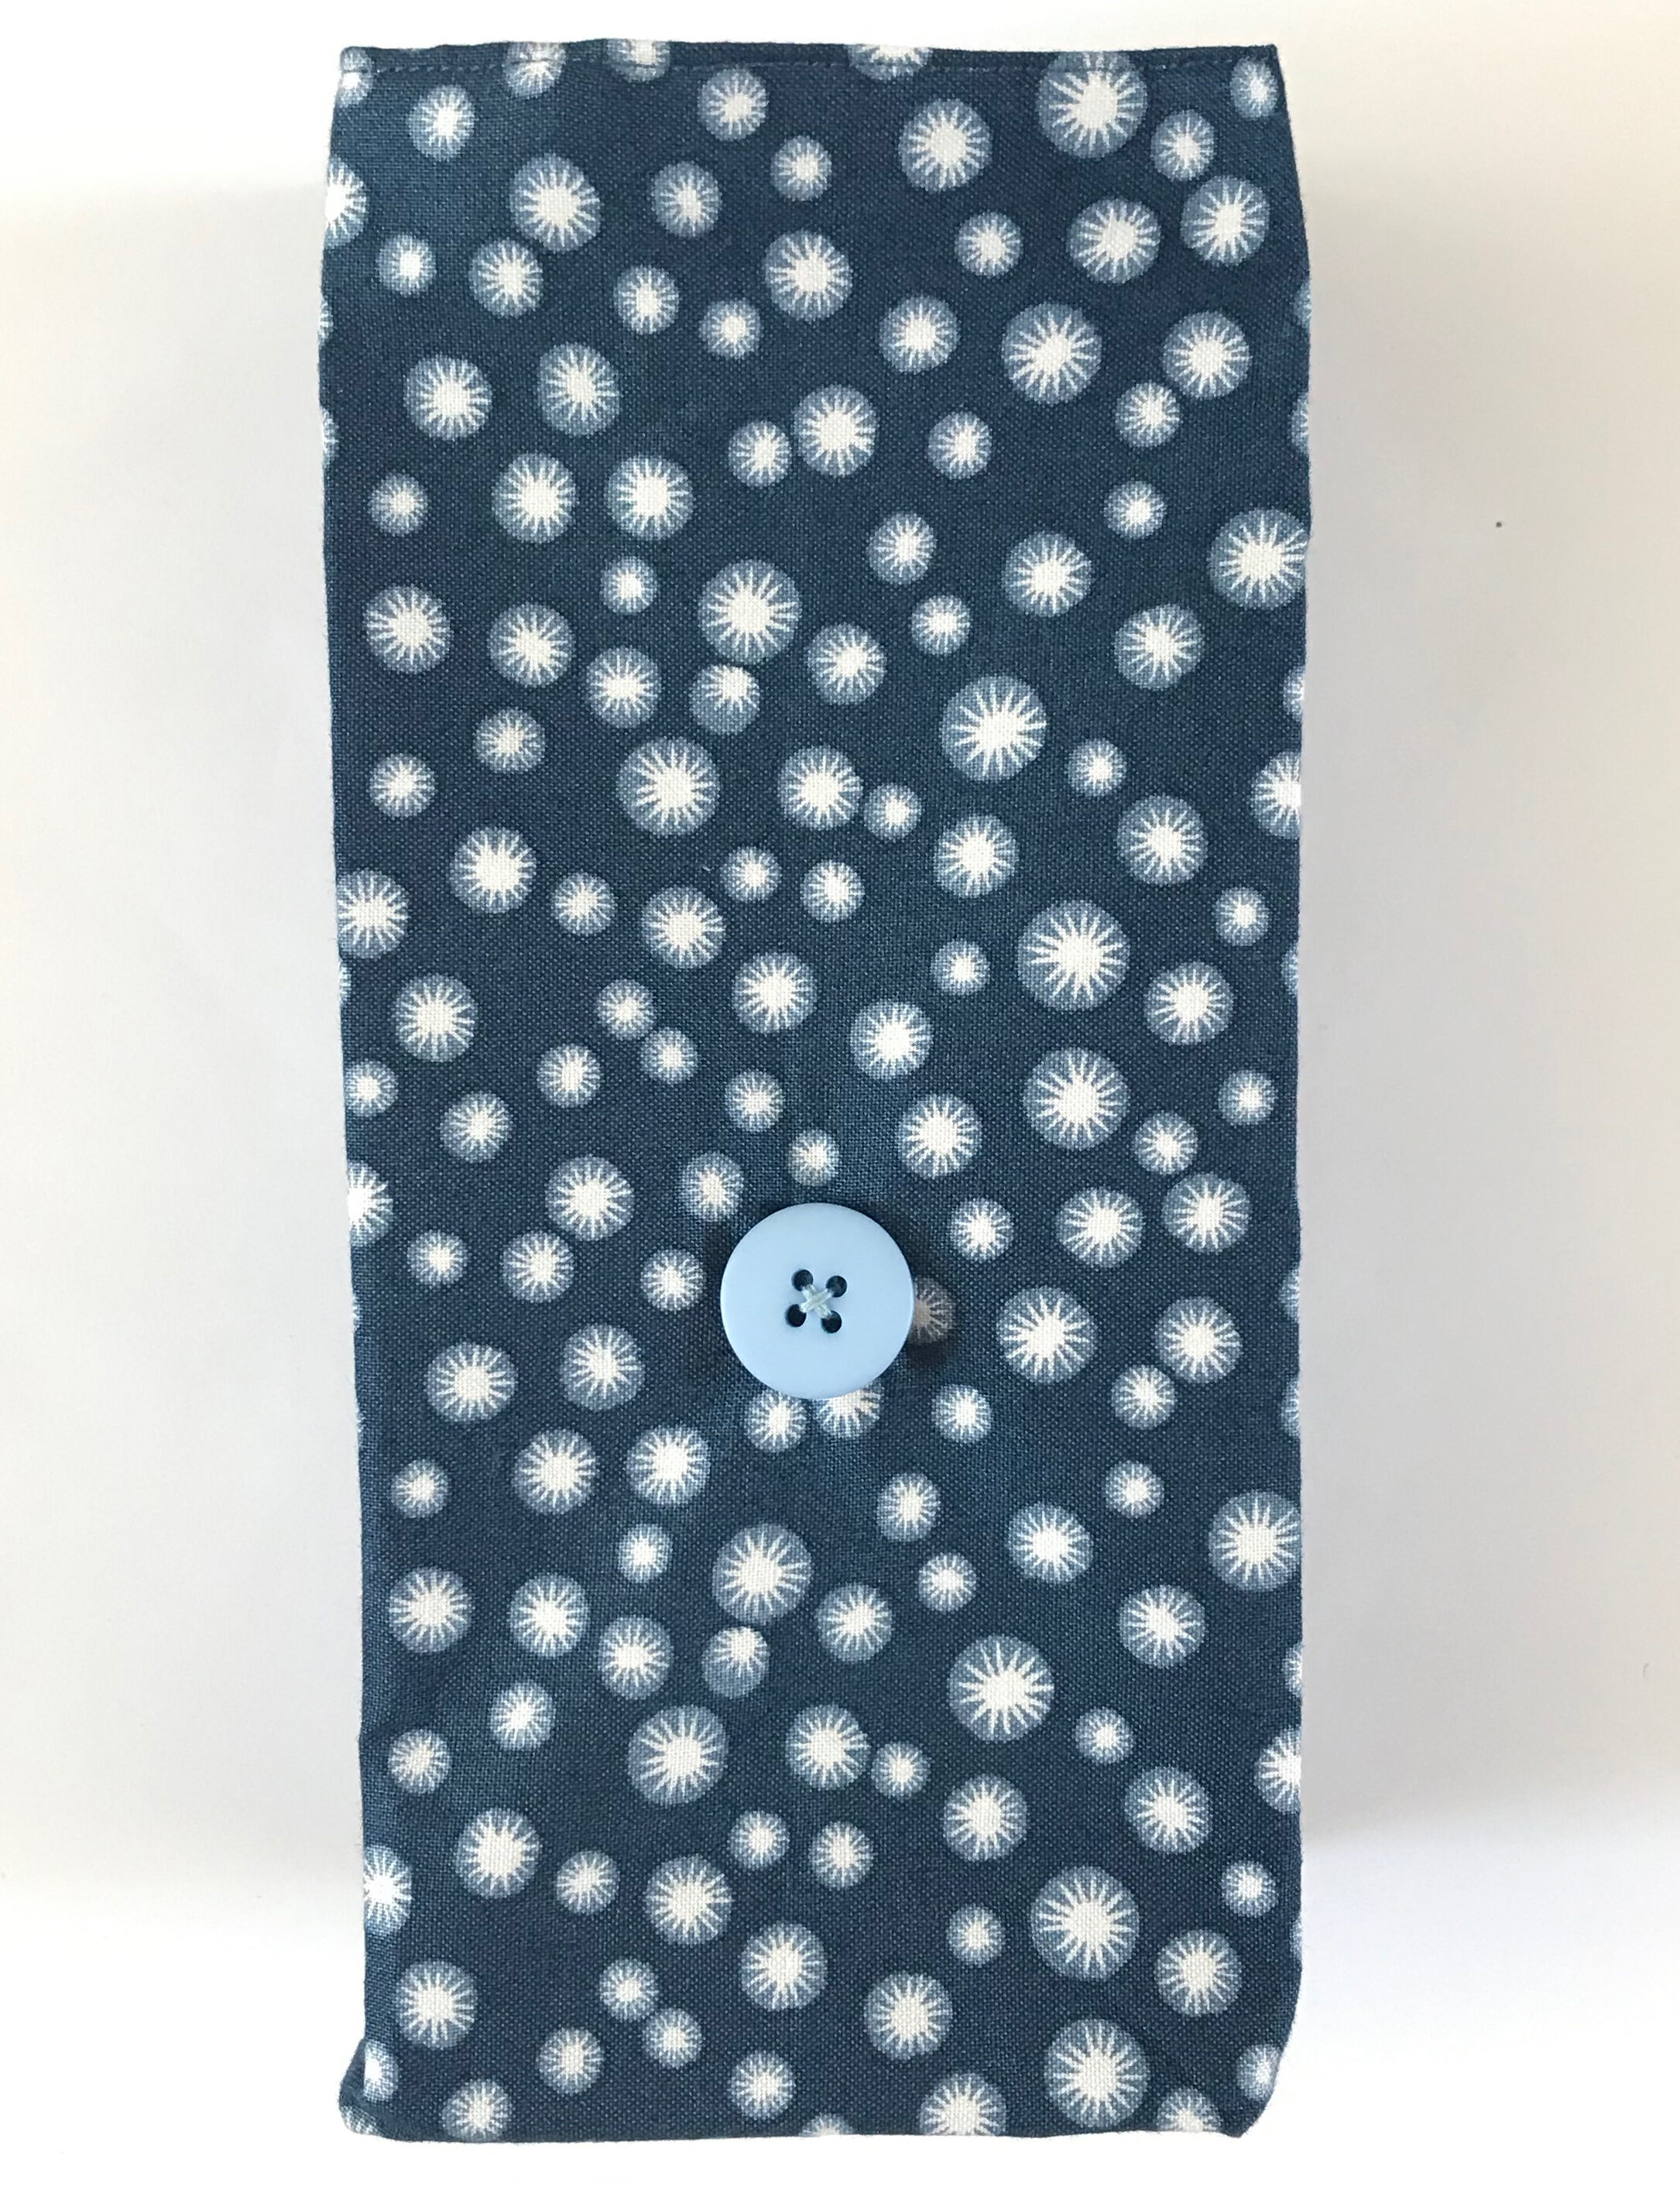
The finished bag measures about 2 1/2 inches by 3 1/2 inches by 6 1/2 inches when closed. Make larger versions if desired, by changing the dimensions. Each bag is fully lined and has boxed corners on the bottom, so it can stand up on its own. Two buttons and a tie provide a secure whimsical closure.
Tools and supplies
- 14-inch by 11-inch rectangles outer and lining fabric
- 12 1/2-inch by 20-inch rectangle fusible interfacing
- Two 5/8-inch diameter buttons
- 12 inches cotton embroidery thread or crochet cotton
- Two tiny buttons or yarn scraps to make a pom-pom (and small pom-pom maker, optional)
- Sewing machine and threads to match fabrics
- Hand-sewing needle and pins
- Sharp scissors
- Iron
Notes: When topstitching through two colored fabrics, consider using a different color thread in the bobbin to match the fabric at the back for a subtle finish. Your buttons don’t need to match. Use contrasting colors to create interest on your fabric gift bags.
Cut fabrics and sew the outer bag

1. Cut the fabrics.
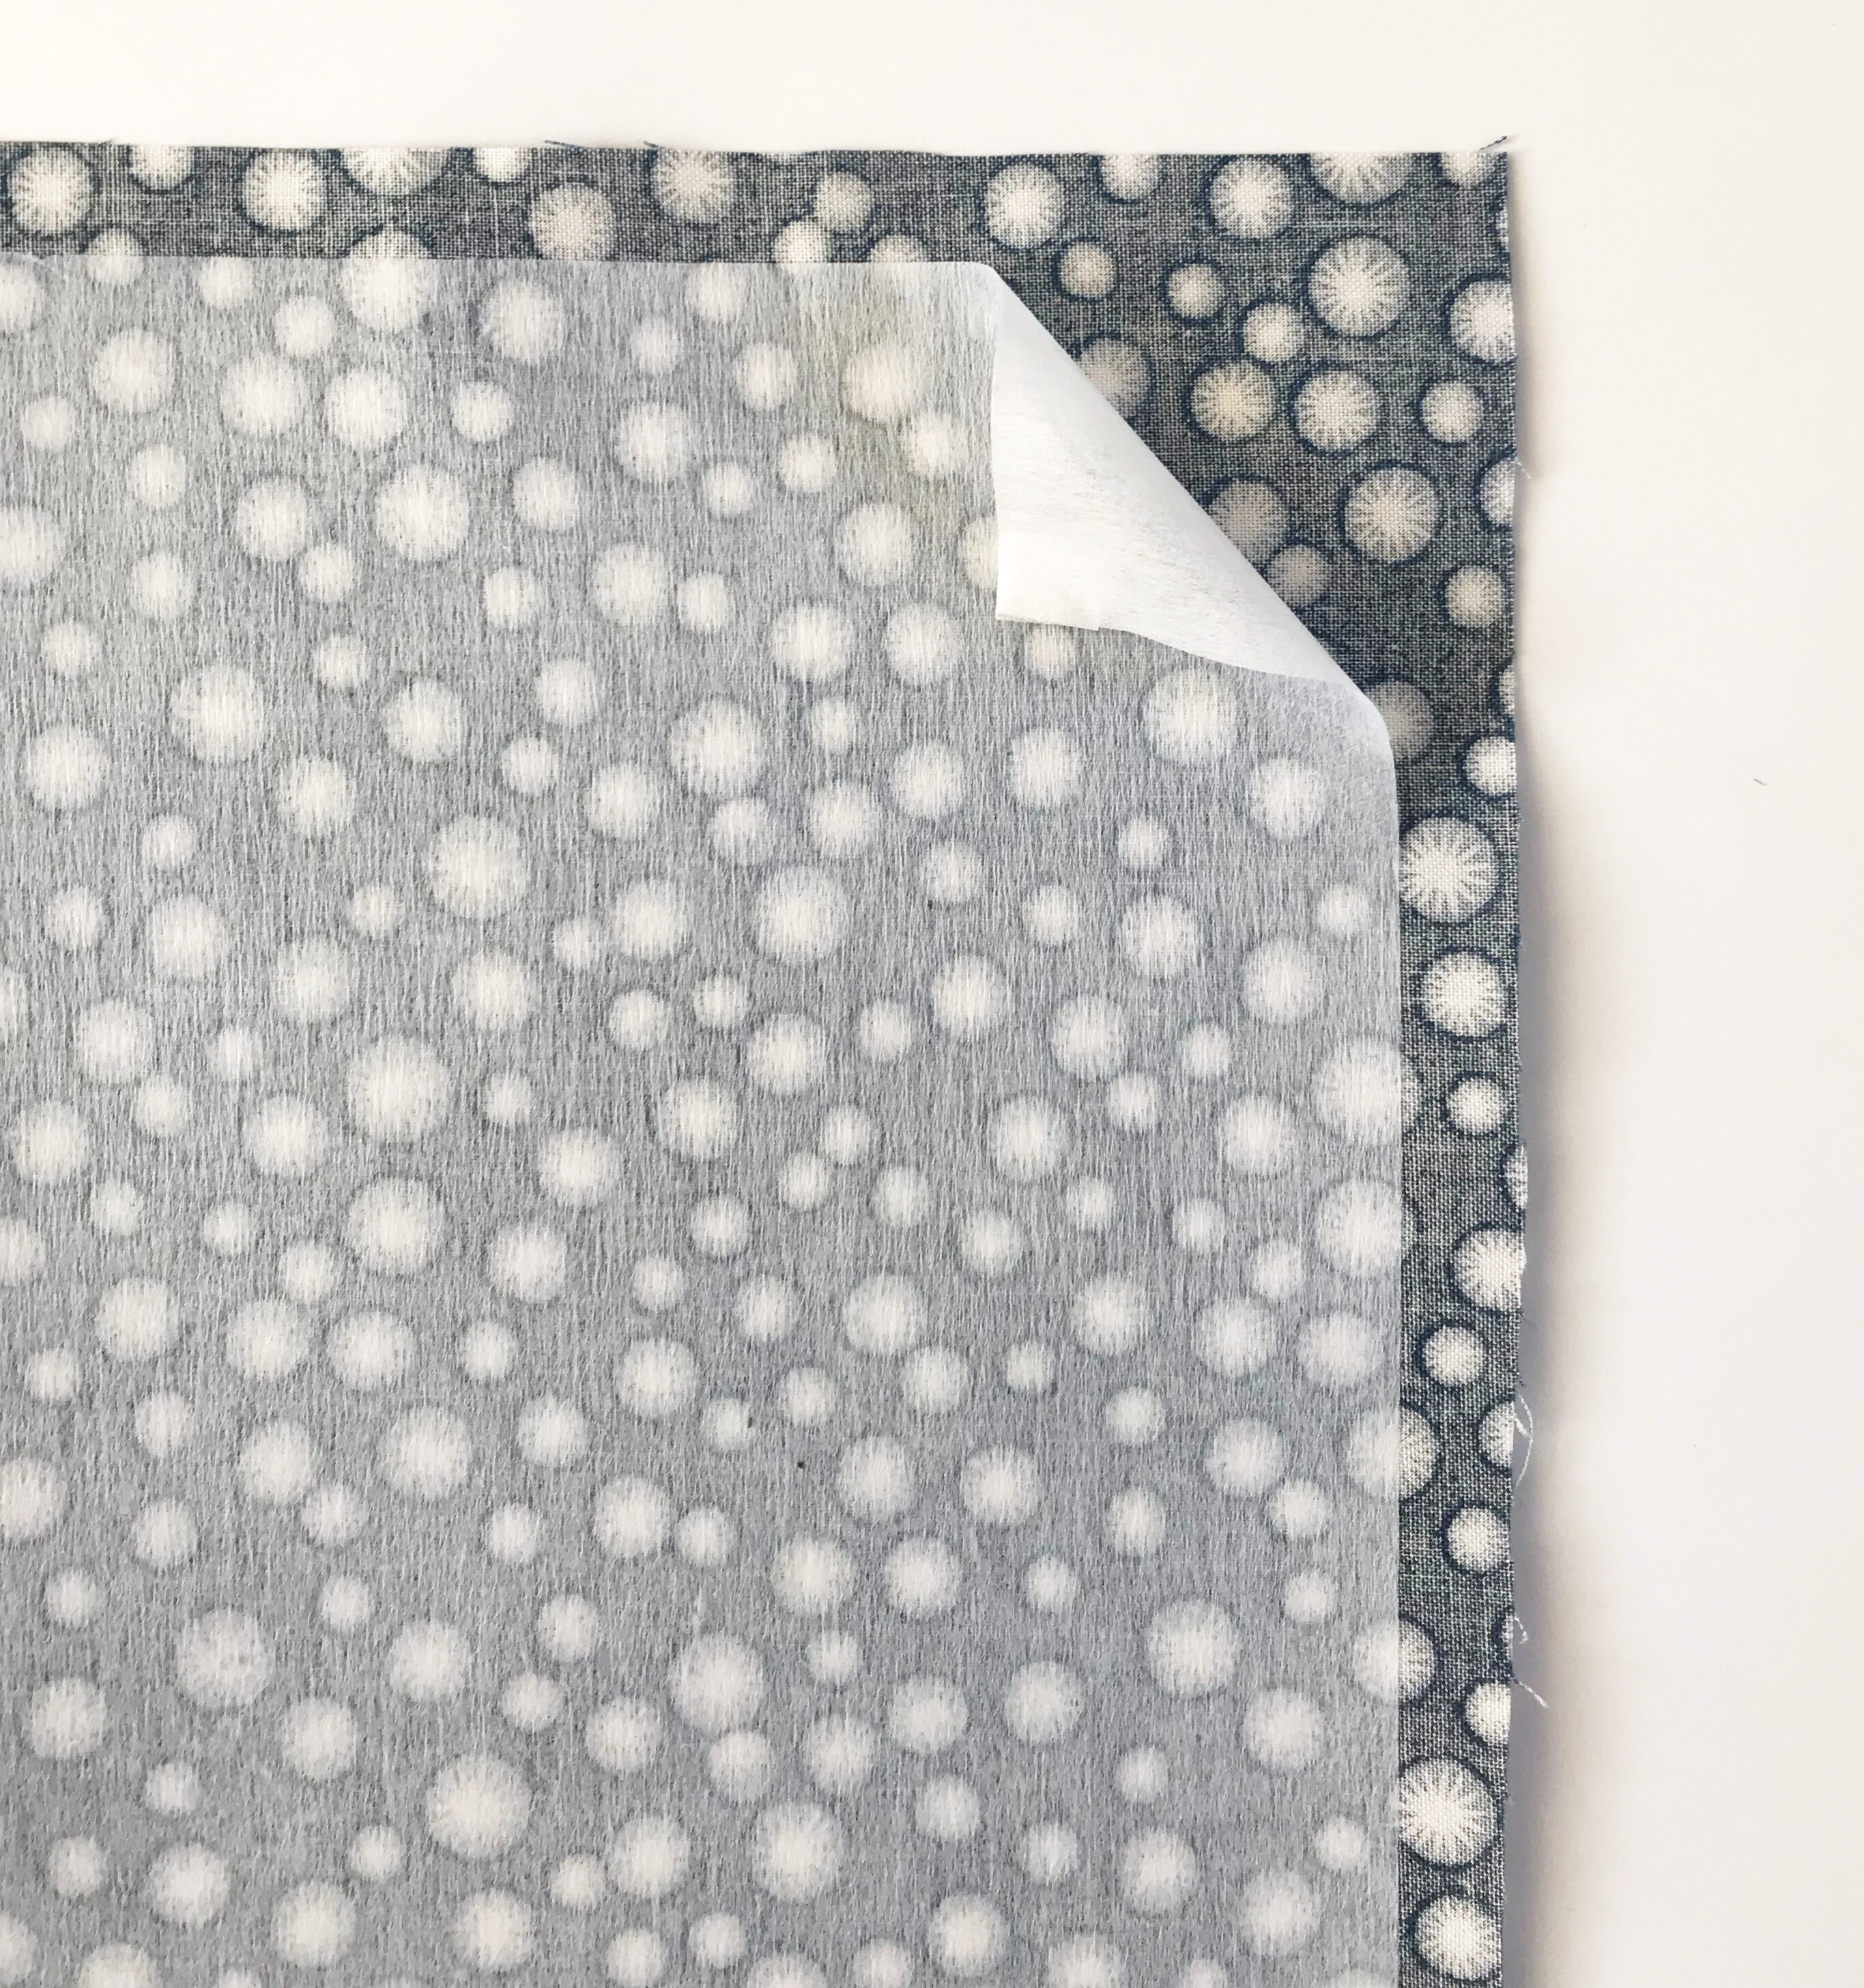
Use the template to cut the outer fabric, lining and interfacing. Fuse interfacing to the wrong side of each outer and lining rectangle, centering the interfacing so that it leaves 3/8-inch-wide seam allowance all the way around.
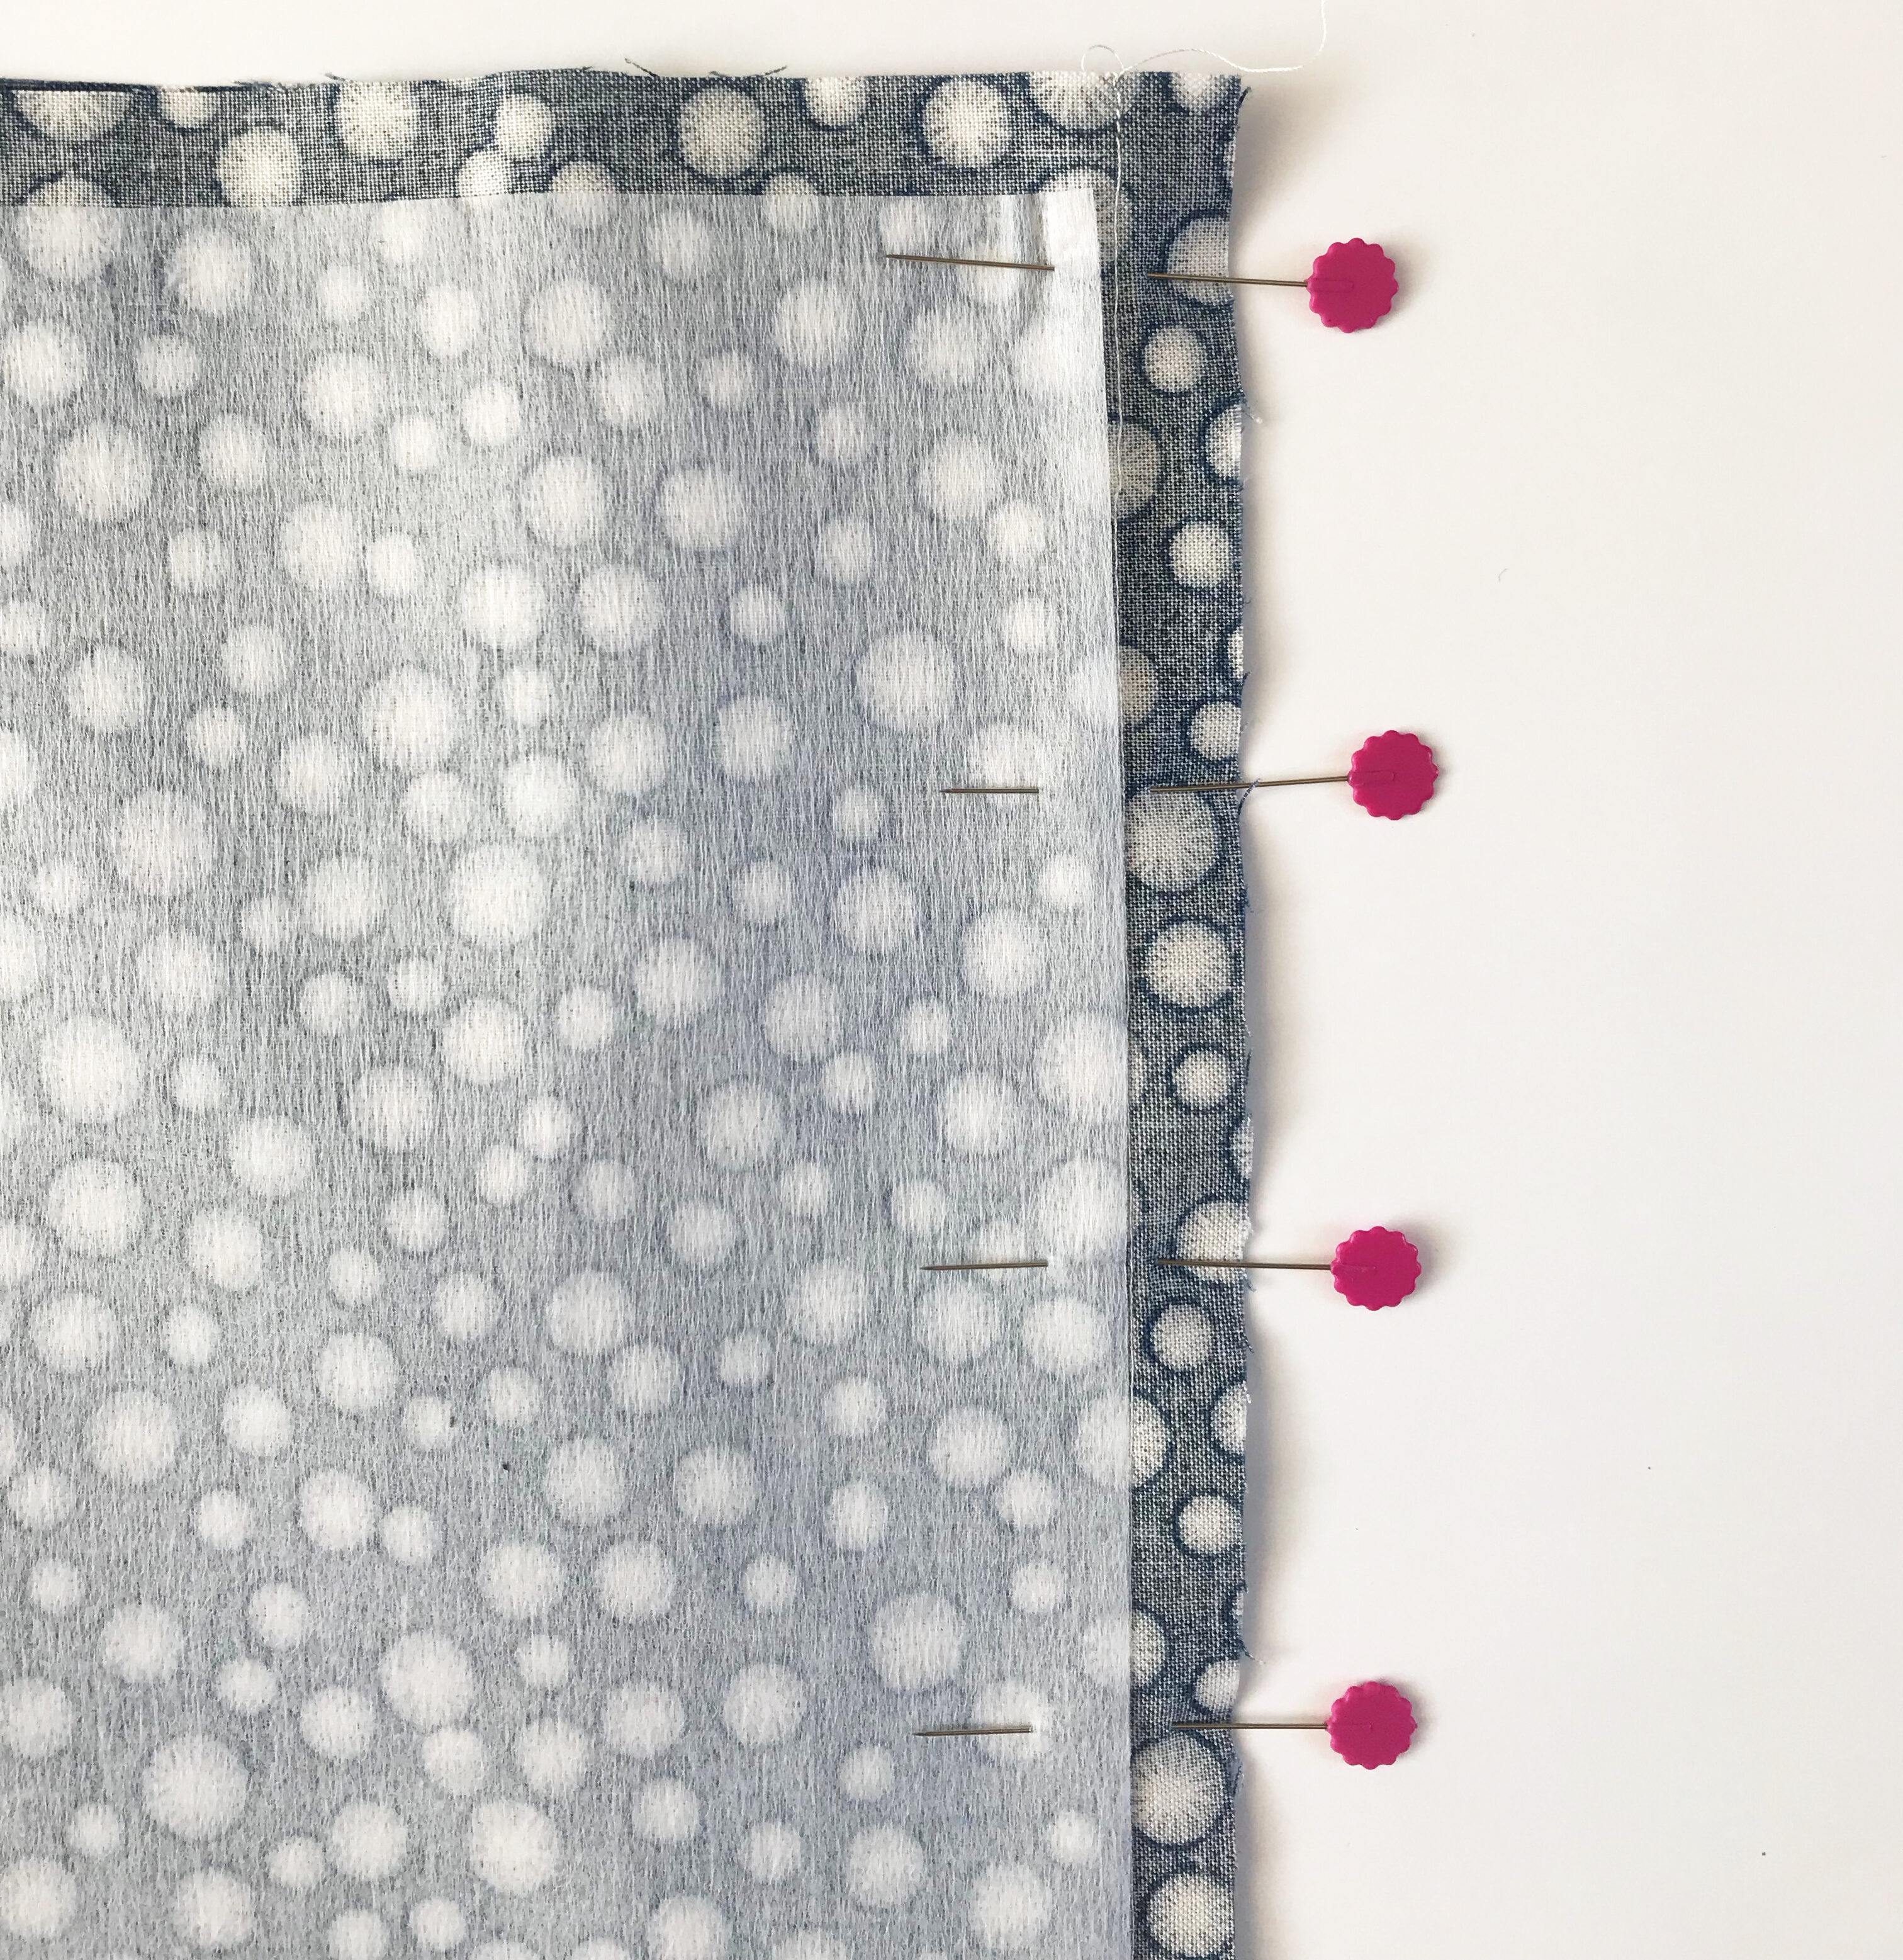
2. Join the outer layers.
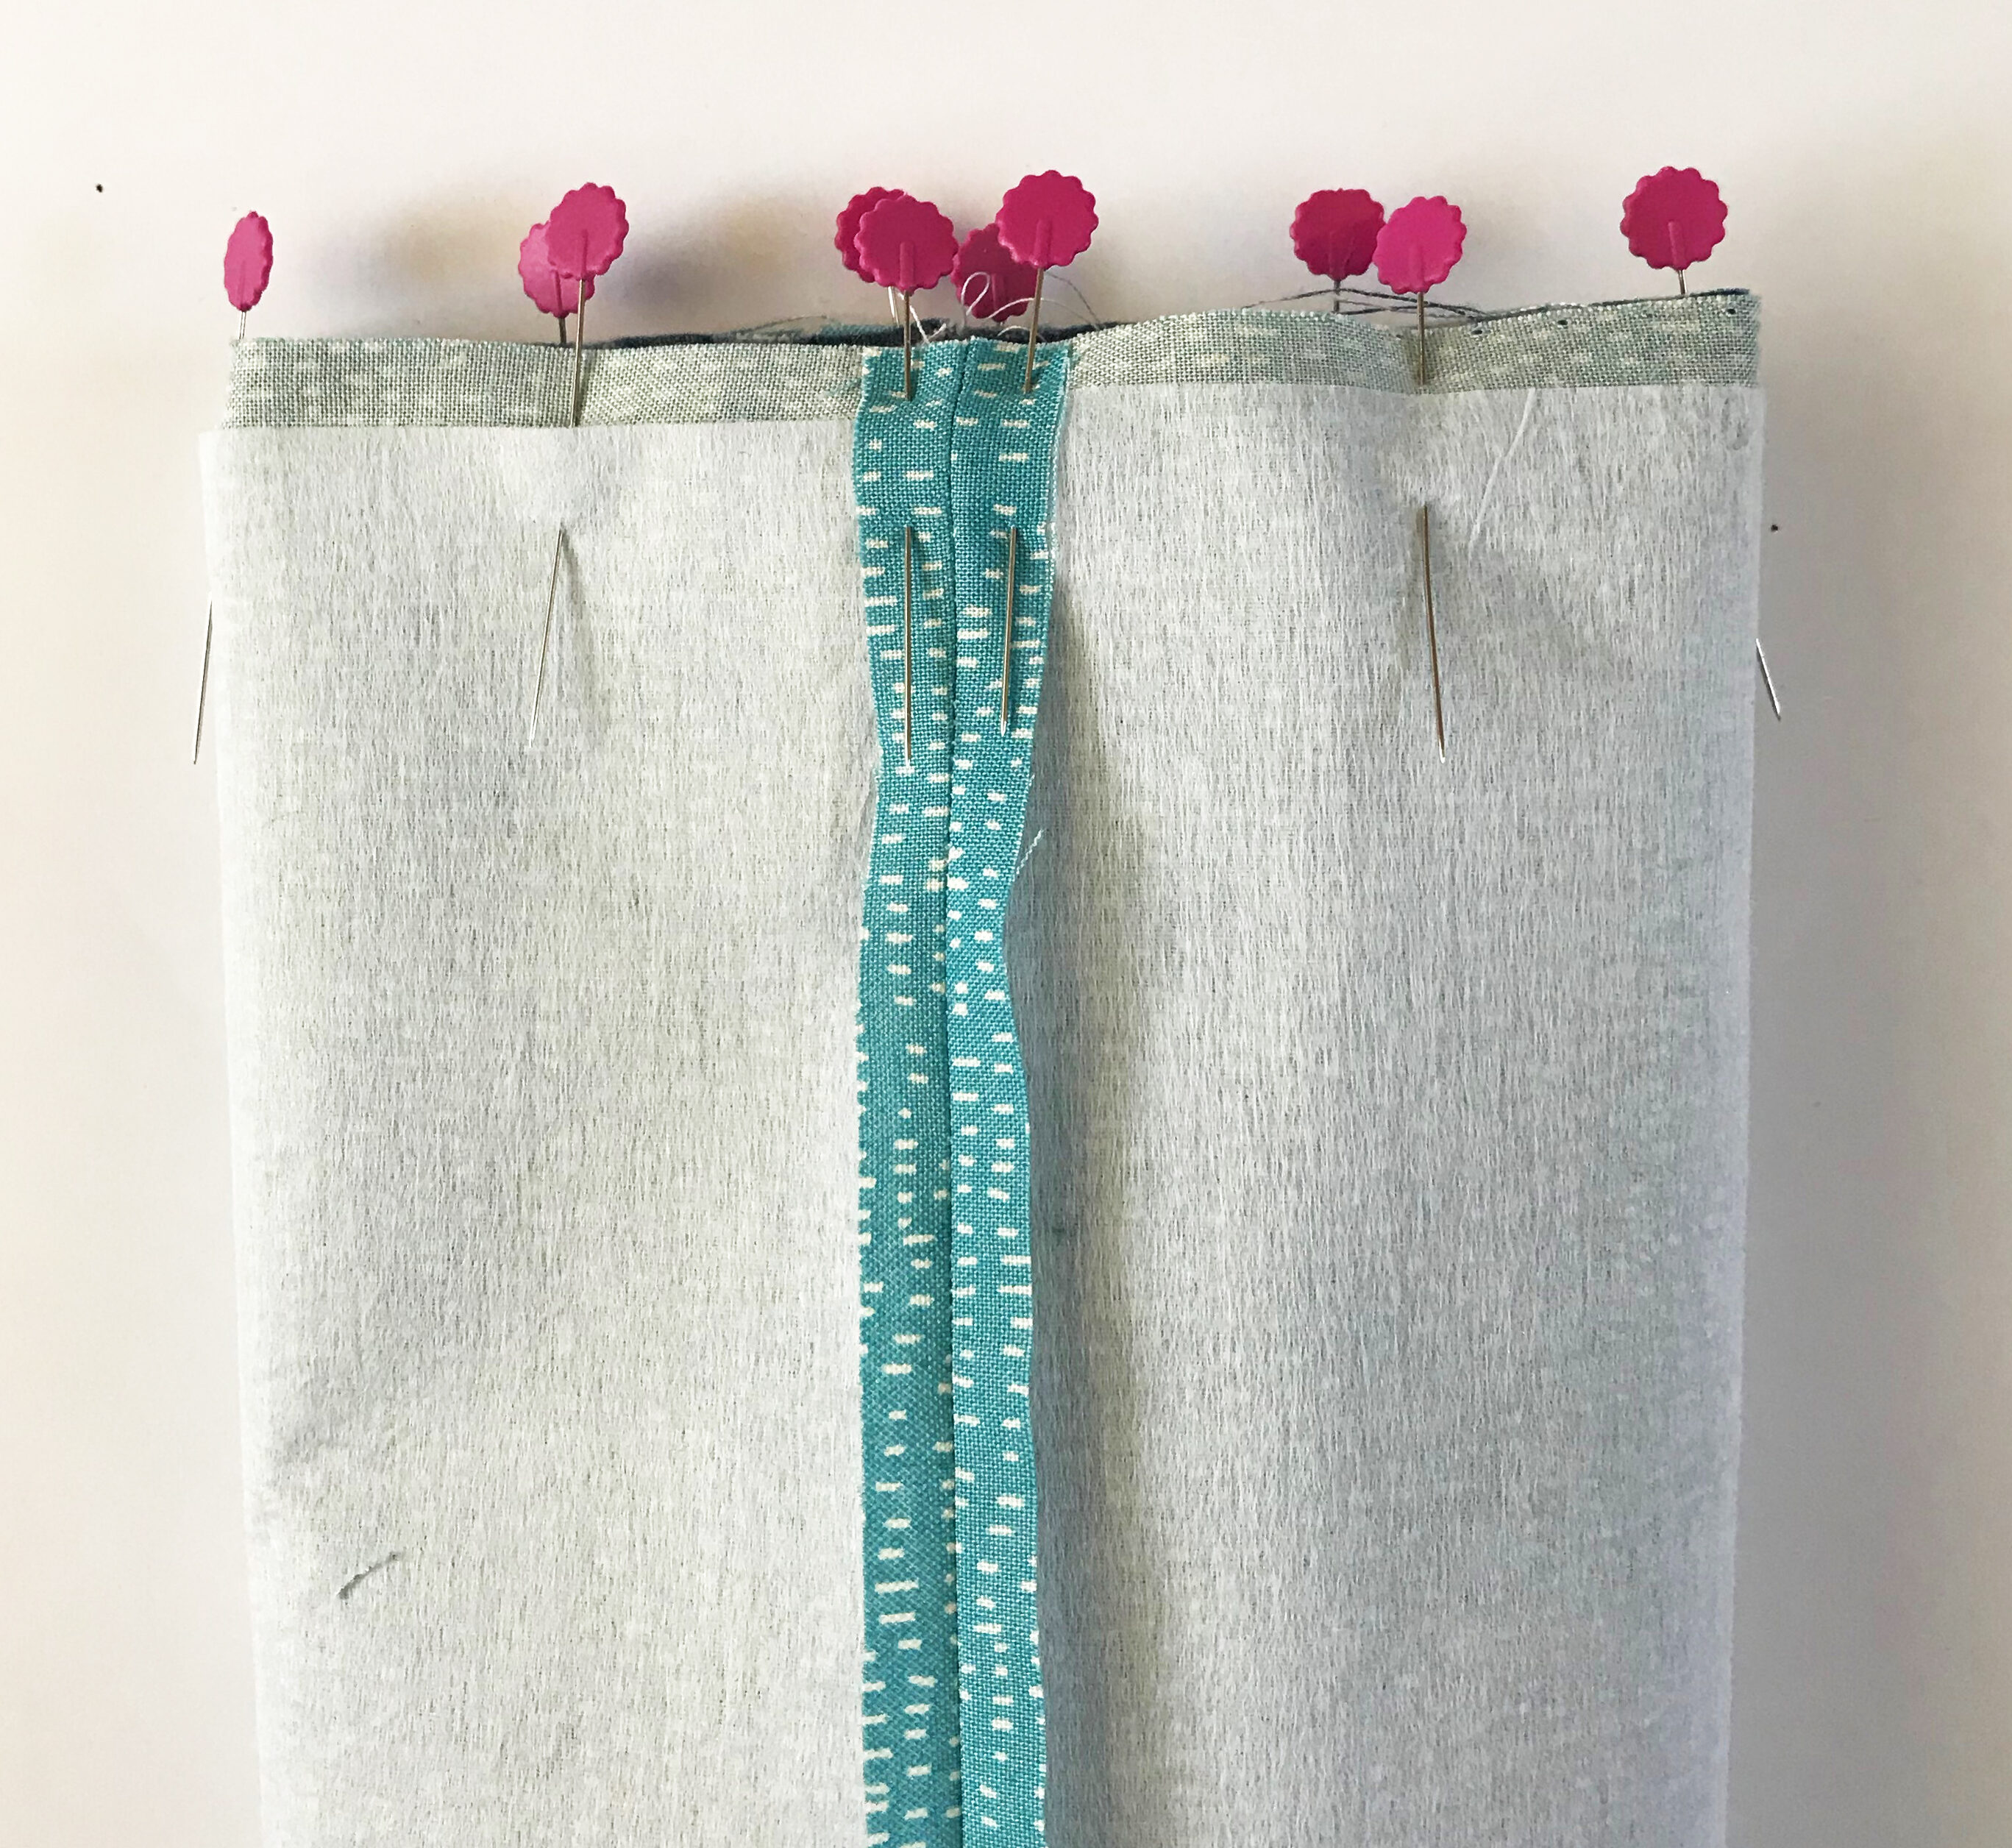
Place the two outer fabric pieces right sides together, and pin both long edges and one short edge. With a 3/8-inch-wide seam allowance, sew around these three sides, pivoting at the corners with the needle down. Press the seam allowances open.
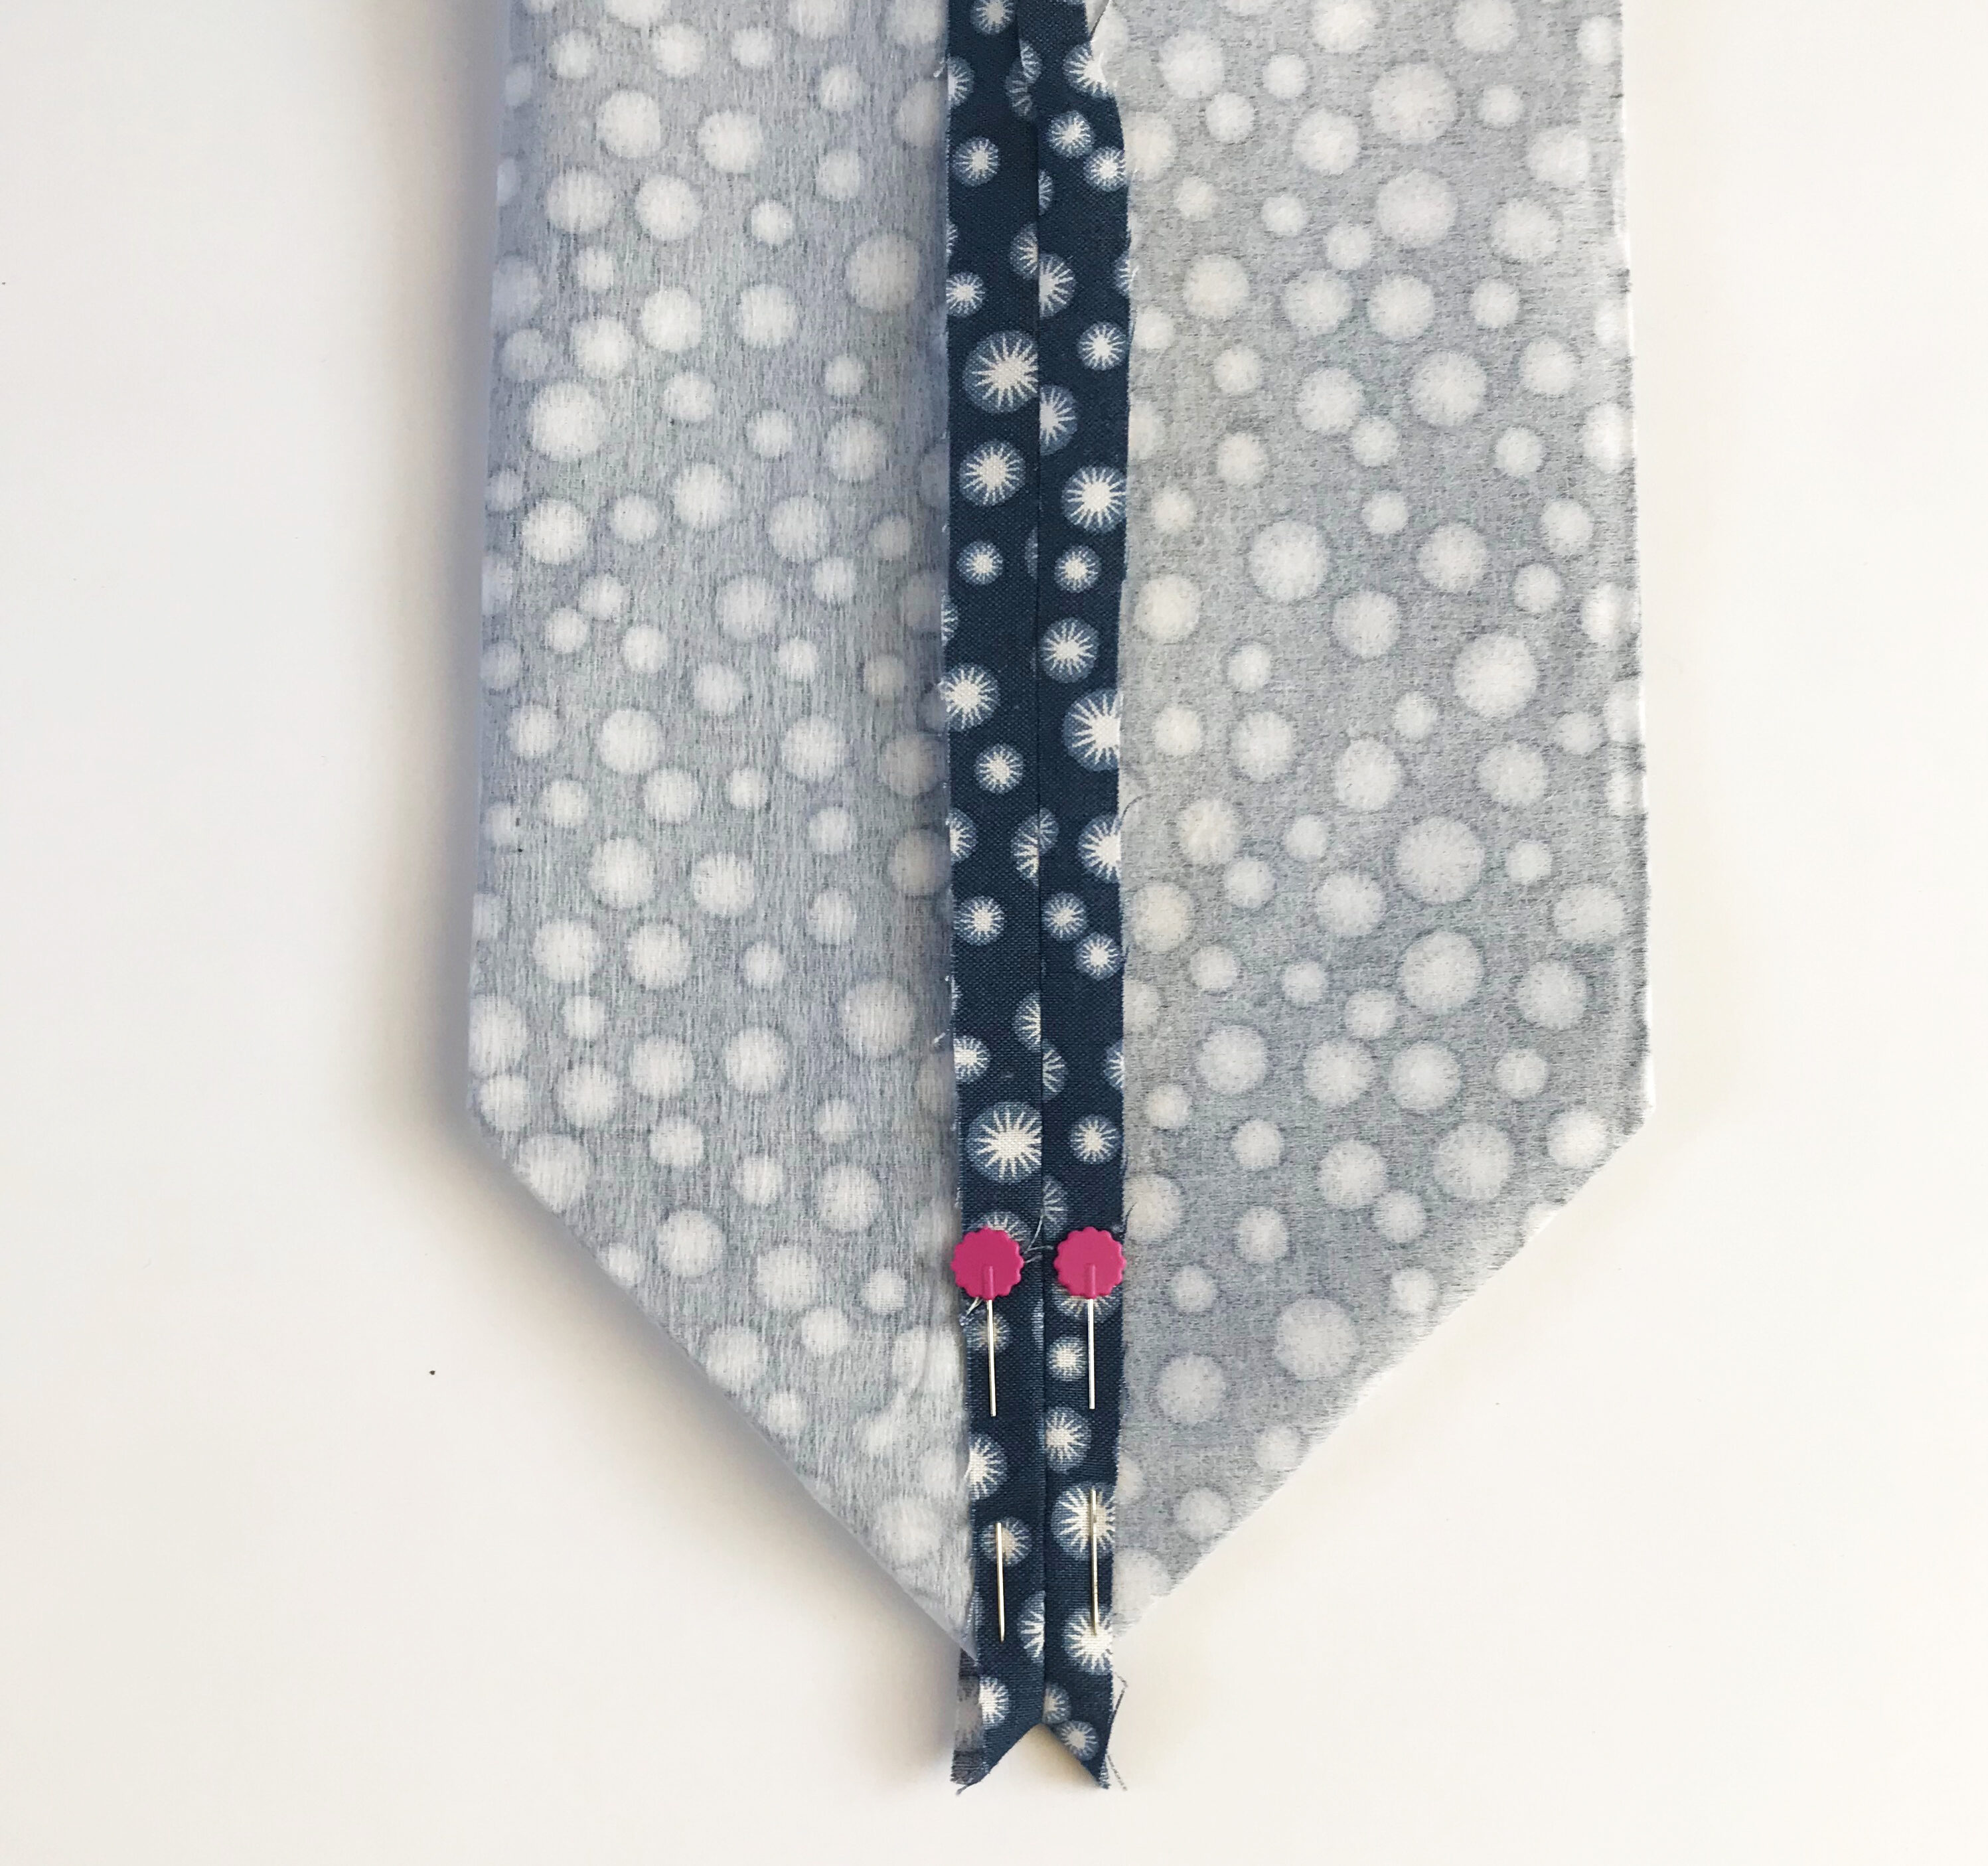
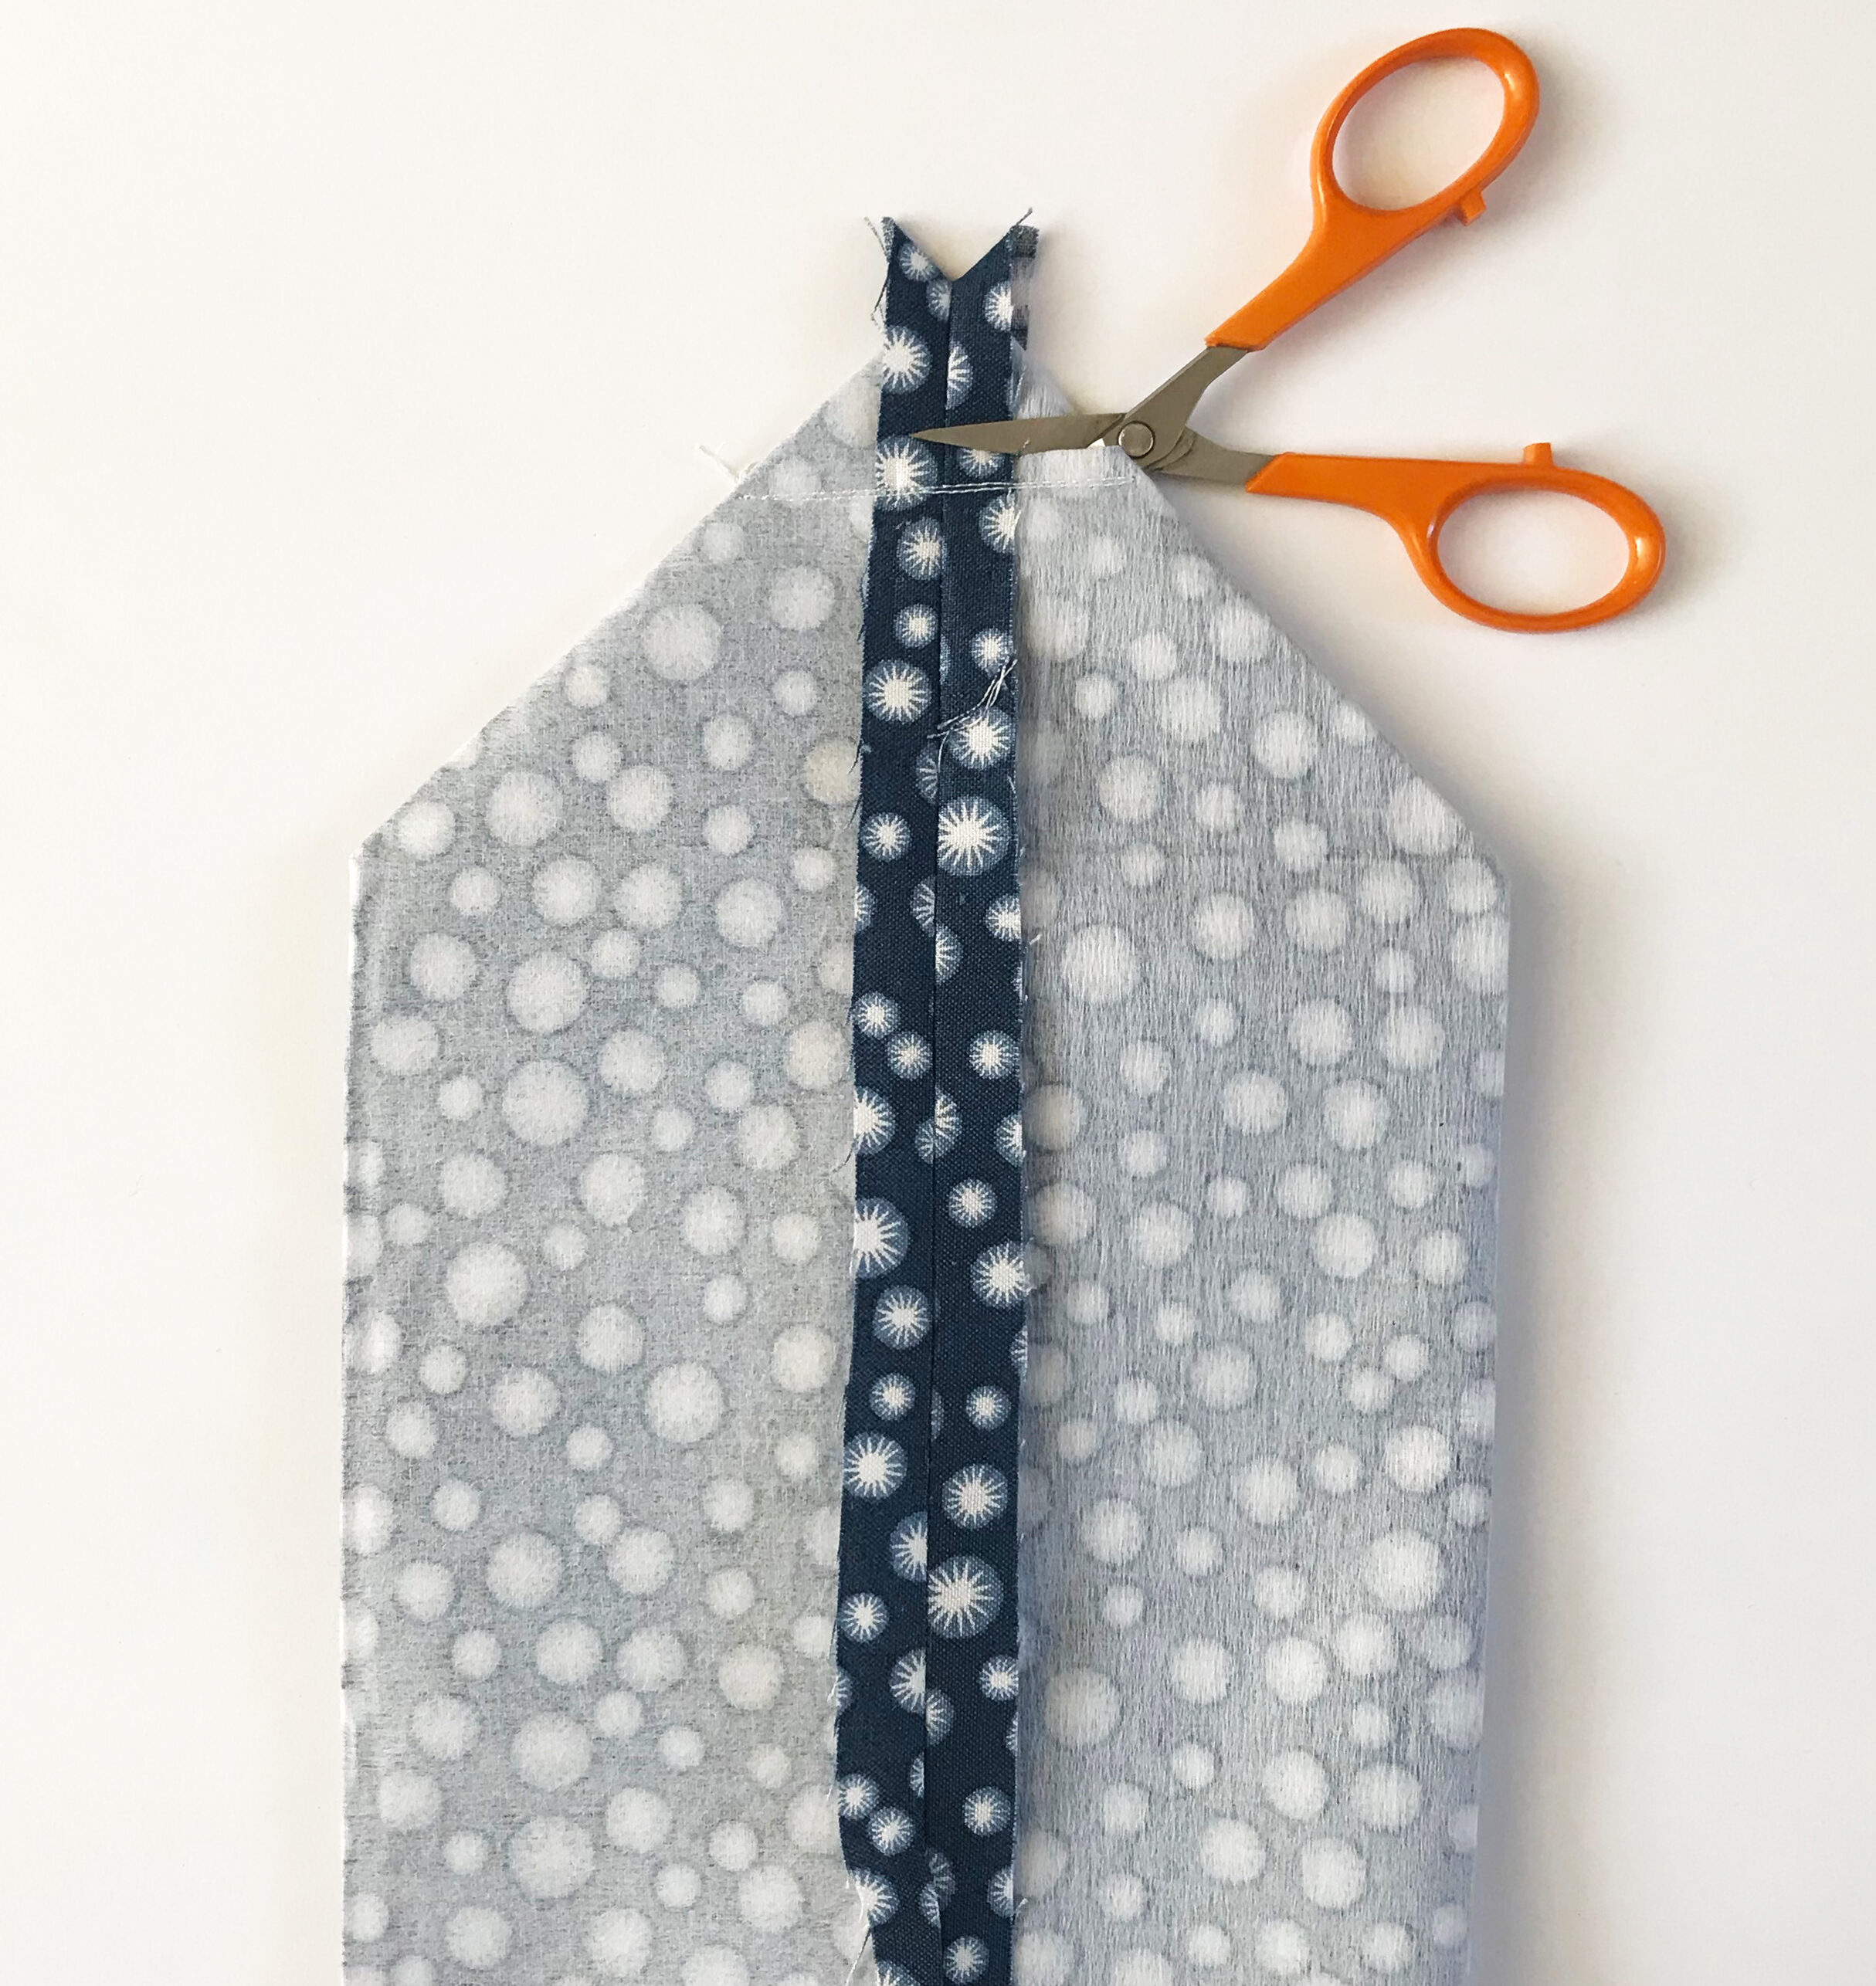
3. Begin the boxed corners.
With the work still inside out, push one hand into one of the bottom corners and push it out before flattening the corner, lining up the side seam with the bottom seam to create a point. Pin to hold this together and give it a press. It is very important to exactly match the seams; this will make the finished corner look smart.
4. Stitch the boxed corner.
Mark the stitching line of the boxed corner with a pen or tailor’s chalk 1 ¼ inch from the tip. Sew across the drawn stitch line several times. Cut the triangular point of the corner off, leaving a 1/4-inch-wide seam allowance.
5. Repeat.
Repeat steps 3 and 4 with the other corner to complete the boxed corners.
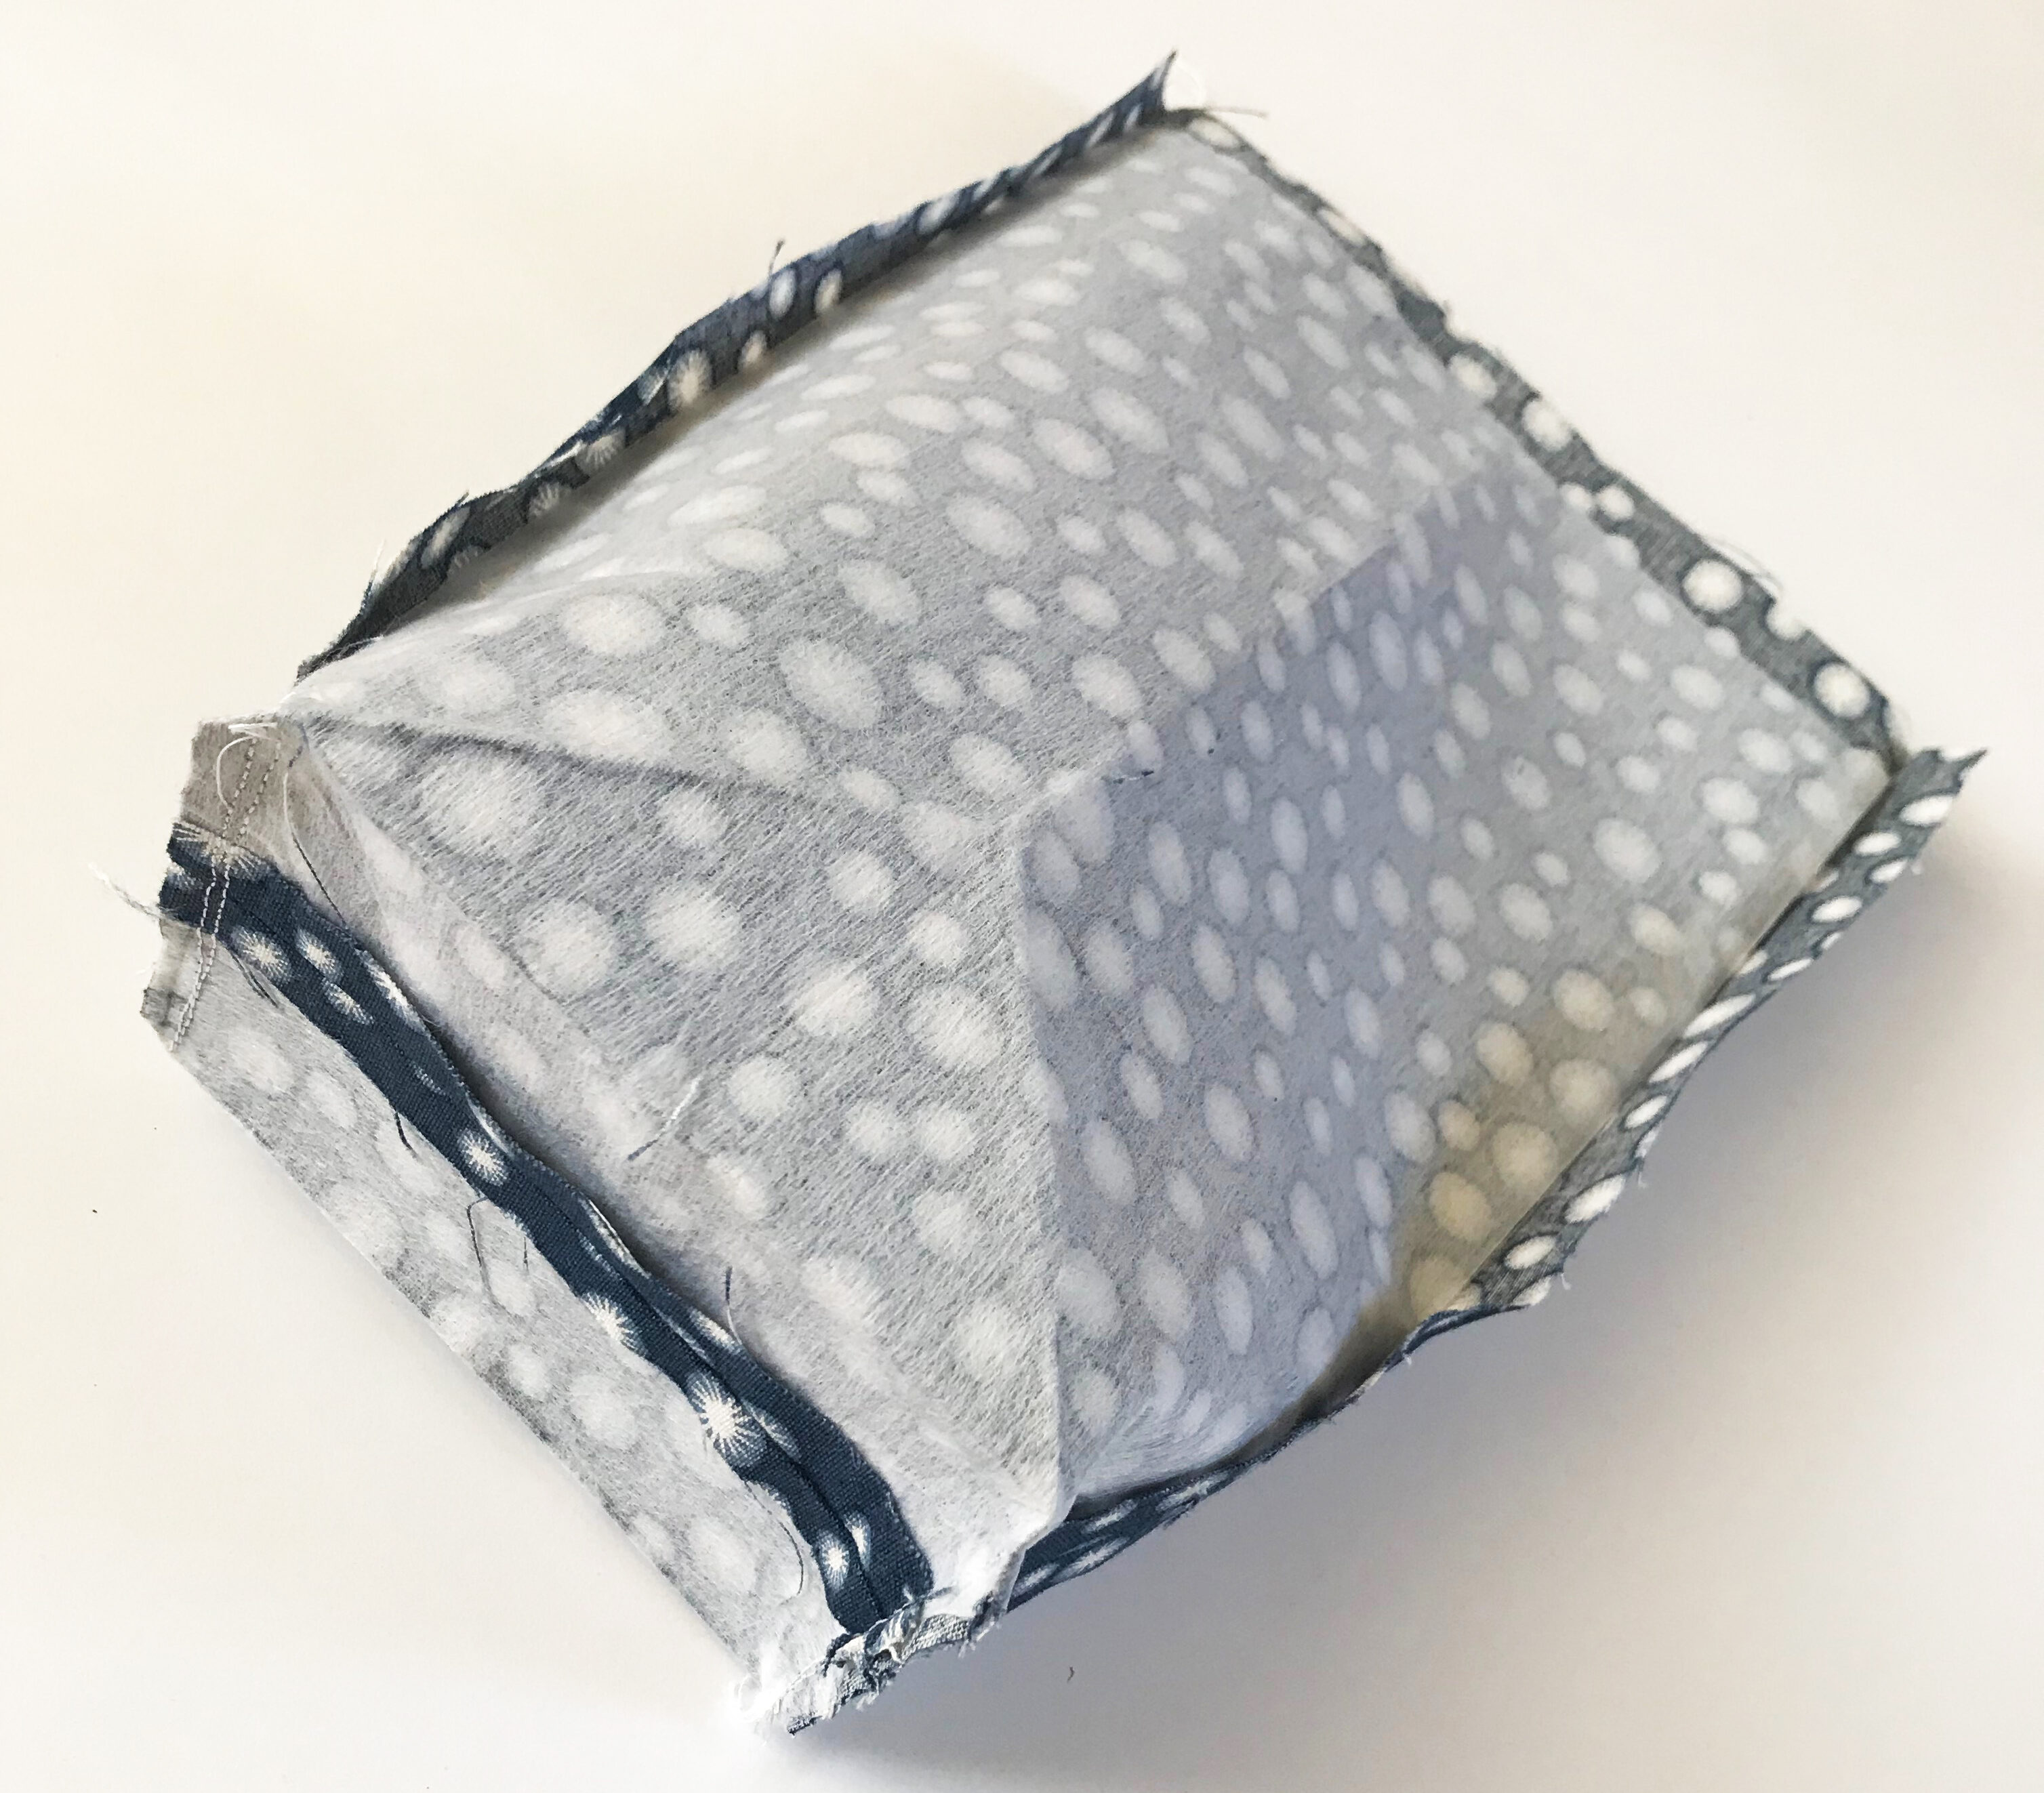
6. Turn your work right side out.
Push out the corners, giving them a quick press.
Assemble the lining
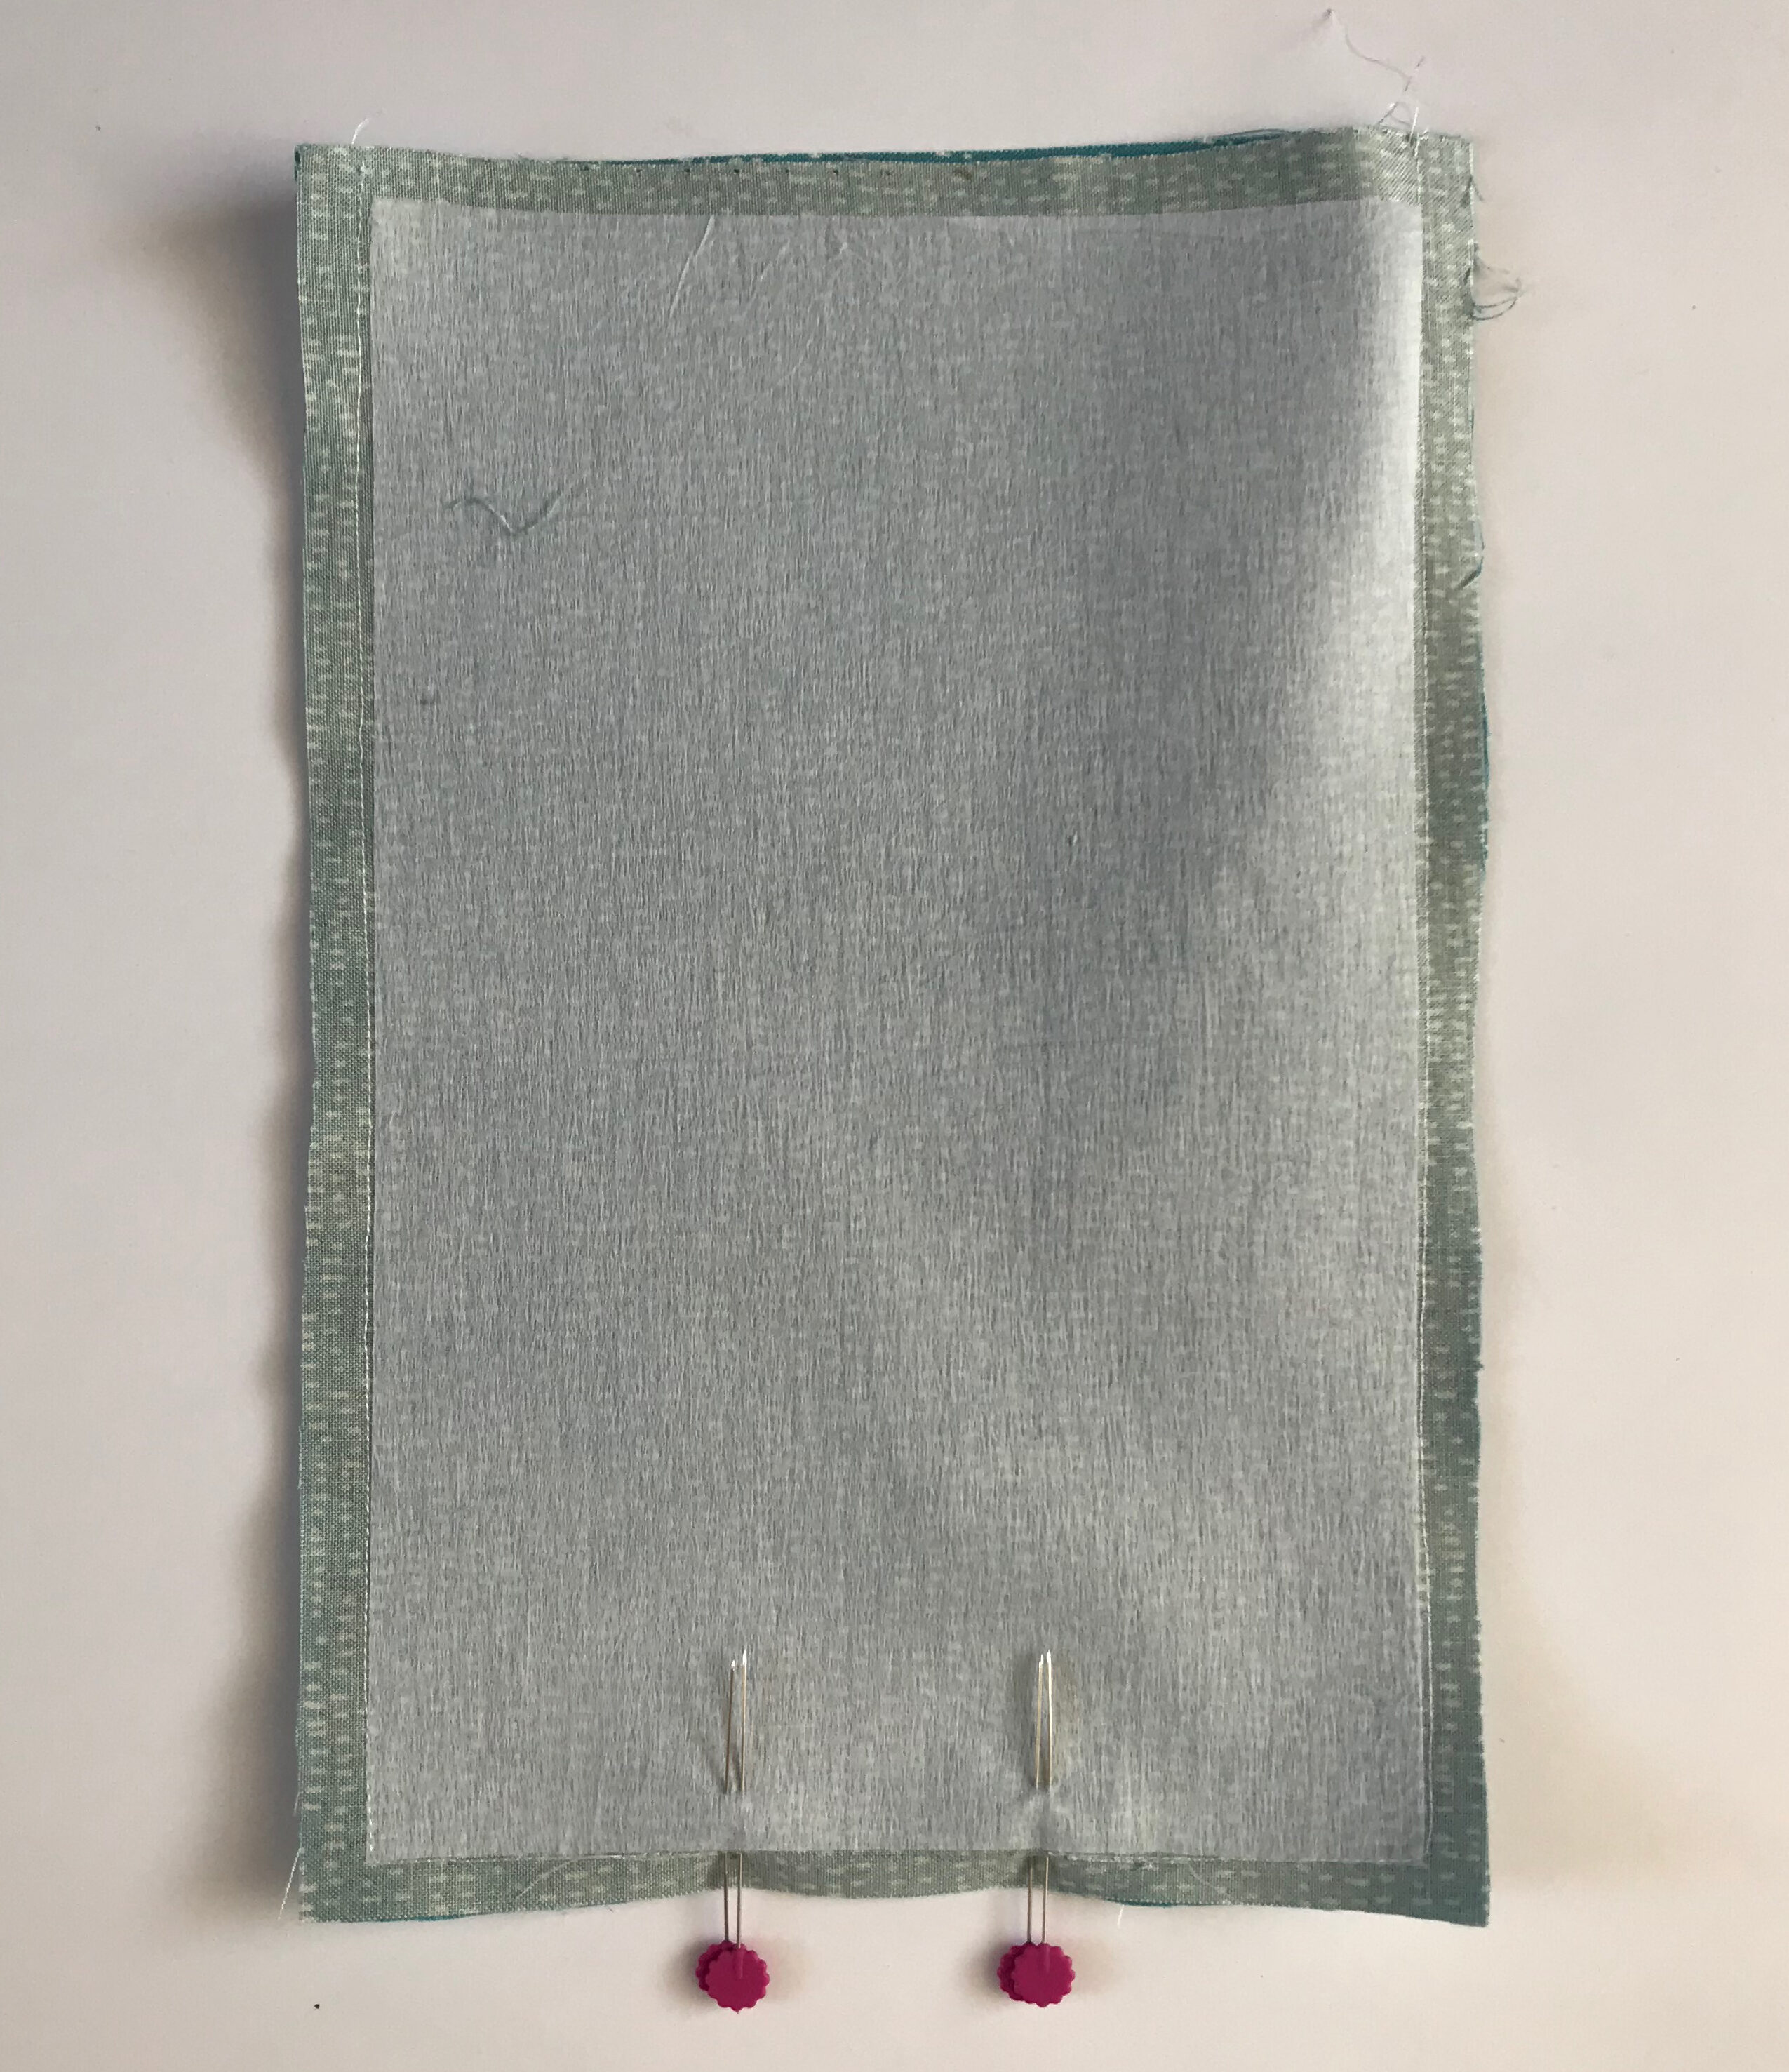
7. Repeat step 2 with the two pieces of lining fabric.
This time leave the turning gap on the bottom edge as indicated on the template. Backstitch at either side of the gap for extra strength.
8. Box the lining corners.
Repeat steps 3 and 4 with the lining pieces.
Stitch together the outer bag and lining
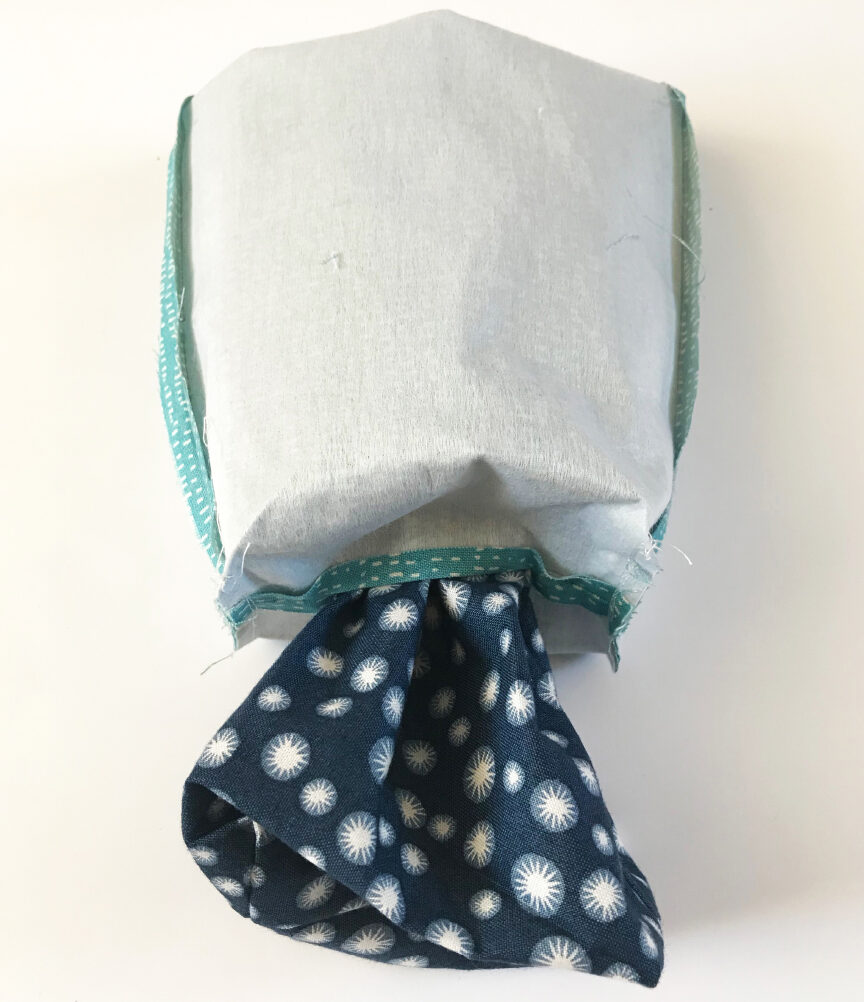
9. With the lining still wrong side out, place the outer bag inside the lining.
Be sure the two pieces are right sides together. Push the two layers so the bottom corners fit snugly inside each other. Align the top raw edges, matching the side seams, and pin or baste. Stitch the top edge, using a 3/8-inch-wide seam allowance.
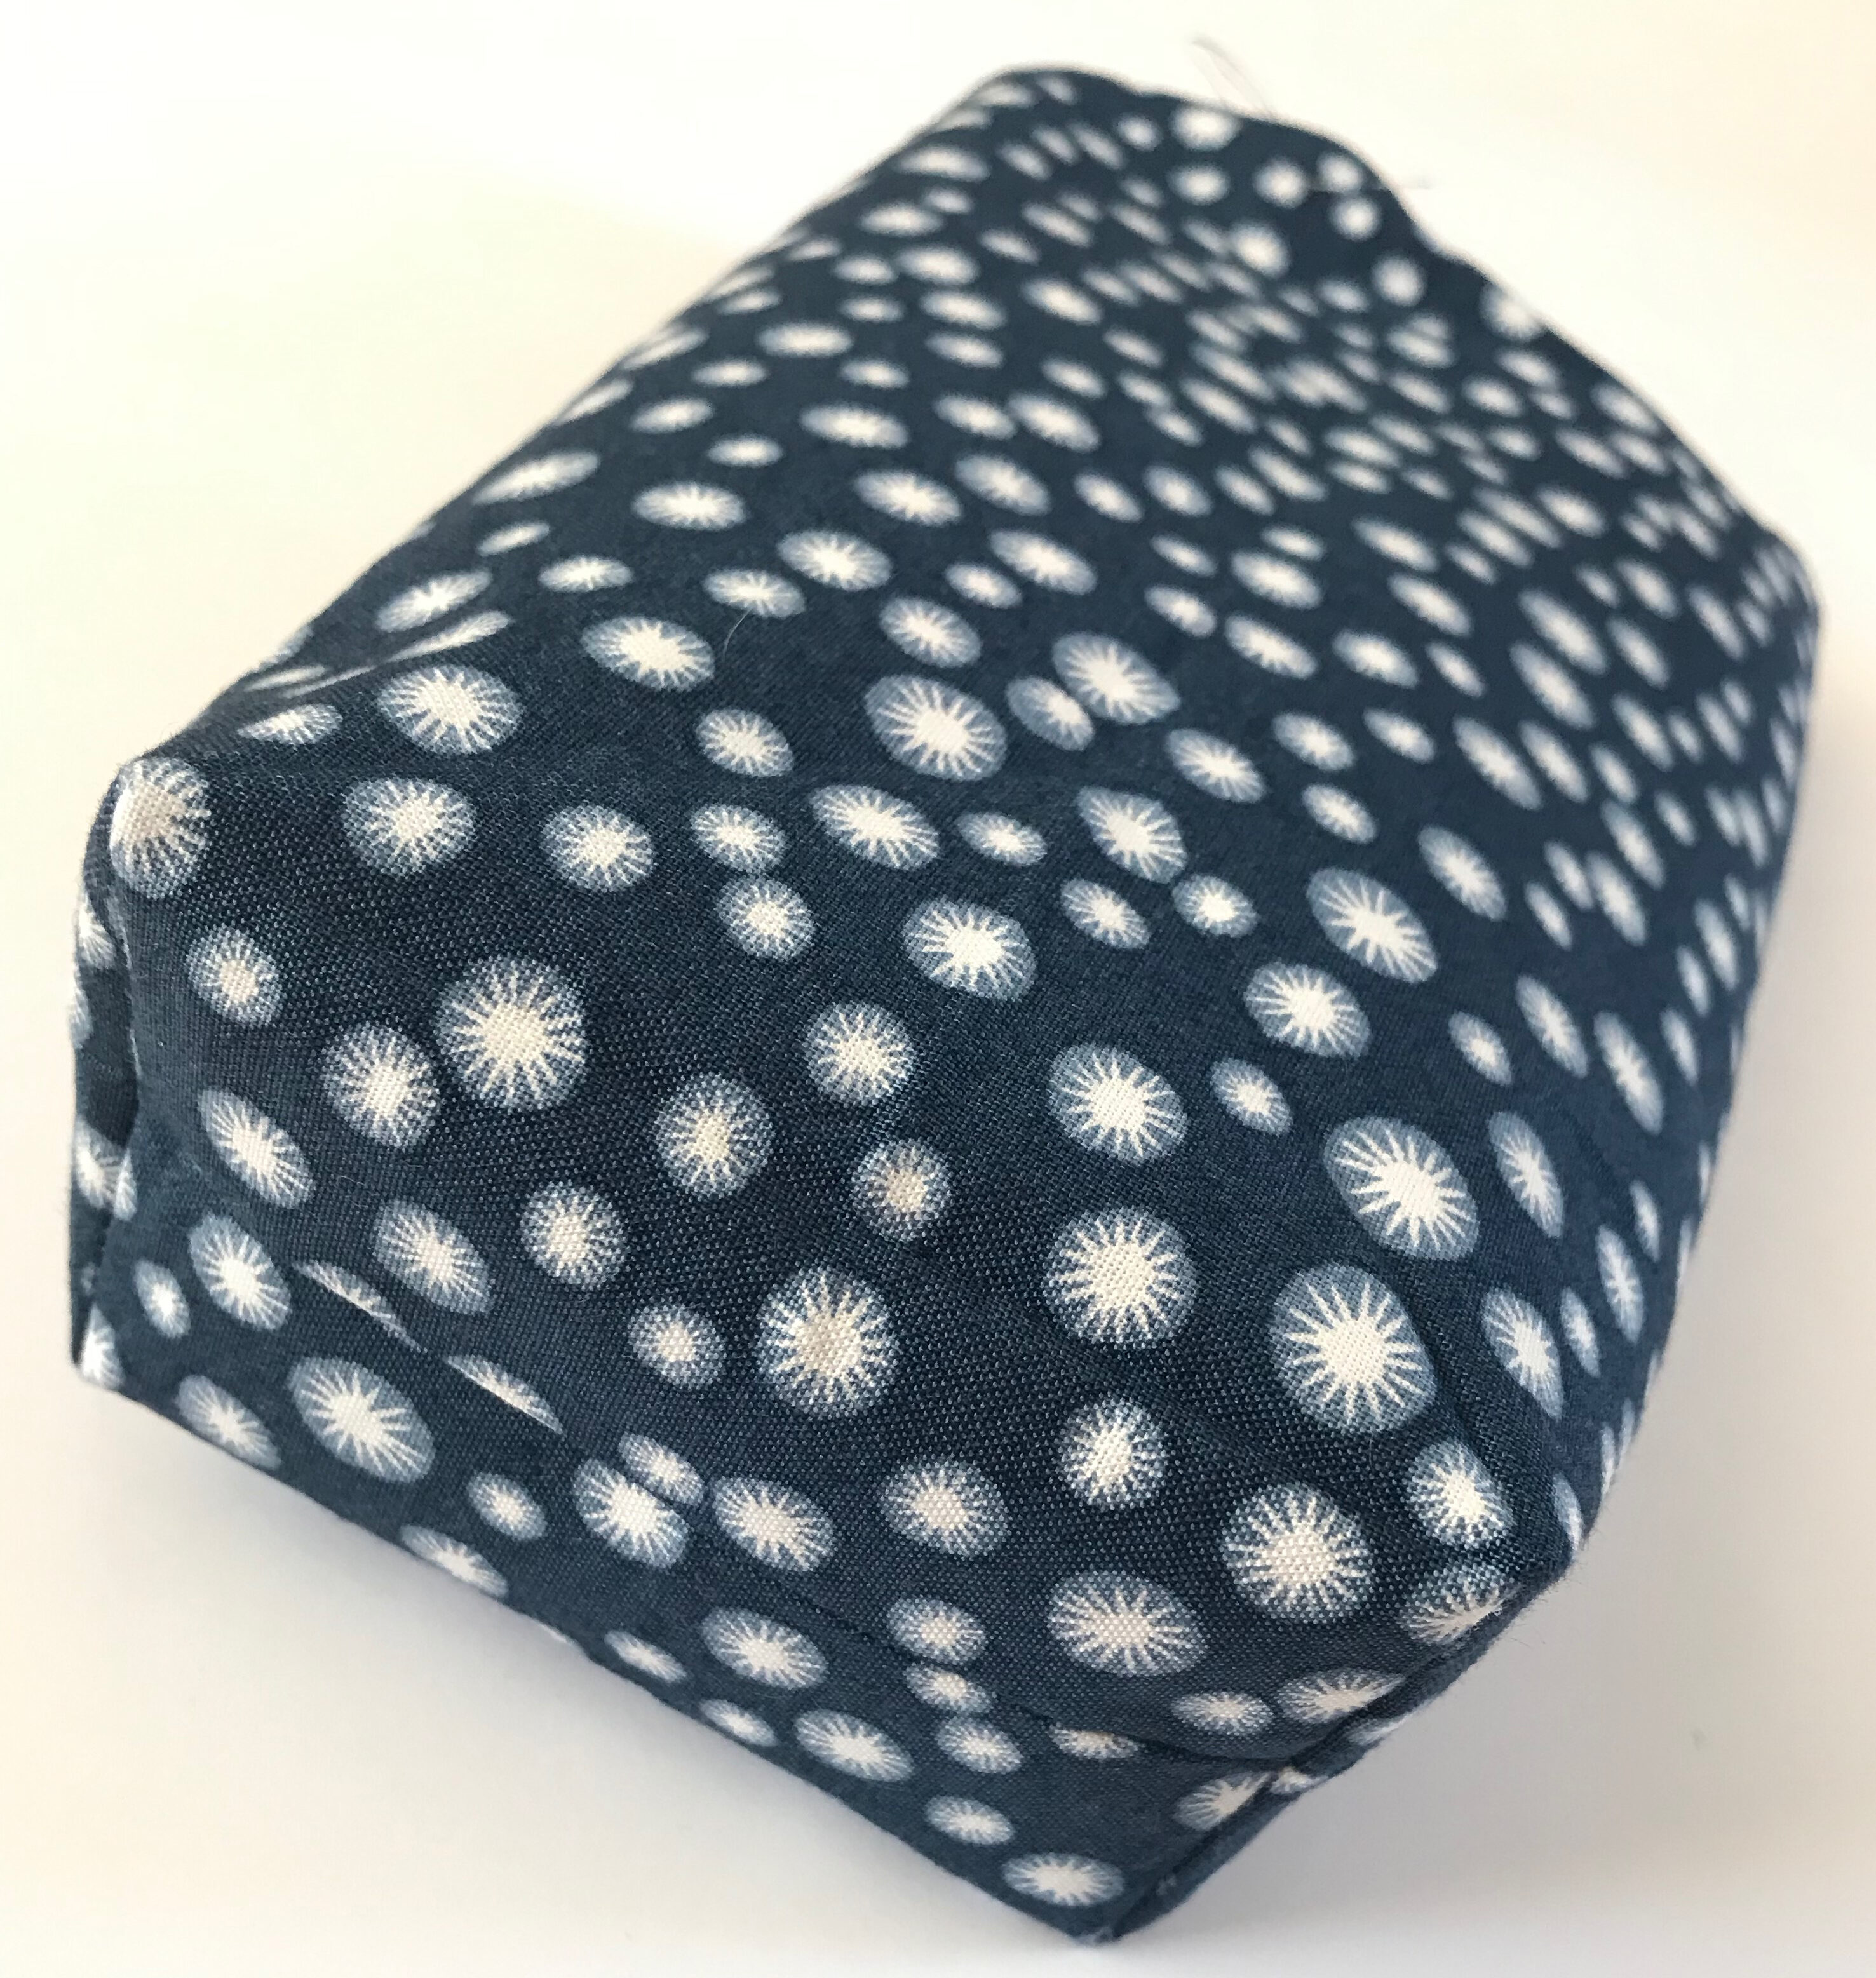
10. The the bag right side out.
Pull the outer layer gently through the turning gap in the lining, and leave the lining extending out of the bag.
11. Close the turning gap.
At the base of the lining, turn the seam allowances to the wrong side and hand-sew the opening closed, with a small whipstitch or slipstitch.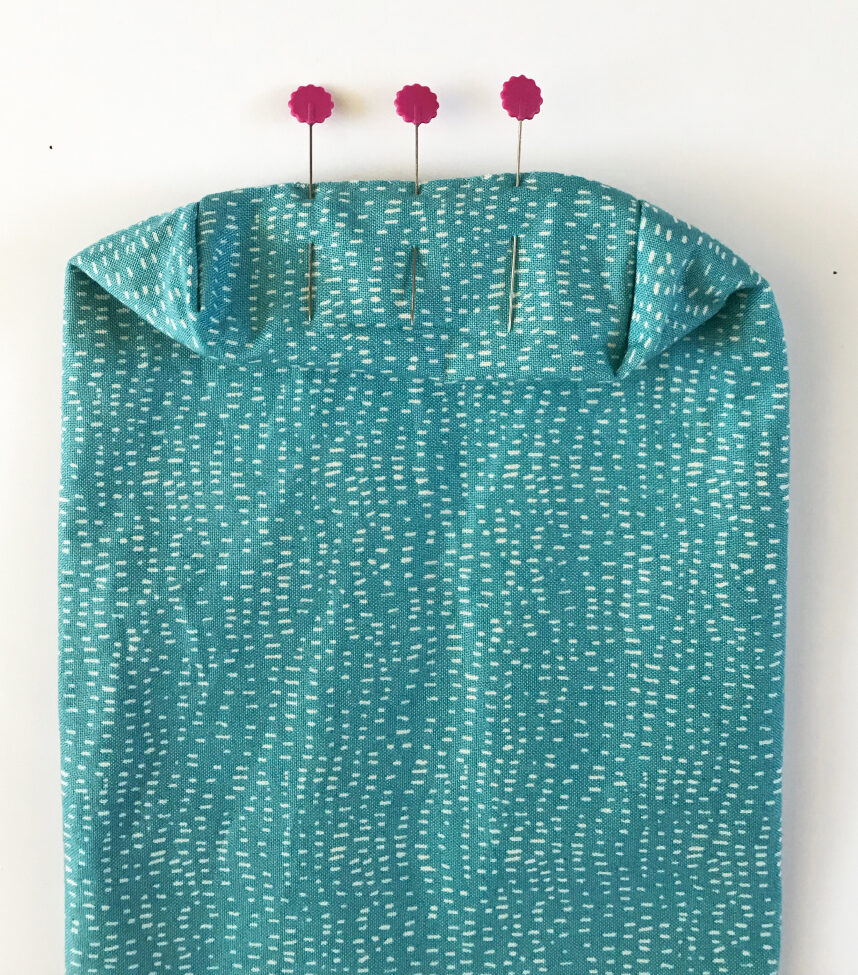
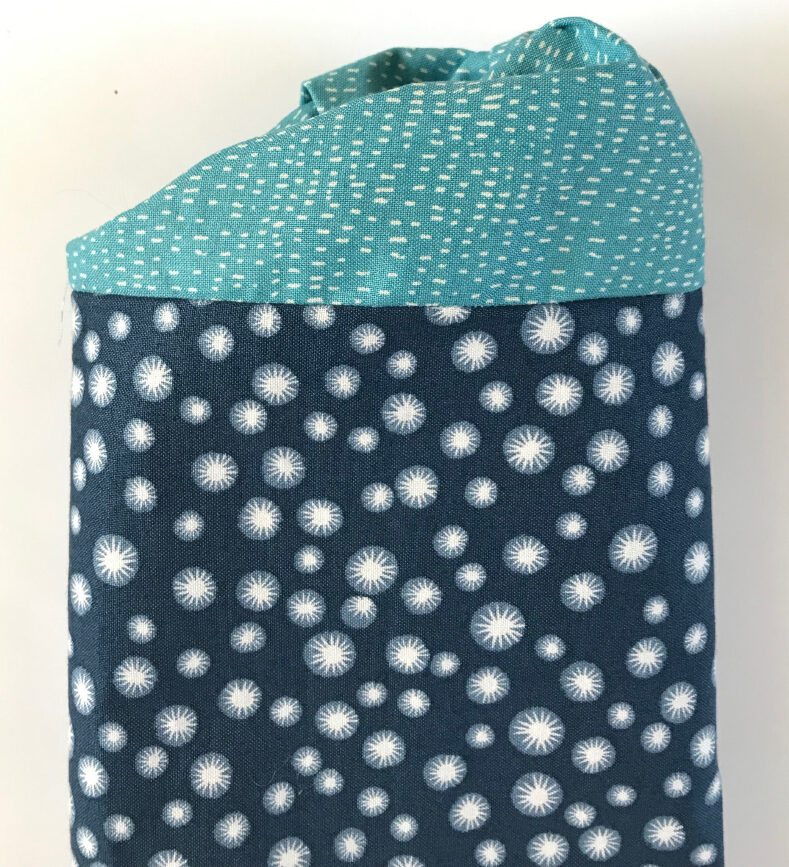
12. Push the lining into the bag.
Nest the lining’s corners within the bag’s corners.
13. Finesse the upper edge.
Manipulate the seam at the top of your bag to make it nice and crisp. Pin or baste in place.

14. Topstitch.
Carefully stitch around the top, 1/8 inch from the edge.

15. Press the bag.
Press it smooth, then press in creases that imitate the folds of a standard brown paper grocery bag.
16. Attach the first button.
Sew one button to the center of one side of the bag, 7/8 inch from the top edge. Center it on the bag’s width.
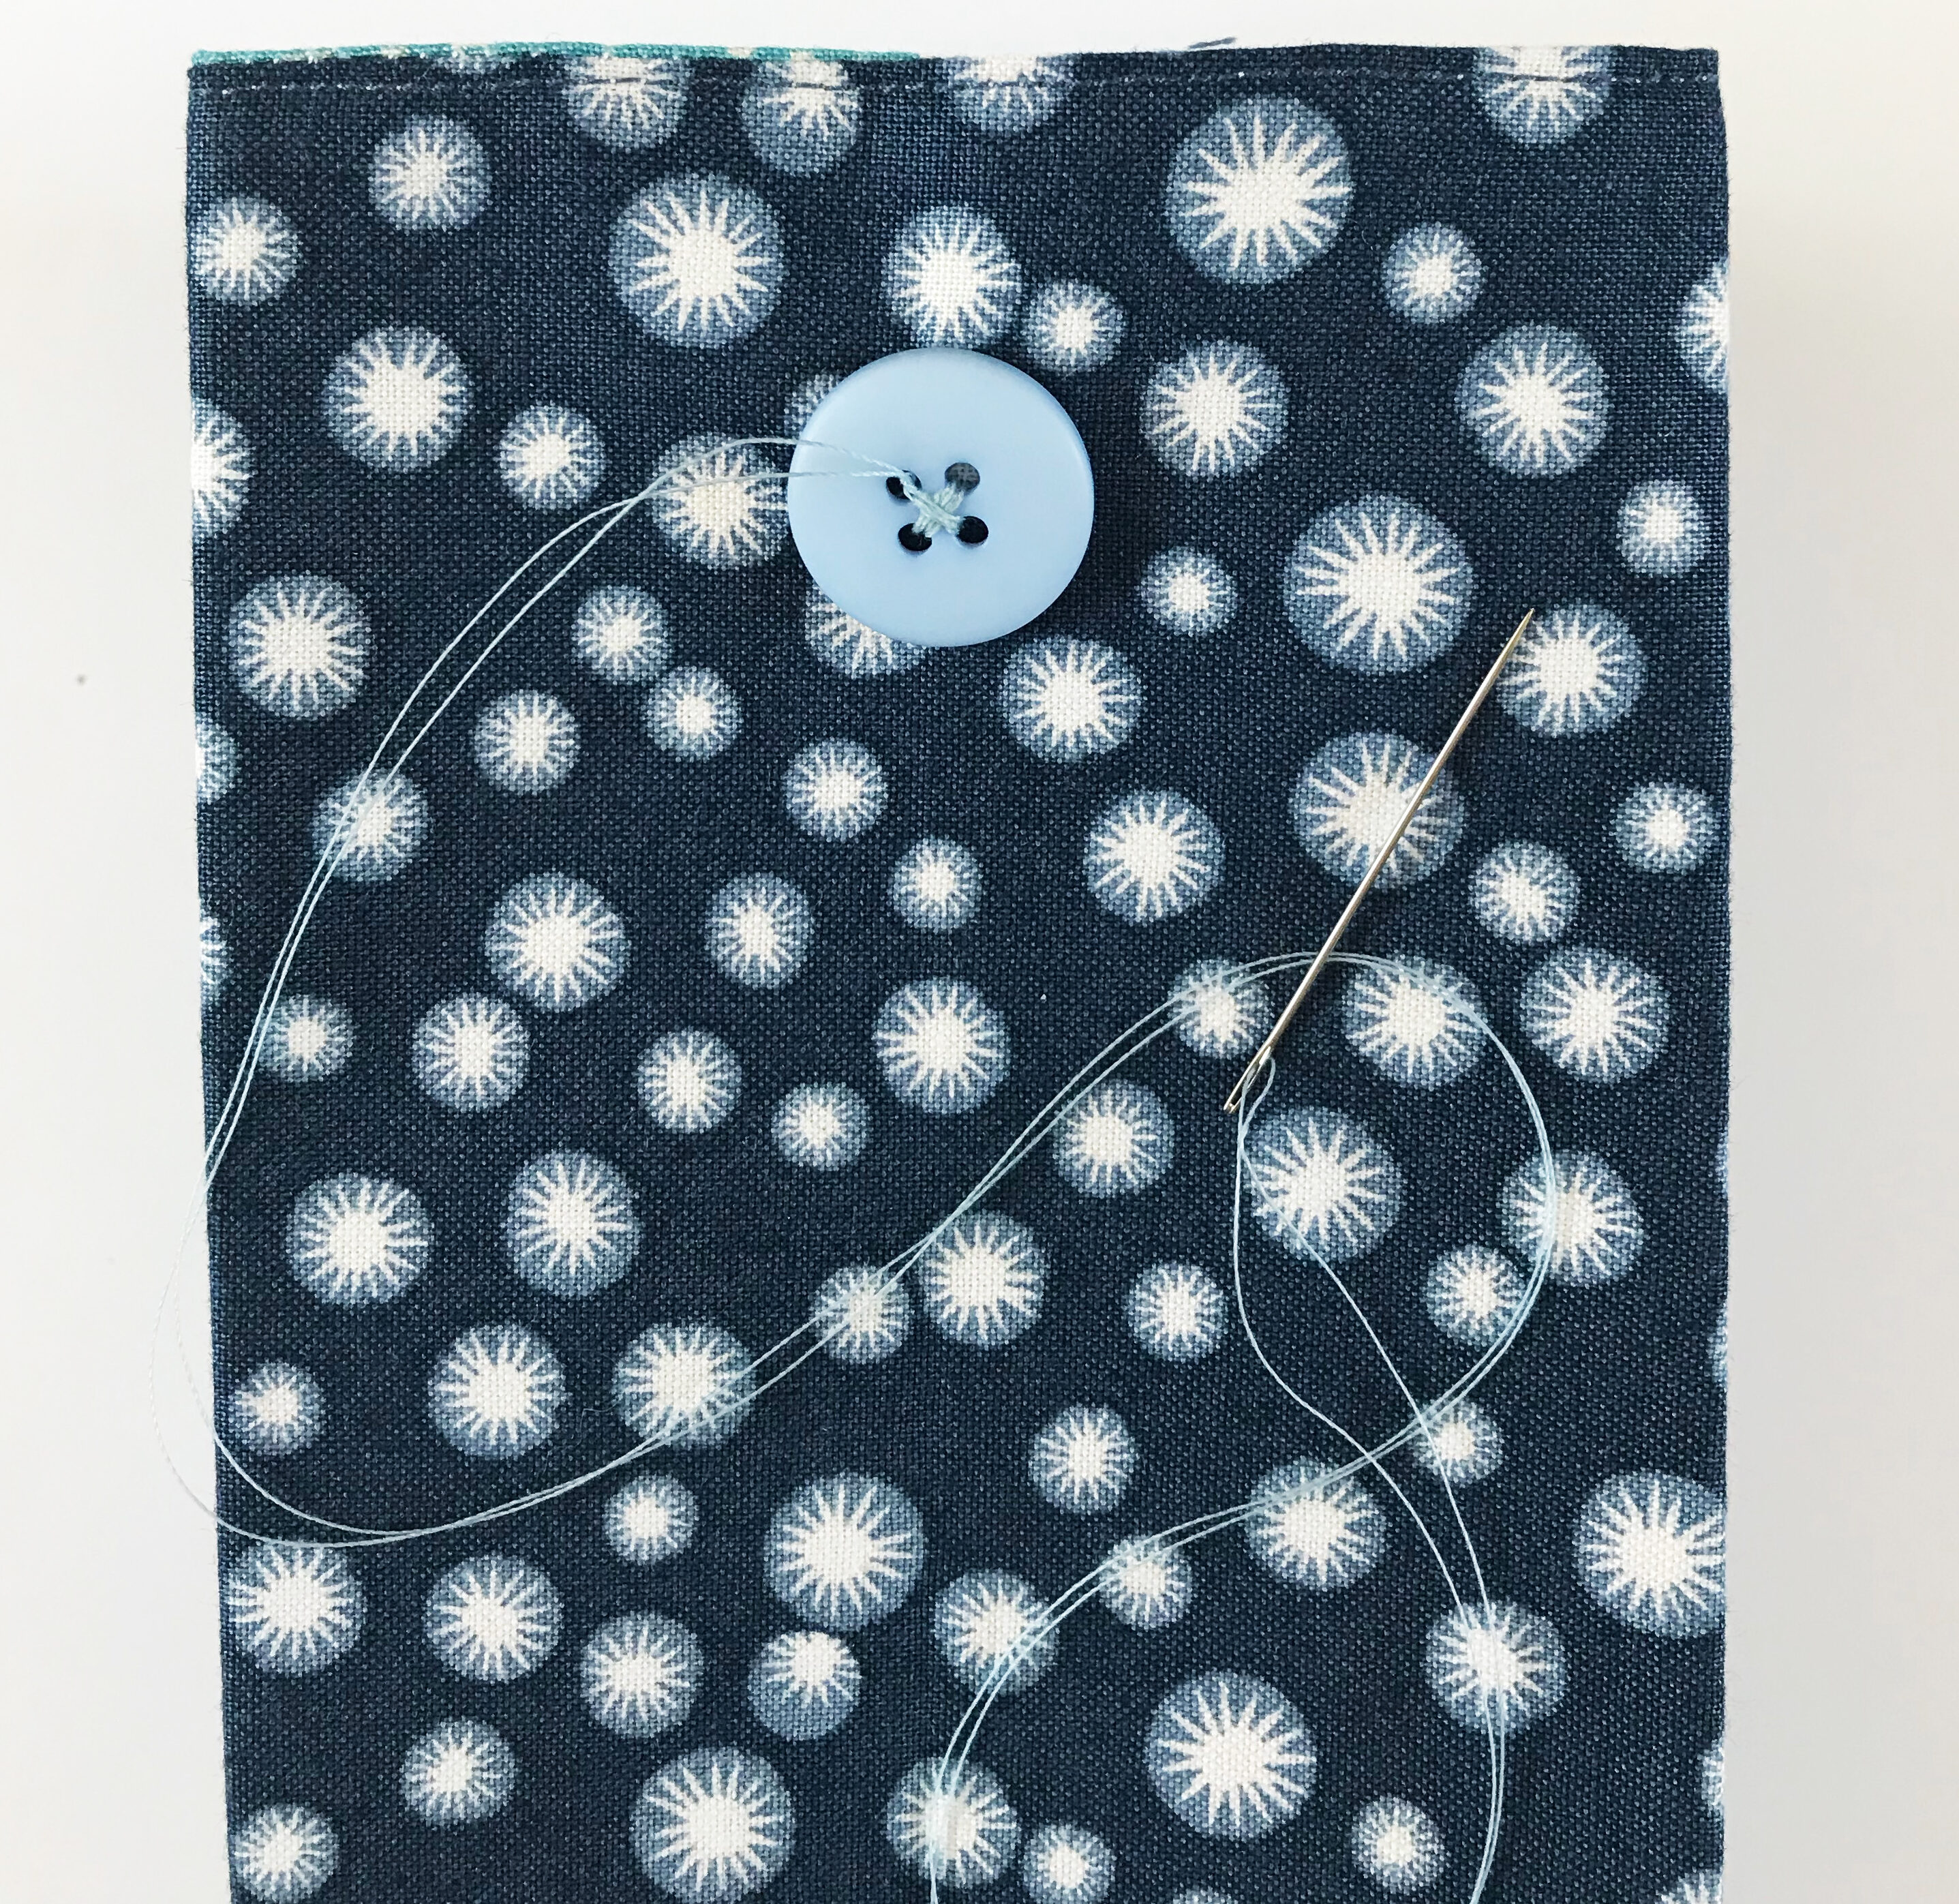
17. Attach the second button.
Turn the bag over and stitch the other button on, centered on the width and 3 7/8 inch from the top edge.
18. Make the tie.
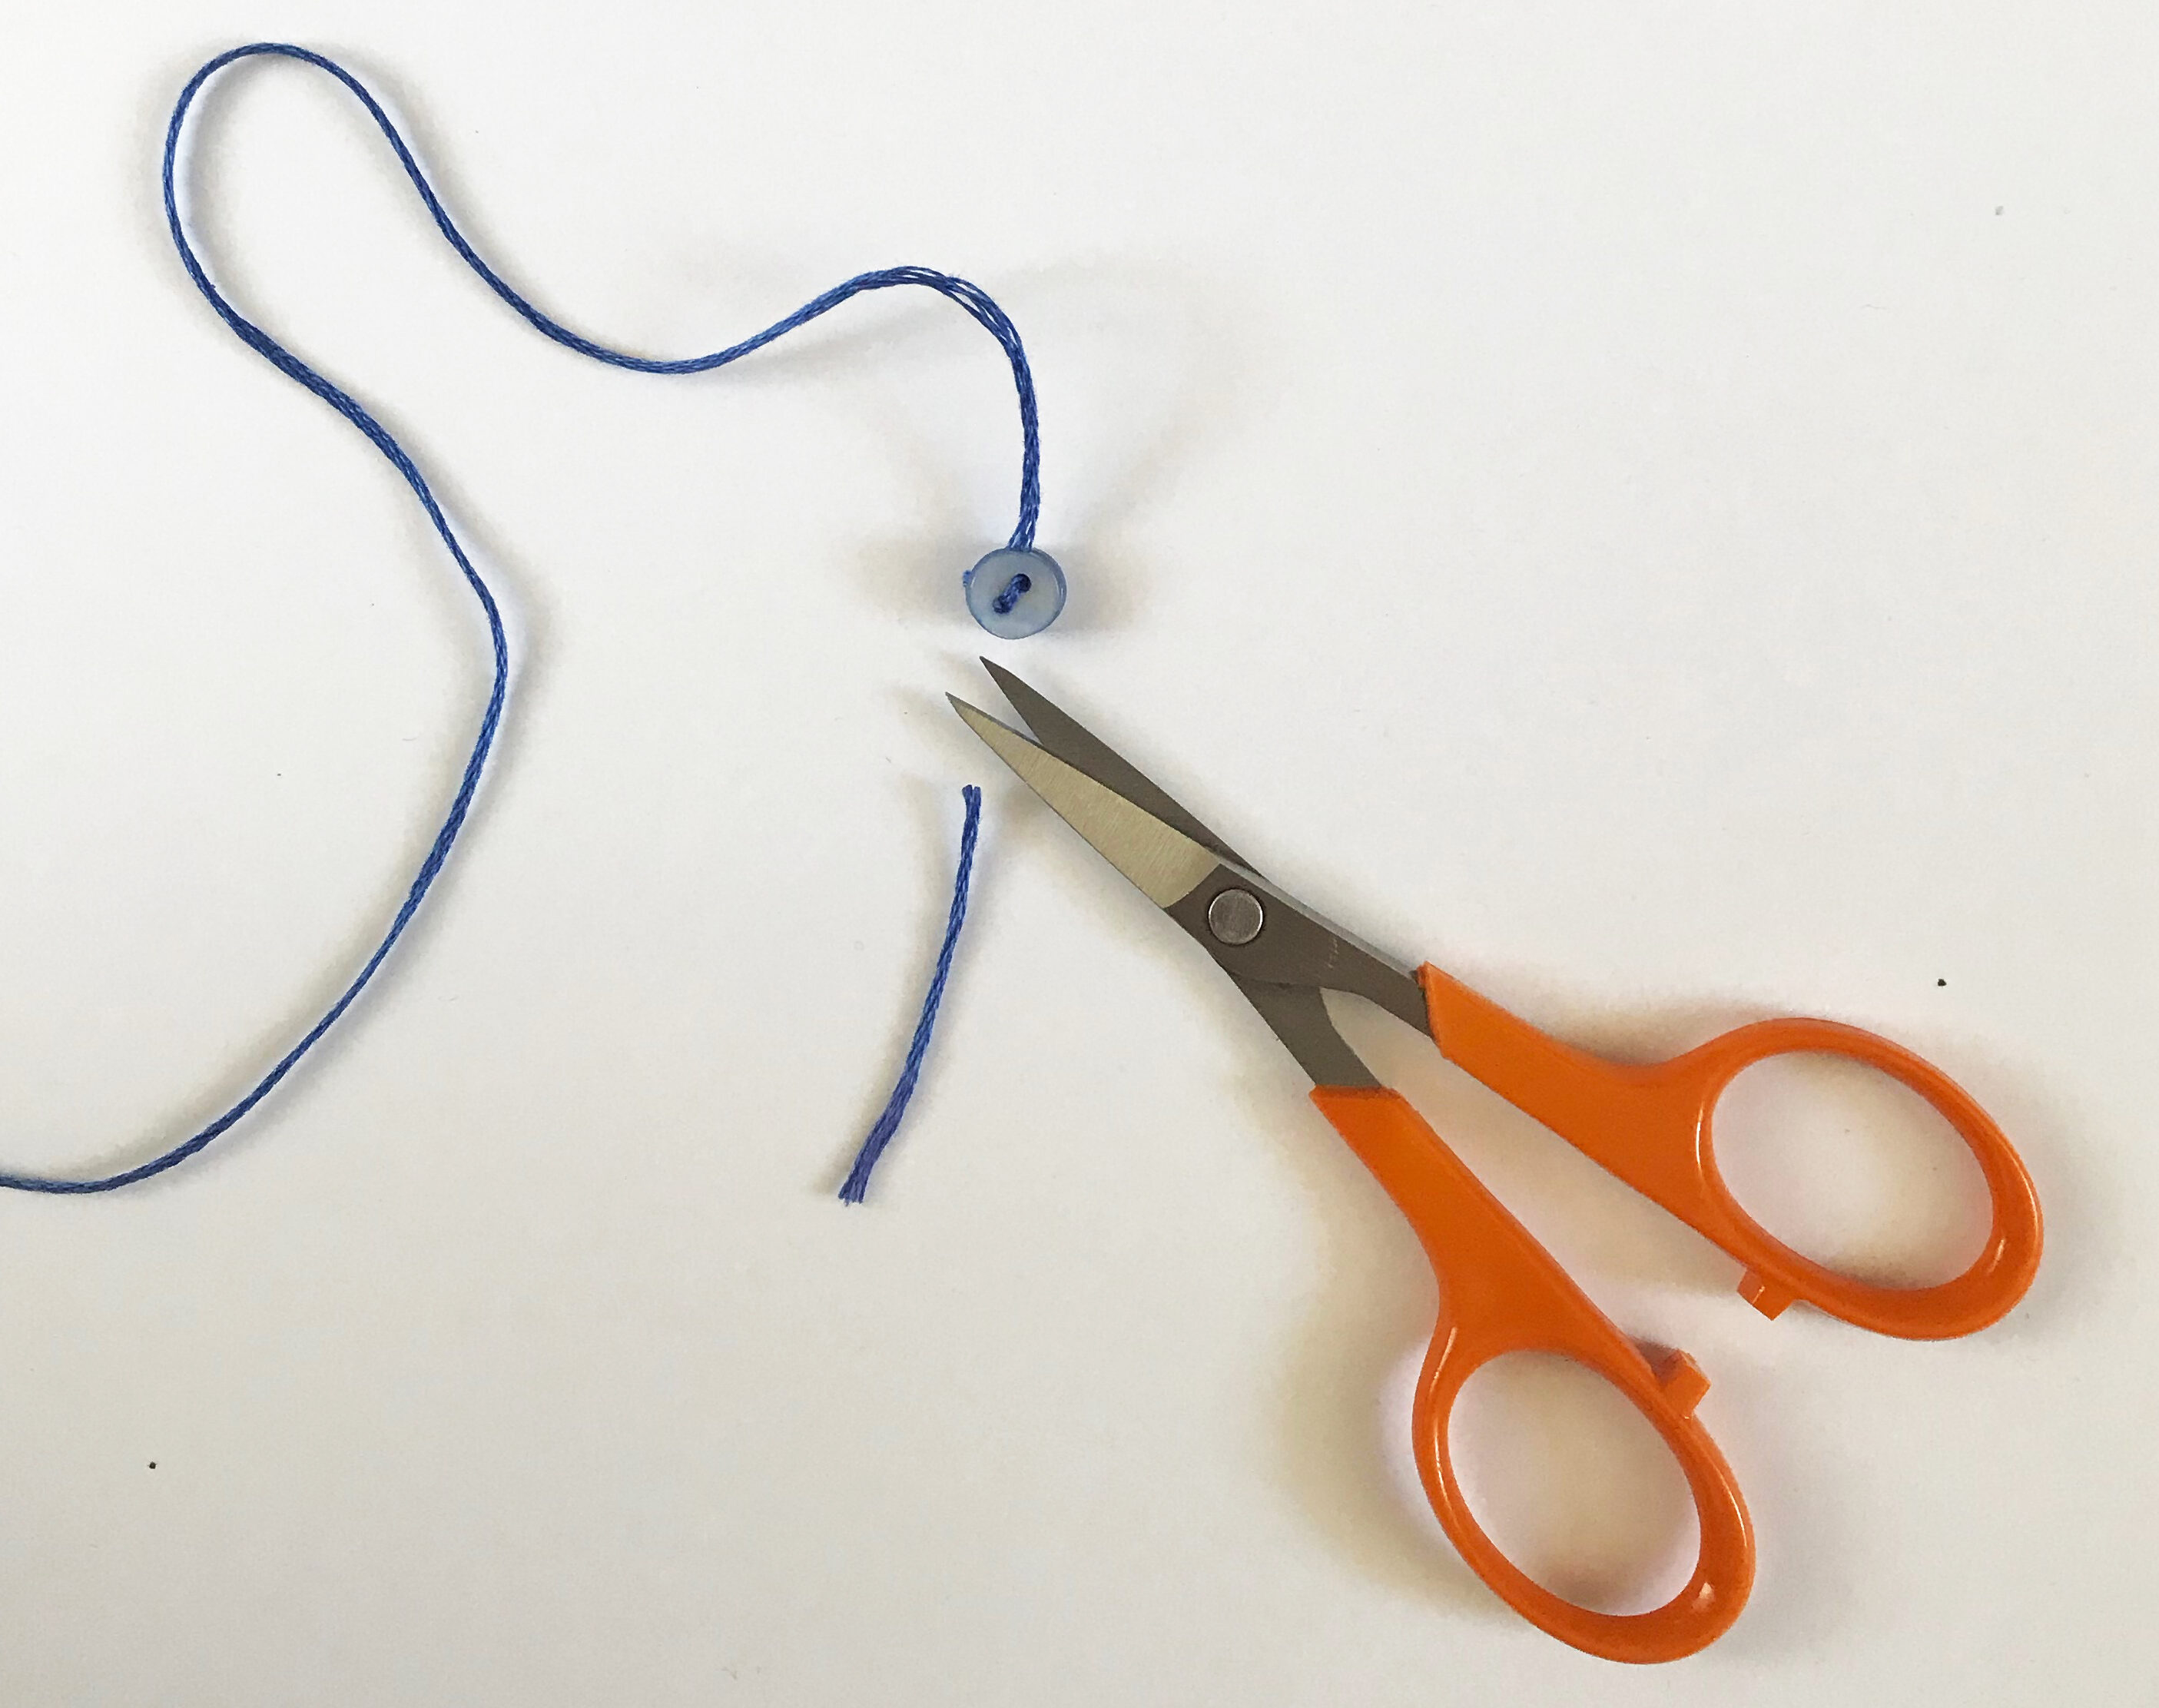
Thread the tiny buttons onto a 12-inch length of embroidery or crochet cotton.
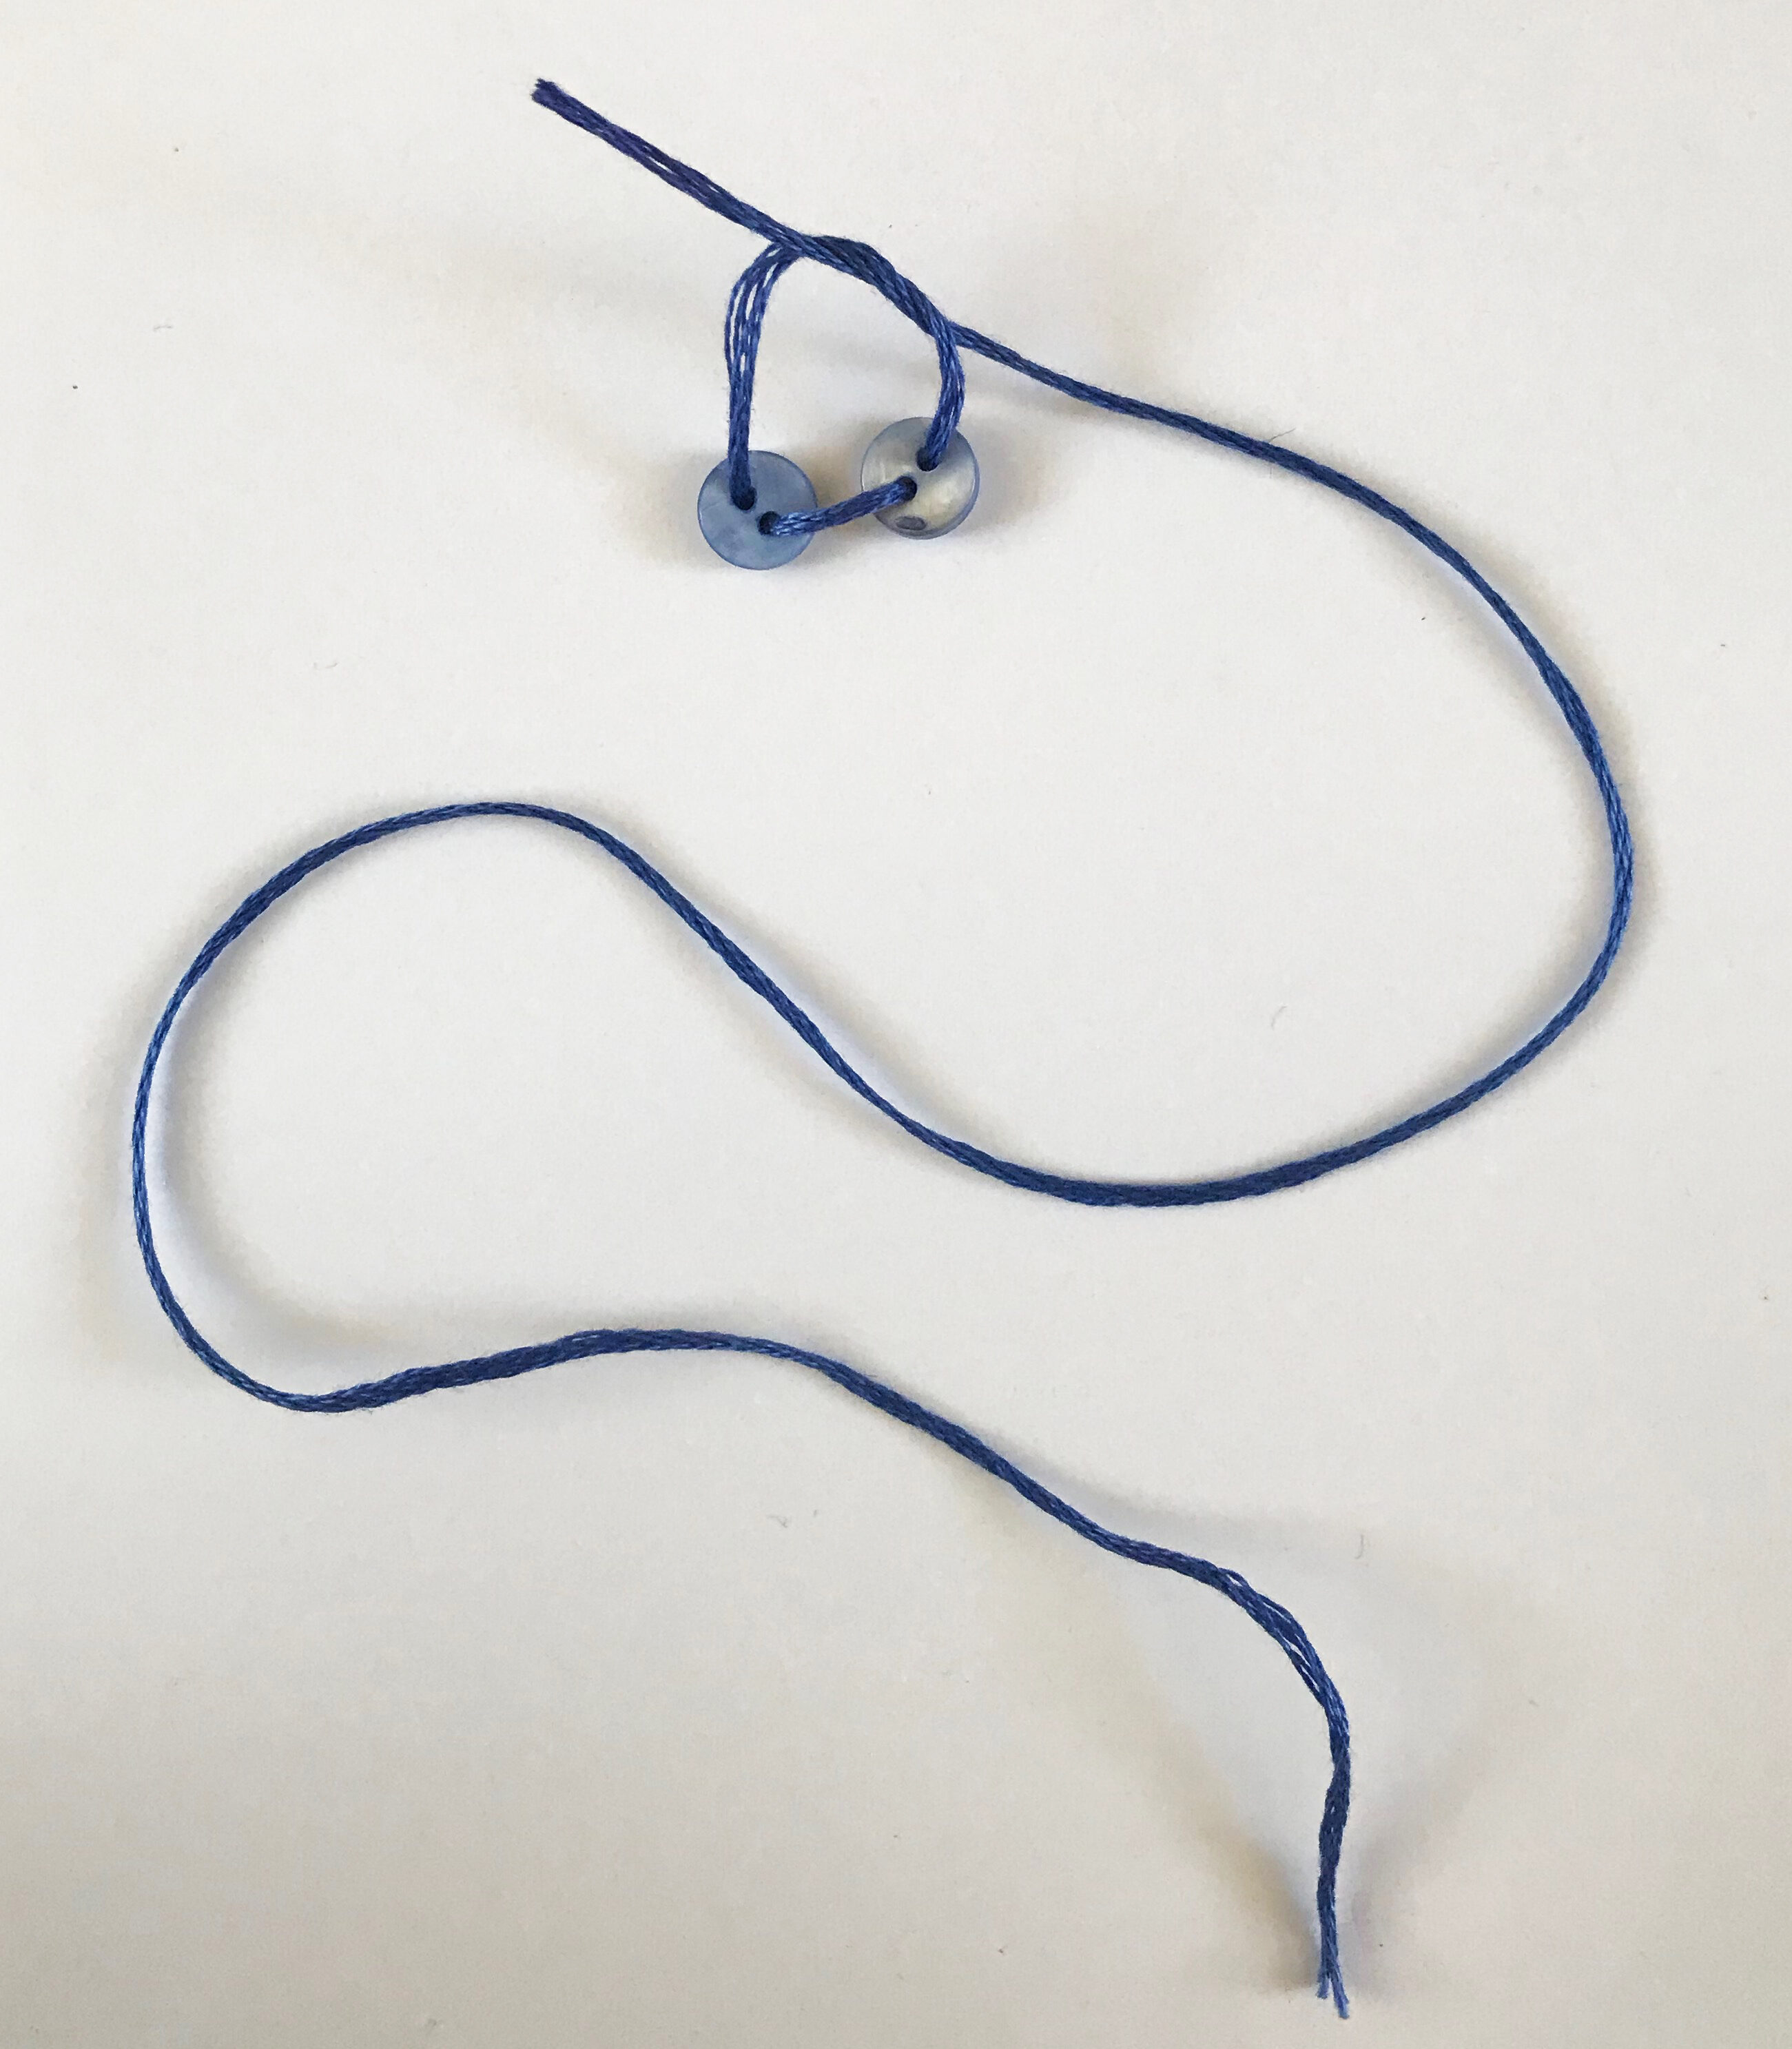
19. Knot the thread.
Make a knot between the two buttons and cut off the excess of one end of the cotton.
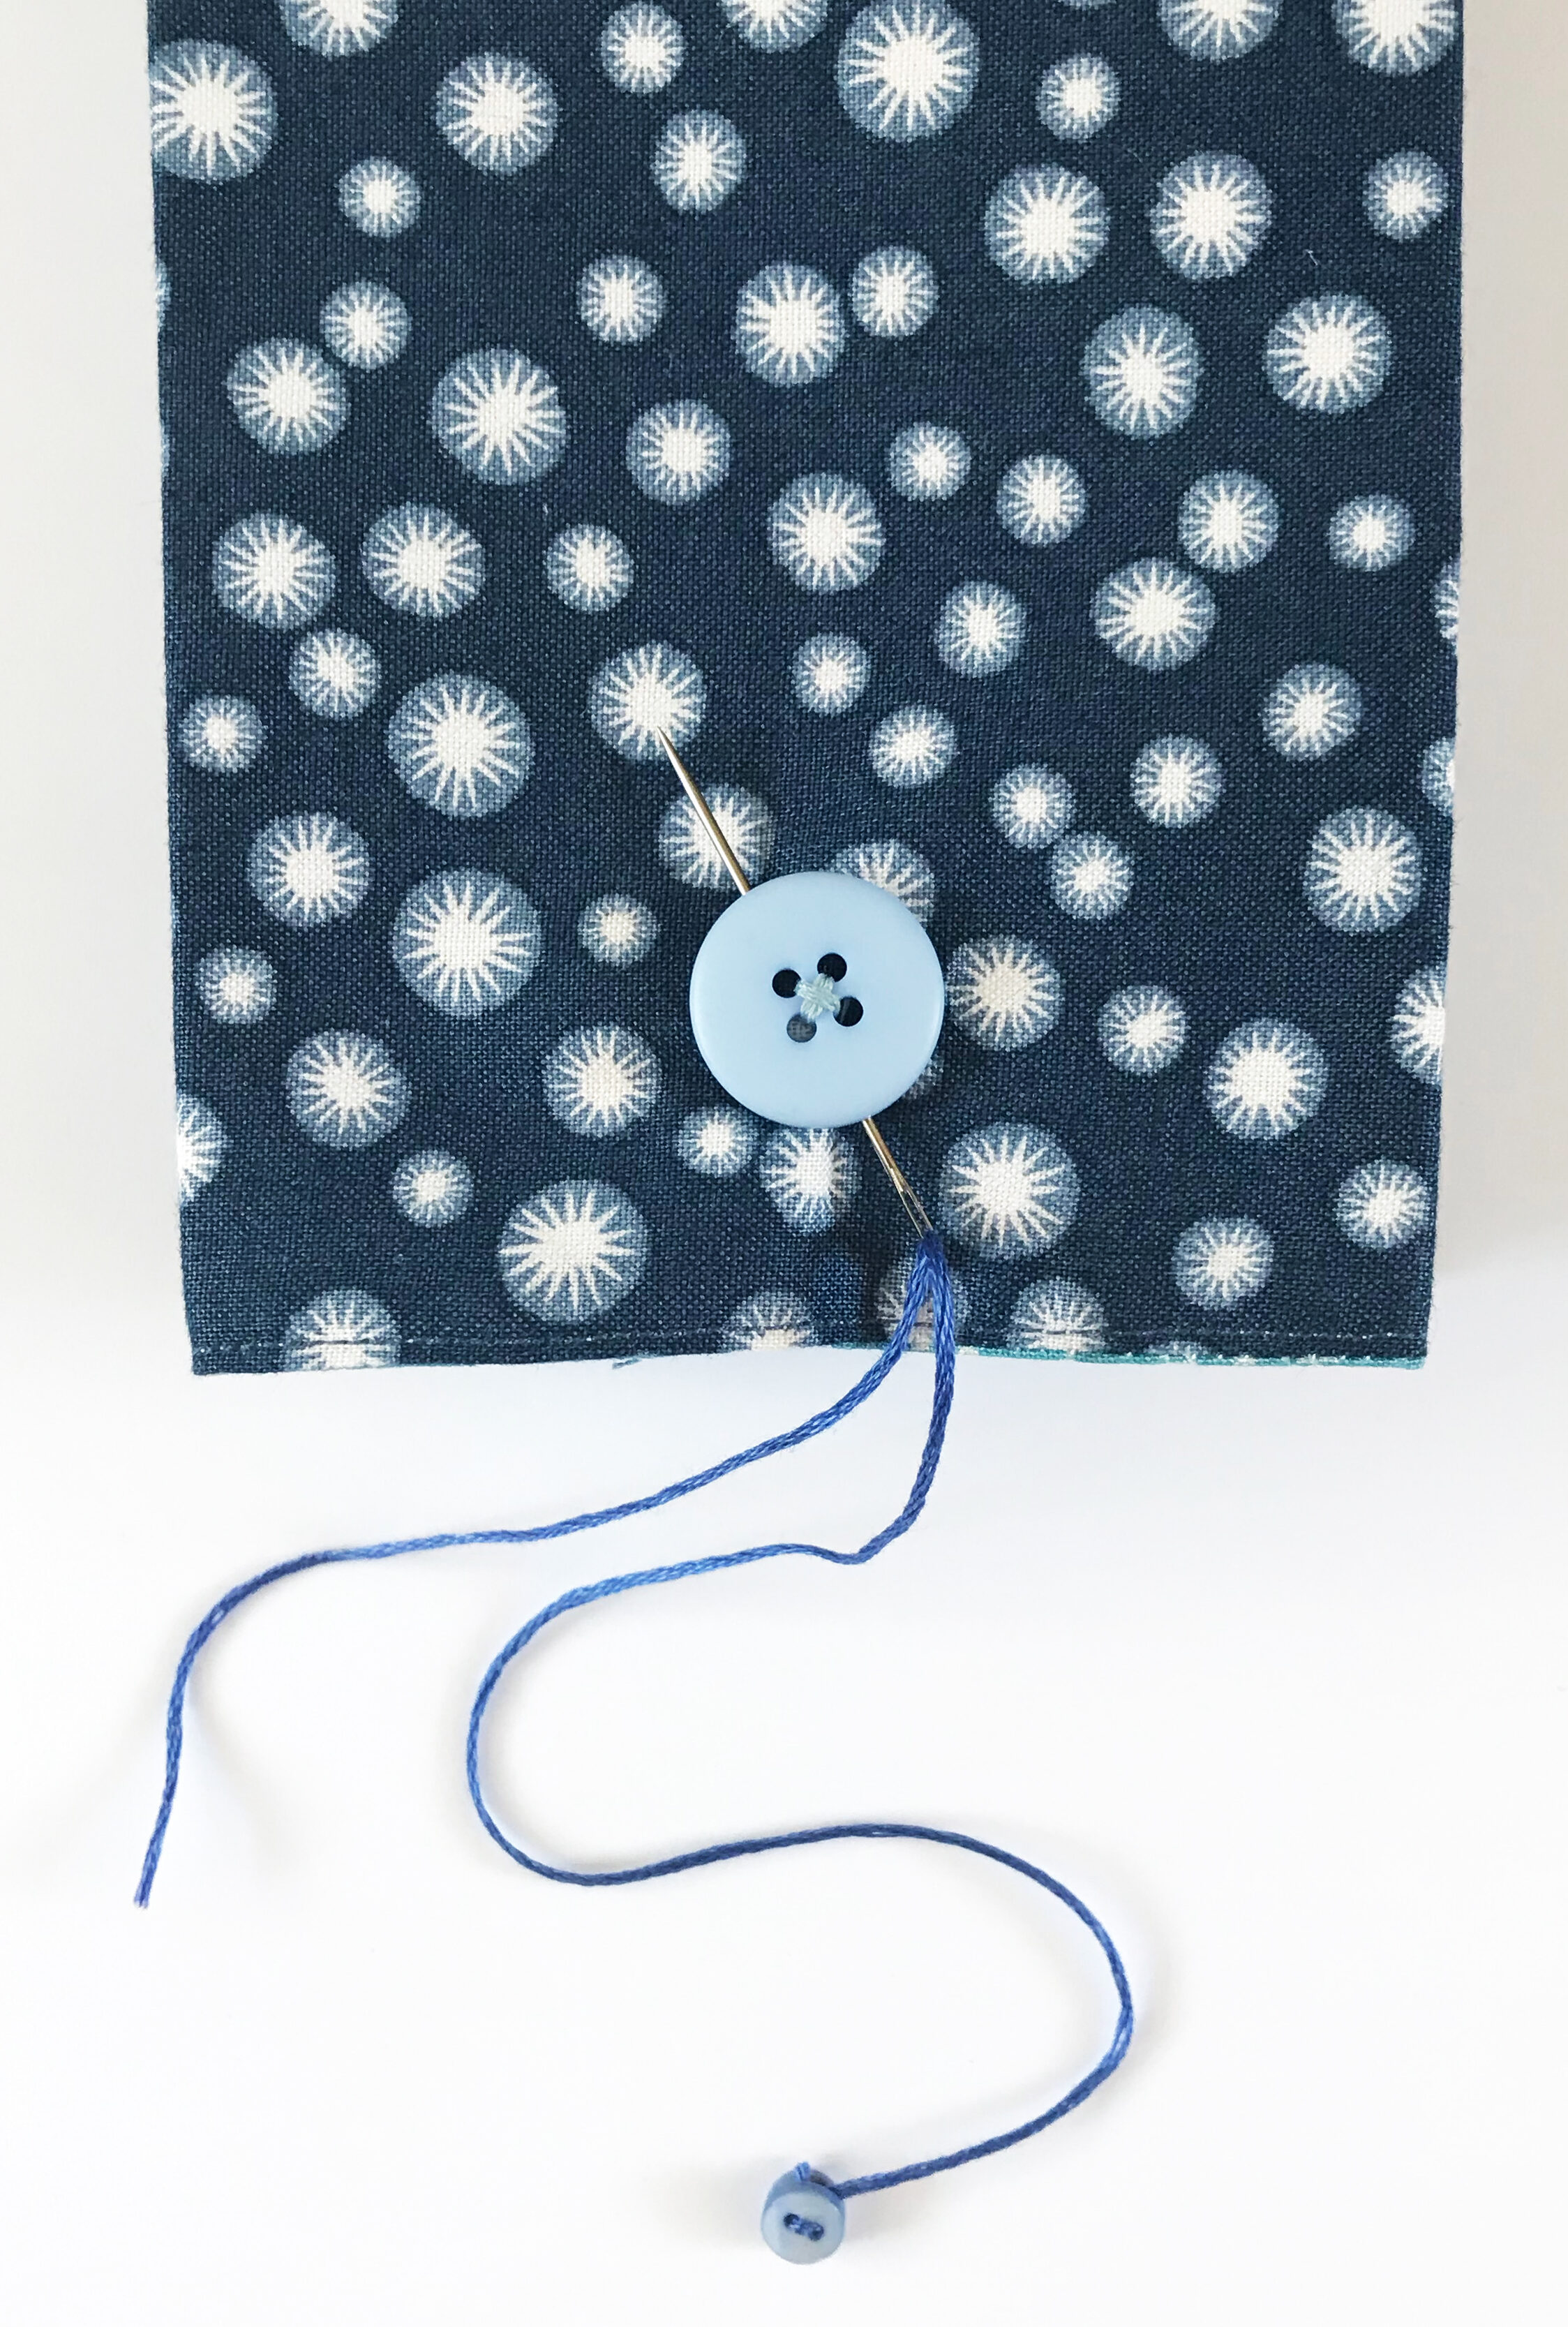
20. Attach the tie.
Thread the tie onto a needle. With a couple of firm stitches through the shank, attach it underneath the button nearer the top of the bag.
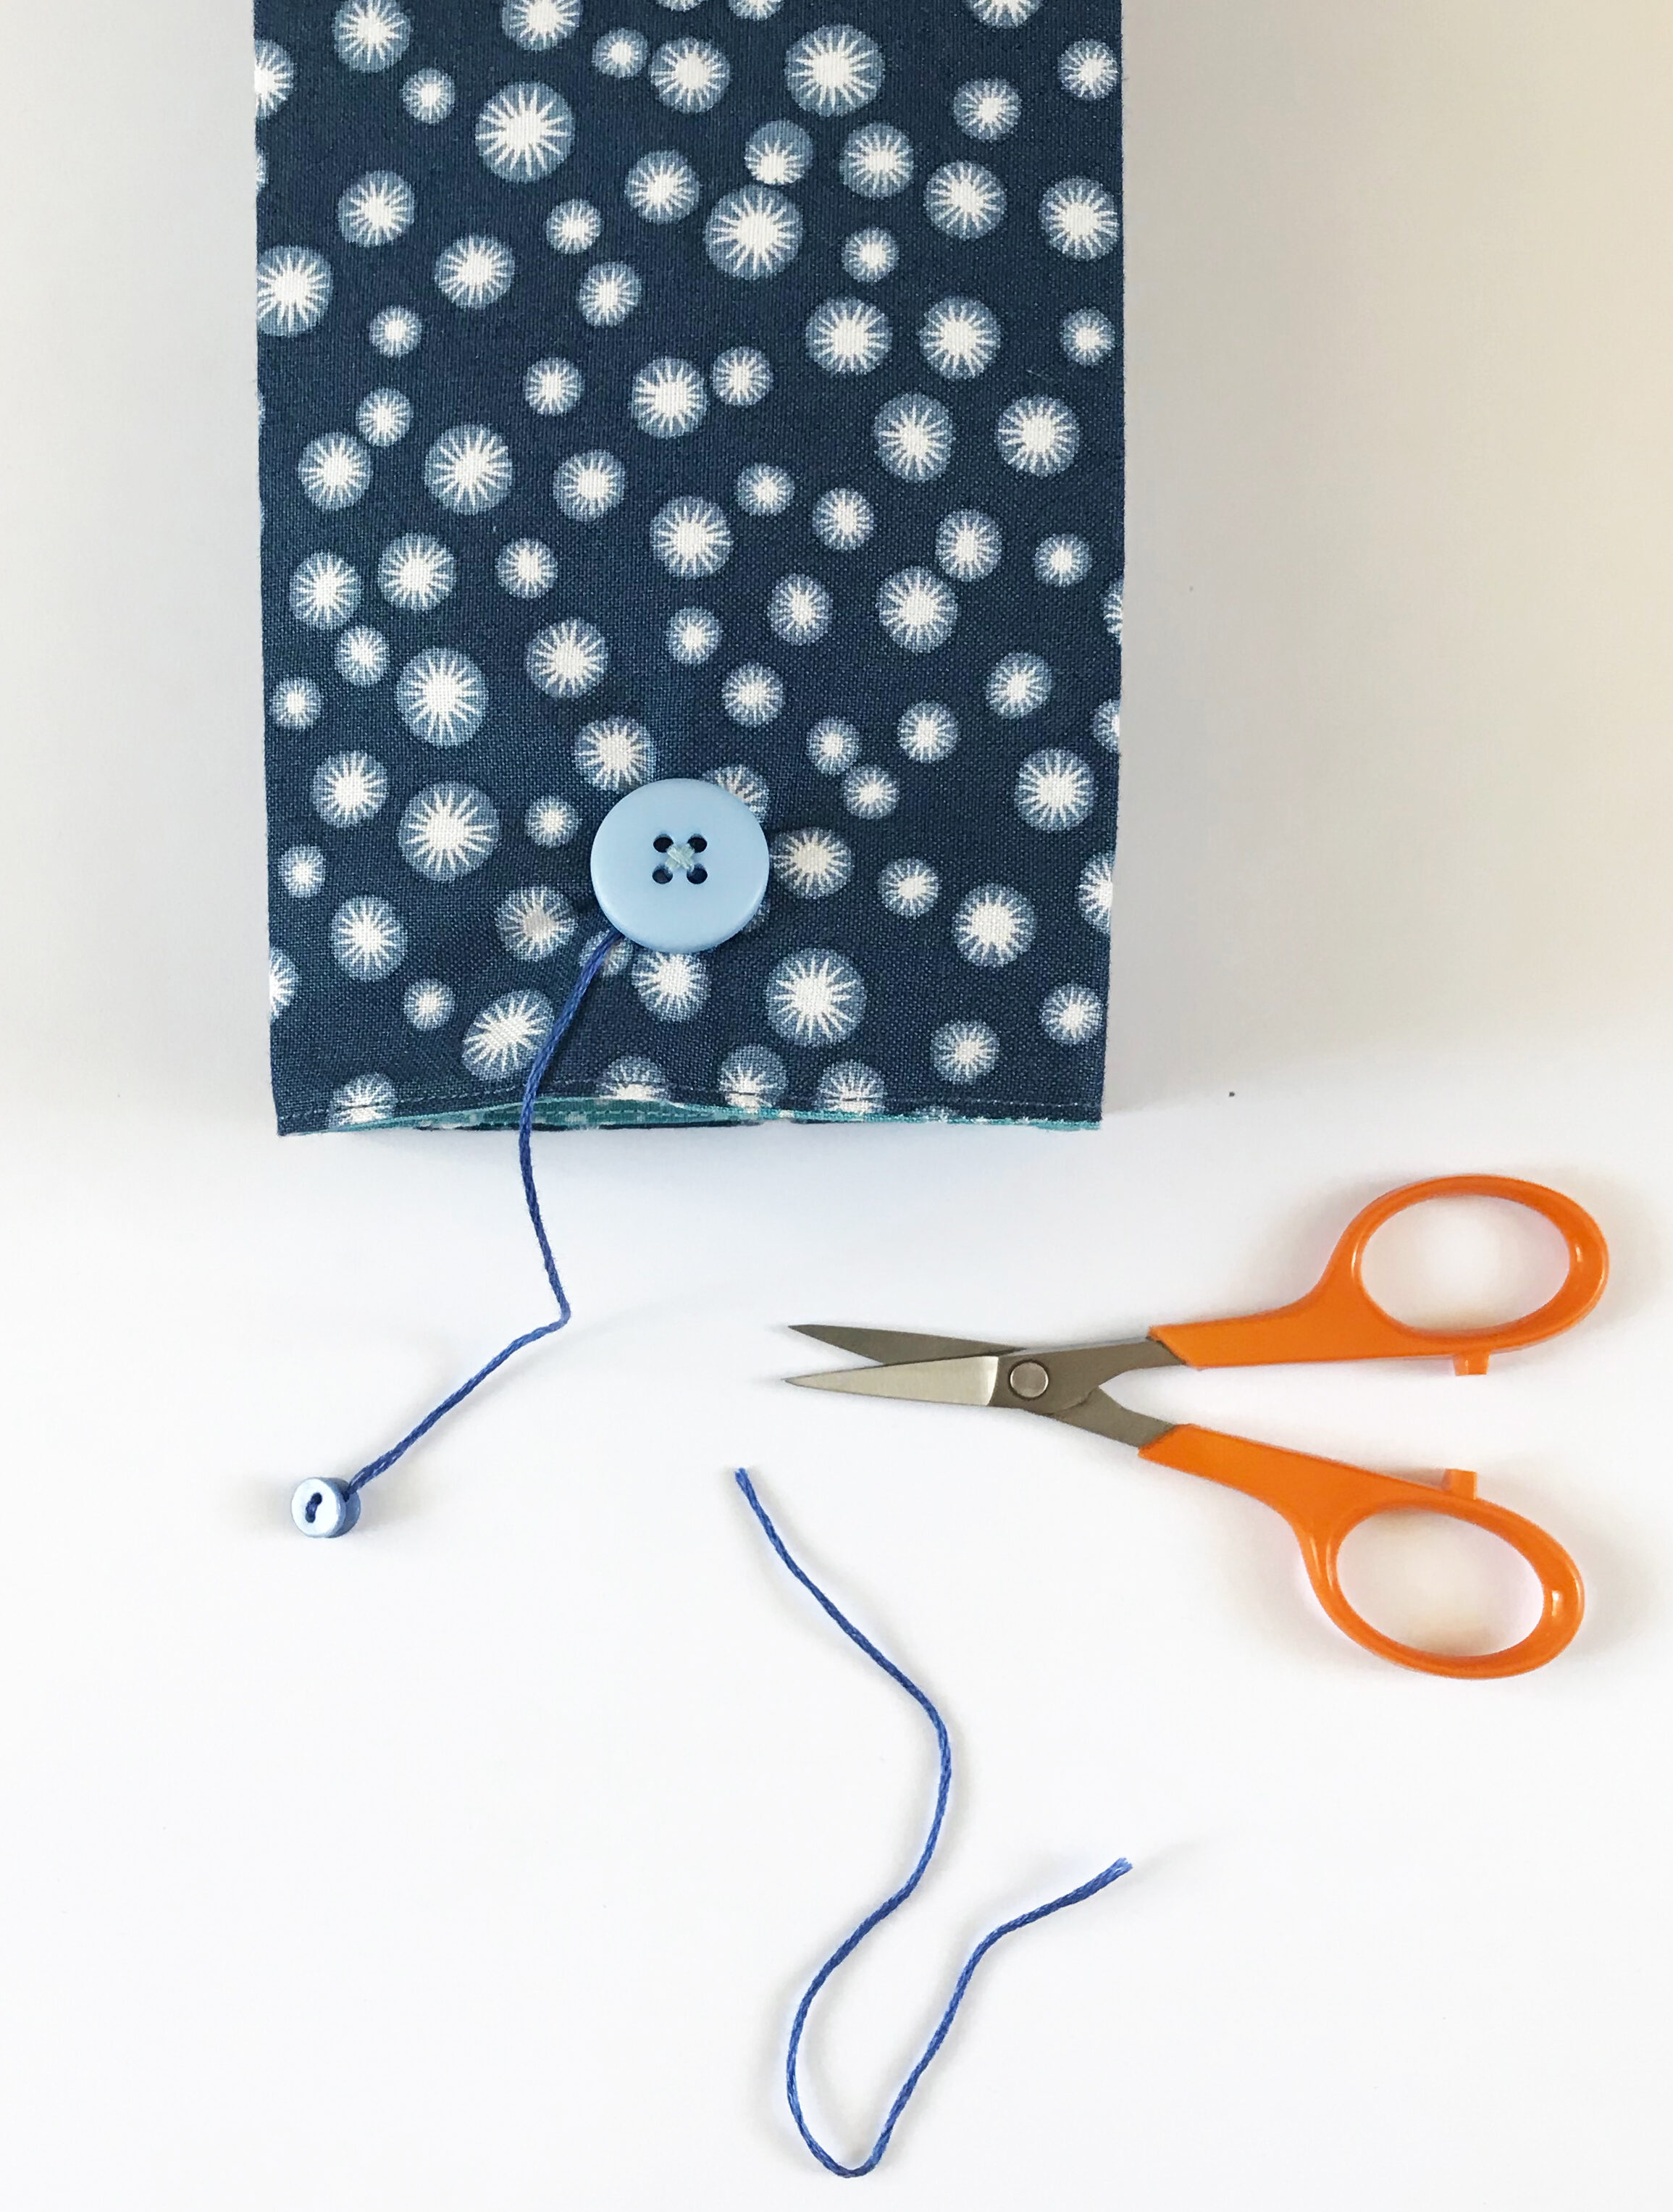
21. Trim the tie.
Cut off any excess cotton flush with the edge of the larger button.
Tips
- For alternative decoration, stitch a small pom-pom or bead to the end of the tie.
- Sew more buttons and button strings on the inside to make the fabric gift bags reversible.
- Line the fabric gift bags with cellophane sacks to gift sweets and cookies.


What a fantastic way to give the ultimate homemade gift
its really wonderful