
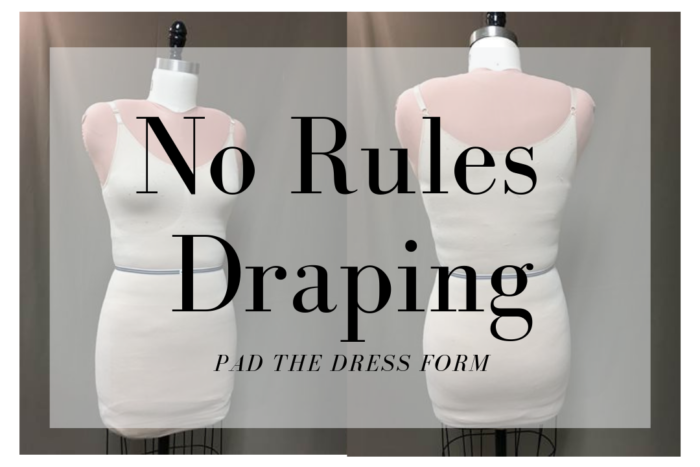
No Rules Draping, Part 1: Pad a Dress Form
If you've always wanted to drape your own garments, here are some great shortcuts to get you started.
Welcome to “No Rules Draping.” I’ll show you how to use the draping techniques of a couture patternmaker to get the styles and fit you crave without having to apprentice for years in a French fashion house—although a few years in Paris doesn’t sound too bad!
This is the first in a series of posts. You can try a few of the ideas that work for your projects or dive in and try them all. The only rule for no rules draping is to have fun.
The benefits of draping on a form
There are a few times in the life of every sewer that are sea change moments: getting your first sewing machine, having a cutting table that you don’t have to clear off for the dinner crowd, figuring out your serger. For me, among the things that have most impacted the way I work is getting a dress form that is my size.
My first dress form was hard, not pinnable, and pointy in all the wrong places. It was frustrating to work with and quickly was relegated to the back of the closet and used as a hanger. I finally decided that if I could have a top-of-the-line sewing machine, I certainly deserved a dress form to make the most of it. Having a custom-sized form has completely changed the way I think about patterns and clothing design. Being able to work in three dimensions has opened up a world of possibilities.
Customize your dress form
If you have a dress form that isn’t quite the right size or shape to duplicate your figure, it’s not useful for creative draping. The first step in no rules draping is to get your dress form looking more like you.
The closer your form is to your size and shape, the more successful your draping is going to be. Begin with a form that’s as similar as possible to your measurements, but not larger. You can pad a dress form, but you can’t squeeze it down to get to the right size. Start with the neck and shoulders, and work your way down.
Here are a few of my dress form hacks to help you get the perfect size and shape.
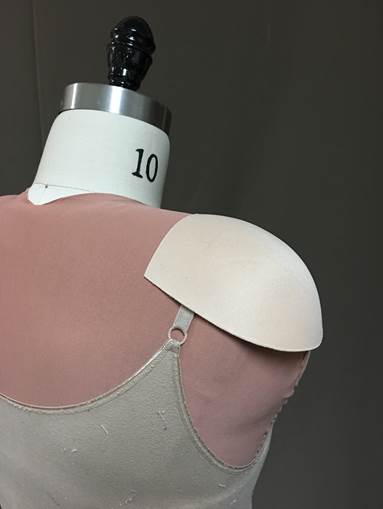
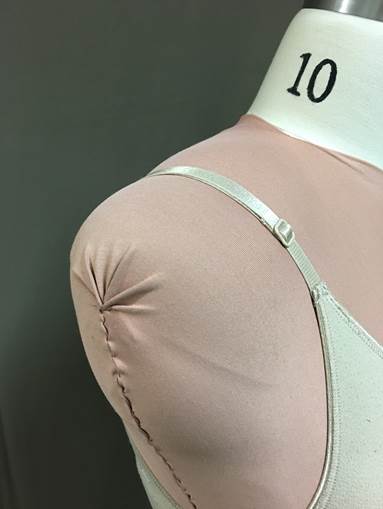
Shoulder pads
I have broad shoulders. No dress form on the market has shoulders that come close to mine. To increase the shoulder breadth on my form, I ganged up a couple of shoulder pads from those old ’80s power suits and, voilà—dress form shoulders. To keep them in place, I stretched some bathing suit lining fabric over the pads and whipstitched it in place to make a smooth, pinnable surface. You may not need extrawide dress form shoulders like me, but maybe your shoulders round forward a bit. In that case, build up the area at the center back with some quilt batting. Then use the same swimsuit lining to hold it in place. Add where you need it with bits of foam and batting to get the shoulder and neck shaping you need.
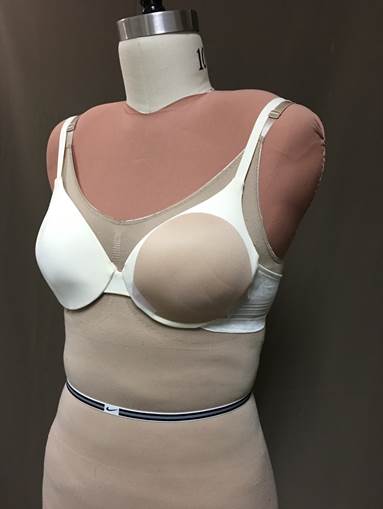
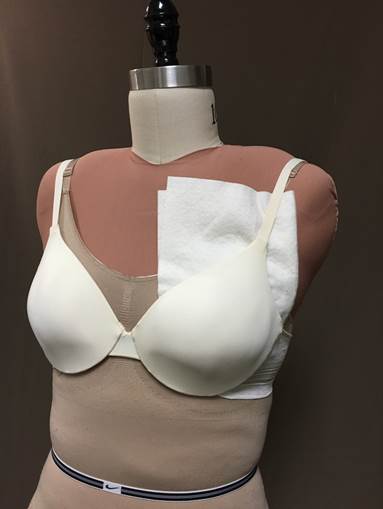
Bust shaping
OK, another confession: I am not as perky as my dress form would have you believe. My solutions: Spanx. Pop a body shaper over your dress form and pad is out wherever you need it. To create fullness a bit lower, I tucked a couple of removable foam bra cups into my body shaper. This created an effective low-bust adjustment. Another handy way to get the right size and shape in the bust is to use a bra that has a fit you like. Put the bra on the dress form with whatever padding is needed. This is also a great trick if you sew for other people. Use their favorite bra to customize the bust size and shape.
Waistline adjustment
If you have covered the form with a body shaper, adding to the midsection is easy. Just fold up the shaper, wrap some batting around the waist and pull the body shaper back into place.
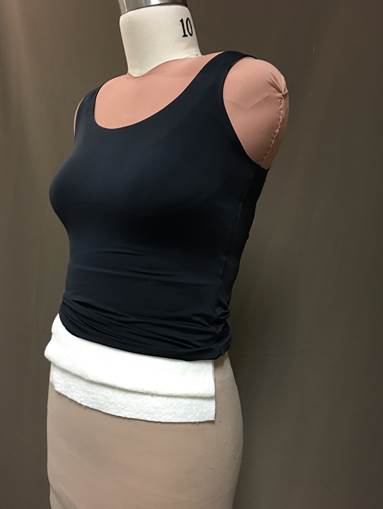
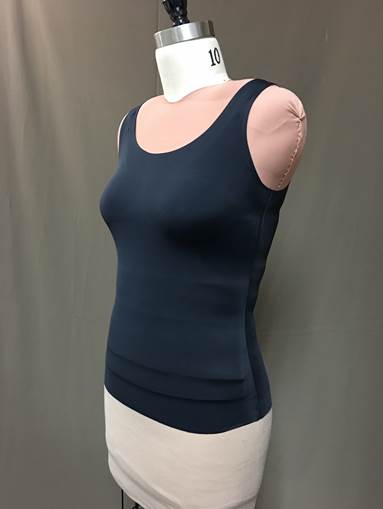
Another option is to use a wide elastic bandage, such as an ACE bandage, to hold the padding in place. Again, this is a nice hack if you sew for other people and need to increase the waist size temporarily.
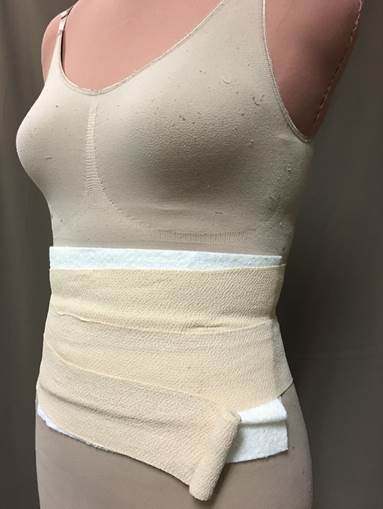
Remember, when you are building up the waistline, that when you wrap batting around the form you are adding in all directions. Adjust your batting to mirror where your middle goes in and out. This may be more in the front and/or the sides than in back.
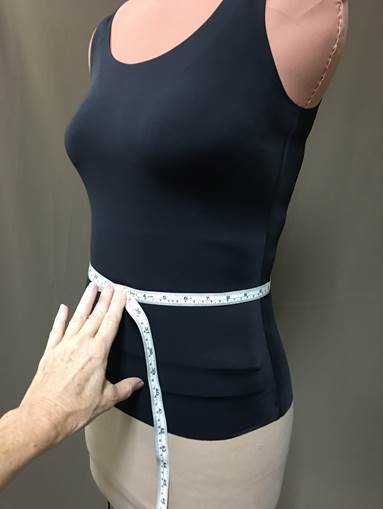
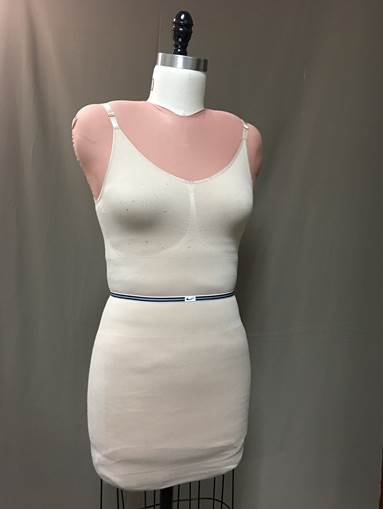
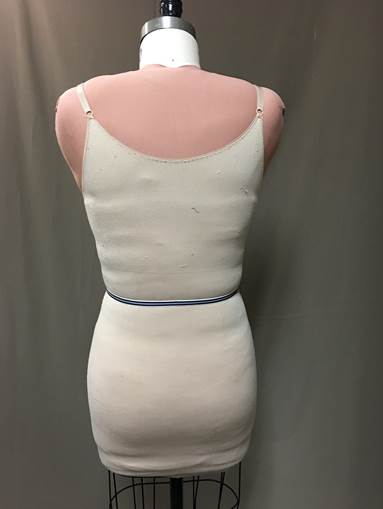
Mark the dress form’s waist. Measure down from your neck in the front and back and mark your form at this level. I used an elastic headband to mark my waist; the little logo is at the center front.
Hip shaping
Foam pads and batting make lovely hip shaping. Measure from the waist to figure out where your fullest points need to be, and pad to reflect your individual shape. Some women have a high, full hip, others are fuller near the upper thigh. With a little effort, you can come close to replicating your figure in your dress form.
As I was creating my body double I learned a lot about where I differ not just from a dress form, but also from the standard sewing pattern sizes. For example, I know that I am broad across my back, but not as broad across my chest. I know I am mostly straight from my waist to my hips. I now can incorporate that information as I work with flat patterns to create better fitting garments.
Getting your dress form to the right size and dimensions will make all the difference as you start to drape garments. It is worth the effort to pad a dress form, and it’s fun to figure out what bits and pieces you can Frankenstein together to create your own body double.


This has to be the best illustration/explanation of how to make a perfect body form - thank you sooo much. It really works and so much cheaper than a tailor made body.
Hi this is Becky...I am so glad this was helpful. I've described the bits and pieces that I pulled together to adjust my form, I would love to hear what other people have used to make their body doubles.
This is a great article and I have picked up some useful tidbits. But I am left with 2 personal fitting issues that affect my dress form “matching” my body. I have narrow sloped shoulders and a short waist with low rider boobs! How can I get my sewing avatar to share these physical attributes!?!?
Love the detail! I'm going to try this and see if I can finally create some clothing just for me!!
THANK YOU! so informative. I might just get back into garment sewing again. Thanks to those sewists who provided links to PDMs's and Dharma Trading's sites.
It's so hard to be a petite -- especially an over-60 petite!
Hi Angelaum. Sorry for the delay...I hope I'm not too late! The first thing to know is that you can't make your dress form smaller. This means starting with a form that matches in the place that is the smallest on you. I'm thinking you may need to start with a form that matches at the shoulder width. This would mean more padding but you could get closer to your measurements. With a smaller form you can also move the waistline higher since it will most likely be smaller than your waist measurement all through the torso (raising the waist also effectually lowers the bust! Gotta love a twofer!) With the right shoulder width and waist in the right place the rest is in the padding. Hope this helps. Good luck. Becky