How to Print and Assemble a PDF Sewing Pattern | Video
Download and put together a digital pattern for immediate sewing gratification.
Downloadable sewing patterns are more and more popular because they provide immediate access to exciting designs. Learn how to print and assemble a PDF pattern accurately and efficiently.
You can print downloaded digital patterns at home on your printer, or have them printed professionally. Some print shops can print them on large sheets of paper, saving you time and effort.
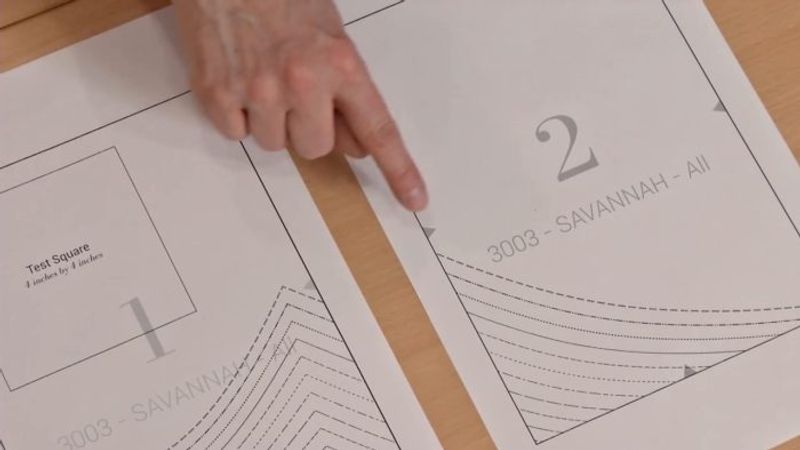
If you prefer to print your pattern at home, you’ll need to tape the printed pages together to create a full-size pattern. Begin by printing the pattern’s overview page for reference. On this sheet, find the test square; it’s usually on the first page of the pattern. Measure the test square to confirm that the pattern has printed at the correct scale. For most printers, you should select the “actual size” setting for a correctly sized pattern.
Once you’ve confirmed that the test square is the right size, print the whole pattern. Trim two edges from each page, using a rotary cutter with a clear ruler as a guide. Trim consistently: We suggest cutting off the right and bottom edges. Next, tape the pages together in sequence row by row, matching the triangles or other registration marks provided on the pages’ edges. Then tape the rows together, matching the registration marks. Finally, cut out the individual pattern pieces, and you’re ready to use the pattern.
The pattern shown in this demonstration is the Savannah camisole, by Seamwork.


I use a lightpad, so you stick even more carefully and you don't have to cut