
Casing-Free Elastic Waist
Skip the bulk and create a clean finish.
Nearly all of us want garments that are stylish and comfortable to wear. While elastic-waist pants and skirts are usually comfortable, the casing holding the elastic can make these garments look, and sometimes feel, bulky.
Pattern guide sheets illustrate how to make a casing to pull elastic through. You know the technique: Fold the waist edge down, then sew around it to form the casing, leaving an opening to pull the elastic through, and close to finish. It can be frustrating when the safety pin or bodkin holding the elastic gets detached, and the elastic end gets lost within the casing.
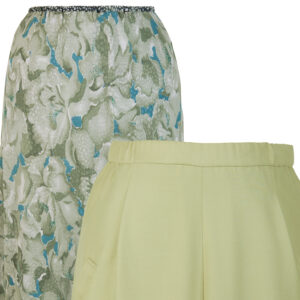
The method I use is an alternative elastic waist finish that gives a clean look. Plus, it’s comfortable and chic-looking.
You will assemble your pants or skirt as usual. I installed a knit lining into the sample skirt shown.
Measure and mark
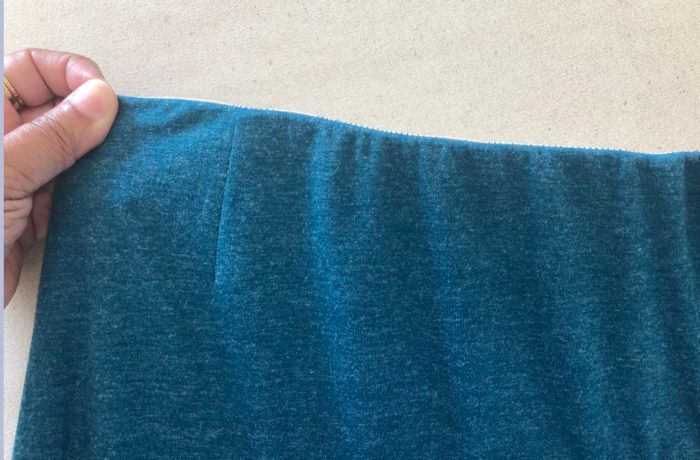
1. Try on the garment and wrap the elastic around your waist over the garment’s waistline area. Pull until it is comfortably snug, allowing for at least a 2-inch overlap.
The cut length may be 2 inches (or more) smaller than your actual waist measurement. This creates the negative ease needed for the garment to stay in place and not droop down as you wear it. The elastic also needs to stretch enough to allow the garment to be pulled over your hips when dressing.
2. Place a pin in the center of the overlap to hold the elastic in place while you adjust your garment. Be sure the side seams, front, and back are in the correct position. Also check that the skirt hem is level or that the pants crotch is comfortable.
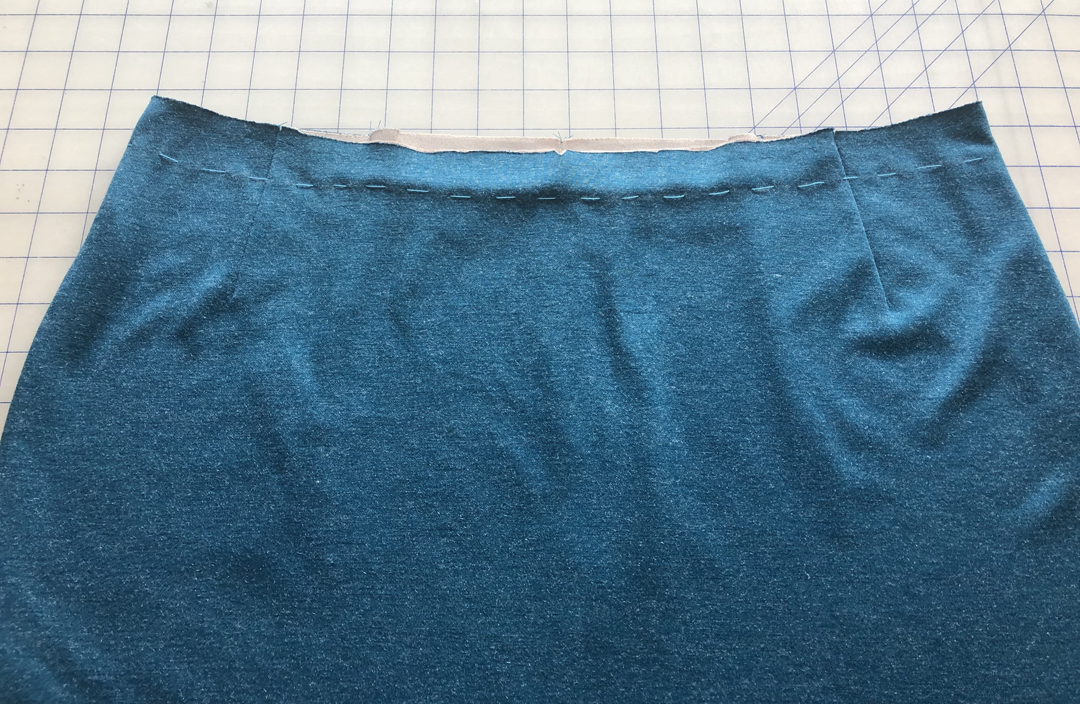
3. Make a mark with chalk, disappearing ink marker, or by thread-basting at the top edge of the elastic, around your waist.
…
Start your 14-day FREE trial to access this story.
Start your FREE trial today and get instant access to this article plus access to all Threads Insider content.
Start Your Free TrialAlready an Insider? Log in


It has been a while since I did this kind of waistband but I think it was called a 'French waistband ' when I was introduced to it.
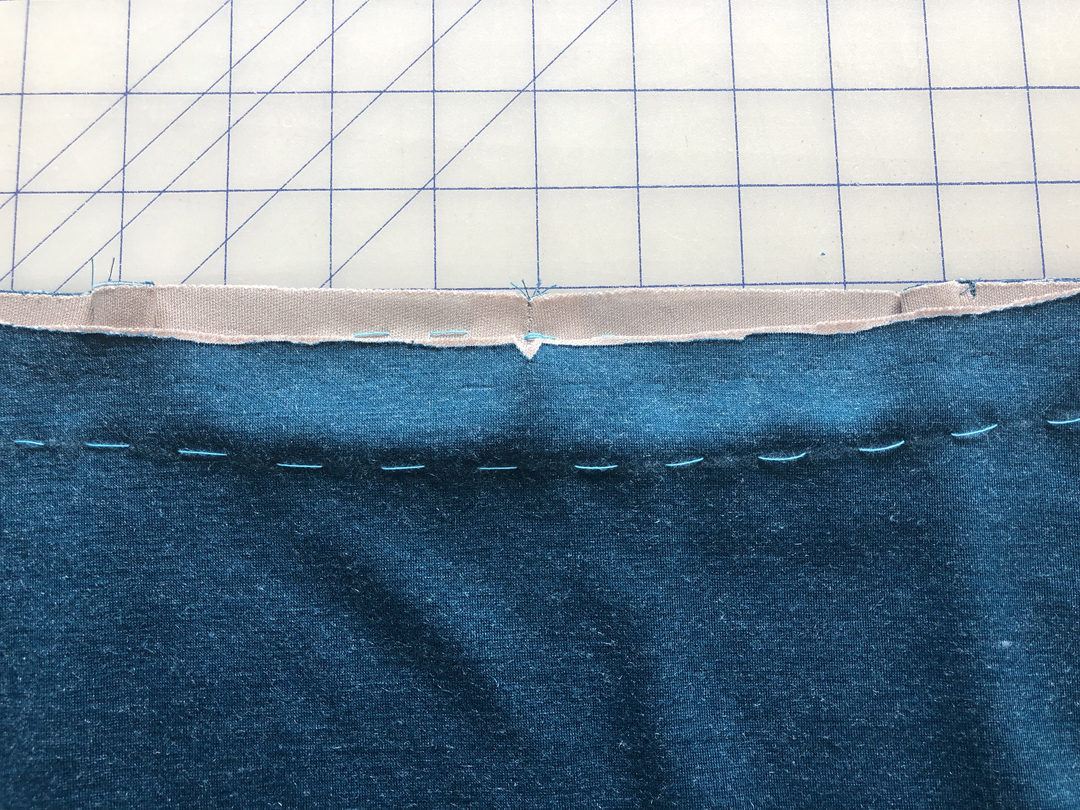
what's the interior finish look like, folded over?... are the two vertical seams (stitch in the ditch) enough to hold it down?
Hello 2pets! Here's Pamela's response: "Since the French are famous for fashion, I am happy to have it named for them! Many of the methods for elastic waist finishes involved a casing. This was my way to clean-finish the waist without the elastic being pulled through fabric. I hope that you’ll try this technique again. Thanks so much."
Thank you for your questions, Sartorial. Here's Pamela's response: "If you find that the elastic needs tacking in additional places, you can anchor it at center back, center front, or at darts. When using a matching thread to your garment, the tacking is really not seen. I’ve done this many times, and it works!"
Love this! I sounds and looks so much neater and better looking!