
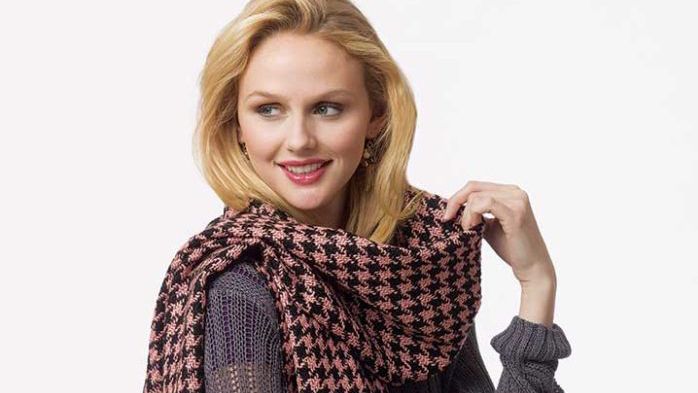
Take your cue from the runways and wrap yourself in a chic, voluminous scarf. It offers protection from whatever the weather has in store, while adding an effortless European style to any outfit.
You can adorn this scarf with trim or keep it plain, or use a bright edge finish or one that blends in—either way, let the fabric do the talking. For this project, you’ll cut a large fabric strip, finish the short ends and fringe them, add an optional trim, and end with finishing the long edges.
Supplies
- 2 yards midweight woven wool fabric (yields 3 to 4 scarves)
- 2 spools woolly nylon or woolly polyester serger thread
- 1 spool polyester serger thread
- 1 spool polyester sewing thread
- Serger
- Optional: 1 1⁄2 yards ribbon trim
Make the blanket scarf
1. Cut the scarf. Examine the fabric and determine the desired width. The scarves shown here are 15 inches wide and 72 inches long. It is more important to follow a clear “line” in the weave than to have a specific width, however. For example, if the fabric’s design looks best when cut at a different width, then make the appropriate adjustment.

2. Finish the short ends. With your sewing machine set to the triple stitch (also known as the stretch stitch), sew 1 inch to 11⁄2 inches from each short end, being sure to secure the stitch at the beginning and end. Again, it is more important to look at the fabric’s design and decide how long you would prefer the fringe than to follow a strict measurement. However, be sure both scarf ends look identical.

3. Fringe the fabric. With a seam ripper or a large sewing needle, pick at the fabric’s cross-grain, or weft, yarns. Slowly slide them away from the straight-grain, or warp, yarns to create a natural fringe. Be sure to work with only one weft yarn at a time to avoid distorting the fabric edge. Stop when you are about three weft yarns away from the reinforcement stitching.

4. Add trim (optional). Cut the trim 1⁄2 inch longer than the scarf’s width. Align the trim along the top edge of the fringe or a few inches above. The ribbon will extend 1⁄4 inch beyond the fabric. Hand-sew the trim to the scarf with small, regular running stitches that disappear into the wool fabric. Repeat with the opposite scarf end. The trim can be plain or accentuated with a bow sewn from the same material. To make the bow, follow the steps described in “Add a Bow” on the facing page.

5. Serge the long edges. Set the serger to a three-thread rolled hem, and thread the loopers with woolly nylon or woolly polyester. Create a long serged thread tail at the beginning, and start the rolled hem with the fringe swept aside to avoid catching it in the seam. At the end, finish with the fringe swept aside and leave a long thread tail. Repeat on the other long edge.

6. Secure the thread tails. Using a large-eyed needle, weave the thread tails into the rolled hem. Come out about 2 inches from the end, and trim the excess thread tail.
|
|
|


Add a Bow
Give your scarf a sweet detail by adding a dainty bow to the trim before attaching it to the scarf.
To make the bow, cut two trim strips—one strip double the trim width and the second triple the trim width. For a 1-inch-wide trim, cut the first piece 2 inches plus 3⁄8 inch for seam allowance. Cut the second piece 6 inches plus 3⁄8 inch. With right sides together, sew the trim pieces into loops with a 1⁄8-inch seam allowance. Turn the loops right side out and place the long loop through the small loop, hiding the seam within the small loop. Slide the bow onto the scarf trim, and hand-sew it in place from the trim’s wrong side.
|
|
|
|


 Tip
Tip
If you don’t have a serger, finish the long edges with a machine zigzag stitch set to the widest width and a short length.
Juliette Lanvers writes and blogs about sewing in Salt Lake City, Utah. Check out her site, ChickPea-Studio.com.
Photos: Jack Deutsch, stylist: Jessica Saal, hair and makeup: Patrycja for Halley Resources; all others, Sloan Howard. Styling credits: earrings—Payless.com, sweater—Mango (JCP.com), pants—Levis.com; earrings—Mixit (JCP.com), sweater—Mango (JCP.com), pants—Michael Kors (Macys.com)


Thank you this scarf project! I love attractive scarves, now I can look for fabric to make it my own!