
How to Sew Delicate Rosebud Buttons
Add a sweet touch with sculpted fabric
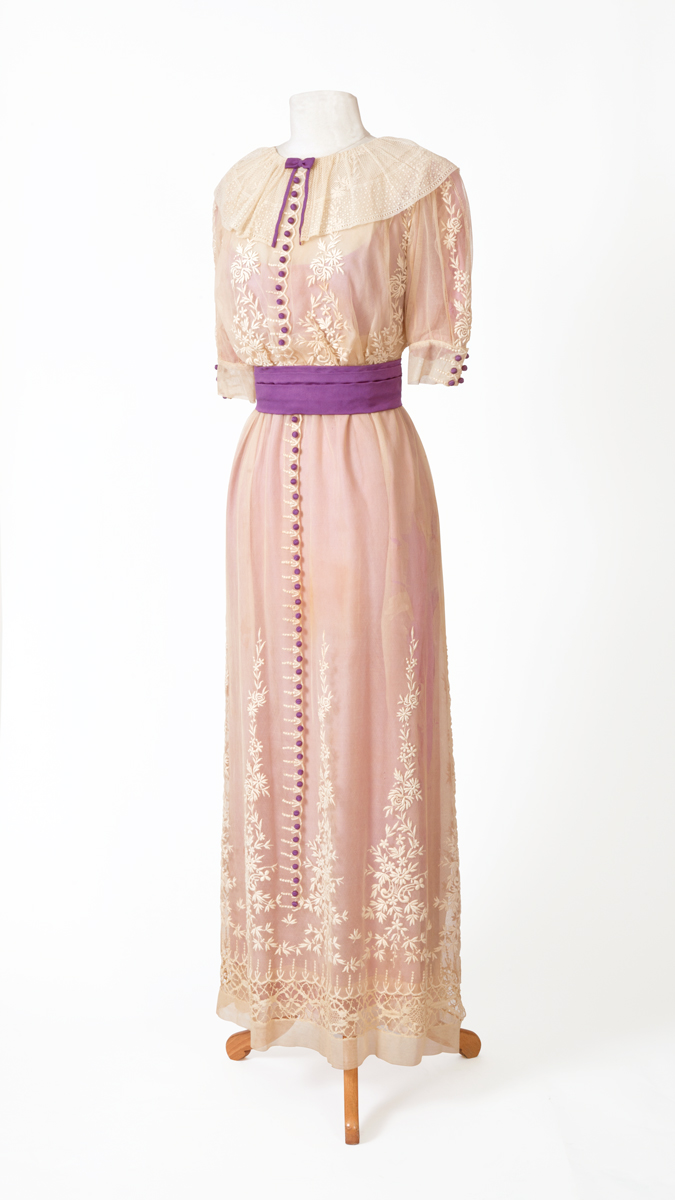
This well-edited dress is a time capsule from the World War I era. The pale pink underdress overlaid by embellished white cotton netting is designed for an uncorseted figure. The less-constrained style, which also features a high neckline and elevated hemline, was the fashion of the time and gave the wearer the ability to move and work if the need arose. Contrasting trim and dainty decorative buttons add a touch of liveliness to this frock.
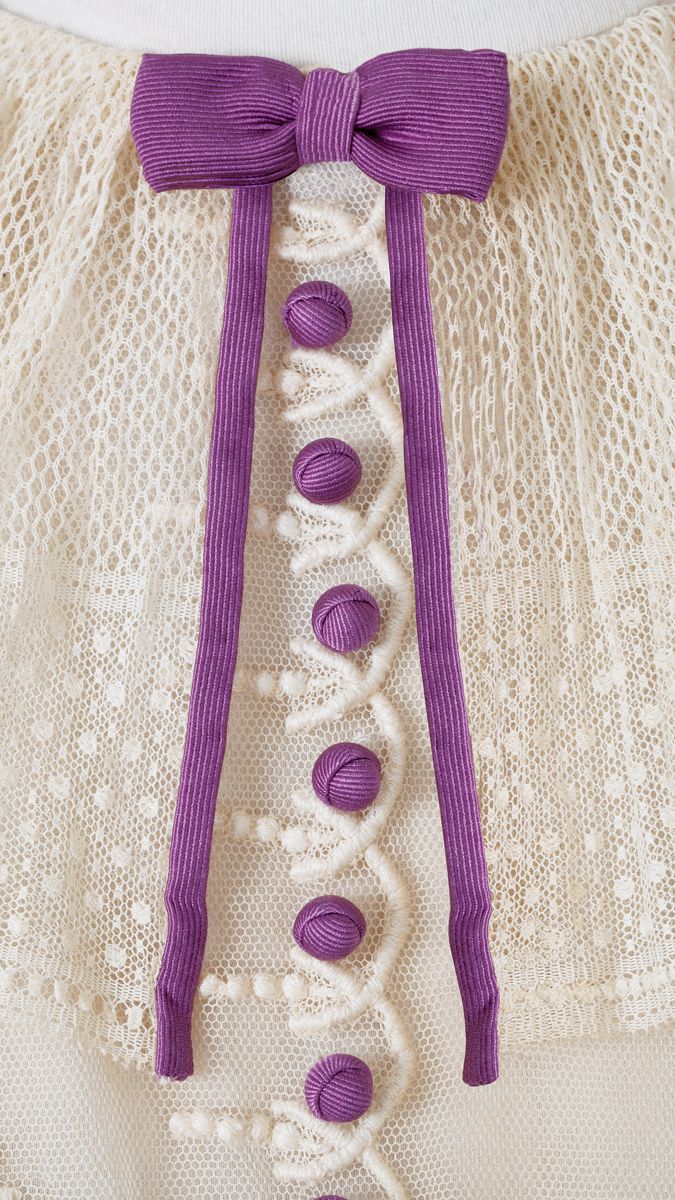
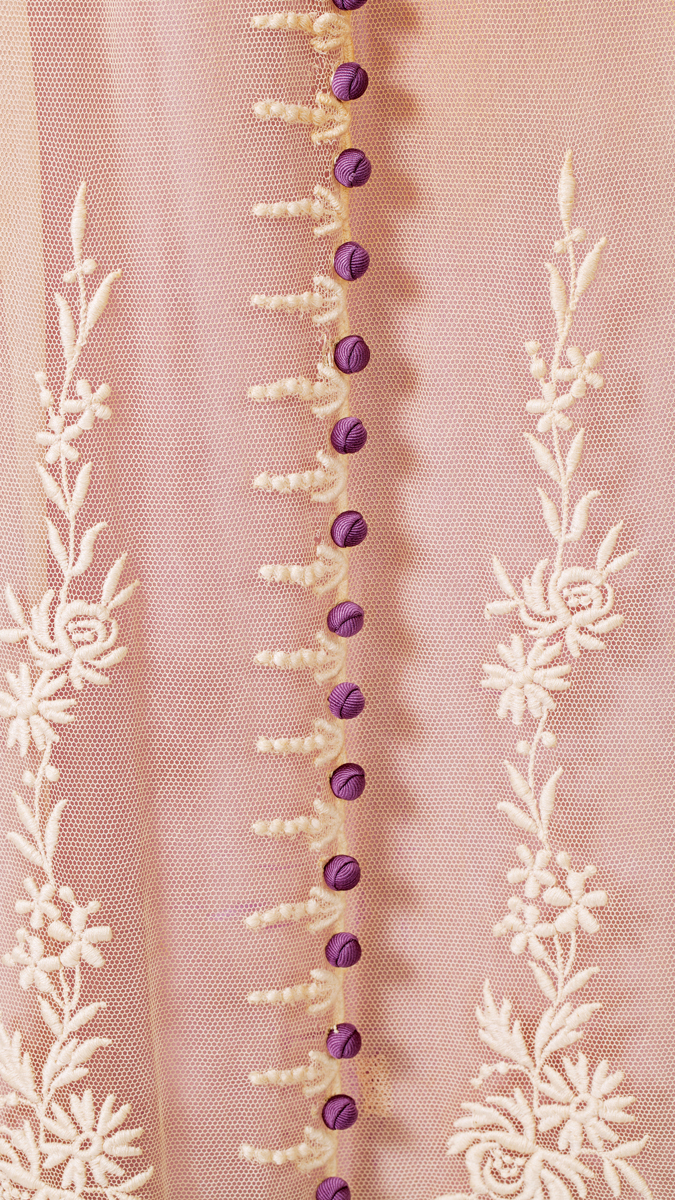
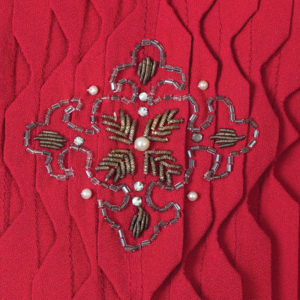
Violet faille touches make a lace dress elegant summer holiday attire. It’s used to create the dress cummerbund, collar edges, tidy neckline bow, and acorn-shaped buttons running down the center front and at the cuffs. The buttons on this dress are for effect only and do not function as a closure.
Even in 1910, the creator of this dress would have had the buttons made by a specialist. However, you can make your own miniature rosebuds. Crafted from silk charmeuse, these buds make romantic embellishments for a lace dress.
 |
 |
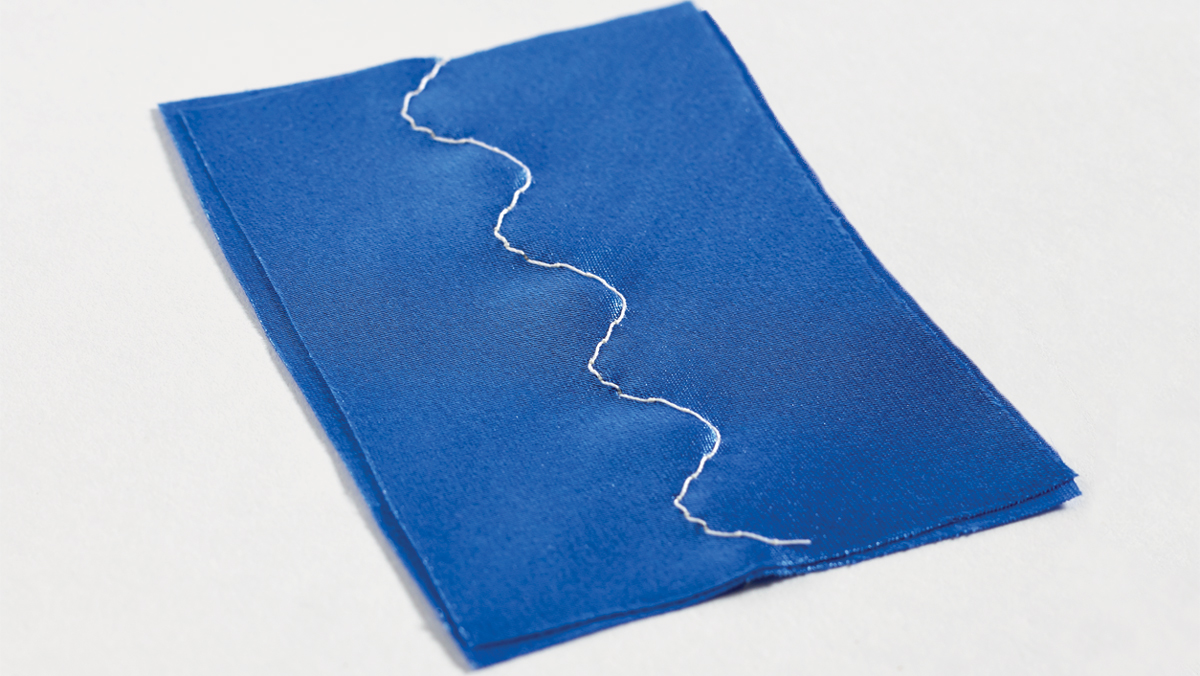
1. Cut two 3-inch squares of silk charmeuse for each button. Place them with right and wrong sides together and the edges matching. Machine-sew a serpentine line down the center.
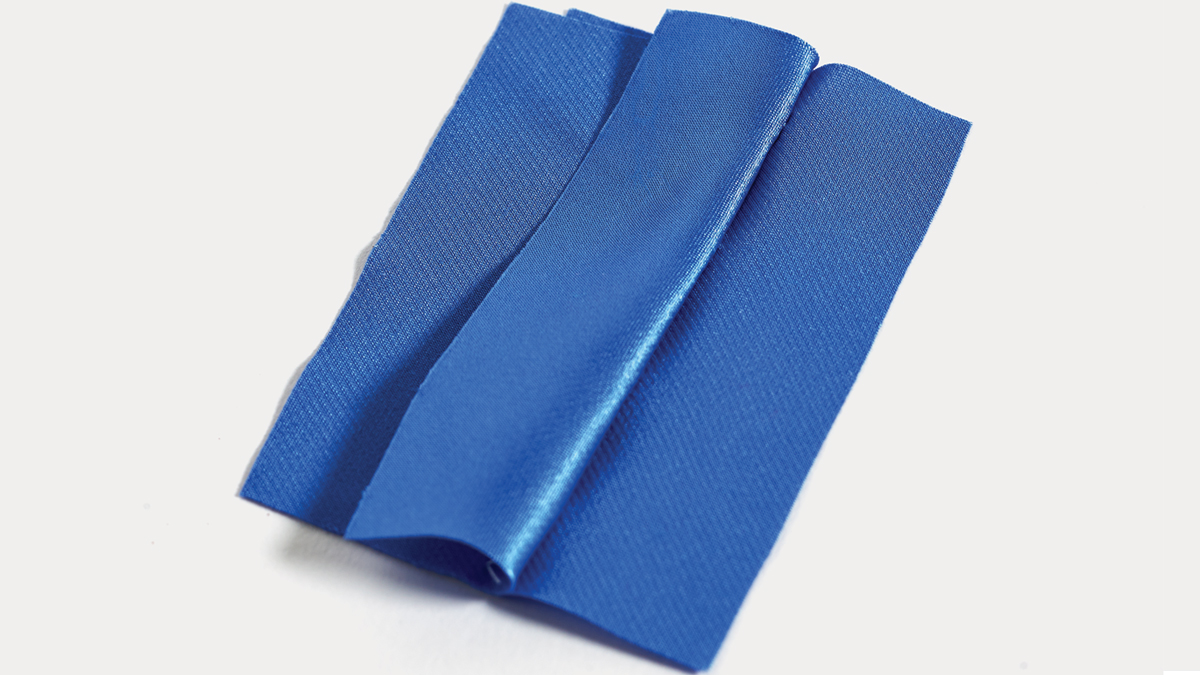
2. Open the fabric layers. Fold along the stitching, bringing the top halves together and the bottom halves together to make the top and bottom layers two-toned, shiny and dull.
3. Fold the square diagonally; set aside. The fold places the edge on the bias.
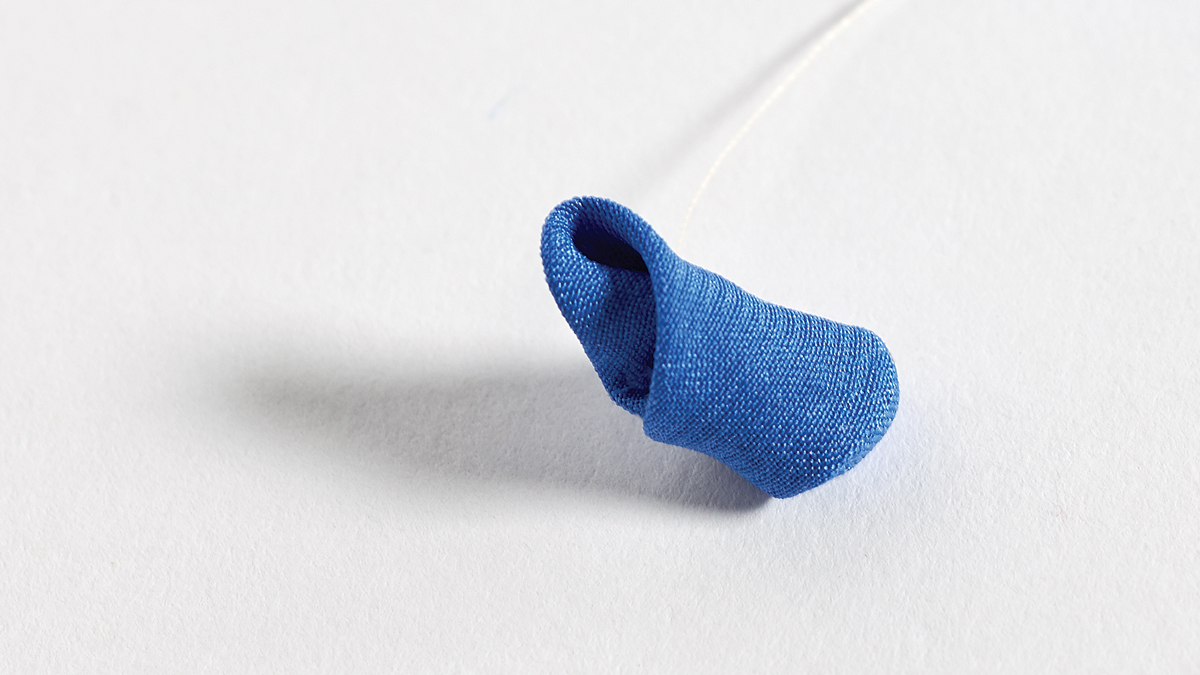
4. Cut a 1-inch charmeuse square from a scrap, and fold it into a triangle with the right sides together. Roll the triangle into the shape of a bud center and hand-stitch the raw edges to secure.
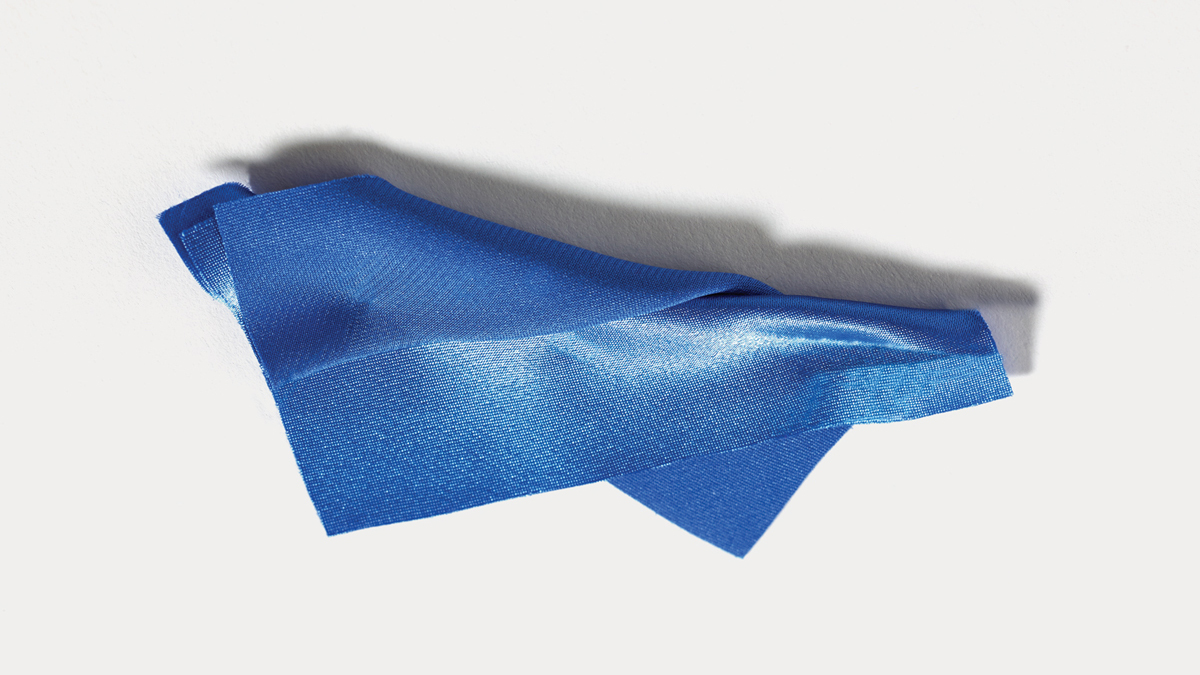
5. Lay the center over the folded piece. Secure with several stitches. All raw edges are turned inside or trimmed.
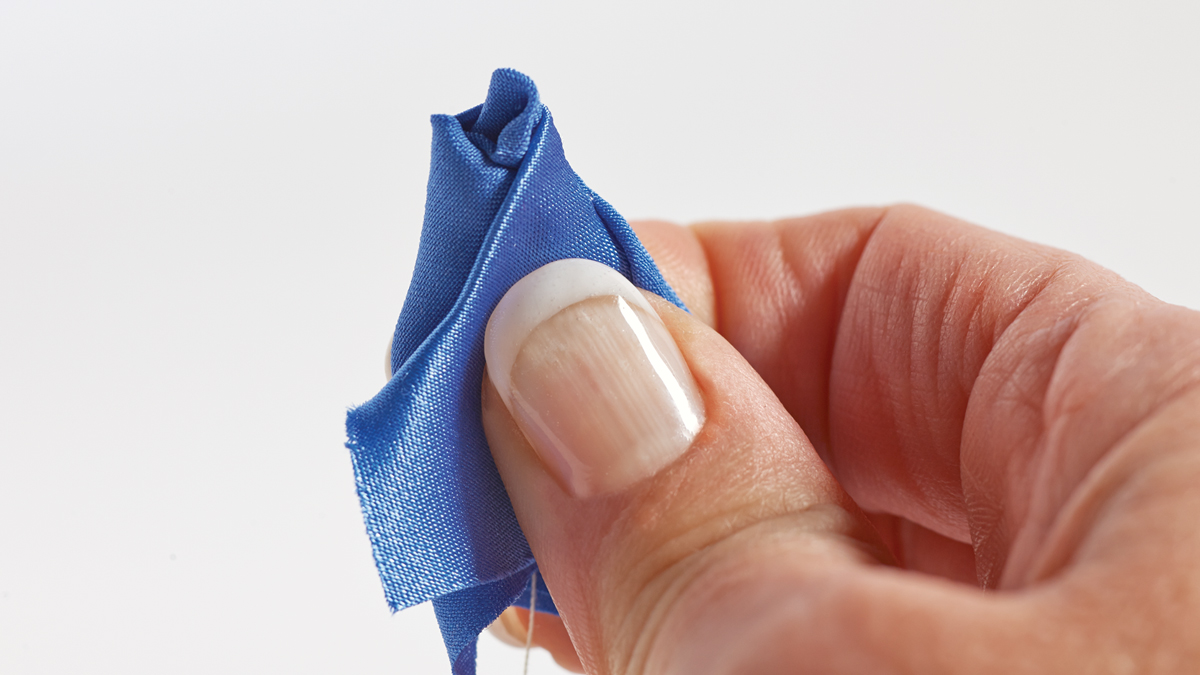
6. Wrap the edges around the bud 5 center to form the major bud.

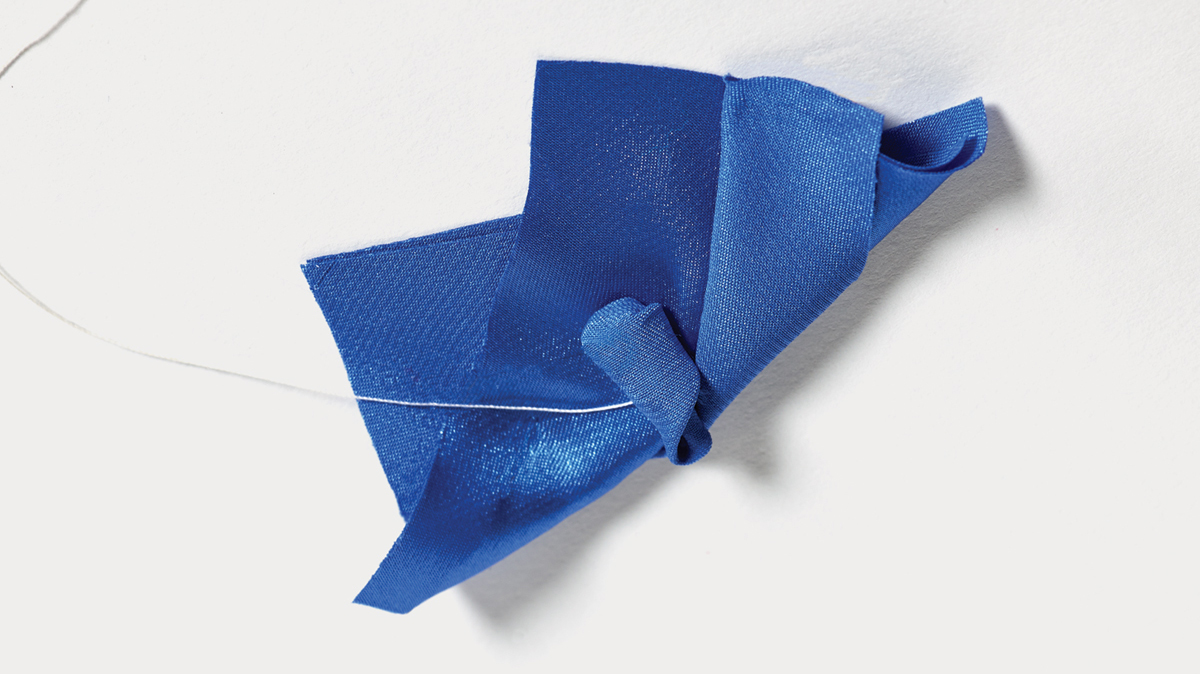
7. Wrap and secure the bud base. Use needle and thread; trim the excess fabric and thread tails.
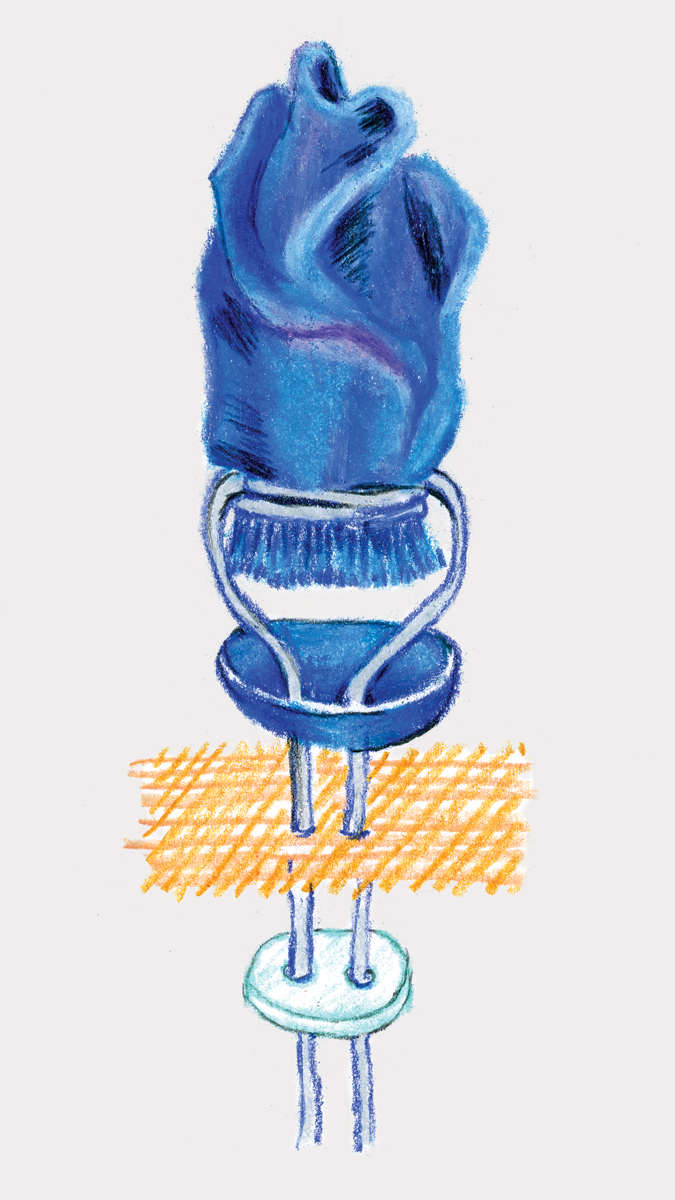
8. Mold a cup shape from oven-bake clay (Sculpey or Fimo) to fit the base. Use a large needle to make two holes in the base. Follow the manufacturer’s directions to bake.

9. Stitch through the secured bud above the tied thread, and add a dot of glue to the bud base. Pull the double-ended threads through the holes in the clay cup, then through the fabric, and secure by knotting on the wrong side of a clear backer button.
Judith Neukam is former executive editor at Threads.


I'm sorry but the button you've made looks nothing like the buttons on the dress. Pity.