

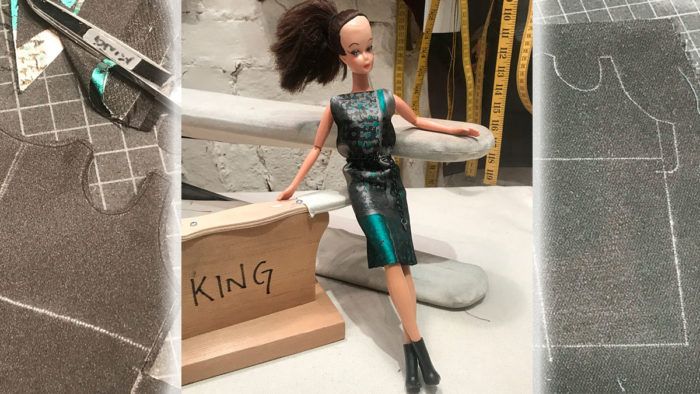
I’ve gotten a number of requests for the pattern to this little sheath dress, so Crazy Bella, my 11 1/2-inch-tall sidekick, suggested we give it out and show how to make it.
Pattern and marking
The little dress pattern is a PDF file you can download by clicking here.
It will print on a standard 8.5-inch by 11-inch sheet of paper.
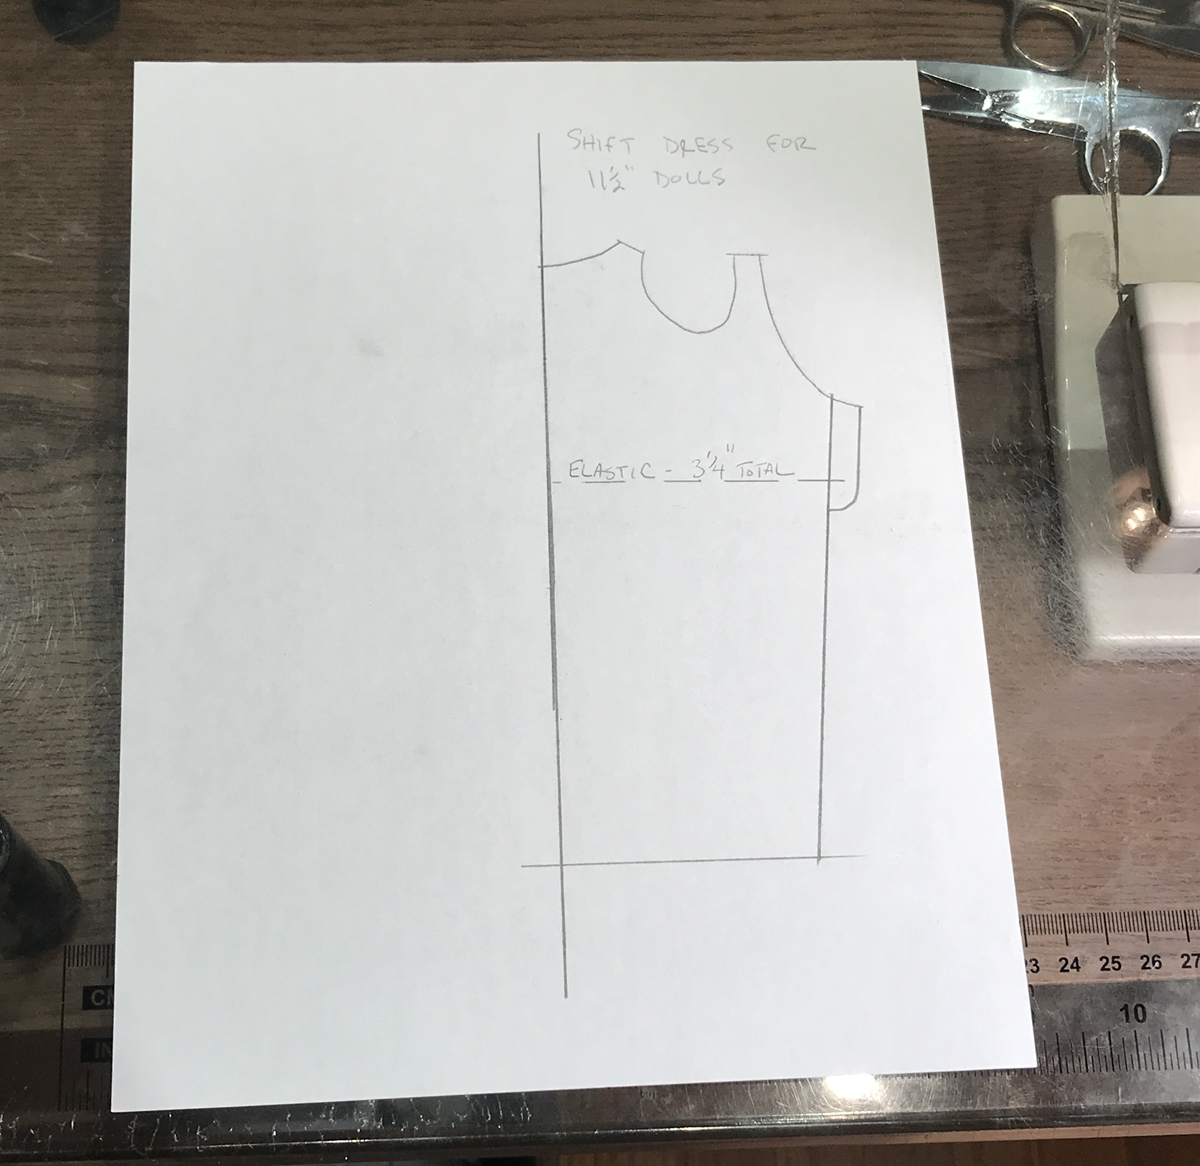
Fold the paper on the line at the center front.
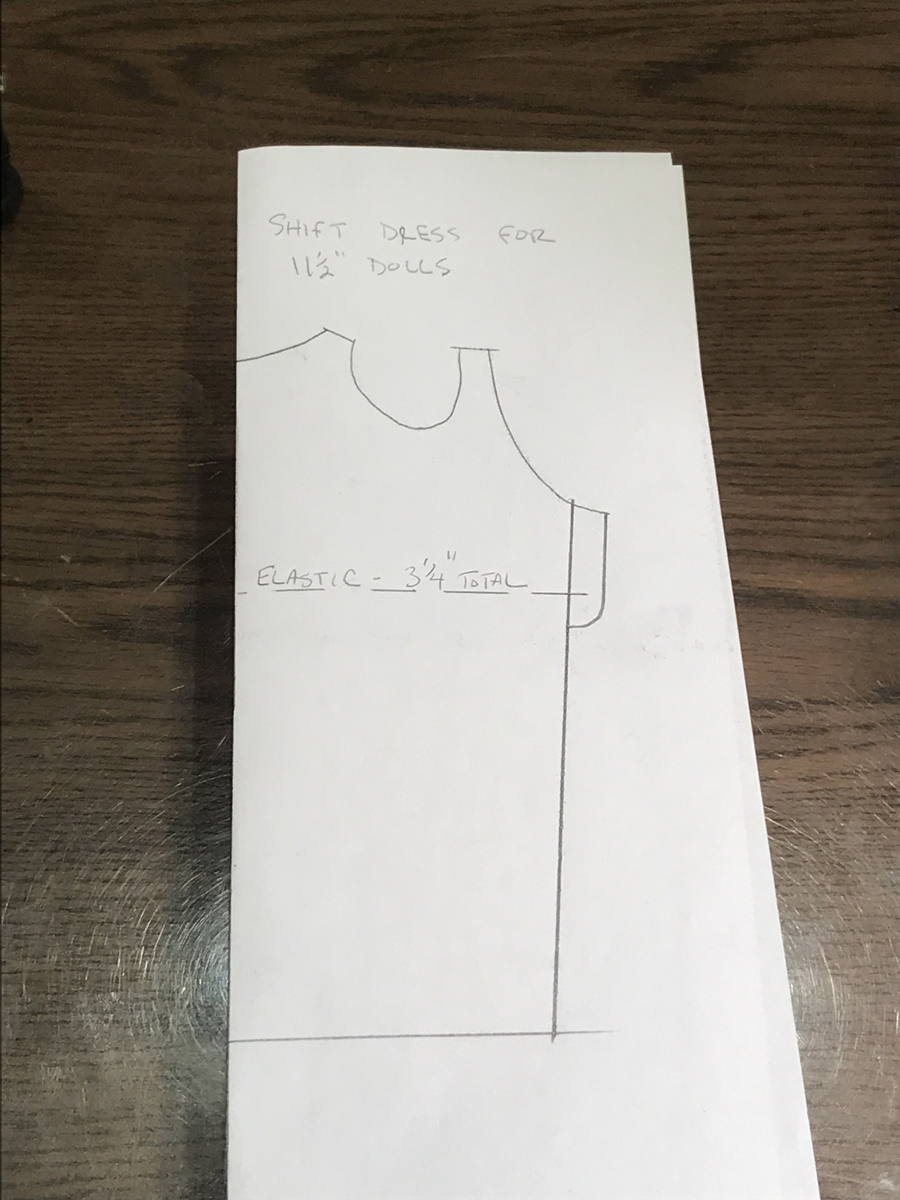
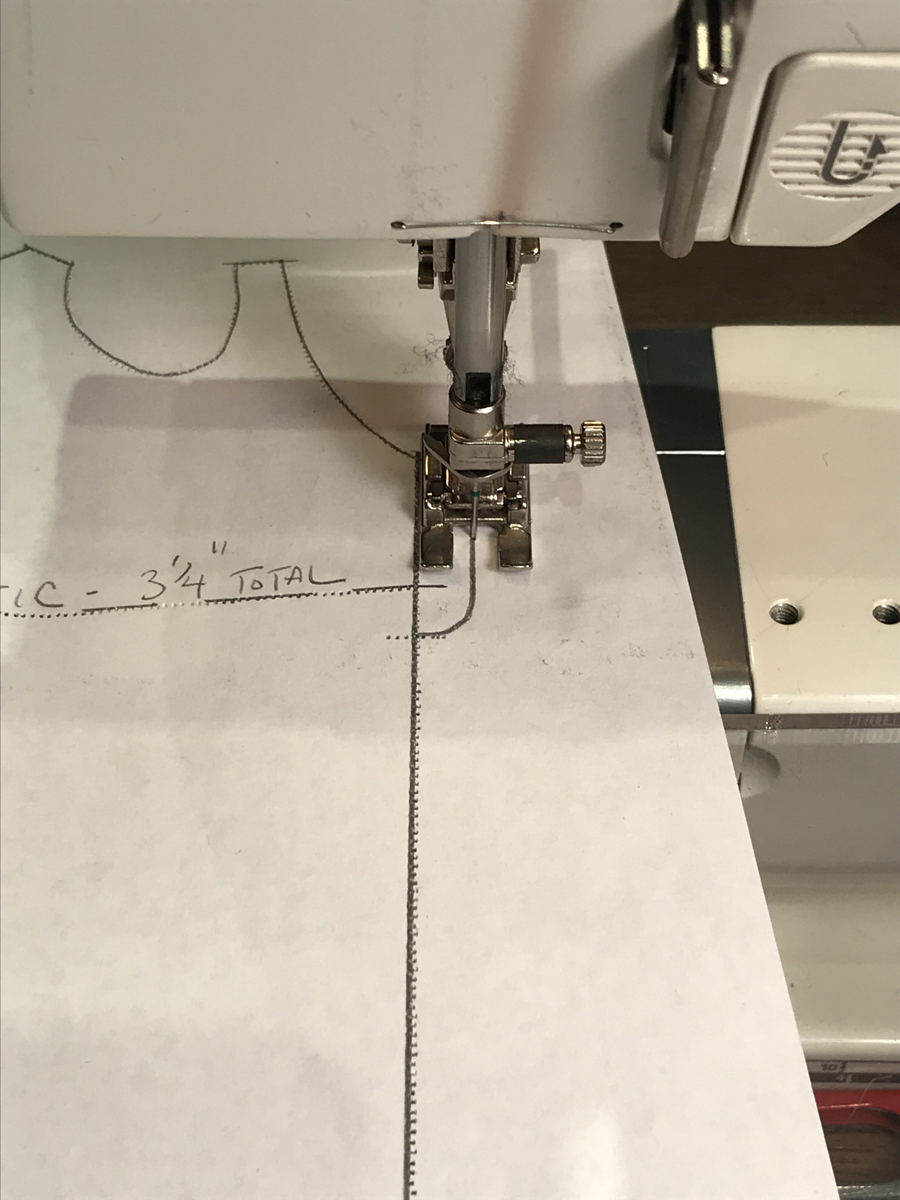
Unthread your machine and sew through both layers, using a 1.5 mm stitch length. Don’t sew the underlap portion of the pattern yet.
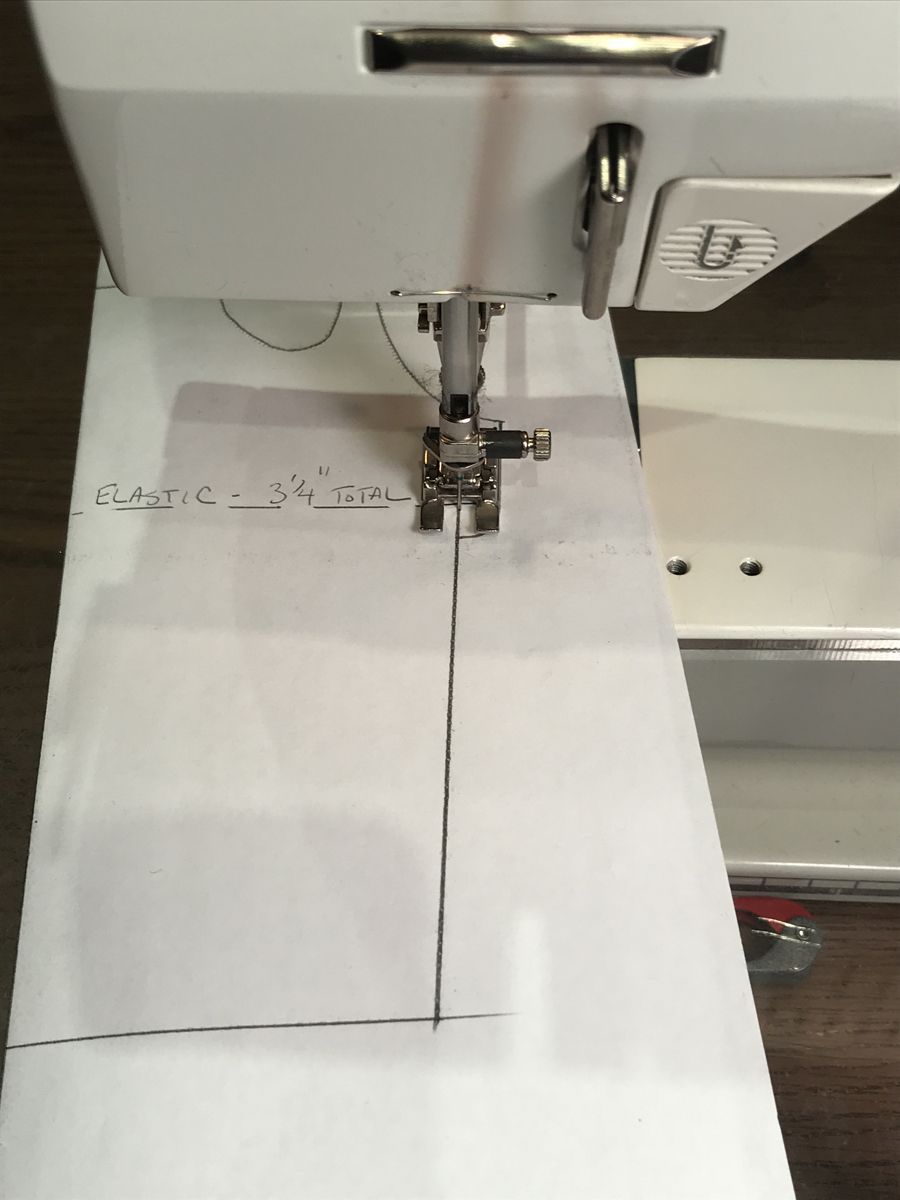
Unfold the paper. You will stitch the underlap (shaded portion) next.
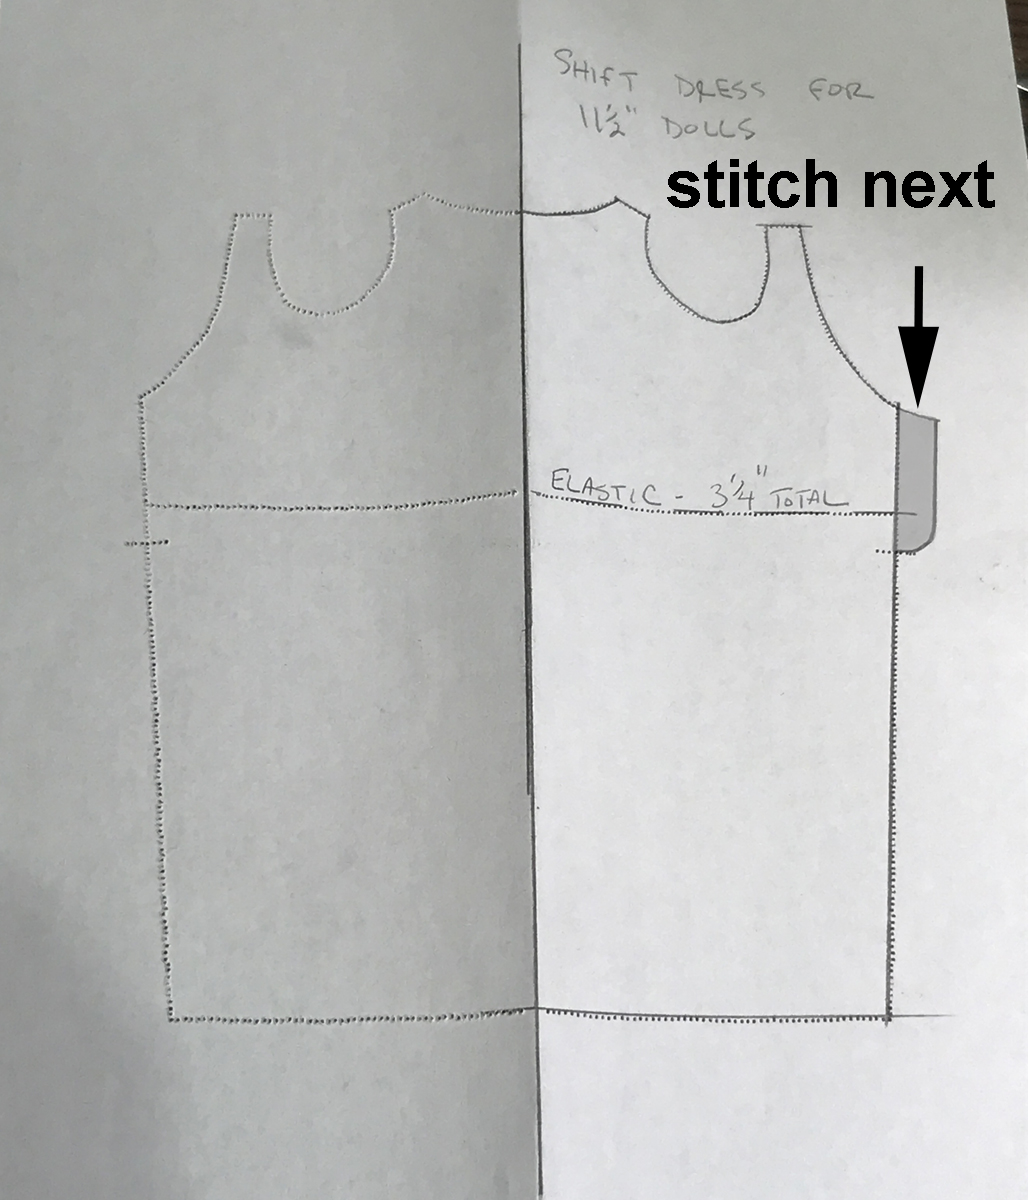
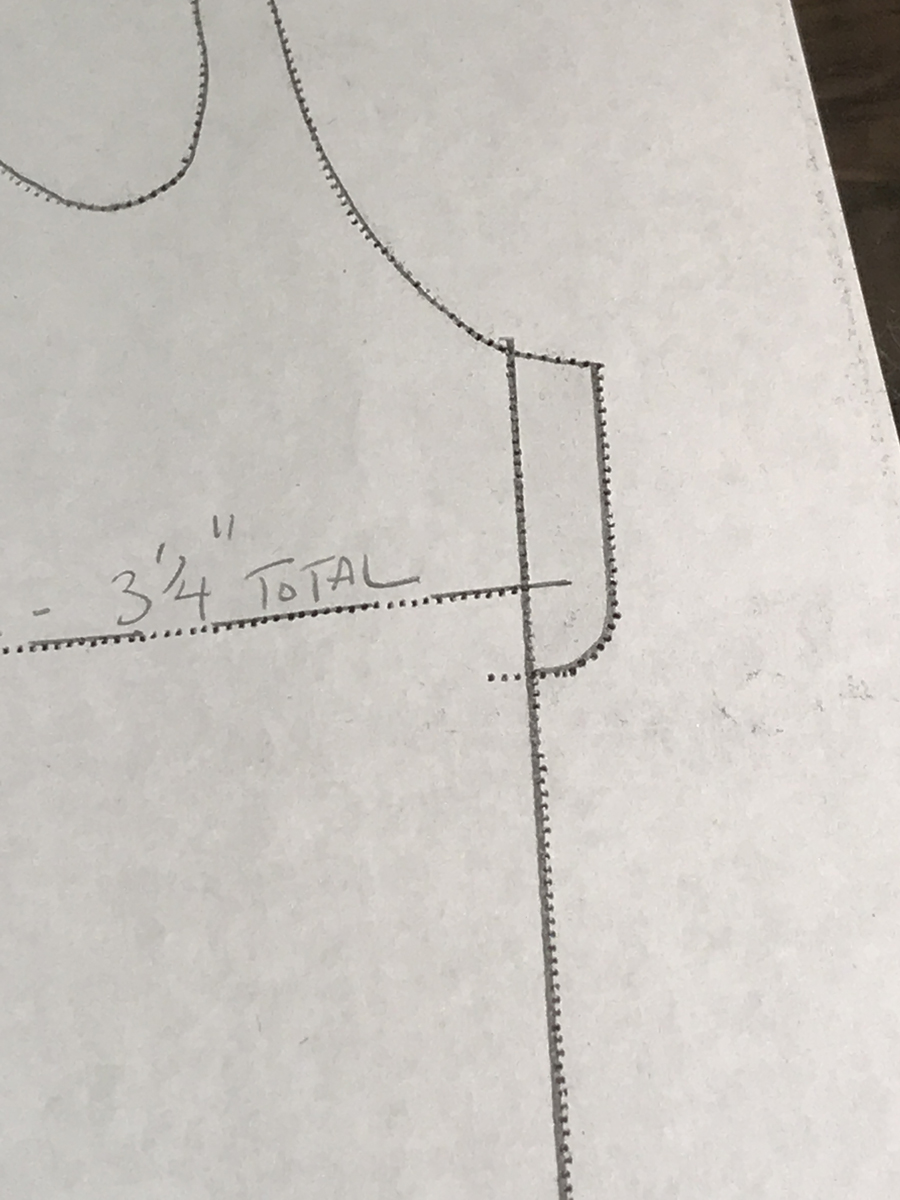
Stitch through one layer of paper when stitching the underlap.
Now you have a complete pattern.
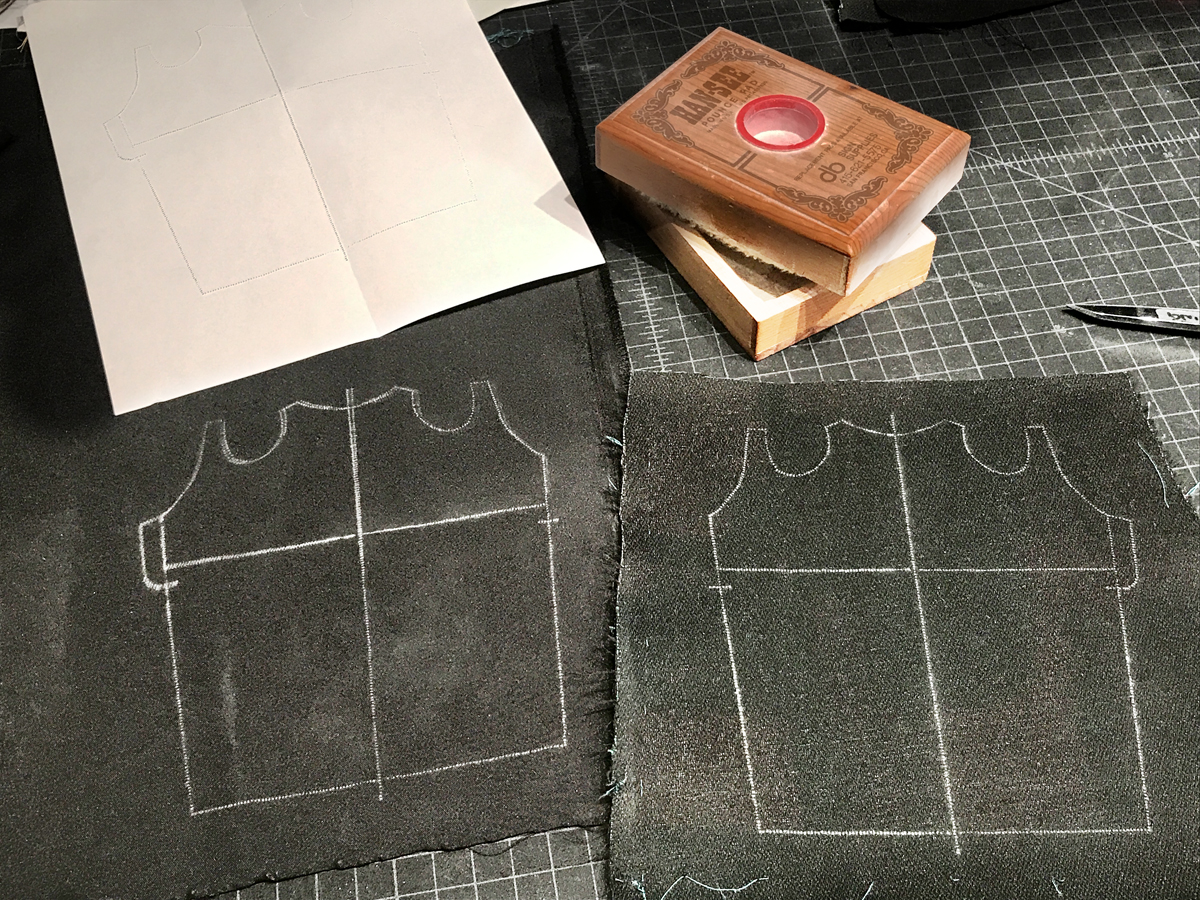
Lay the pattern on the wrong side of the fabric. Use the pounce pad to mark the stitching lines on the wrong side of the fabric.
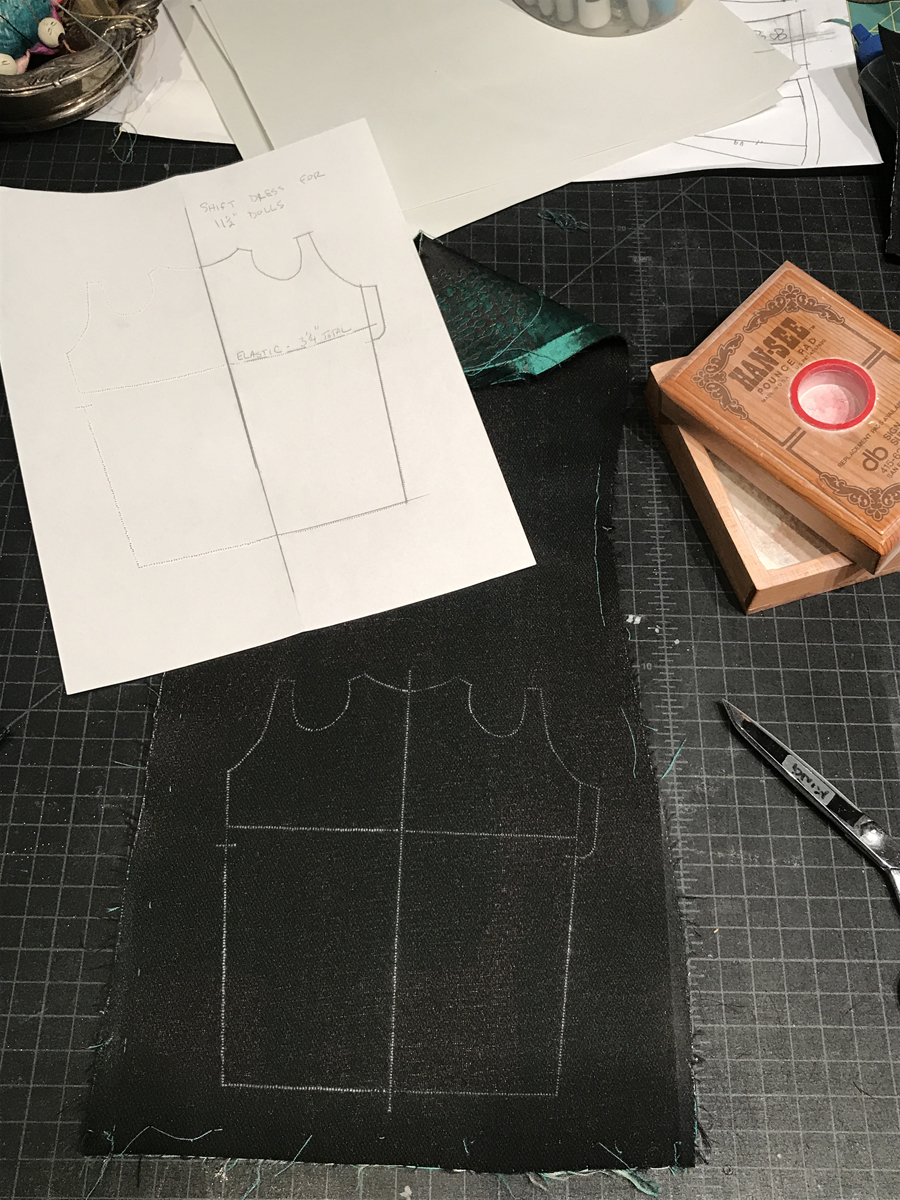
Turn the paper over, and lay it on the wrong side of the lining. Mark with the pounce pad. This will give a mirror image of the dress, so both pieces can be sewn together correctly.
Construction
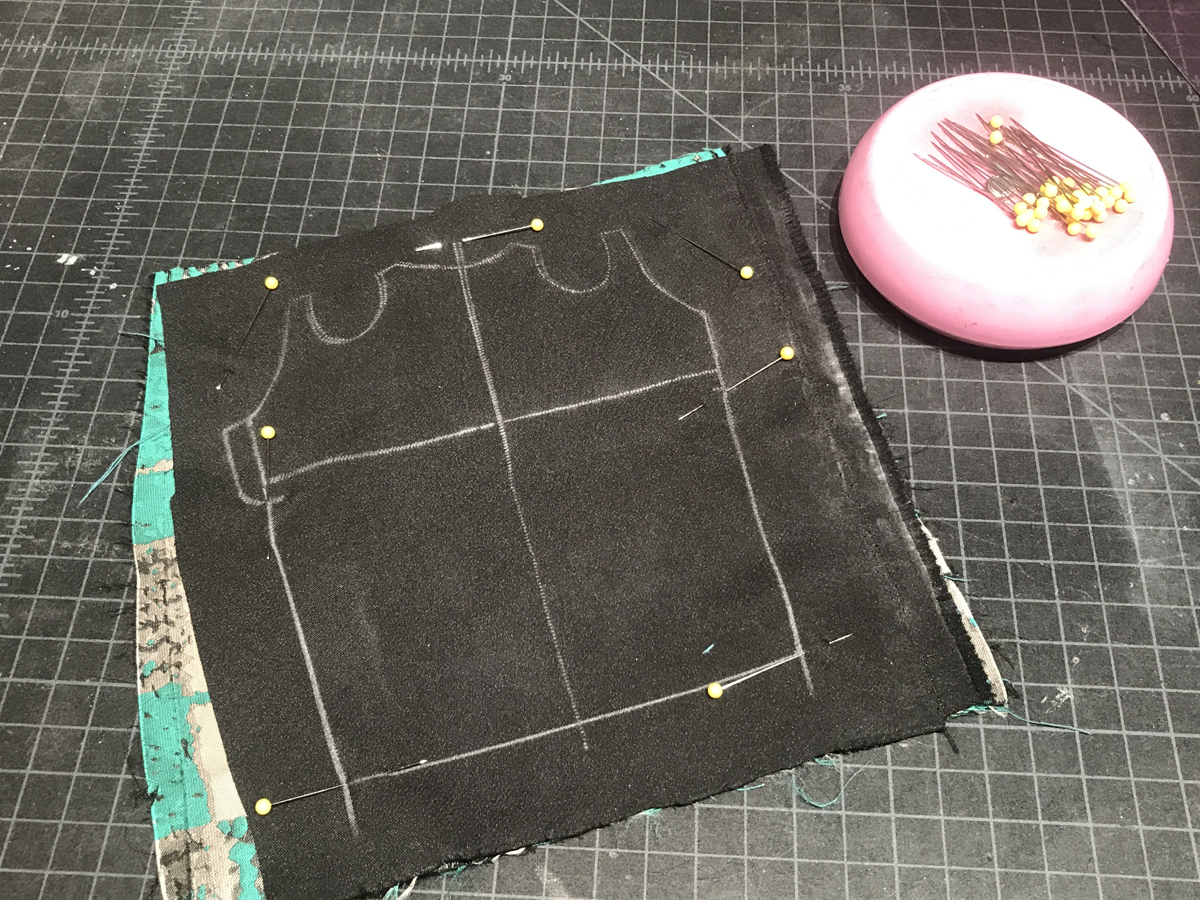
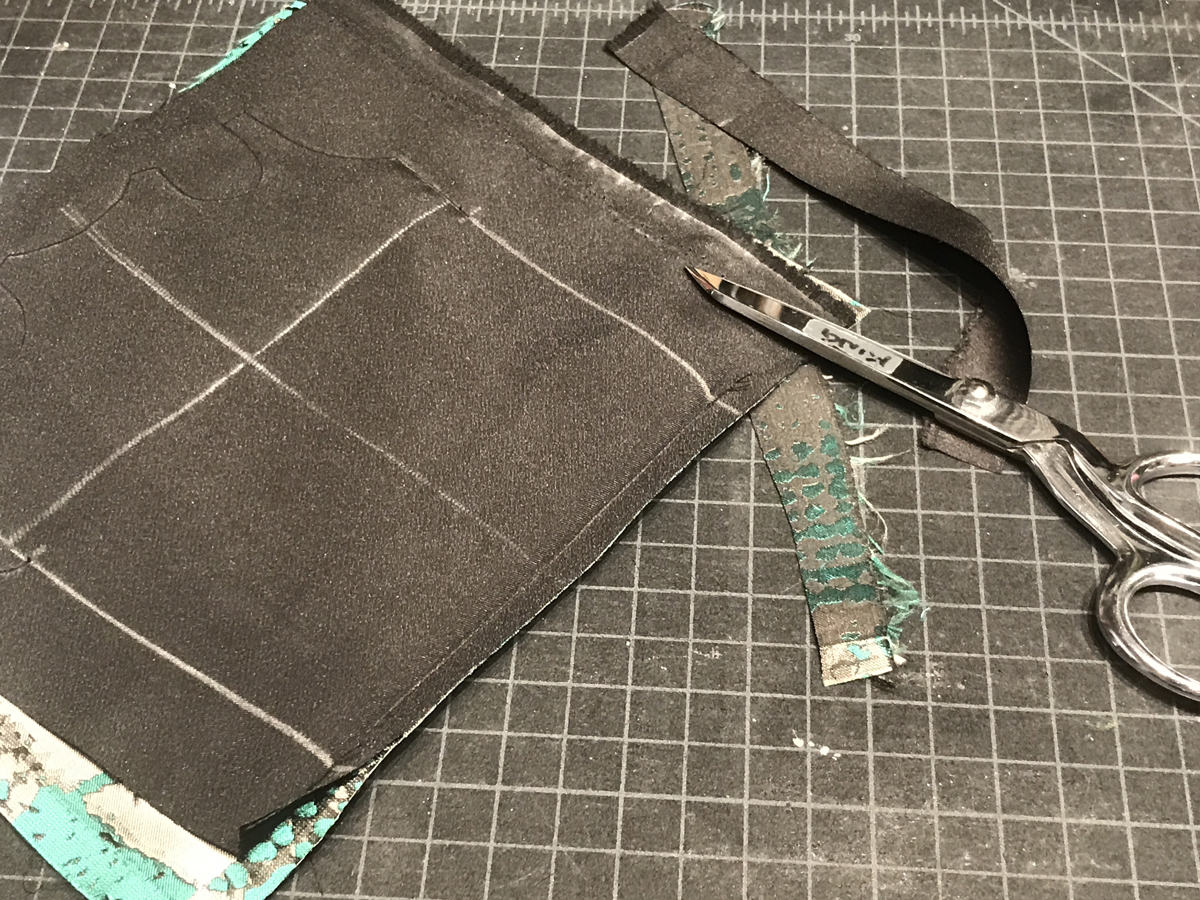
Don’t cut around the marked pattern yet; it’s easier to handle these tiny pieces with some fabric around the edges. You’ll trim close to the seamlines after stitching. Pin the two pieces together, right sides together.
Sew the hem.

Next, sew the upper portion of the dress, as shown. Make the stitch length 0.75 mm. This is stronger, and helps you steer the fabric through the machine.
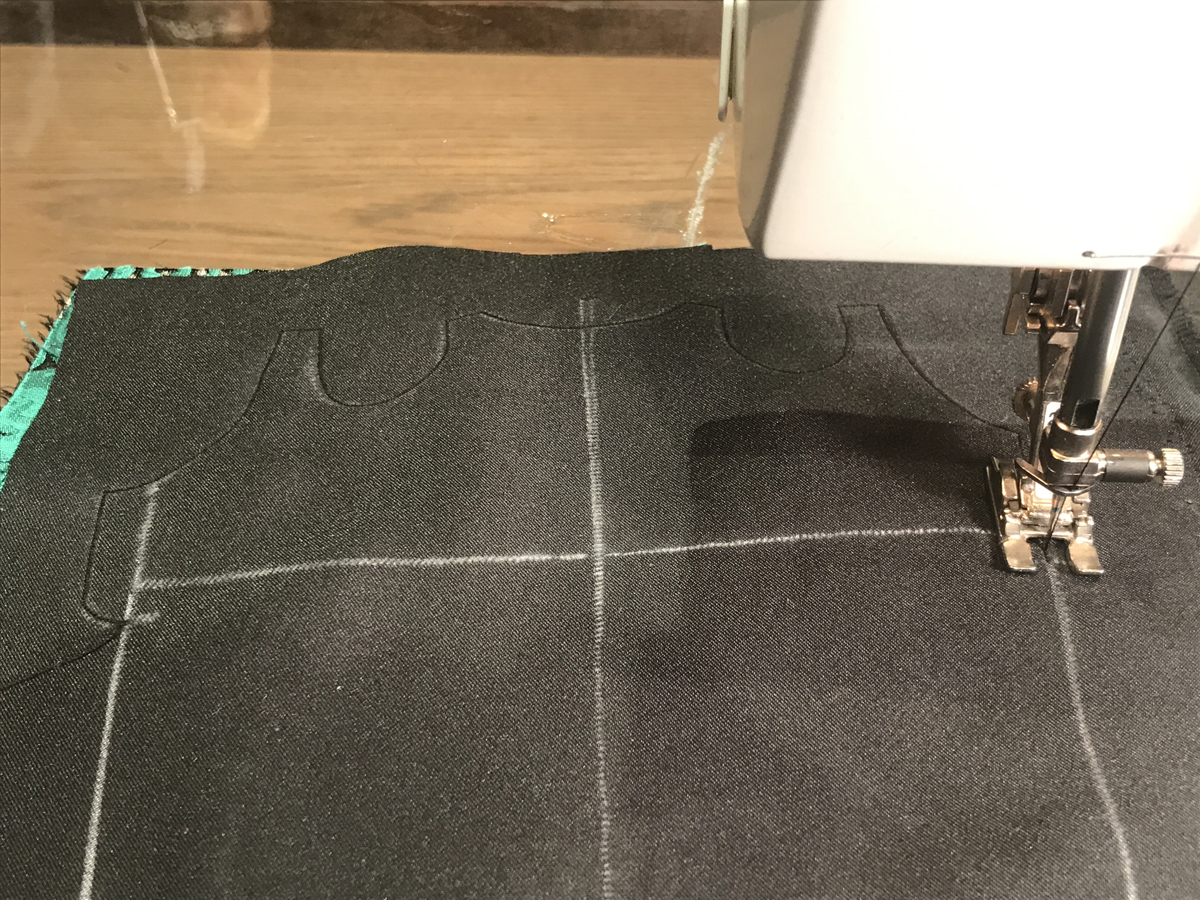
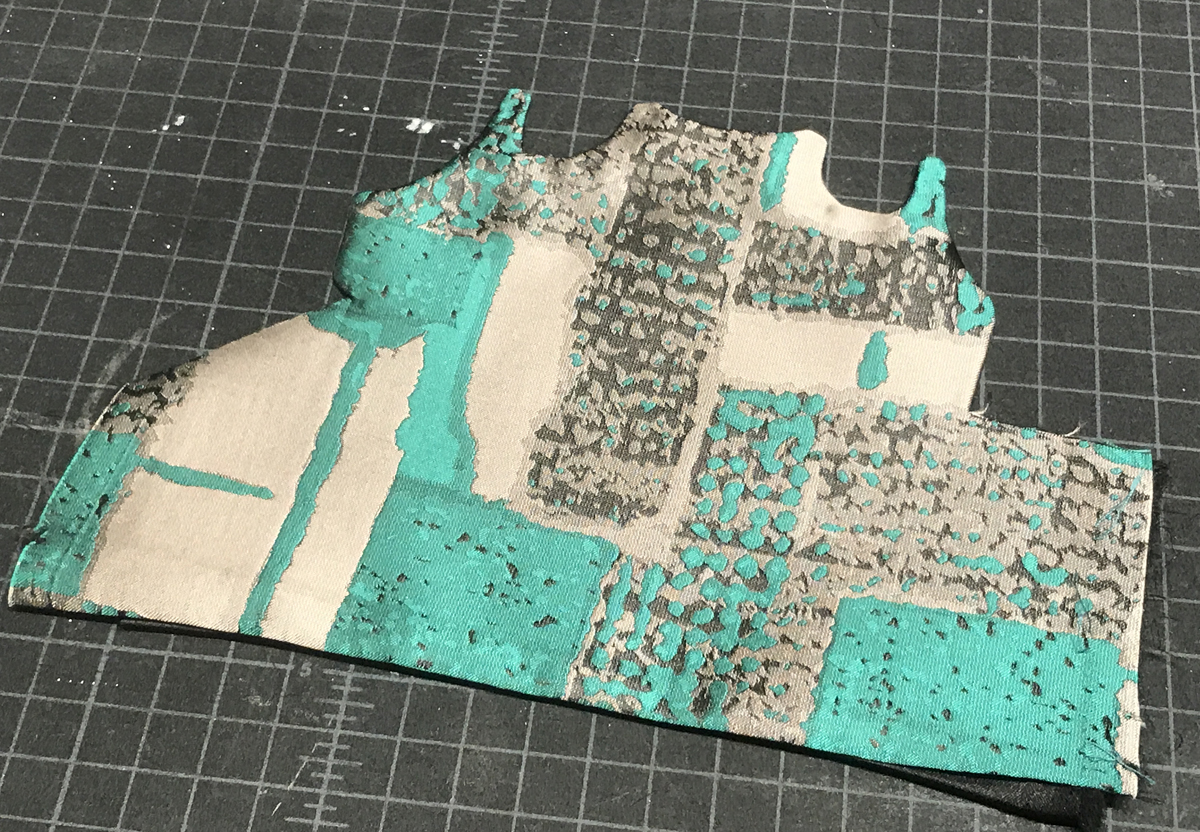
Here is the dress with the stitching sewn.

Press the hem seam allowances toward the lining.
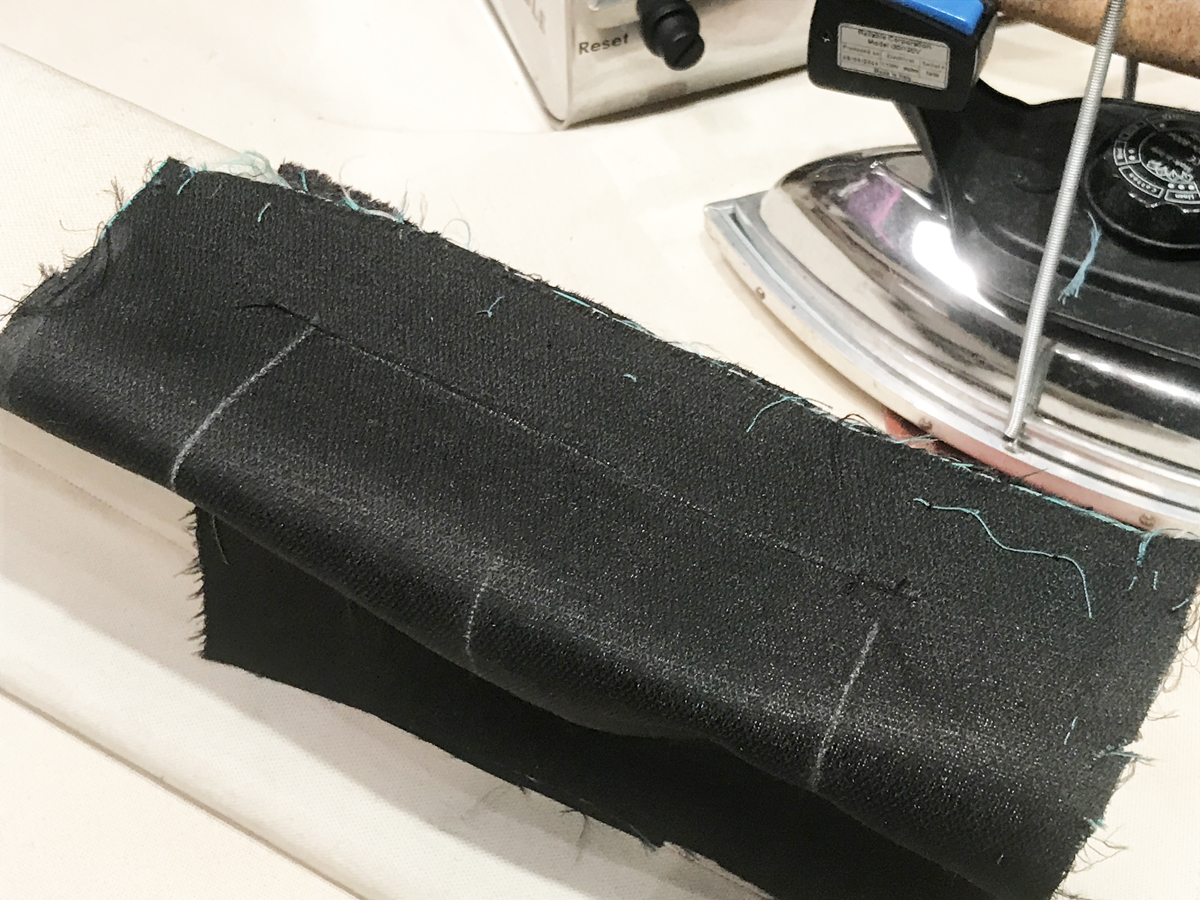
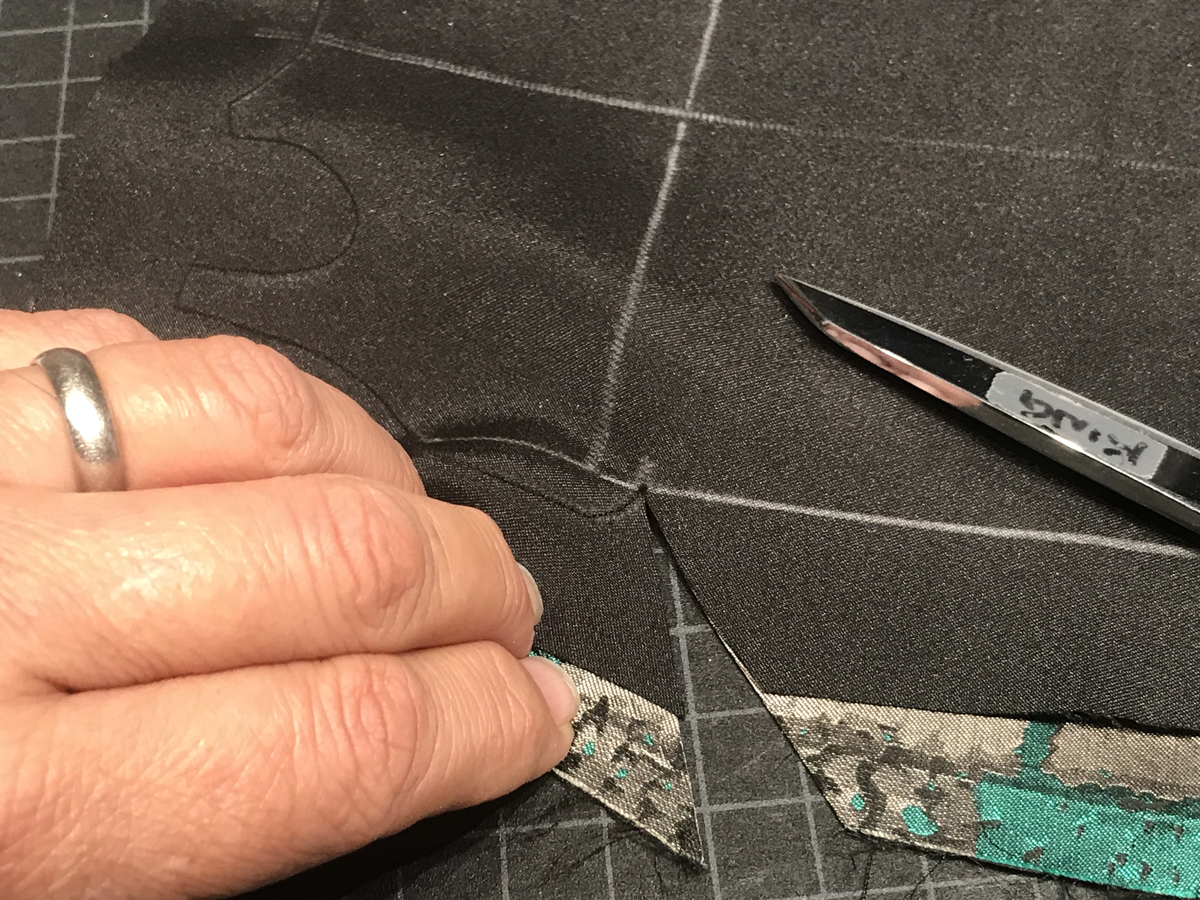
Trim the seam allowances to 1/4 inch.
Clip at the points where the center back openings end.
 |
 |
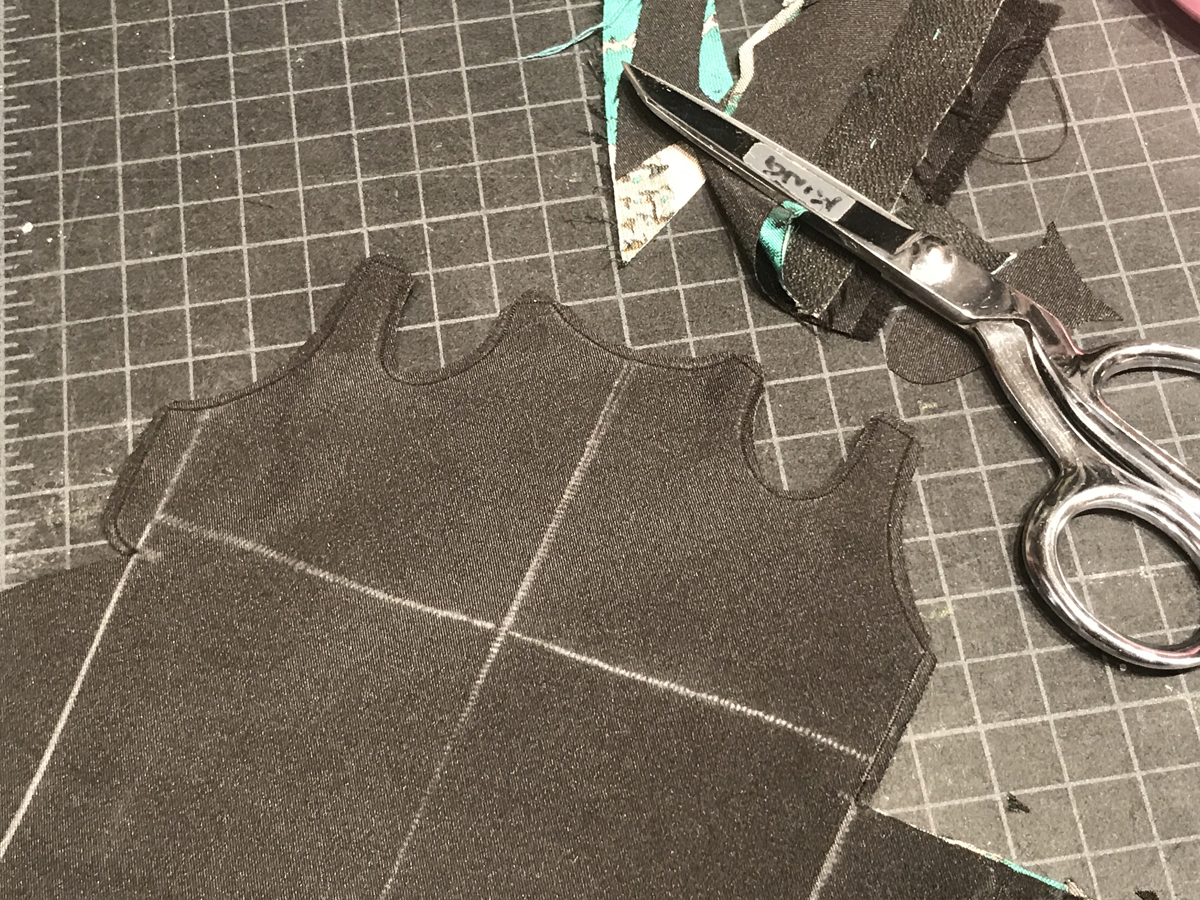
Trim the seam allowances on the upper portion of the dress to 1/8 inch. Clip corners and curves.
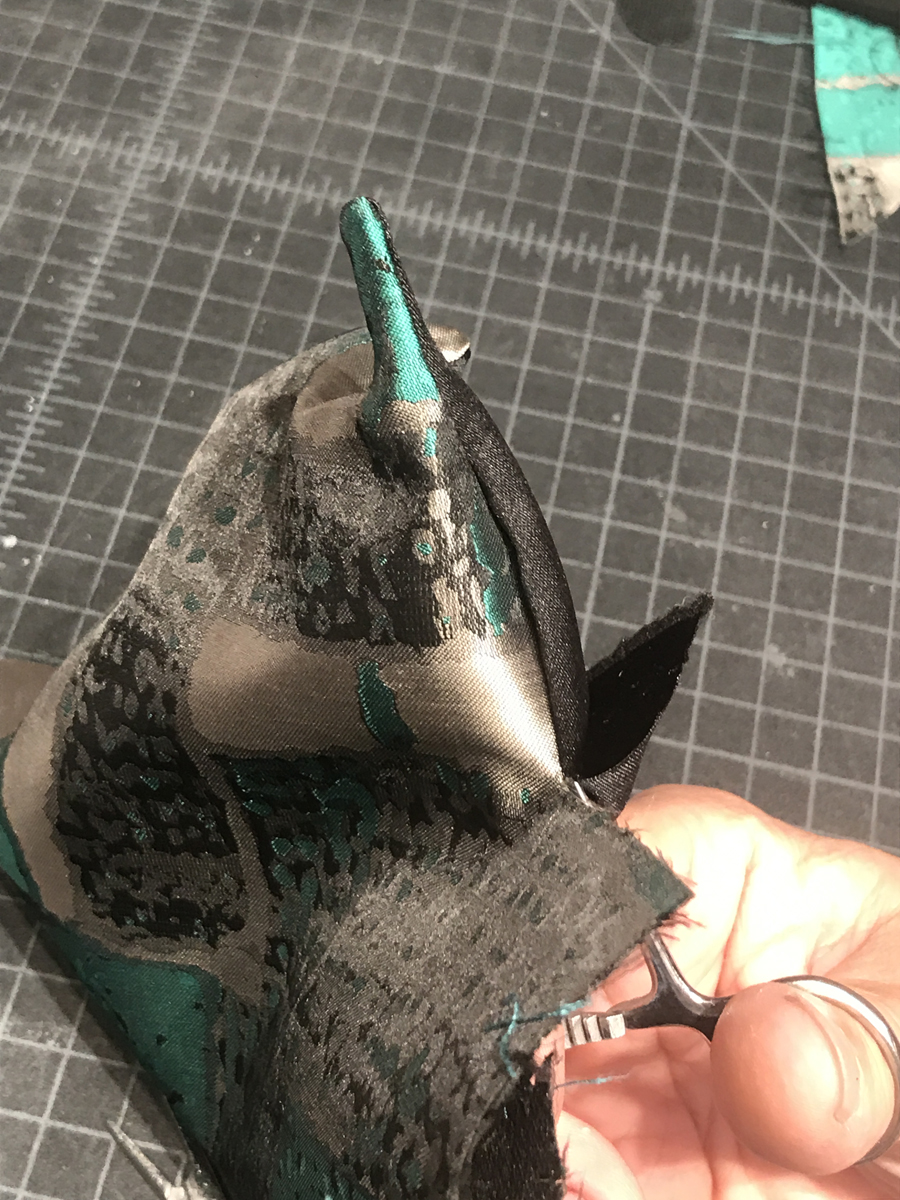
You can use a hemostat—a clamping tool most often used in medical settings—to turn the shoulders.
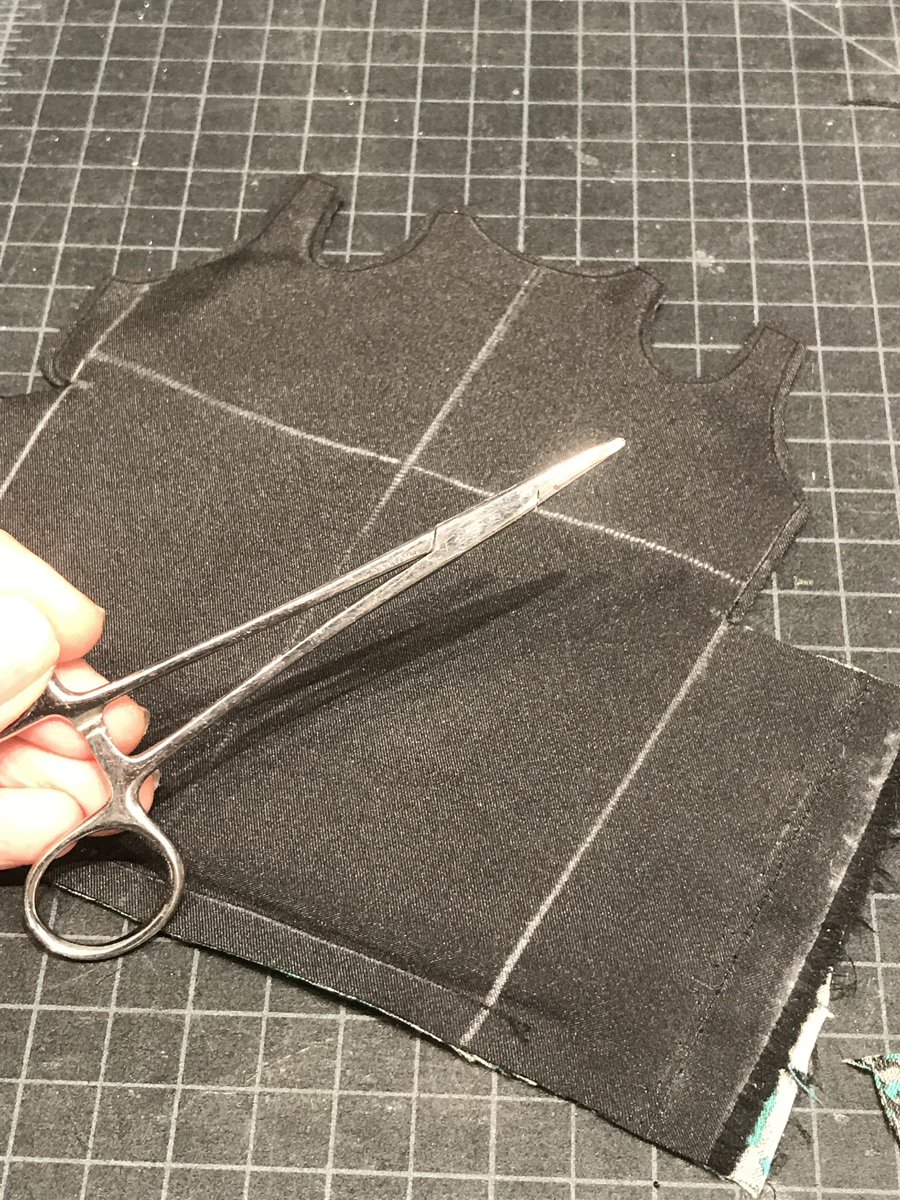
Reach into the shoulders with the hemostat, grasp the shoulder seams, and pull the work right side out.
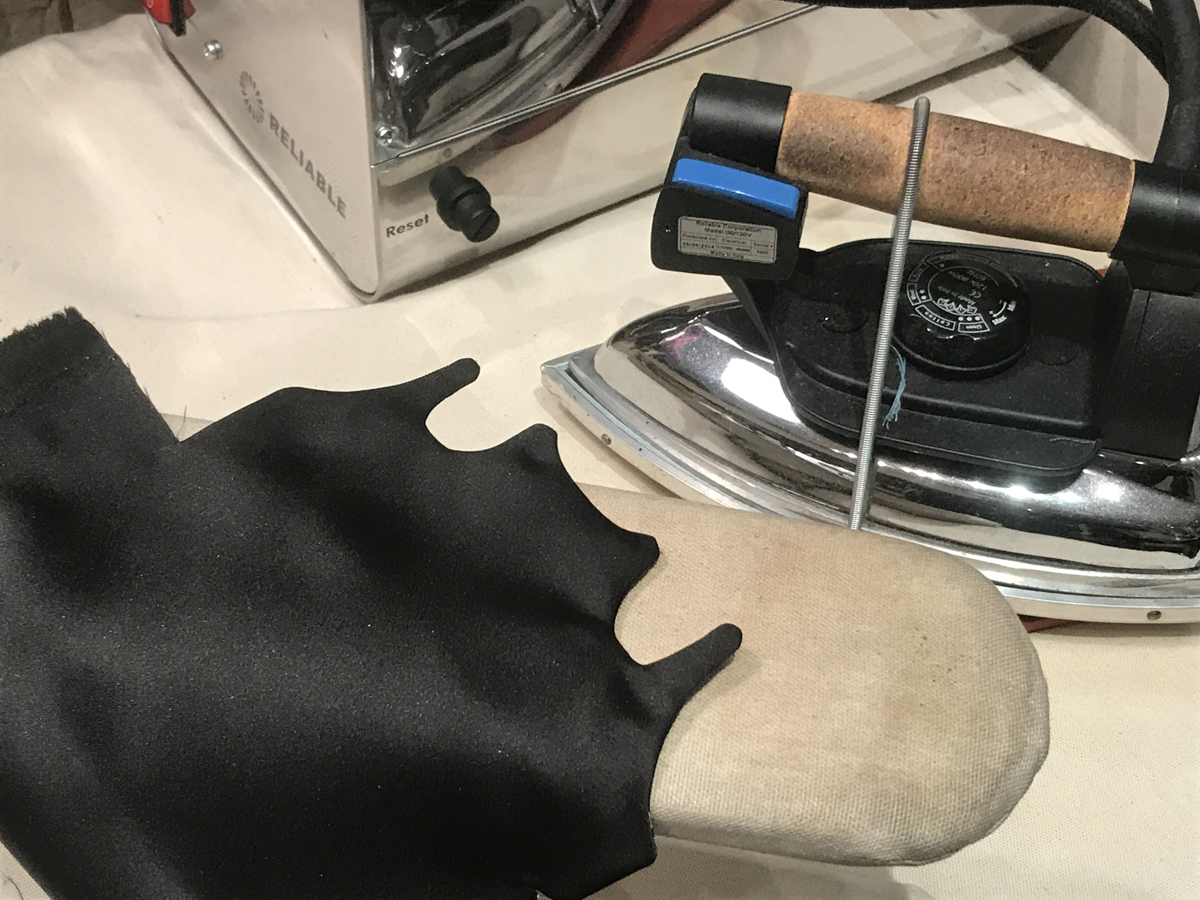
Turn the dress right side out and press.
 |
 |
Finishing
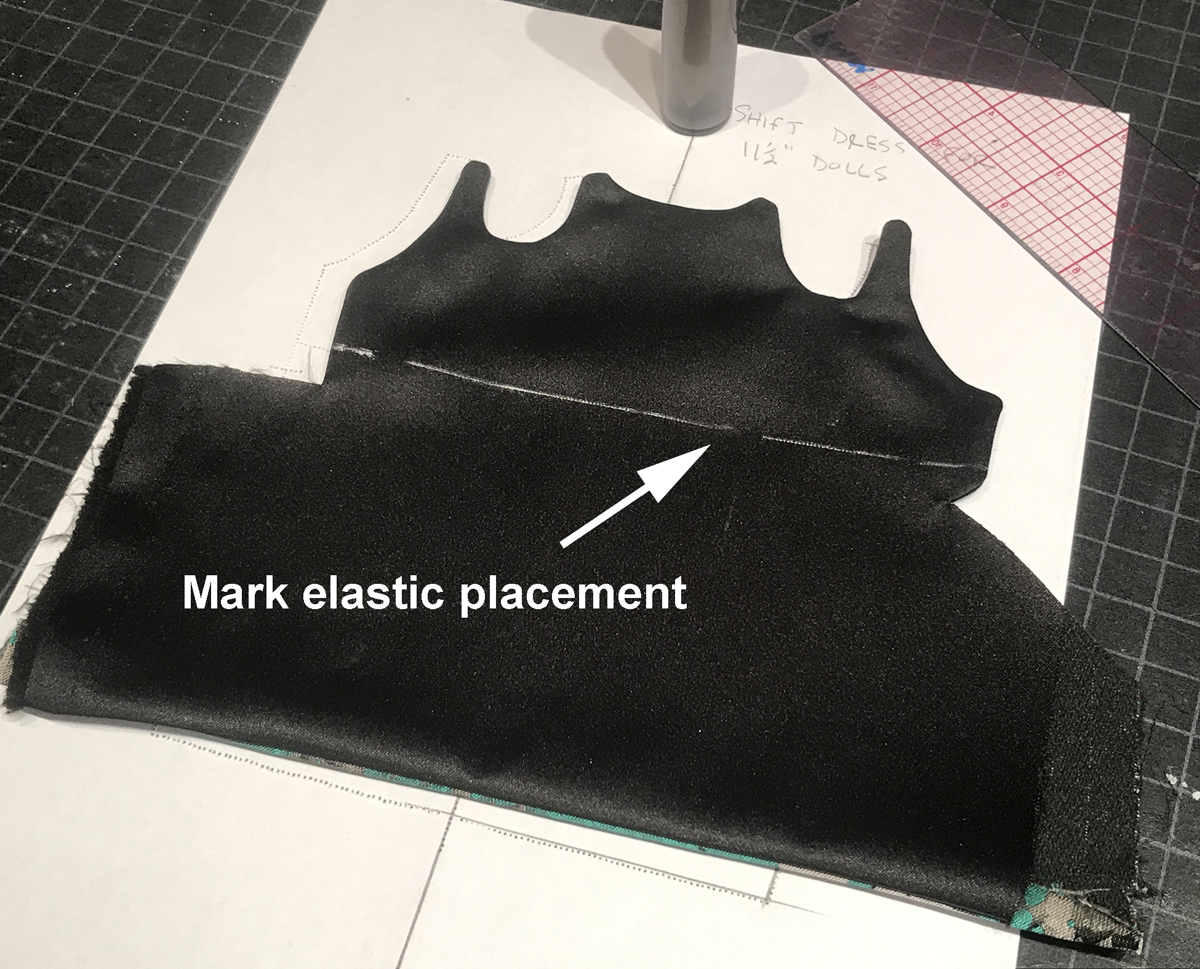
Mark the level of the waist elastic on the lining side of the dress.
 |
 |
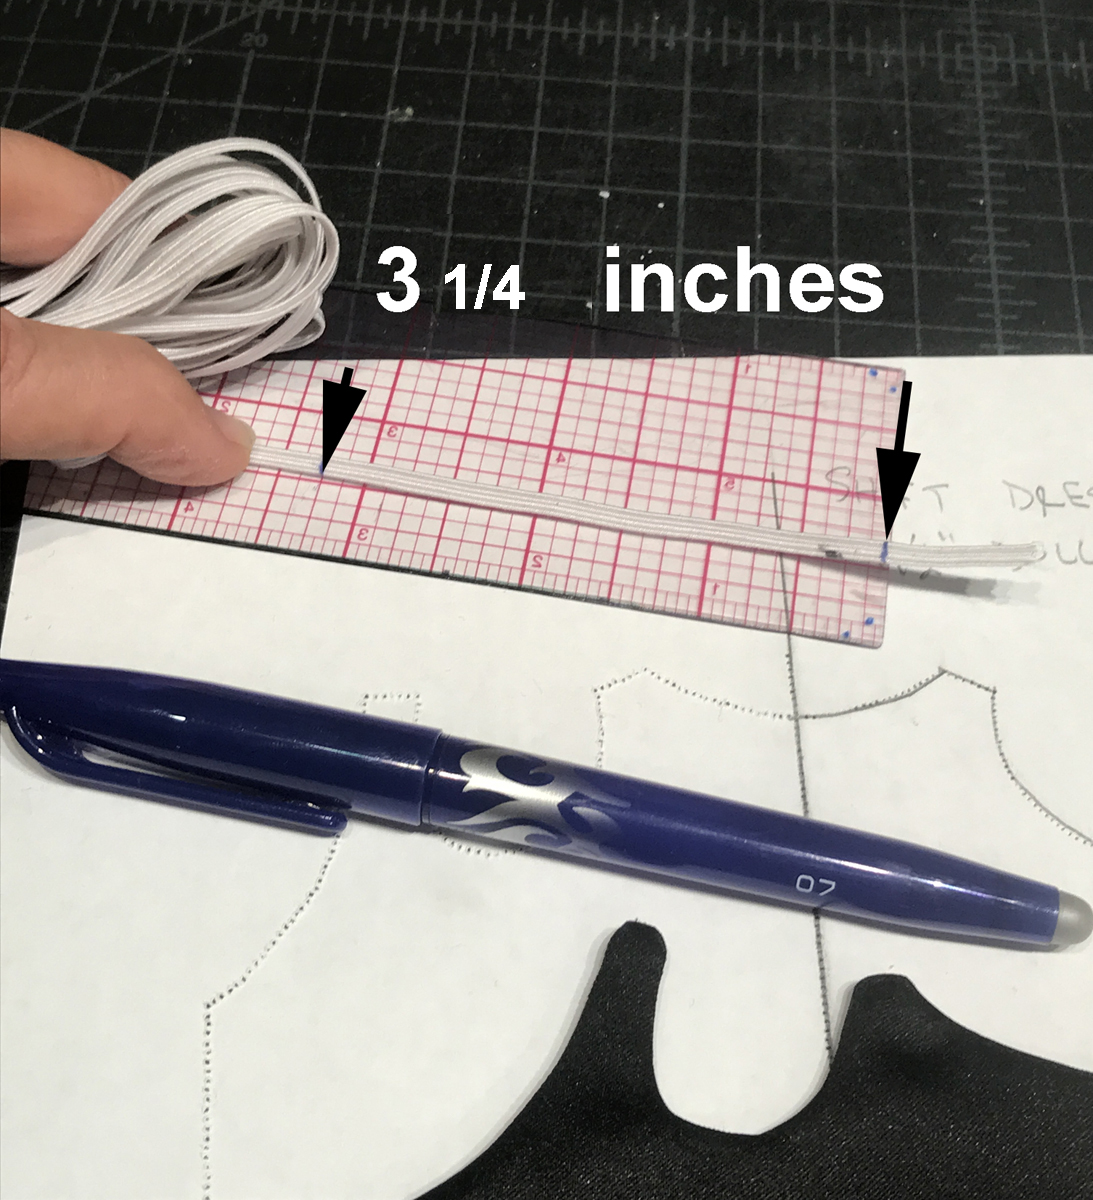
Using 3/8-inch-wide elastic, mark points 3 1/4 inches apart.
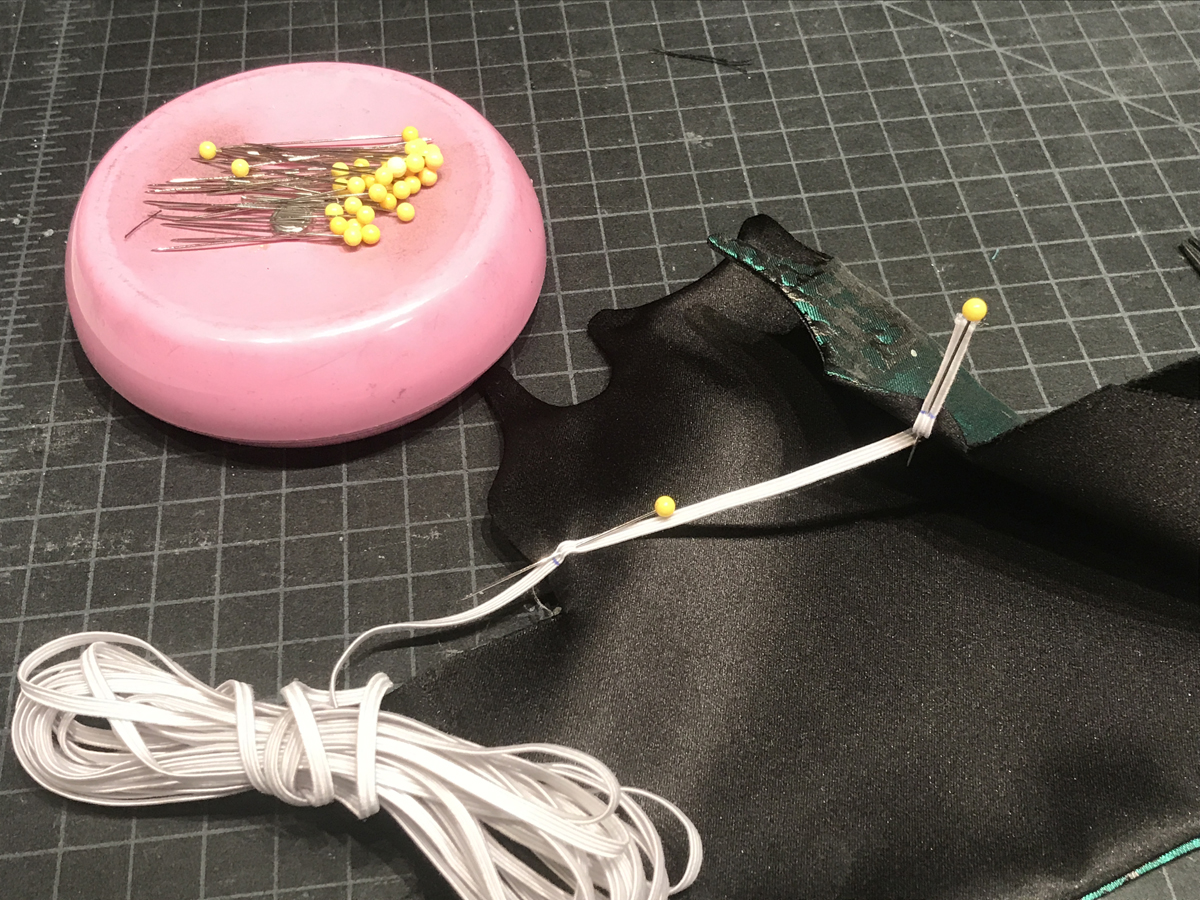
Pin the elastic to the lining side of the dress.
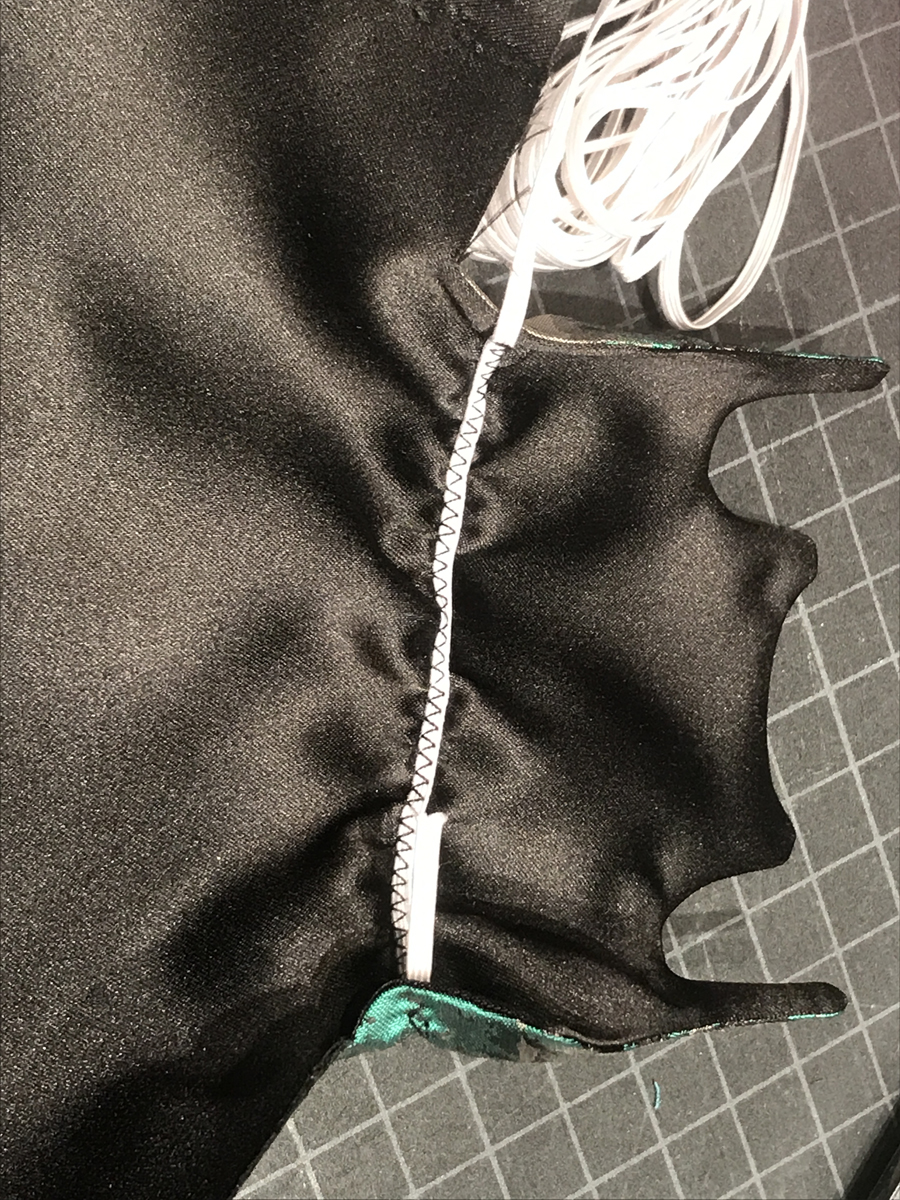
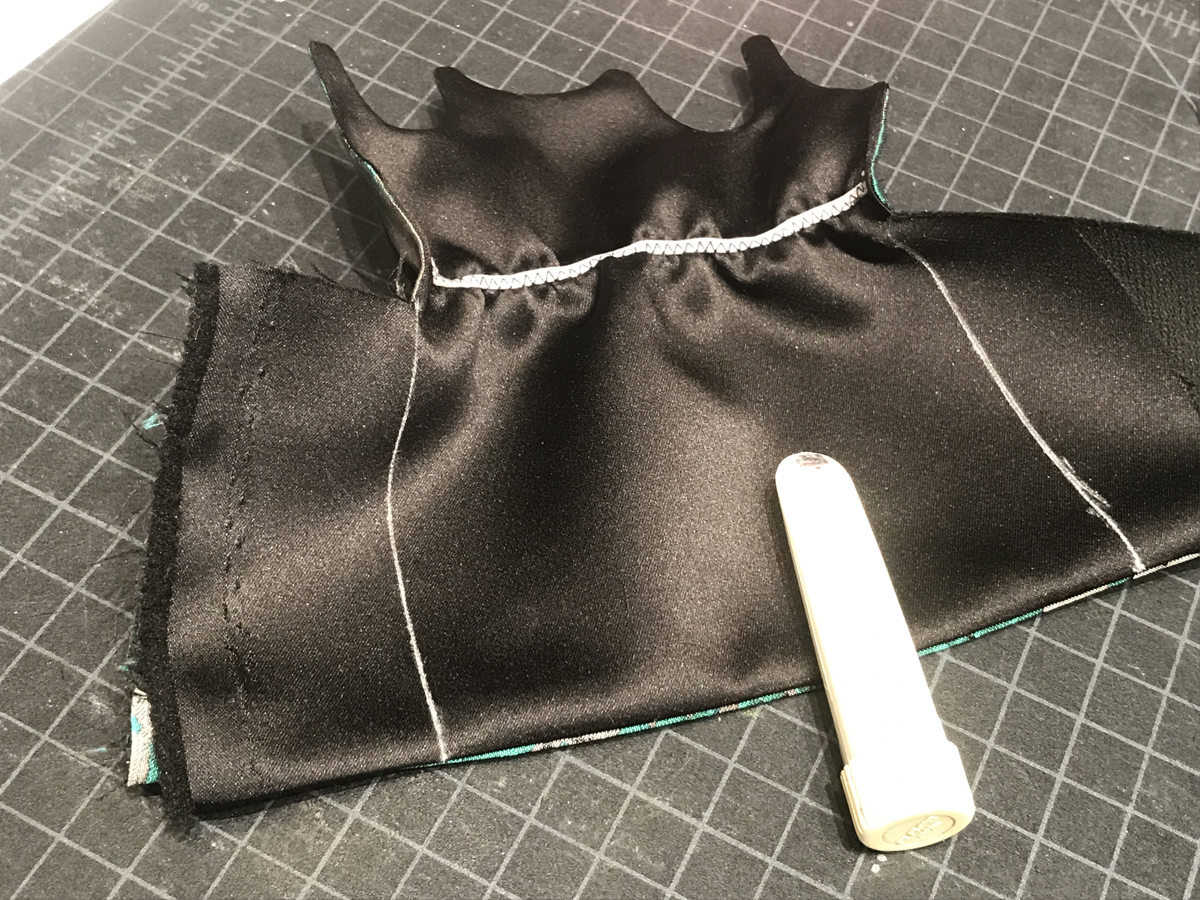
Sew with a zigzag stitch that’s 2.0 mm wide and 2.0 mm long, stretching the elastic to fit the dress width as you sew.
Mark the center-back stitching lines. You can look at the wrong side of the fabric to find them.
 |
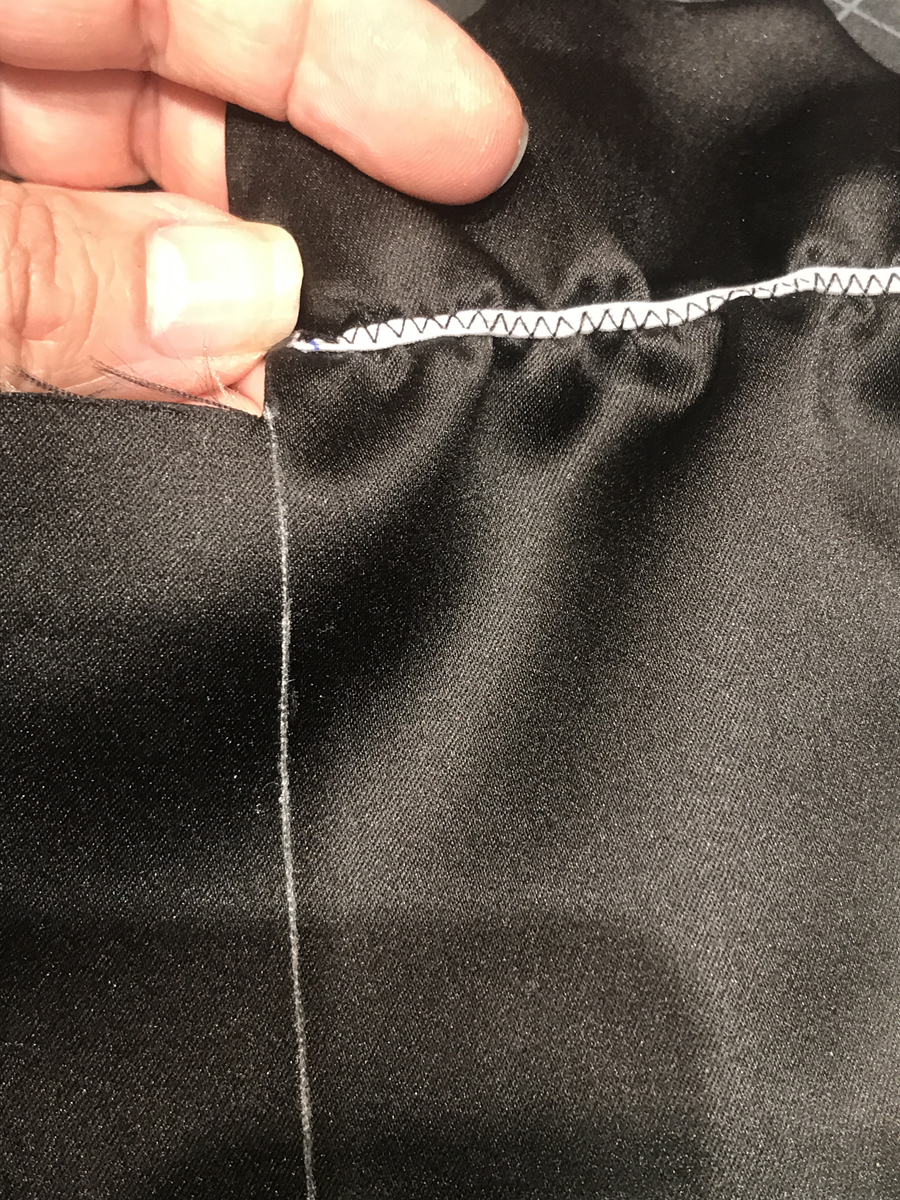 |
Pin and sew the center-back seam together, through all four layers (two of fashion fabric and two of lining).
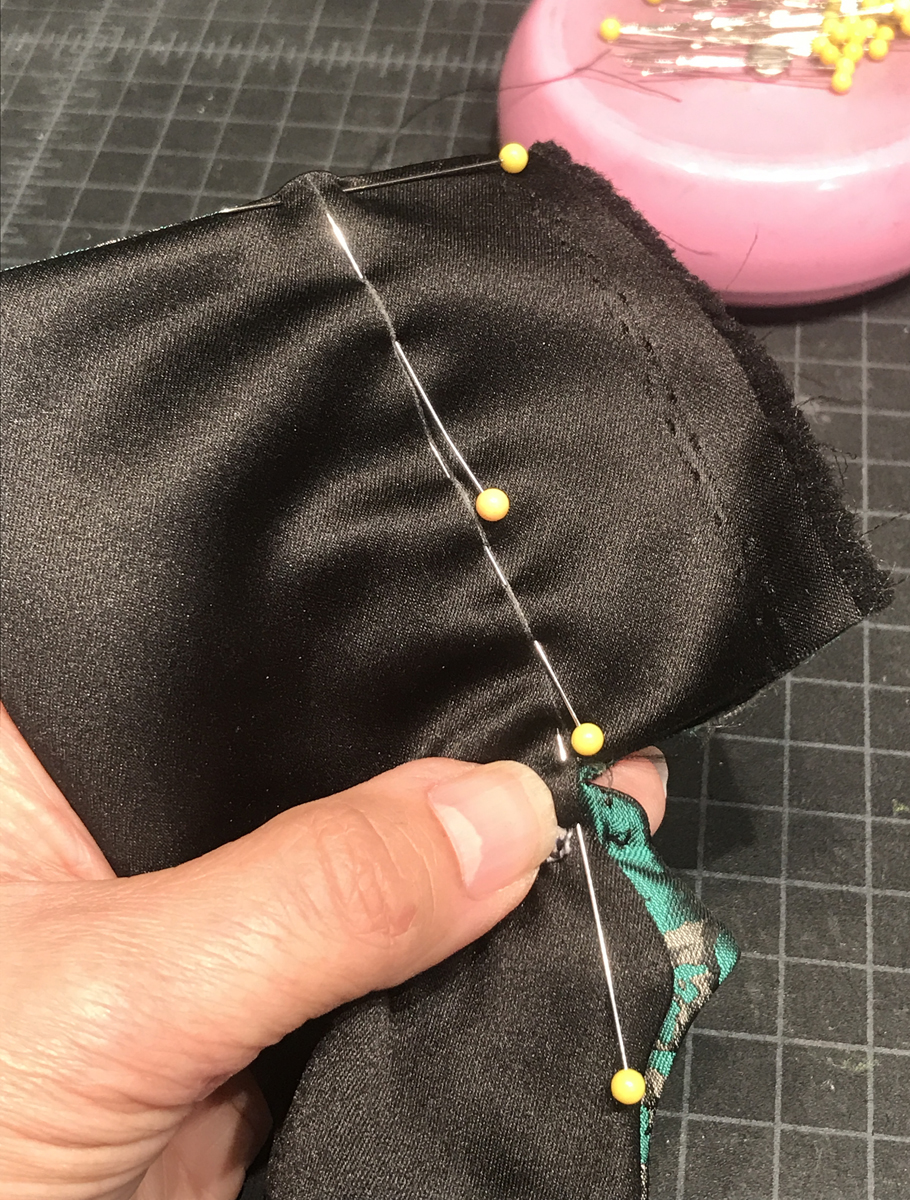
End the stitching at the level of the elastic.
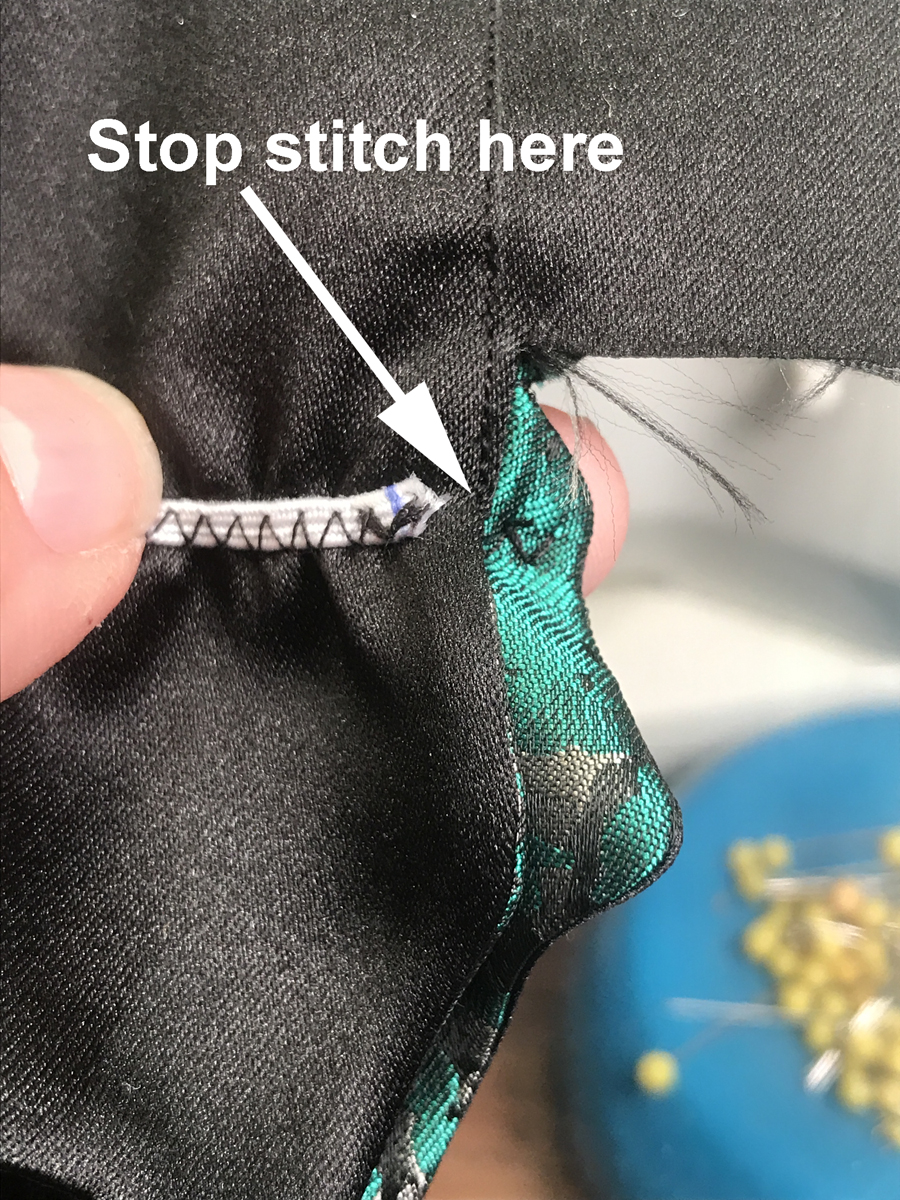
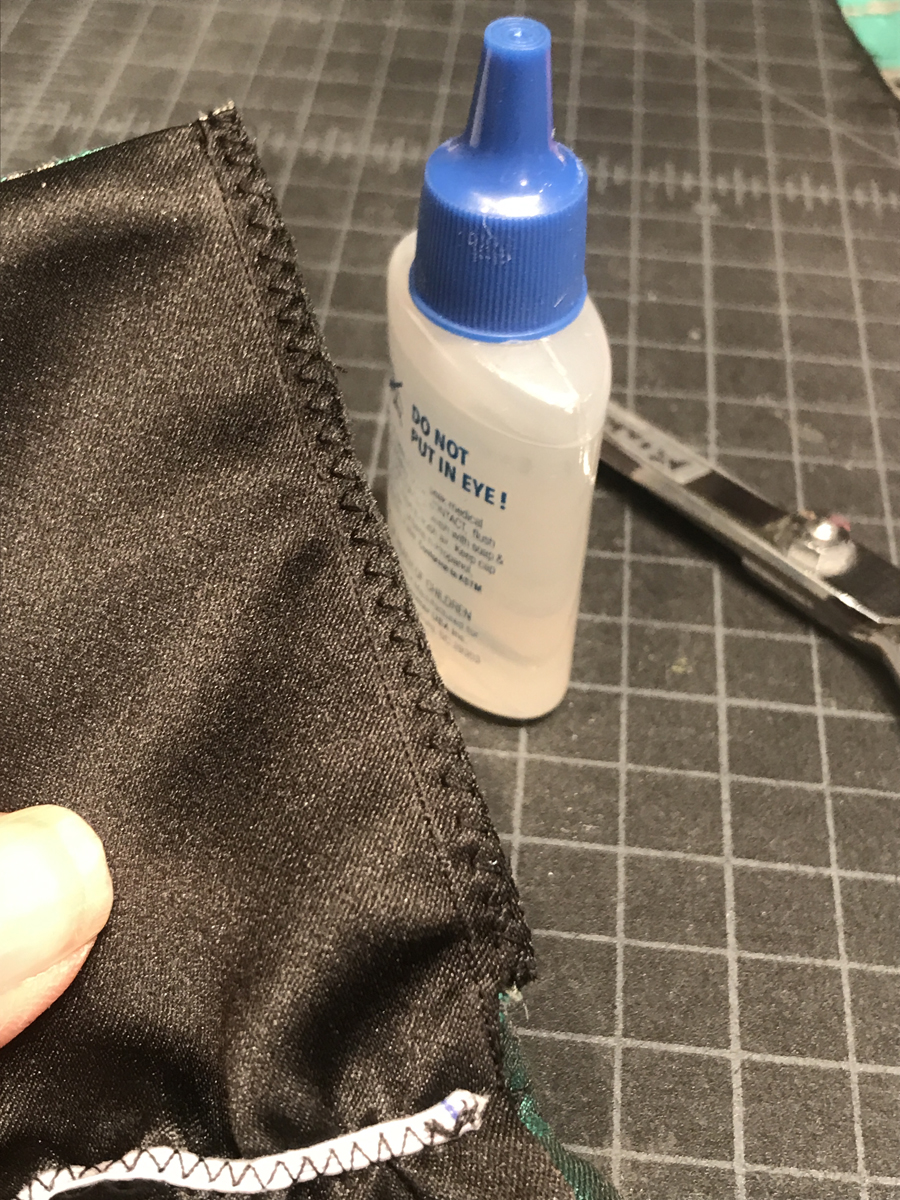
Finish the seam allowance with the zigzag stitch, press to one side, trim, and apply liquid seam sealant, such as Fray Check.
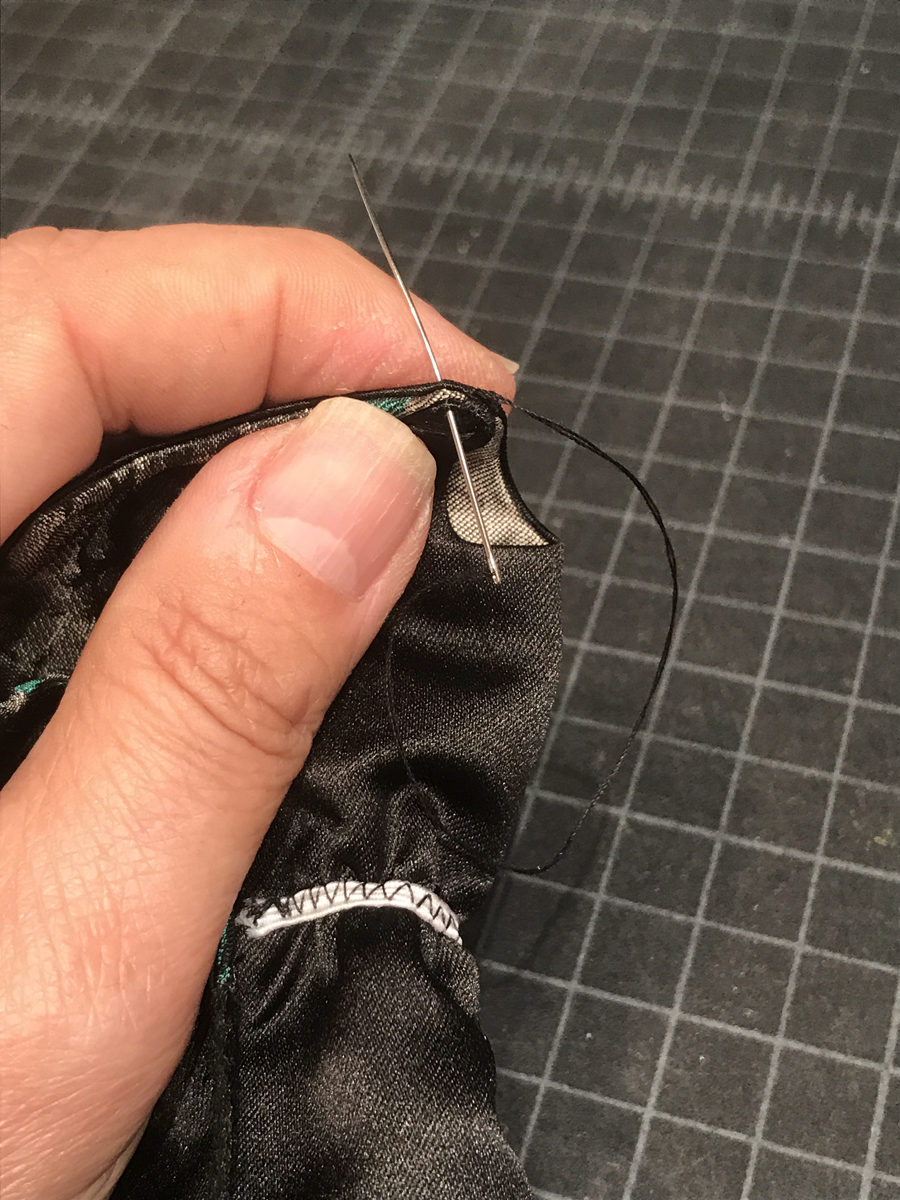
Sew the shoulder seams with a hand whipstitch. Sew one snap at center back, and you are finished making the little dress.


Wow. Lining it, too? That's tedious.
How exciting! I am tickled that I am going to sew a doll dress following tutorial from KENNETH KING!!! What a privilege!!! Thank you!