
Sew a Ribbon Bow Belt with a Hidden Closure
Stitch it into shape and add a hidden closure
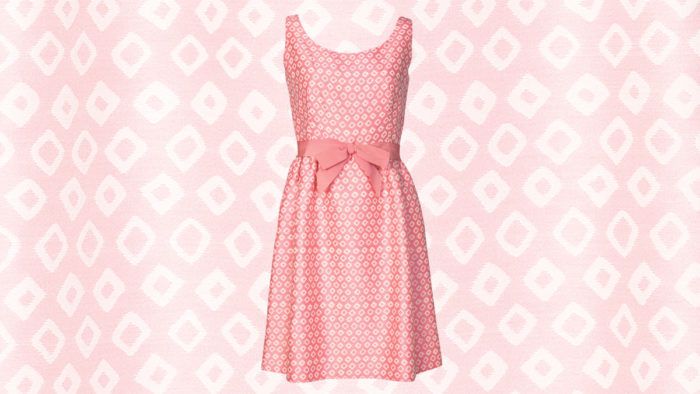
Adele Simpson’s dress-and-jacket outfit, shown on the back cover, features several delightful couture methods that give it star status. Each covered button displays a carefully placed woven square motif; the bound buttonholes are exquisitely narrow; the lining is lovely; and all the fine details are pulled together with an elegant ribbon belt, tied in a neat bow.
The belt is made of petersham ribbon, which can be easily shaped with steam. Note that petersham, like grosgrain ribbon, has pronounced ribs perpendicular to the edges. However, petersham edges are scalloped, so the ribbon can be pressed into a slightly curved shape if the waistline needs it. For this belt, use 1-1/2 -inch-wide ribbon. You’ll need a large hook-and-eye set to fasten the belt. Optionally, you can add a fusible fleece support to the wrong side of the belt section. The example garment secures the belt placement with snaps that align with the dress side seams; a fleece backing can conceal the stitches that attach the snaps.
1. Prepare the belt portion
Cut a length of ribbon 3 inches longer than the desired waist length. Fold the edges in to taper the ribbon to the width of the hook and eye, then fold the end under and hand-tack it in place. Pass the ends through the hook-and-eye pieces, so the eyelets are enclosed between the ribbon layers, and hand-stitch to secure.


2 Prepare the bow’s tails
Cut a piece of ribbon 11 inches long. Fold it in half, then form a center pleat. Hand-sew the pleat’s outer folds. Turn the work over. Fold the pleat’s top 1/2 inch to the opposite side and hand-sew it in place.

3. Prepare the bow loops
Cut a 15-inch-long ribbon, and fold the ends in equally until they overlap by about 1 inch at the center. This creates two 3-1/2-inch-long loops. Baste the end layers together across the center. Fold a soft pleat across the center, parallel to the ribbon’s long edges, and baste.

4. Assemble the bow
Hand-sew the tail section to the back of the loop section.
5. Create the center “knot”
Cut a 4-inch-long ribbon and fold it lengthwise. Hand-sew a line of running stitches, 3/8 inch from and parallel to the fold, to form a tuck. Open the ribbon edges and finger-press the tuck to one side.

6. Complete the bow
Wrap the knot section around the bow’s center, with the hand-sewn seam centered and the tuck on the wrong side. Fold the ends under on the wrong side and hand-sew the knot in place.

7. Attach the bow to the belt
Sew it neatly by hand so all the stitches are on the wrong side. Note: If preferred, you can attach the loops-and-tail unit to the belt by wrapping the center knot around them and the belt together, and sewing the center knot on the wrong side of the belt.

Contributing Editor Judith Neukam has written “How Did They Sew That?” for more than 10 years.


Can someone give a source for petersham ribbon? I’ve never seen it in any local sewing or craft stores.
Thank you.